Common Sprouting Mistakes and How to Avoid Them
When sprouting, I’ve found that avoiding common mistakes is key. First, I choose organic, non-GMO seeds to boost germination. I soak them for the right time—8 to 12 hours—never too short or too long. I ensure proper drainage and airflow by using breathable containers. Sanitation is vital, so I clean everything and rinse my sprouts daily. Lastly, I maintain good light exposure for healthy growth. Discover more nuances to perfect your sprouting process!
Key Takeaways
- Select organic, non-GMO seeds from reputable suppliers to ensure high germination rates and avoid seeds not labeled for sprouting.
- Soak seeds for 8 to 12 hours; avoid under-soaking for poor germination and over-soaking which can cause mold.
- Use containers with ventilation holes to ensure proper drainage and airflow, preventing mold and promoting healthy sprout growth.
- Maintain sanitation by cleaning sprouting equipment thoroughly and rinsing sprouts with clean water twice daily to minimize contamination risk.
- Ensure sprouts receive 12-16 hours of light daily, using natural sunlight or full-spectrum grow lights to promote strong, healthy growth.
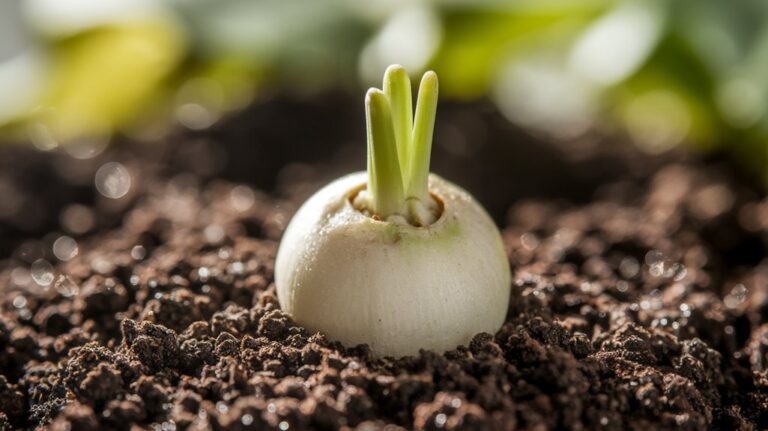
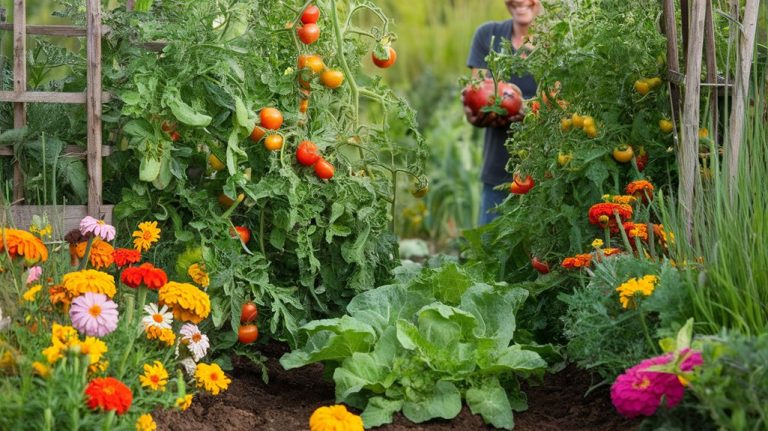
Choosing the Wrong Seeds
When I first started sprouting, I quickly learned how crucial it’s to choose the right seeds. Not all seeds are created equal; some are meant for sprouting while others aren’t.
I found that organic, non-GMO seeds are best because they germinate reliably and are free from harmful chemicals. It’s also essential to check the packaging for the sprouting type, as some varieties, like alfalfa or broccoli, sprout faster and have unique flavors.
I recommend avoiding seeds from garden centers unless they’re labeled for sprouting, as they mightn’t be safe. Always opt for reputable suppliers so you can ensure quality.
Taking this step seriously made a huge difference in my sprouting journey.
Inadequate Soaking Time
When it comes to sprouting, proper soaking time is crucial for success.
I’ve learned that under-soaking can lead to poor germination, while over-soaking can create a breeding ground for mold.
It’s essential to find that sweet spot to ensure healthy, vibrant sprouts.
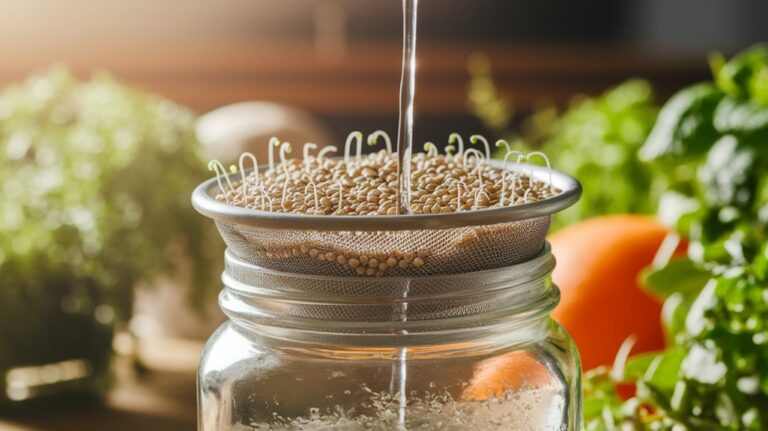
Importance of Proper Soaking
Although many novice sprouters might underestimate the importance of soaking, I’ve learned that inadequate soaking time can significantly hinder the germination process.
When I first started sprouting, I often rushed this step, thinking a quick soak would suffice. However, I quickly realized that beans and seeds need time to absorb water, which activates enzymes crucial for germination.
Generally, soaking for 8 to 12 hours is ideal, but it can vary depending on the type of seed. If you don’t soak long enough, you risk poor germination rates and weak sprouts.
I recommend setting a timer and following specific guidelines for each seed type. Trust me, taking the time to soak properly pays off with healthier, more robust sprouts!
Signs of Over-Soaking
Proper soaking is key, but it’s also important to recognize the signs of over-soaking your seeds or beans. If you notice a slimy texture on the seeds, that’s a red flag. This slime indicates fermentation, which can lead to spoilage.
Another sign is an unpleasant odor; if your seeds smell off, they’ve likely been soaked too long. You might also see seeds that have swelled excessively or even split open. These are signs they’ve absorbed too much water.
Lastly, if your seeds start to develop mold, it’s a clear indication they’ve been sitting in water for too long. To avoid these pitfalls, stick to the recommended soaking times and keep an eye on your seeds for any of these warning signs.
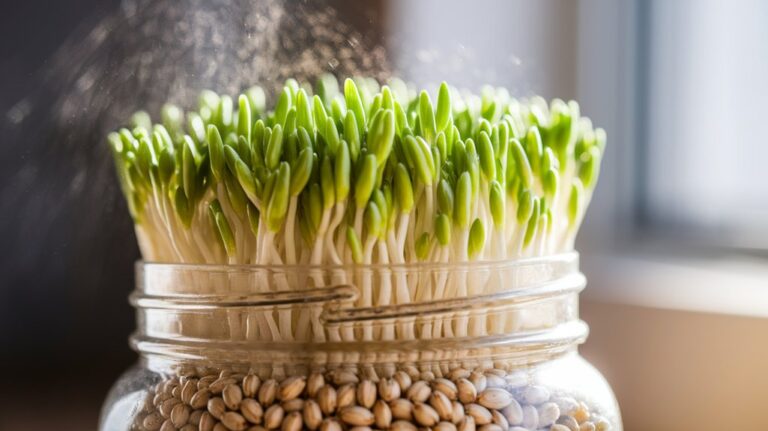
Poor Drainage and Airflow

If I’ve learned anything about sprouting, it’s that poor drainage and airflow can quickly ruin your efforts.
Without proper drainage, excess water can lead to mold and spoilage, while inadequate airflow can stunt growth.
Here are three key tips to ensure your sprouts thrive:
- Use a breathable container: Choose jars or trays with ventilation holes to promote air circulation.
- Rinse and drain properly: After each soak, make sure to drain thoroughly to prevent water pooling at the bottom.
- Position your sprouts wisely: Place them in a well-ventilated area away from direct sunlight to encourage healthy growth.
Neglecting Sanitation Practices
When sprouting, I can’t stress enough the importance of clean equipment and proper handwashing techniques.
Using sanitized jars and utensils minimizes the risk of contamination, ensuring healthy sprouts.
Plus, washing my hands thoroughly before handling any materials keeps everything safe and germ-free.
Clean Equipment Essentials
While many enthusiasts focus on seed quality and optimal growing conditions, I can’t stress enough the importance of clean equipment in the sprouting process. Neglecting sanitation can lead to contamination, ruining your hard work.
Here are three essentials to keep in mind:
- Thoroughly Clean Containers: Always wash and sanitize your sprouting containers before use. Residual bacteria can hinder growth.
- Rinse Sprouts Properly: Rinsing your sprouts with clean water twice daily helps remove any potential contaminants.
- Use Non-Toxic Cleaning Solutions: When sanitizing, opt for solutions that are safe and effective, like vinegar or hydrogen peroxide.
Proper Handwashing Techniques
Neglecting proper handwashing techniques can easily compromise your sprouting efforts, so I always make it a priority to wash my hands thoroughly before handling seeds or sprouts.
I start by wetting my hands with warm water and applying enough soap to cover all surfaces. I scrub my hands for at least 20 seconds, making sure to clean between my fingers, under my nails, and around my wrists.
Rinsing thoroughly under running water is essential to remove all soap residue. After drying my hands with a clean towel or air dryer, I’m ready to get started.
This simple practice not only helps prevent contamination but also ensures that my sprouts grow healthy and safe to eat. Trust me, it’s worth the effort!
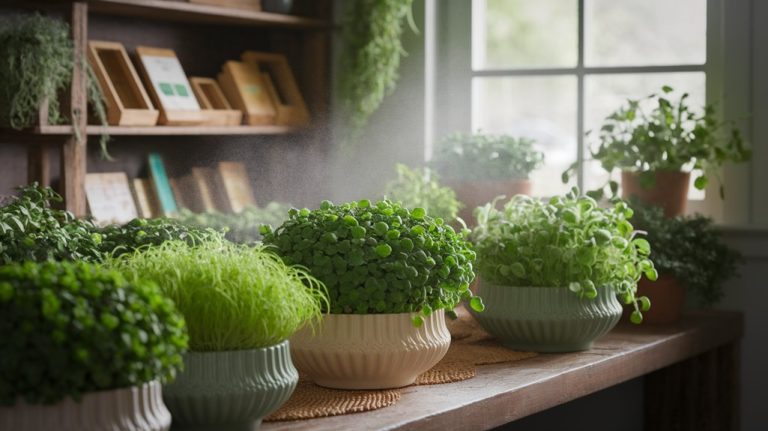
Insufficient Light Exposure
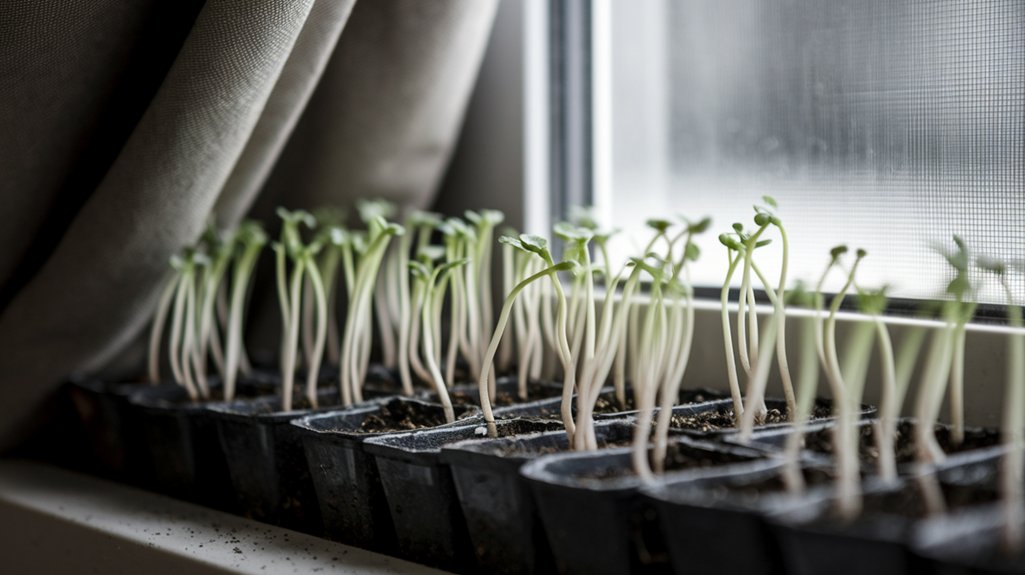
If you don’t provide your sprouts with enough light, you’ll likely end up with weak, leggy plants that struggle to thrive.
I’ve learned that proper light exposure is crucial in the sprouting process. Here are three tips to ensure your sprouts get the light they need:
- Use Natural Light: Place your sprouts near a sunny window. South-facing windows are ideal for maximum exposure.
- Supplement with Grow Lights: If natural light is limited, consider using full-spectrum grow lights for 12-16 hours a day.
- Rotate Your Sprouts: Turn your containers regularly to ensure all sides receive even light, preventing uneven growth.
Overwatering or Underwatering
One of the biggest challenges I’ve faced when sprouting seeds is getting the watering just right—too much or too little can derail your efforts.
Overwatering can lead to root rot, while underwatering may cause seeds to dry out and fail to sprout. I’ve learned that the best approach is to keep the soil consistently moist but not soggy.
I usually check the moisture level by sticking my finger about an inch into the soil. If it feels dry, I water gently until it’s adequately damp. I also use a spray bottle for more control over the amount of water.
Monitoring your seeds daily helps ensure they get the right balance, making all the difference in successful sprouting!
Ignoring Temperature Conditions
Getting the watering right is just part of the equation; temperature plays a significant role in the sprouting process too.
I’ve learned that ignoring temperature conditions can lead to disappointing results. Here are three key points to keep in mind:
- Optimal Range: Most seeds germinate best between 65°F and 75°F. Too hot or too cold can stall growth.
- Consistent Heat: Fluctuating temperatures can shock seeds, leading to poor sprouting. Keep your environment stable.
- Soil Temperature: Check the soil’s temperature, not just the air. Seeds need warmth from the soil to thrive.
Frequently Asked Questions
Can I Use Old Seeds for Sprouting?
I often wonder if I can use old seeds for sprouting, and the answer is yes, but with caution.
Seeds can lose viability over time, so I always check their age and storage conditions. If they’ve been kept in a cool, dry place, there’s a good chance they’ll sprout.
I usually perform a germination test with a few seeds to see if they still have life. It’s a simple way to ensure success!
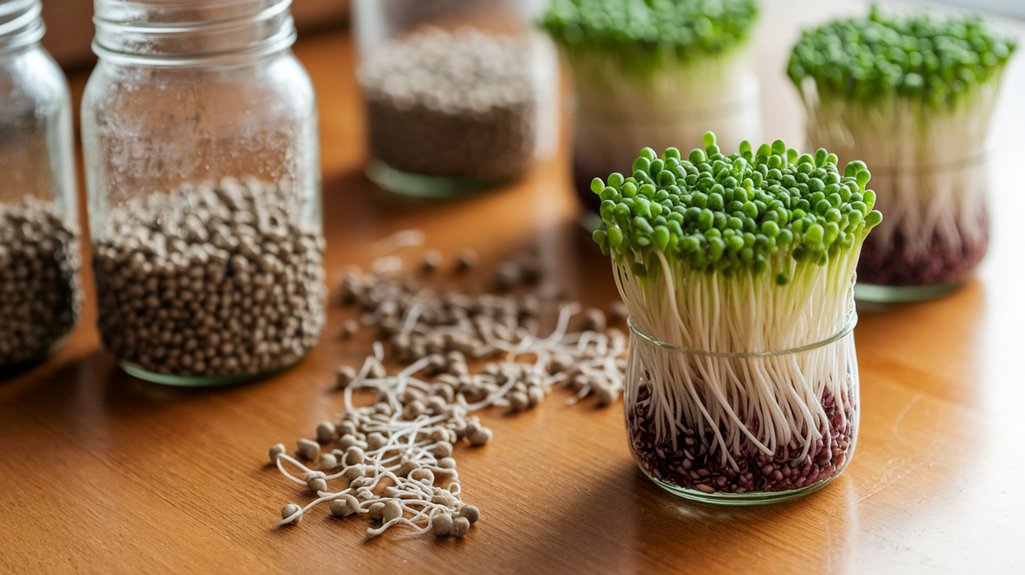
What Are the Best Containers for Sprouting?
When I sprout seeds, I prefer using glass jars, specifically quart-sized ones. They’re easy to clean and let me see the growth progress.
I also find mesh lids or cheesecloth work wonders for air circulation. Sometimes, I use plastic trays with drainage holes for larger batches, but I make sure they’re shallow.
Whatever container I choose, proper ventilation’s key to prevent mold. Experimenting with different options can help you find what works best!
How Often Should I Rinse My Sprouts?
I rinse my sprouts at least twice a day to keep them fresh and free from mold.
I find that rinsing helps remove any debris and keeps the moisture level just right. When I rinse, I use cool water and make sure to drain them well afterward.
This routine ensures my sprouts grow healthy and tasty, making it easier to enjoy them in salads or sandwiches.
Consistency really makes a difference!
Can I Sprout Seeds Indoors Without Sunlight?
Absolutely, you can sprout seeds indoors without sunlight! I’ve done it myself many times.
Just make sure you keep your sprouts in a warm, dark place, like a kitchen cupboard. I usually use a glass jar with a mesh lid to allow airflow.
Rinse your seeds regularly to keep them moist and prevent mold. With proper care, you’ll have healthy sprouts ready to enjoy in no time!
What Are the Signs of Mold on Sprouts?
When I sprout seeds, I watch closely for signs of mold. If I see any fuzzy, white, or green spots on my sprouts, that’s a clear indicator of mold. A musty smell can also signal trouble.
To prevent this, I ensure my sprouts stay moist but not overly wet, and I provide good airflow. If I spot mold, I discard those sprouts right away to avoid any health risks.
Conclusion
In conclusion, avoiding common sprouting mistakes is key to successful germination. By choosing the right seeds, ensuring proper soaking and drainage, maintaining good sanitation, and providing adequate light and temperature, you’ll set yourself up for a thriving garden. Remember to stay mindful of your watering habits, too. With a little care and attention, you’ll be well on your way to enjoying vibrant sprouts that can enhance your meals and overall health. Happy sprouting!