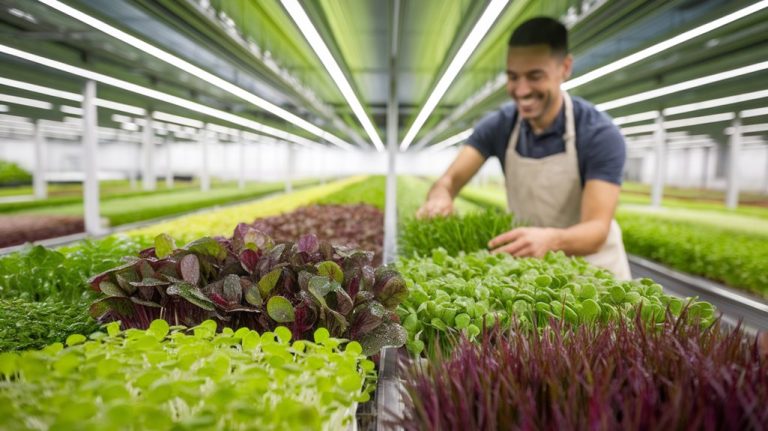
Five Tools That Will Make Sprouting Easier Right Now
If you want to sprout easily at home, I recommend using sprouting jars for effective germination, paired with mesh lids to ensure proper airflow. Sprouting trays save space while maximizing growth potential, and seed sprouting kits offer an all-in-one solution for beginners. Lastly, efficient watering tools help maintain your sprouts’ moisture needs. Get ready to dive into creative recipes that feature your home-grown sprouts as you explore more sprouting tips and techniques!
Key Takeaways
- Sprouting Jars: Use glass jars with wide mouths for easy rinsing and adequate space for seed expansion, ensuring optimal germination conditions.
- Mesh Lids: Implement fine mesh lids for proper airflow, preventing mold and allowing easy rinsing and drainage of your sprouts.
- Sprouting Trays: Utilize stackable sprouting trays to maximize space and experiment with various seeds while managing moisture levels effectively.
- Seed Sprouting Kits: Consider all-in-one seed sprouting kits that simplify the process with included jars, seeds, and instructional manuals for effortless use.
- Labeling Techniques: Use clear labeling methods, such as permanent markers or color-coding, to track different sprout types and their growth stages efficiently.
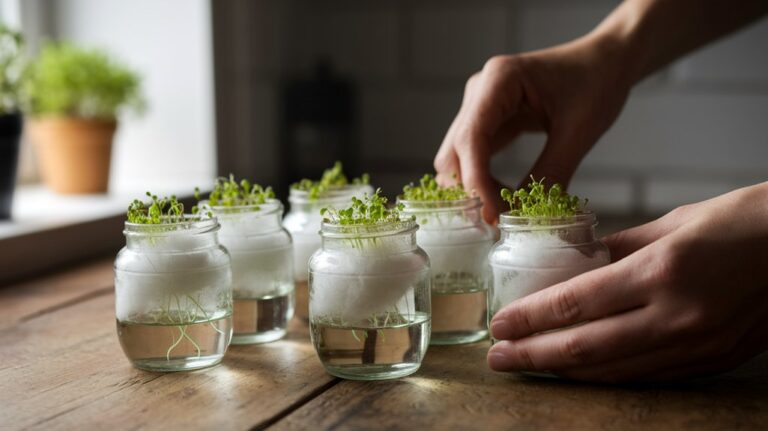
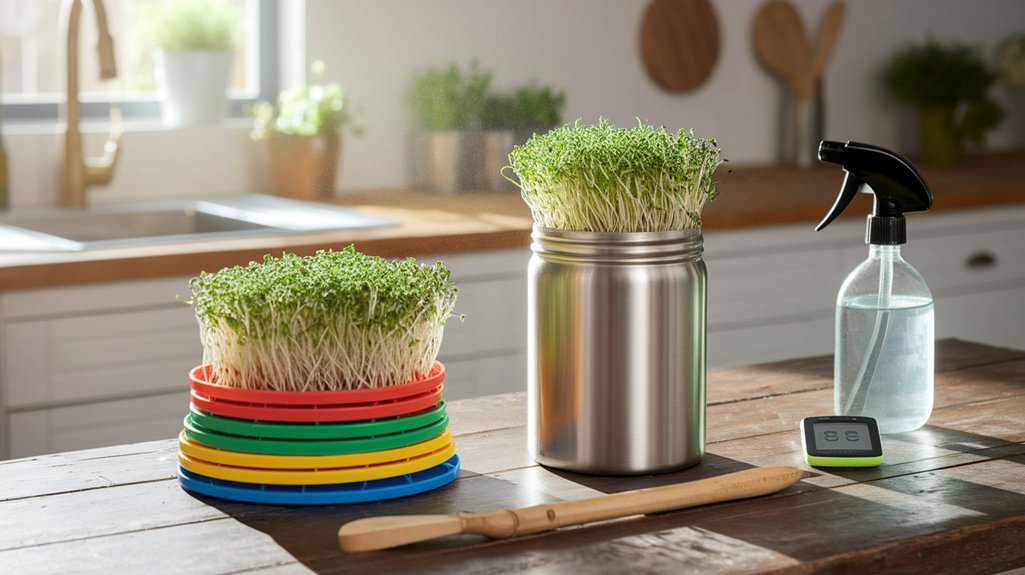
Sprouting Jars: The Essential Container
When I first started sprouting seeds, I quickly realized that selecting the right container can make all the difference.
Sprouting jars are essential because they provide the ideal environment for germination. I prefer glass jars since they’re non-toxic and easy to clean. Make sure the jar has a wide mouth, which allows for easy rinsing and drainage.
I also recommend choosing jars with a capacity of at least a quart; this ensures you have enough space for seeds to expand as they sprout. Additionally, consider using jars with volume markings on the side to help with measuring water.
With the right sprouting jar, you’ll see faster germination and healthier sprouts, setting you up for success in your sprouting journey.
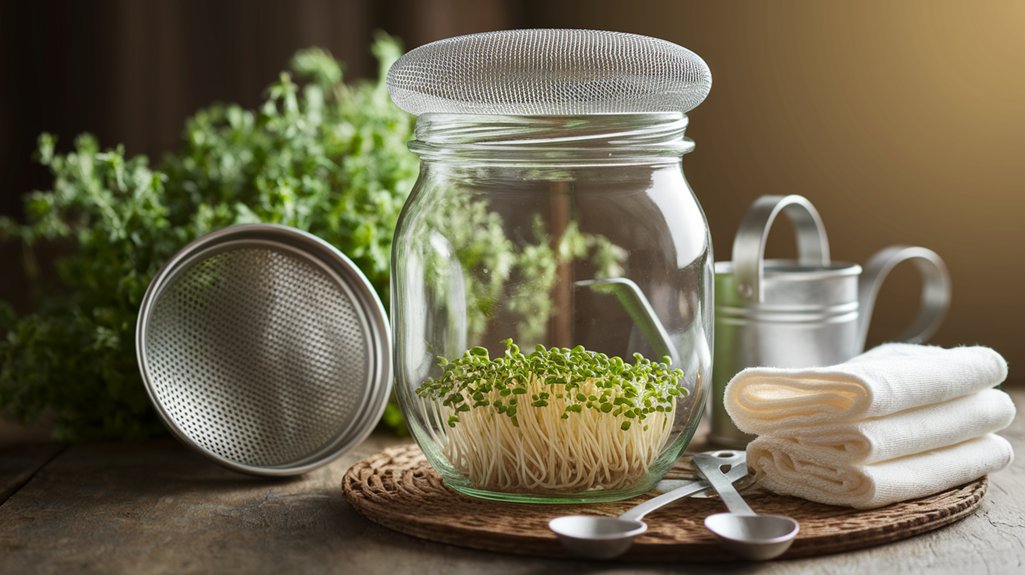
Mesh Lids: Ensuring Proper Airflow
After selecting the right sprouting jar, the next step is to ensure proper airflow, which is where mesh lids come into play.
These lids are designed with fine mesh material that allows air to circulate while keeping unwanted pests out. I’ve found that using mesh lids creates an ideal environment for sprouting, as they prevent moisture buildup that can lead to mold.
When I’m rinsing and draining my sprouts, the mesh allows for easy water flow, making the process quick and efficient.
Plus, they’re easy to clean and reusable, which is a bonus for sustainability. Investing in a good mesh lid can significantly enhance your sprouting experience, ensuring healthy, thriving sprouts every time.
Sprouting Trays: Maximizing Space
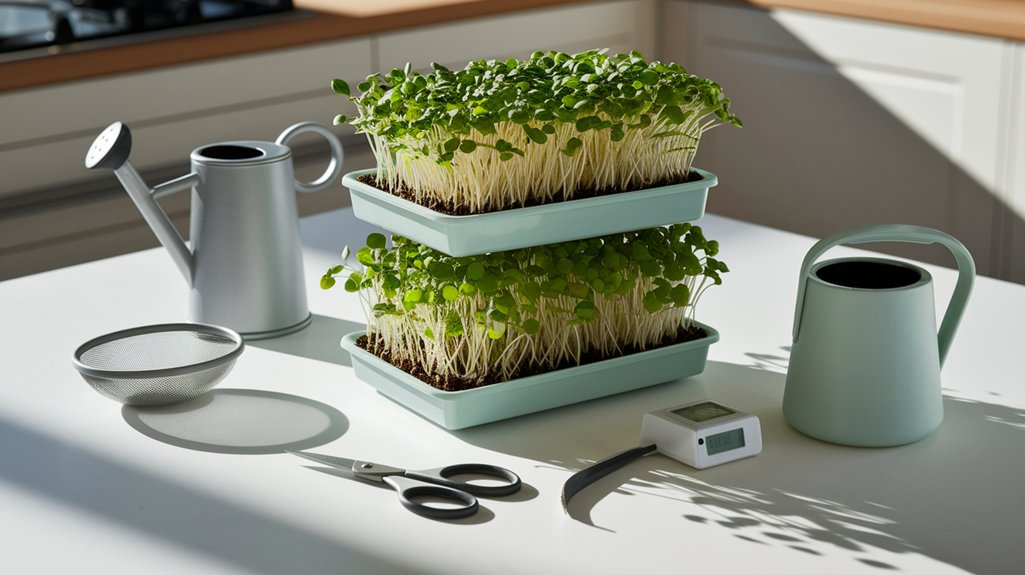
When I think about maximizing space in my sprouting setup, sprouting trays really stand out.
Their space-saving designs and stackable options allow me to grow a variety of seeds without feeling cramped.
Plus, I love how versatile they are, letting me experiment with different types of sprouts all at once.
Space-Saving Design Features
While sprouting offers a wealth of nutritional benefits, maximizing space in your home is crucial for successful cultivation.
I’ve found that using sprouting trays with space-saving design features can make a significant difference. Look for trays that have multiple layers or compartments, allowing you to grow various seeds without taking up too much room.
Additionally, consider trays with built-in drainage systems to prevent excess moisture, ensuring your sprouts thrive.
Compact sizes are essential too; I love trays that fit easily on kitchen counters or windowsills.
Stackable Options Available
If you’re looking to optimize your sprouting setup, stackable trays can be a game-changer.
These trays let you maximize vertical space, making them perfect for small kitchens or limited areas. I love how they allow me to grow multiple batches simultaneously without taking up too much room.
You can simply stack them as needed, ensuring good airflow and light exposure for all your sprouts. Plus, they often come with drainage holes, which makes rinsing and draining a breeze.
Just remember to monitor moisture levels, as stacked trays can slightly alter humidity.
With these trays, you’re not just saving space; you’re enhancing your sprouting efficiency, allowing for more delicious sprouts in less time.
Multi-Seed Versatility
Although sprouting trays are often associated with single seed types, their true potential shines through when you embrace multi-seed versatility. I love mixing different seeds to create unique flavors and textures in my sprouts.
By utilizing different compartments in a tray, I can sprout radishes alongside alfalfa or broccoli with clover, maximizing my space and variety. This approach not only saves room but also allows me to experiment with combinations that enhance my dishes.
Just ensure that the seeds have similar sprouting times and moisture needs for optimal results. With a bit of planning, I can enjoy a diverse harvest that adds nutrition and excitement to my meals.
Seed Sprouting Kits: All-in-One Solutions
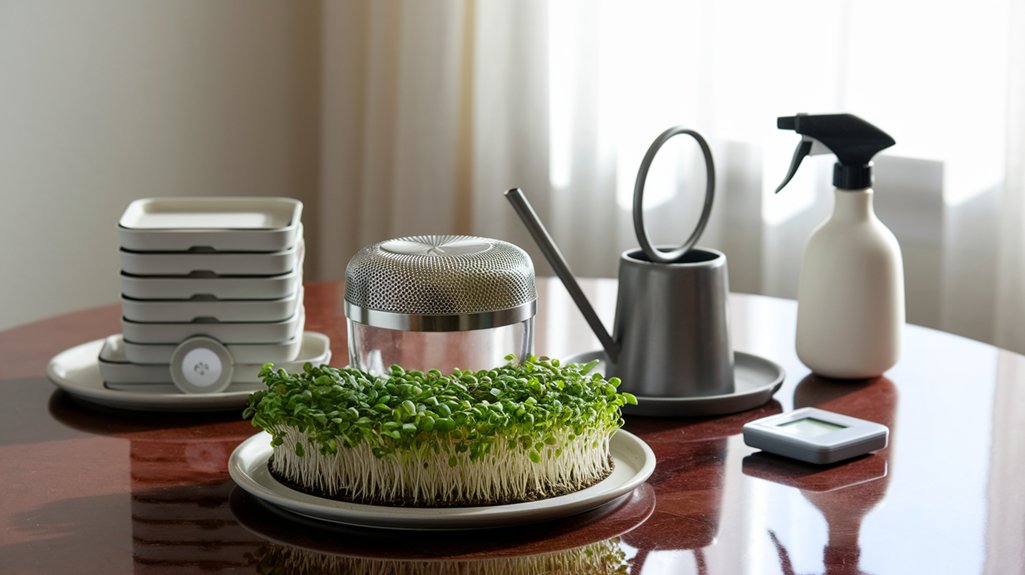
A seed sprouting kit is a convenient all-in-one solution for anyone looking to grow fresh sprouts at home.
I love how these kits simplify the process, making it accessible even for beginners.
Here are three essential components you’ll typically find in a sprouting kit:
- Sprouting Jar: This glass jar usually comes with a mesh lid, allowing for proper airflow and drainage.
- Seed Variety Pack: Many kits include a selection of sprouting seeds, like alfalfa, broccoli, or radish, so you can experiment with flavors.
- Instruction Manual: Clear, step-by-step instructions guide you through the sprouting process, ensuring success every time.
With these tools, I’ve effortlessly sprouted delicious greens right in my kitchen, making my meals healthier and more vibrant.
Watering Tools: Simplifying Maintenance
When it comes to maintaining your plants, having the right watering tools makes all the difference.
I’ve found that efficient watering solutions and accurate moisture measurement not only simplify the process but also help prevent over- or under-watering.
Let’s explore some practical tools that can keep your plants thriving with minimal effort.
Efficient Watering Solutions
While I’ve learned that watering plants can be a chore, using efficient watering tools can simplify the maintenance process significantly.
Here are three tools that have transformed my watering routine:
- Self-Watering Spikes: These handy devices deliver a steady supply of water directly to the roots, so I don’t have to worry about over or under-watering.
- Watering Cans with Long Spouts: The precision of a long spout lets me target each plant without spilling water everywhere, making it neat and efficient.
- Soaker Hoses: Laying these hoses down in my garden ensures even moisture distribution, saving me time and effort while keeping my plants happy.
Investing in these tools has made my gardening experience smoother and more enjoyable!
Accurate Moisture Measurement
To ensure my plants thrive, I’ve discovered that accurate moisture measurement is essential. Using moisture meters has completely transformed my watering routine. Instead of guessing, I can check the soil moisture level and water accordingly. This prevents overwatering or underwatering, both of which can harm my plants.
Here’s a quick reference table that summarizes moisture levels and actions:
| Moisture Level | Action Required | Frequency |
|---|---|---|
| Dry | Water immediately | Daily |
| Moist | Water when needed | Every 2-3 days |
| Wet | Delay watering | Weekly |
Thermometers: Monitoring Ideal Conditions
Monitoring temperature is crucial for successful sprouting, as it directly influences seed germination and growth.
I’ve found that using a reliable thermometer helps me create the perfect environment for my seeds.
Here are three types of thermometers that I recommend:
- Digital Thermometer: Quick readings and accuracy are essential; I love how easily I can read the display.
- Infrared Thermometer: This handy tool lets me check surface temperatures without direct contact, making it great for monitoring heat mats.
- Soil Thermometer: With a long probe, it gives me an accurate reading of the soil temperature, ensuring my seeds are cozy and warm.
Labels and Markers: Keeping Track of Your Sprouts
Keeping track of your sprouts can be a challenge, especially when you’re growing multiple varieties at once.
I’ve found that using labels and markers makes this process much easier. Grab some waterproof labels or washi tape and write down the variety name and the date you started sprouting. This way, I can quickly identify each batch and monitor their growth stages.
I prefer using a permanent marker for clarity, but you could also use a chalk marker for easy removal.
Another tip is to color-code your labels based on the sprout type, which adds a visual element and helps me remember their specific needs.
Staying organized with labels saves time and ensures I enjoy a bountiful harvest.
Recipe Books: Inspiring Creative Uses for Sprouts
After you’ve successfully labeled your sprouts, it’s time to explore the exciting ways to incorporate them into your meals. Recipe books can be a treasure trove of inspiration, helping you unleash your culinary creativity.
Here are three fantastic ideas I’ve found that elevate my dishes:
- Sprout Salad: Toss mixed greens with radish sprouts, avocado, and a zesty lemon vinaigrette for a refreshing crunch.
- Sprouted Sandwiches: Layer your favorite sprouts between whole grain bread, with hummus, cucumber, and roasted red peppers for a hearty lunch.
- Stir-Fried Sprouts: Sauté bean sprouts with garlic, ginger, and seasonal vegetables for a quick, nutritious side dish.
These recipes not only taste great but also maximize the health benefits of your homegrown sprouts!
Frequently Asked Questions
How Long Does It Take to Sprout Seeds?
When I sprout seeds, the time it takes can vary depending on the type of seed. Typically, I find that most seeds sprout within 2 to 14 days.
For example, alfalfa and broccoli seeds often germinate quickly, while larger seeds like beans may take a bit longer.
I’ve learned that keeping the right moisture and temperature can really speed up the process, making my sprouting experience even more rewarding.
Can I Sprout Any Type of Seed?
You can sprout many types of seeds, but not all seeds are suitable for sprouting. I’ve had great success with alfalfa, broccoli, and radish seeds, which grow quickly and taste fantastic.
However, avoid sprouting seeds from beans that contain toxins, like kidney beans. Always check the seed variety before starting, as some are specifically bred for sprouting.
It’s exciting to explore different seeds and discover new flavors in my dishes!
What Is the Best Temperature for Sprouting?
The best temperature for sprouting is usually between 65°F and 75°F (18°C to 24°C).
I’ve found that maintaining this range helps my seeds germinate effectively. If it’s too cold, sprouting can slow down, and if it’s too hot, it might kill the seeds.
I always keep a thermometer handy to ensure the environment is just right.
With the right temperature, my seeds sprout quickly and thrive!
How Often Should I Rinse My Sprouts?
I rinse my sprouts about two to three times a day. This keeps them hydrated and helps prevent mold growth.
I usually fill my sprouting jar with water, swirl it around, and then drain it thoroughly. It’s important to ensure they’re not sitting in excess water, as that can lead to issues.
Consistent rinsing also helps to promote healthy growth and keeps them fresh longer. Happy sprouting!
Are Sprouts Safe to Eat Raw?
Absolutely, sprouts can be safe to eat raw, but I take a few precautions.
I always rinse them thoroughly to reduce any potential bacteria. It’s best to buy organic seeds specifically meant for sprouting, as they’re less likely to carry pathogens.
I also keep an eye on their freshness; if they smell off or look slimy, I toss them.
Enjoying raw sprouts in salads or sandwiches is one of my favorite ways to boost nutrition!
Conclusion
Incorporating these five tools into your sprouting routine can truly simplify the process and enhance your success. From sprouting jars to dedicated kits, each tool serves a unique purpose that makes growing your own sprouts easier and more efficient. By ensuring proper airflow, maximizing space, and simplifying maintenance, you’ll be on your way to enjoying fresh, nutritious sprouts in no time. So, grab your tools and start sprouting—your taste buds and health will thank you!