Sprouting Secrets: Tips for Cultivating Nutrient-Packed Greens
Sprouting is one of the easiest ways I’ve found to boost my diet with nutrient-packed greens. Start with organic seeds like alfalfa or broccoli, ensuring they’re specifically labeled for sprouting. Use a proper sprouting jar to maintain airflow and drainage. Rinsing seeds every 8-12 hours keeps them hydrated and mold-free. Keep the temperature around 65°F to 75°F and place them in a dark area for optimal growth. There are plenty of creative uses for your sprouts, and there’s so much more to learn about sprouting techniques.
Key Takeaways
- Start with easy-to-sprout, nutrient-dense seeds like alfalfa or broccoli, and choose organic, non-GMO varieties for the best results.
- Use a sprouting jar or specialized sprouter to ensure proper drainage and airflow, promoting healthy growth.
- Maintain optimal conditions by keeping the temperature between 65°F and 75°F and rinsing seeds every 8-12 hours to prevent mold.
- Keep sprouts in a dark or dimly lit area to encourage germination and aim for 40-60% humidity for ideal growth.
- Incorporate sprouted greens into salads, smoothies, or stir-fries to maximize their nutritional benefits and enhance flavor.
Understanding the Benefits of Sprouting
Although many of us overlook the potential of sprouting, I believe understanding its benefits can transform our approach to nutrition.
Sprouting enhances the nutritional profile of seeds, increasing levels of vitamins, minerals, and antioxidants. During sprouting, enzymes break down complex carbohydrates and proteins, making them easier for our bodies to digest. This process also reduces anti-nutrients like phytic acid, which can inhibit mineral absorption.
Furthermore, sprouted greens contain higher amounts of fiber, supporting digestive health. They’re not just nutrient-dense; they’re also versatile, adding fresh flavor and texture to a variety of dishes.
Choosing the Right Seeds for Sprouting
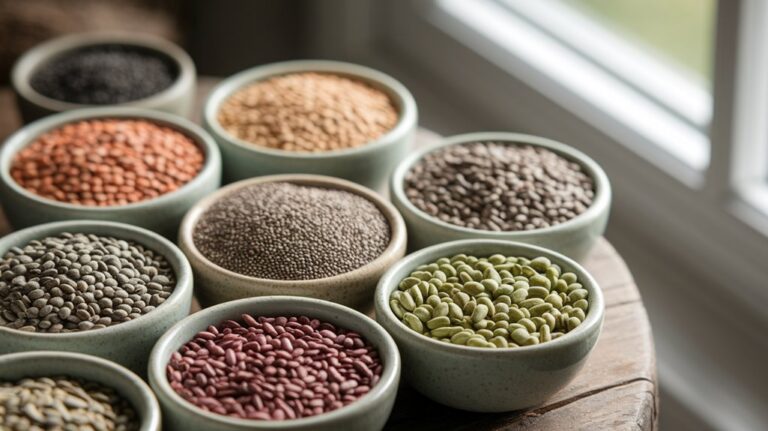
To harness the full nutritional benefits of sprouting, selecting the right seeds is key. I recommend starting with varieties like alfalfa, broccoli, or lentils, as they’re nutrient-dense and easy to sprout.
Always choose organic, non-GMO seeds to avoid chemical residues. Look for seeds specifically labeled for sprouting, as these undergo quality checks for germination rates and safety.
Avoid seeds from garden centers, as they may be treated with pesticides. It’s also essential to check for freshness; older seeds may not sprout effectively.
Finally, consider your taste preferences and desired nutritional profiles. For instance, if you’re after a spicy kick, radish seeds are an excellent choice.
Make informed decisions to maximize your sprouting success and nutrition!
Essential Tools and Equipment for Sprouting
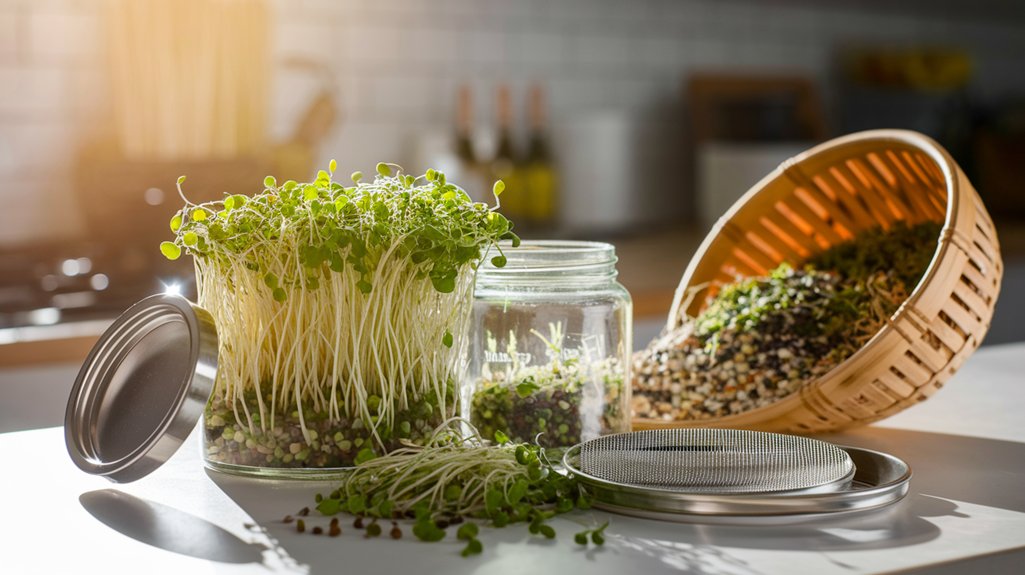
When embarking on your sprouting journey, you’ll need a few essential tools and equipment to ensure success.
Firstly, a sprouting jar or a specialized sprouter is crucial, as it allows for proper drainage and airflow. You’ll also want to invest in a fine mesh strainer to rinse your seeds easily and prevent clogs.
A clean, dark container can help create the ideal environment for germination. Don’t forget a thermometer to monitor temperature; most seeds sprout best between 65°F and 75°F.
Additionally, having a spray bottle for misting your seeds will maintain moisture without over-saturating.
Finally, a notebook or app can help track your progress and document your favorite varieties. With these tools, you’re well on your way to successful sprouting!
Step-by-Step Guide to Sprouting Seeds
When I start sprouting seeds, the first crucial step is choosing the right seeds that are specifically intended for sprouting.
Certain varieties, like alfalfa or broccoli, thrive under specific conditions, so understanding those ideal environments is essential for successful growth.
In the following steps, I’ll guide you through the process to ensure you maximize the nutrient potential of your sprouts.
Choosing the Right Seeds
Choosing the right seeds is crucial for successful sprouting, and it can feel overwhelming with so many options available. I recommend starting with seeds specifically labeled for sprouting, as these are often tested for germination rates and safety.
Look for organic varieties to avoid harmful chemicals. Popular choices include alfalfa, broccoli, and radish seeds, which sprout quickly and offer robust flavors.
Additionally, consider the nutritional profile; for example, lentils and chickpeas are protein-rich options. Always check the seed packaging for information on sprouting times and ideal conditions.
Lastly, ensure the seeds are fresh, as older seeds can have reduced viability. With the right seeds, you’ll set the foundation for a healthy and nutritious crop.
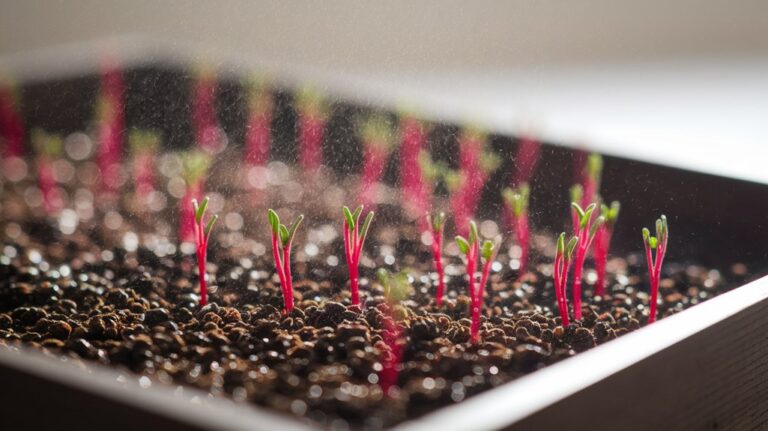
Ideal Sprouting Conditions
After selecting the right seeds, it’s time to focus on the ideal conditions for sprouting them successfully.
First, maintain a temperature range of 65-75°F, as this encourages optimal germination.
Next, ensure your seeds are kept in a dark or dimly lit area; light can hinder the sprouting process at this stage.
I also recommend using a sprouting jar or tray with proper drainage to prevent moisture buildup.
Rinse your seeds thoroughly every 8-12 hours to keep them hydrated and free from mold.
Lastly, aim for humidity levels around 40-60%, which you can achieve by covering your sprouting container with a breathable cloth.
With these conditions, you’ll foster a healthy environment for your seeds to thrive.
Maintaining Optimal Conditions for Sprouting
While I’ve explored various sprouting techniques, maintaining optimal conditions is crucial for achieving the nutrient density and flavor we desire in our greens.
Temperature plays a vital role; I keep my sprouts in a range of 65°F to 75°F (18°C to 24°C) for ideal growth.
Humidity is equally important—ensuring proper moisture without waterlogging is key. I rinse my seeds two to three times daily, promoting even hydration and preventing mold.
Light exposure also influences taste and nutrient levels; I provide indirect sunlight for a few hours daily.
Lastly, airflow is essential; I use mesh lids to ensure adequate ventilation, which helps prevent stagnation and fosters healthy sprouts.
Common Mistakes to Avoid When Sprouting
Even though sprouting can be a straightforward process, several common mistakes can hinder your success and lead to disappointing results.
One major error I’ve encountered is neglecting to rinse seeds adequately; insufficient rinsing can promote mold growth. Additionally, not using the right amount of water is another pitfall. Too much can drown the seeds, while too little can cause them to dry out.
I’ve also learned that overcrowding seeds in a sprouting container limits airflow, risking rot. Lastly, failing to provide adequate light after sprouting can stunt growth.
To avoid these issues, I recommend establishing a routine for rinsing and monitoring moisture levels, spacing seeds appropriately, and ensuring they receive sufficient light.
These practices will significantly enhance your sprouting success.
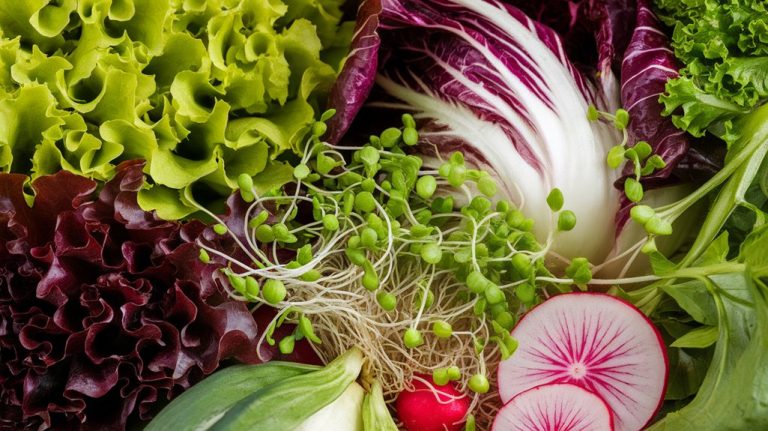
Creative Ways to Use Sprouted Greens in Your Meals
Once you’ve successfully sprouted your greens, the next exciting step is incorporating them into your meals. I love using sprouted greens in various ways to boost nutrition and flavor. Here are some creative ideas:
| Meal Type | Example Dish | Benefits |
|---|---|---|
| Salads | Mixed greens salad | Adds crunch and nutrients |
| Smoothies | Green smoothie | Enhances nutrient absorption |
| Sandwiches | Sprouted veggie sandwich | Provides texture and taste |
| Stir-fries | Veggie stir-fry | Increases nutrient density |
| Soups | Sprouted greens soup | Rich in vitamins and fiber |
Incorporating sprouted greens is not only delicious but also elevates the nutritional profile of your meals. Try experimenting with these suggestions!
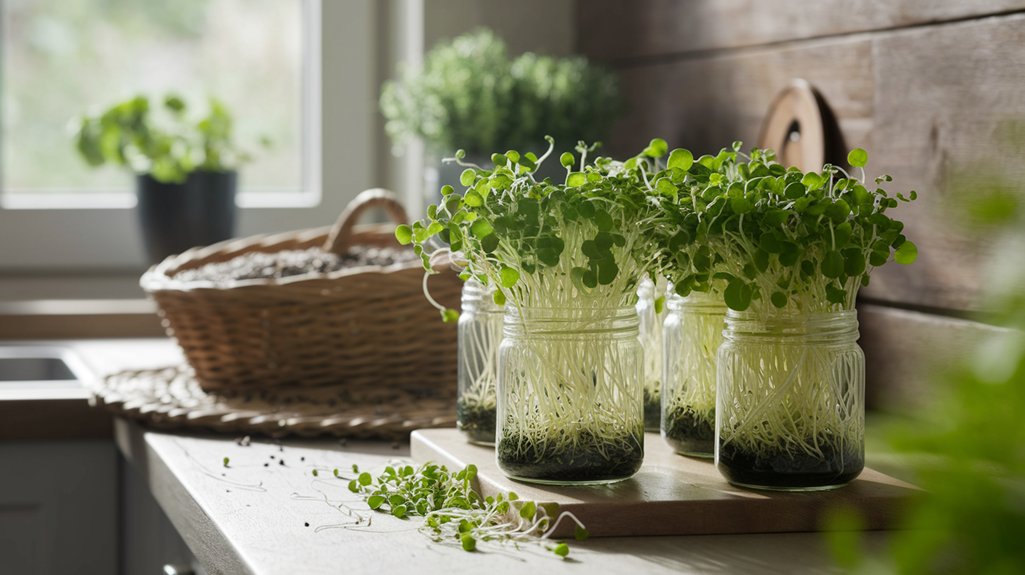
Storing and Preserving Sprouted Greens
To ensure your sprouted greens remain fresh and nutrient-dense, it’s essential to store and preserve them properly.
I recommend transferring your sprouts to a breathable container, like a glass jar with a mesh lid or a paper bag, to prevent moisture buildup. Store them in the refrigerator, where they can last up to a week.
If you notice any signs of spoilage, such as a sour smell or discoloration, discard them immediately.
For longer preservation, consider blanching and freezing your sprouts, which can maintain their nutritional value. When you’re ready to use them, simply thaw and enjoy in salads or smoothies.
Keeping them dry and cool is critical to maximizing their shelf life and health benefits.
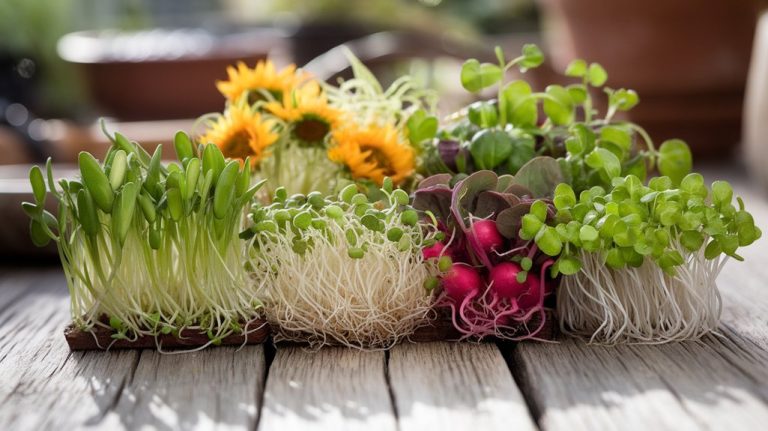
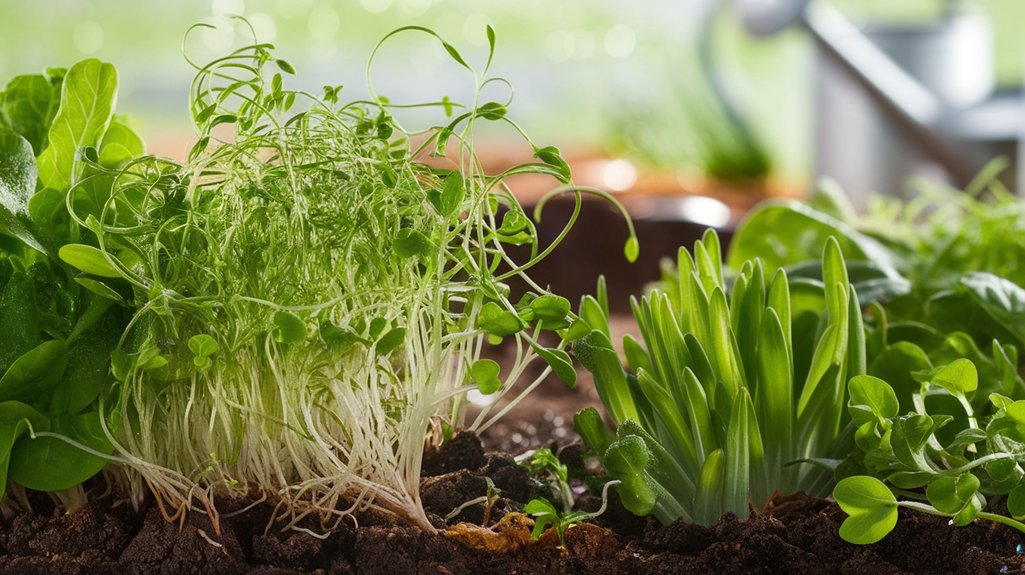
Exploring Different Types of Sprouts to Grow
While exploring the world of sprouted greens can be exciting, selecting the right types to grow is crucial for maximizing nutritional benefits and flavor.
I’ve found that certain sprouts stand out for their unique health properties and culinary versatility. Here are four types I highly recommend:
- Alfalfa Sprouts: Rich in vitamins A, C, and K, they add a crunchy texture to salads.
- Broccoli Sprouts: Known for their high sulforaphane content, they’re powerful antioxidants.
- Radish Sprouts: With a peppery flavor, they enhance dishes and offer vitamin C.
- Mung Bean Sprouts: High in protein and fiber, they’re great in stir-fries and soups.
Frequently Asked Questions
How Long Do Different Sprouts Typically Take to Grow?
When I grow different sprouts, I usually find that timing varies quite a bit.
For instance, alfalfa sprouts typically take about 5 to 7 days to mature, while mung bean sprouts can be ready in just 3 to 5 days.
Broccoli sprouts usually require around 5 to 6 days.
It’s fascinating how each type has its own growth rate, and I love experimenting to see which ones thrive best in my environment!
Can You Sprout Seeds From the Grocery Store?
I’ve found that sprouting seeds from the grocery store can be hit or miss.
While some seeds, like alfalfa or mustard, usually sprout well, others, like beans, may be treated with chemicals that inhibit germination.
It’s essential to look for organic or untreated seeds.
I recommend doing a little research on the specific variety before trying to sprout them, ensuring you get the best results for your home sprouting endeavors.
Are There Any Sprouts That Are Toxic or Unsafe?
Yes, some sprouts can be toxic or unsafe.
I’ve learned that certain seeds, like those from the wild black cherry or the castor bean, contain harmful compounds. Additionally, sprouts from legumes, such as kidney beans, can be particularly dangerous if not cooked properly.
It’s essential to research each type of seed before sprouting. I always ensure I’m using safe, edible varieties to avoid any health risks.
Stay informed to enjoy your sprouting journey!
How Can I Incorporate Sprouts Into Smoothies?
Incorporating sprouts into smoothies is easy and boosts their nutritional value.
I usually start by adding a handful of sprouts, like alfalfa or broccoli, to my blender. Their mild flavors blend well with fruits like bananas and berries.
I also include a liquid base, such as almond milk or coconut water, and a scoop of protein powder for added benefits.
Blending everything until smooth creates a nutrient-rich, delicious drink I enjoy every morning!
What Are the Best Conditions for Sprouting Indoors?
To sprout indoors effectively, I ensure a warm temperature between 65°F and 75°F.
I use a well-ventilated container to prevent mold and maintain moisture without waterlogging. I also choose high-quality seeds and rinse them thoroughly before soaking.
After soaking, I spread them out evenly, covering them with a damp cloth. Regularly rinsing and draining helps keep the seeds hydrated and encourages healthy growth.
With these conditions, I consistently enjoy successful indoor sprouting.
Conclusion
In conclusion, sprouting is an accessible and rewarding way to boost your meals with nutrient-dense greens. By understanding the benefits, selecting the right seeds, and maintaining optimal conditions, you’ll cultivate healthy sprouts in no time. Remember to avoid common pitfalls and get creative with your culinary applications. With proper storage, you can enjoy your fresh sprouts for weeks. So, roll up your sleeves, and start sprouting—your body will thank you for it!