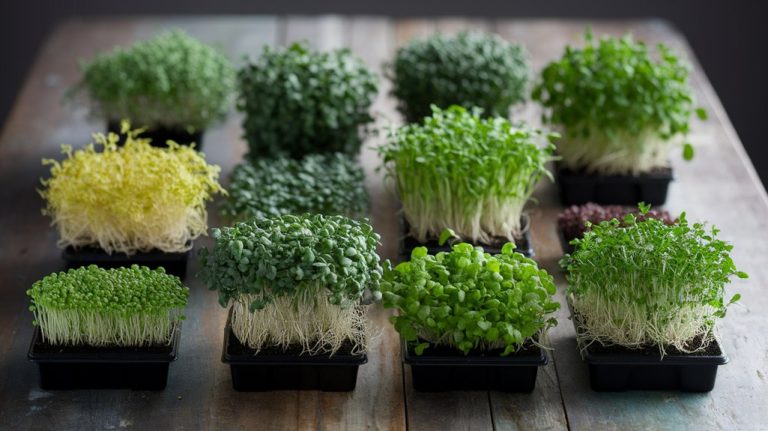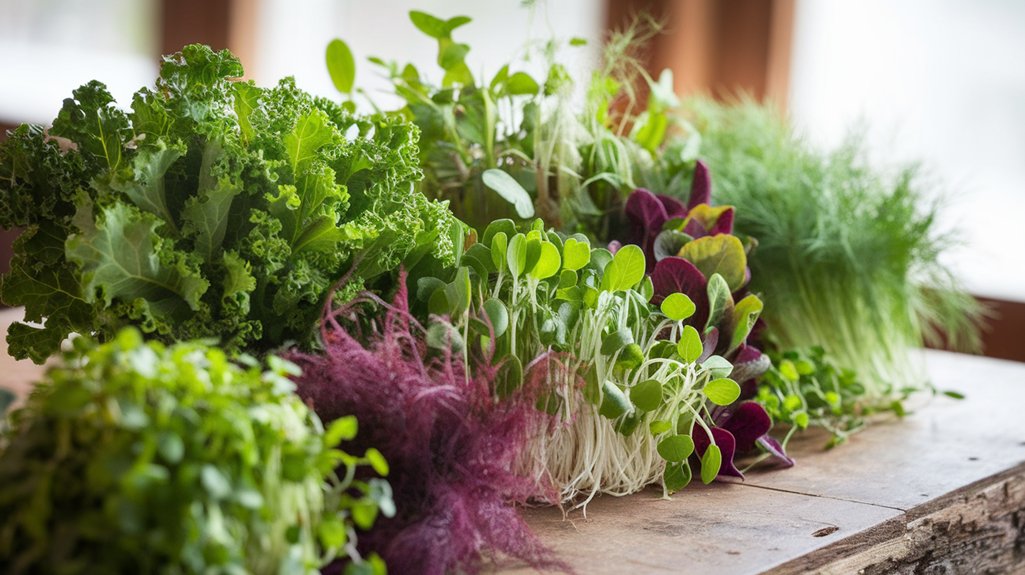
Top 5 Microgreens for Beginners: A Simple Guide
If you’re looking to start growing microgreens, I recommend trying arugula, radish, broccoli, pea shoots, and sunflower. Arugula has a peppery flavor and grows in just 1-2 weeks. Radish offers a spicy crunch, perfect for salads, and is ready in 7-14 days. Broccoli is nutrient-packed and germinates quickly. Pea shoots add a sweet crunch, while sunflower microgreens bring a nutty taste. Each one’s easy to grow, so why not explore more about their benefits and growing tips?
Key Takeaways
- Arugula microgreens are easy to grow and have a peppery flavor, ready in just 1-2 weeks.
- Radish microgreens offer a spicy crunch and are rich in vitamins, with a growth time of 7-14 days.
- Broccoli microgreens are nutrient-packed and germinate quickly in 3-5 days, making them beginner-friendly.
- Pea shoots provide a sweet, fresh crunch and are ready to harvest within one week.
- Sunflower microgreens are versatile, easy to cultivate, and packed with flavor, ready for harvest in 7-14 days.
Arugula Microgreens
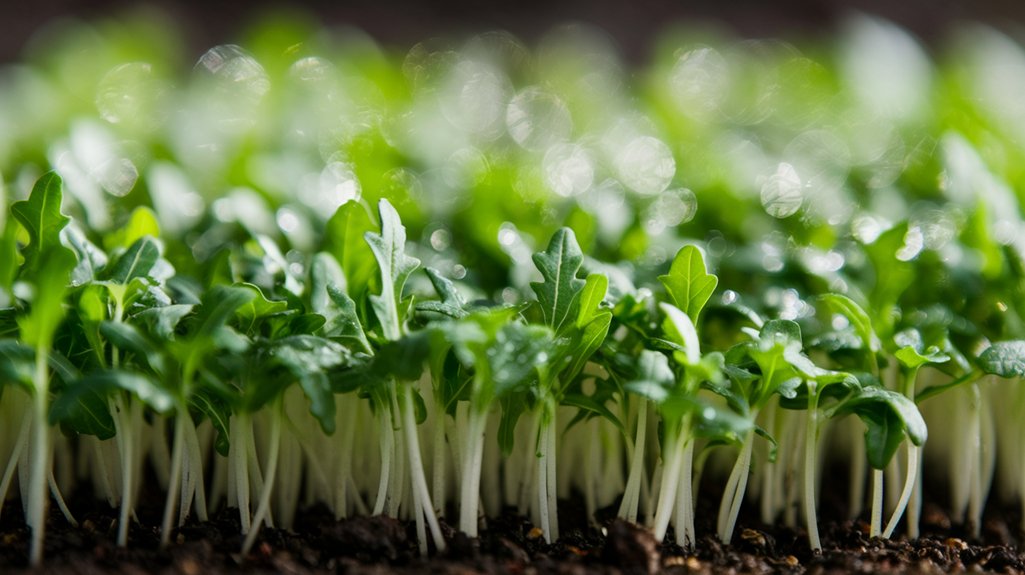
Arugula microgreens are a delightful addition to any kitchen garden, bursting with peppery flavor and vibrant green hues.
I love how easy they’re to grow; within just a week or two, you can enjoy fresh greens right from your windowsill. To start, I simply sow the seeds in a shallow tray of soil, ensuring they’re evenly spread.
Water them lightly and keep them in a well-lit area. They thrive in cool conditions, so don’t worry about too much heat.
Once they reach about 2 inches tall, I harvest them by snipping at the base.
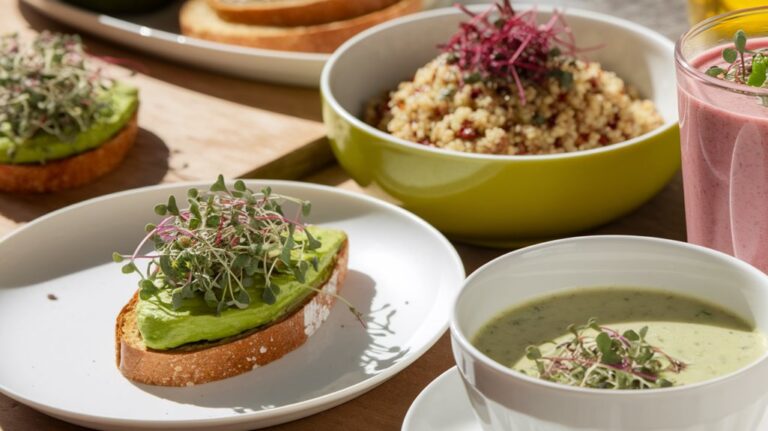
Using arugula microgreens adds a zesty kick to salads, sandwiches, and even omelets, making every meal a bit more exciting.
Give them a try!
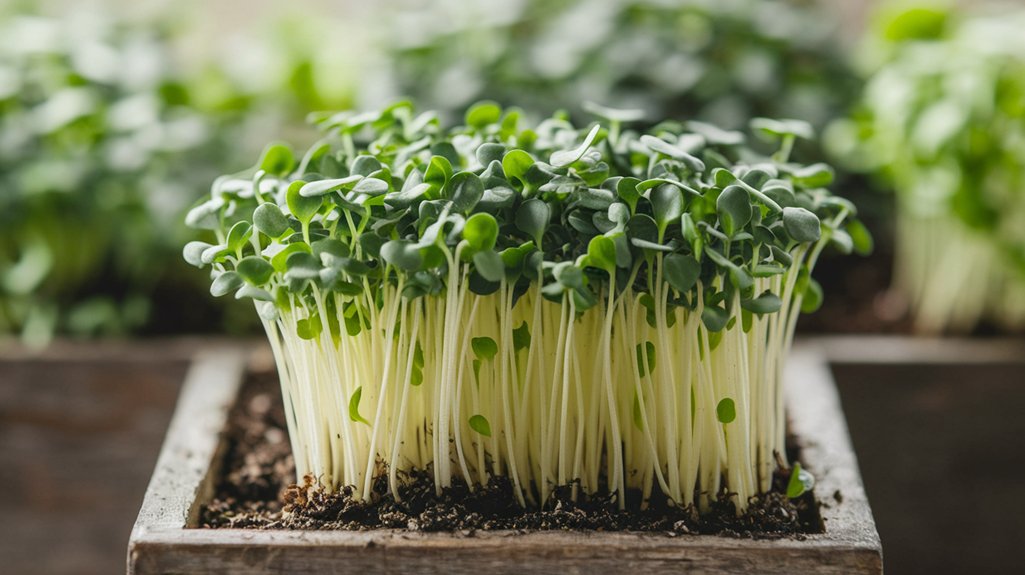
Radish Microgreens
Radish microgreens are one of my favorite options for adding a spicy crunch to dishes. They’re incredibly easy to grow and can be harvested in just 7 to 14 days.
I love their vibrant green leaves and reddish stems, which not only look great on a plate but also pack a flavorful punch. The peppery taste of radish microgreens complements salads, sandwiches, and even tacos perfectly.
Plus, they’re rich in vitamins A, C, and E, making them a nutritious addition to any meal. To grow them, all you need is a shallow tray, some quality soil, and a sunny spot.
With minimal effort, you’ll enjoy fresh, homegrown microgreens that elevate your culinary creations!
Broccoli Microgreens

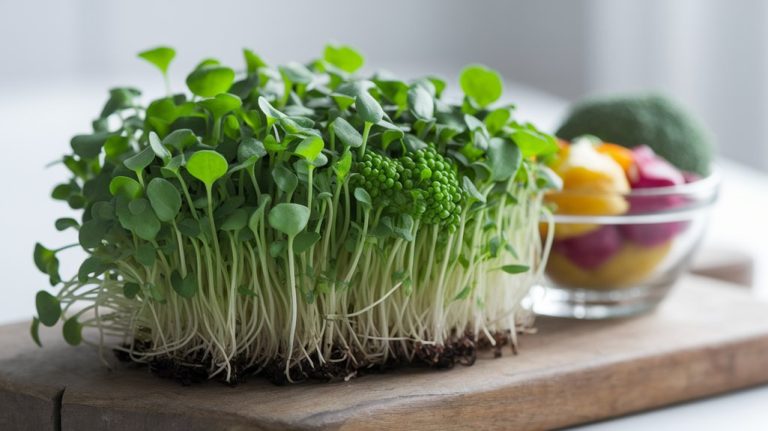
While many people love the flavor of traditional broccoli, I find that broccoli microgreens offer a delightful twist.
These tiny greens are packed with nutrients and have a mild, slightly peppery taste that enhances many dishes. Cultivating broccoli microgreens is simple, making them perfect for beginners.
Here are a few reasons why I love them:
- Nutrient-Rich: They contain high levels of vitamins A, C, and K.
- Versatile: You can sprinkle them on salads, sandwiches, or soups for added flavor.
- Quick Growth: They typically germinate in just 3 to 5 days.
If you’re looking to boost your meals with a healthy touch, give broccoli microgreens a try!
You’ll be pleasantly surprised by the flavor they bring.
Pea Shoots
If you’re searching for a microgreen that adds a sweet, fresh crunch to your dishes, look no further than pea shoots. These delicate greens are packed with flavor and nutrients, making them a fantastic addition to salads, sandwiches, or even as a garnish. Growing pea shoots is easy; you just need a container, soil, and seeds. They typically sprout within a week!
Here’s a quick comparison of pea shoots’ benefits:
| Nutrient | Amount |
|---|---|
| Vitamin C | 40% Daily Value |
| Vitamin K | 24% Daily Value |
| Fiber | 2g per serving |
| Protein | 3g per serving |
| Antioxidants | High |
Try incorporating pea shoots into your meals for a delightful twist!
Sunflower Microgreens
After enjoying the freshness of pea shoots, you might want to explore another delightful microgreen: sunflower microgreens.
These vibrant greens aren’t only easy to grow but also packed with flavor and nutrients. I love incorporating them into various dishes for a crunchy texture and nutty taste.
Here are a few reasons why sunflower microgreens are a fantastic choice:
- Nutrient-rich: They’re loaded with vitamins A, C, and E, as well as essential minerals.
- Versatile: You can add them to salads, sandwiches, or smoothies for a nutritional boost.
- Quick to grow: In just 7-14 days, you can harvest your own fresh microgreens.
Give sunflower microgreens a try—you won’t be disappointed!
Frequently Asked Questions
How Long Does It Take to Grow Microgreens?
When I grow microgreens, I usually find that they take about 7 to 21 days to reach harvestable size, depending on the variety.
For instance, radish microgreens sprout quickly, while basil takes a bit longer.
I keep them in a well-lit area, and I’m careful about watering.
It’s so rewarding to watch them grow, and the wait is short compared to other plants, making it perfect for anyone eager to start gardening!
What Equipment Do I Need to Start Growing Microgreens?
To start growing microgreens, I’ve found a few essential pieces of equipment make all the difference.
You’ll need shallow trays for planting, a good quality potting mix, and a spray bottle for watering.
A grow light is helpful if you don’t have enough natural sunlight.
Don’t forget to grab some seeds specifically for microgreens.
With these items, you’ll be well on your way to enjoying fresh, homegrown greens in no time!
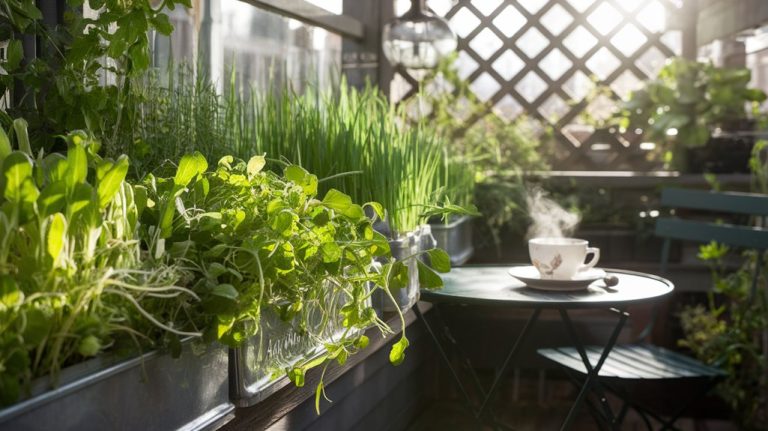
Can I Grow Microgreens Indoors?
Absolutely, you can grow microgreens indoors! I’ve done it myself, and it’s a fantastic way to have fresh greens year-round.
Just make sure you have a sunny spot or use grow lights to provide enough light.
I typically use shallow trays with potting soil, and I keep the soil moist but not soggy.
It’s really easy and rewarding, and I love adding those vibrant greens to my meals!
Do Microgreens Require Sunlight or Artificial Light?
When I started growing microgreens, I wondered if they needed sunlight or artificial light.
I found that while they thrive in bright, indirect sunlight, they can also flourish under grow lights.
If you don’t have a sunny spot, using LED or fluorescent lights can give them the energy they need.
Just remember to keep the lights on for about 12-16 hours a day for the best growth.
Happy growing!
How Do I Store Harvested Microgreens for Freshness?
After I harvest my microgreens, I store them in a breathable container, like a paper bag or a clamshell box.
I avoid washing them until I’m ready to use them, as moisture can make them wilt quickly.
I keep them in the fridge, where they stay fresh for about a week.
If I want to extend their life, I place a damp paper towel in the container to maintain humidity without causing rot.
Conclusion
In conclusion, diving into the world of microgreens is both rewarding and fun. Starting with arugula, radish, broccoli, pea shoots, and sunflower microgreens will give you a fantastic variety to experiment with. These tiny greens not only add flavor and nutrition to your meals but also bring a burst of color to your space. So, grab your seeds and get growing—your culinary adventures await! Happy gardening!