Troubleshooting Common Sprouting Problems: Tips From Experts
When troubleshooting common sprouting problems, I focus on several key areas. I ensure my seeds are fresh and viable and monitor moisture levels closely to prevent excess water, which can cause mold. Maintaining good air circulation is crucial to avoid odors, and I always clean my equipment to prevent contamination. I also check humidity and temperature for optimal growth. If you want to enhance your sprouting success further, you’ll find more valuable insights ahead.
Key Takeaways
- Ensure seeds are fresh and viable to improve germination rates and reduce the risk of mold.
- Maintain consistent moisture levels; soil should be damp but not waterlogged to prevent root rot and odors.
- Provide adequate ventilation during sprouting, as poor air circulation can lead to mold growth and spoilage.
- Keep sprouting equipment clean and sanitized to minimize bacterial and fungal contamination.
- Monitor environmental conditions, adjusting temperature and light as needed for optimal sprout development.
Understanding the Basics of Sprouting
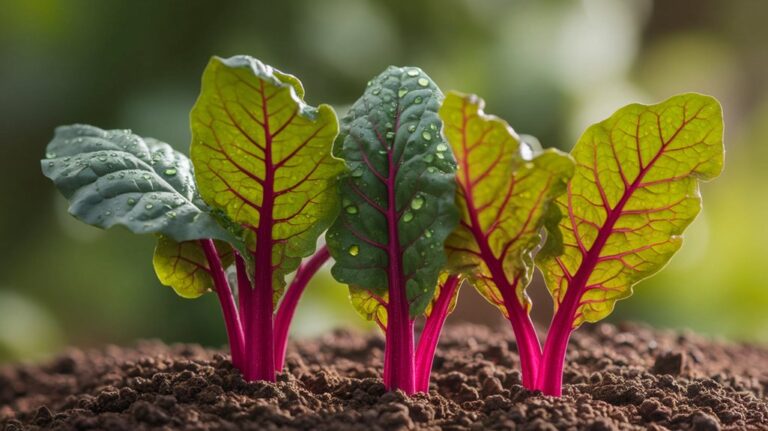
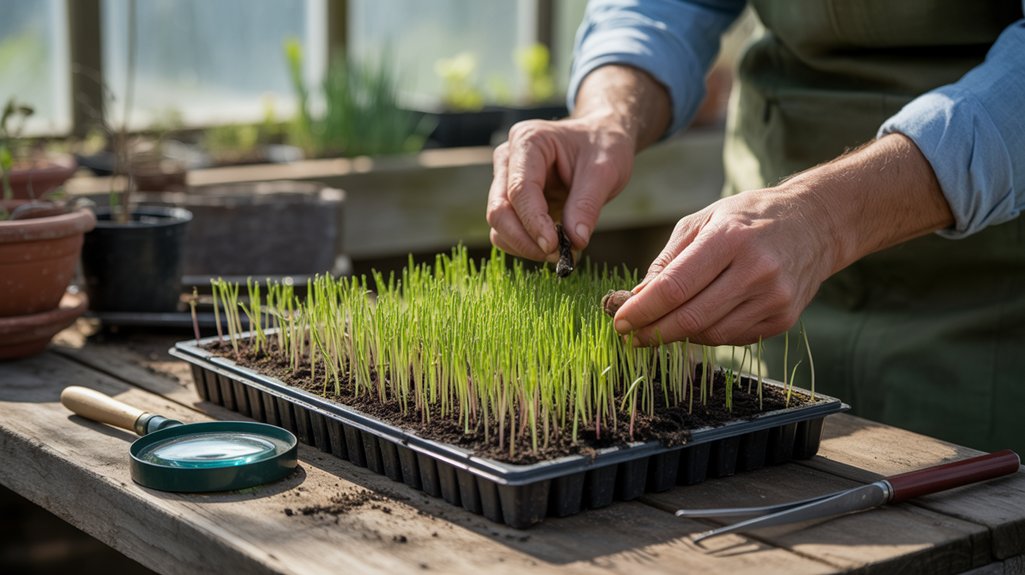
Sprouting is a fascinating process that transforms dormant seeds into vibrant plants. To begin, I soak the seeds in water, which activates enzymes that kickstart germination. This process typically requires a specific temperature range—generally between 65°F and 75°F—to ensure optimal growth.
After soaking, I drain the seeds and place them in a well-ventilated container, ensuring they receive adequate moisture without becoming waterlogged. During sprouting, it’s crucial to provide light, as it encourages photosynthesis and healthy growth.
I also monitor for any signs of inadequate moisture or temperature fluctuations, as these can hinder the process. By understanding these foundational elements, I can troubleshoot any issues that arise and foster successful sprouting.
Common Causes of Mold Growth
When I encounter mold growth in my sprouting setup, I first consider three key factors: excessive moisture levels, poor air circulation, and inadequate cleaning practices.
Each of these elements can create a perfect environment for mold. By understanding these causes, I can take targeted steps to prevent future issues.
Excessive Moisture Levels
Excessive moisture levels can lead to significant problems in sprouting, primarily due to the favorable conditions they create for mold growth. I’ve encountered various causes of this issue, and understanding them is crucial for prevention.
| Cause of Excessive Moisture | Description |
|---|---|
| Overwatering | Applying too much water at once |
| Inadequate drainage | Poorly designed containers |
| High humidity | Environmental conditions |
| Contaminated water | Water sources with impurities |
| Excessive soaking | Extended soaking times |
To avoid mold, I recommend checking your watering routine and ensuring proper drainage in your sprouting containers. By managing these factors, you can create a healthier environment for your sprouts, reducing the risk of mold development.
Poor Air Circulation
Mold growth often flourishes in environments where air circulation is inadequate.
I’ve encountered this issue frequently, and it’s crucial to recognize the factors contributing to poor airflow.
Here are some common causes I’ve noted:
- Overcrowded trays or containers: When sprouts are packed too closely, air can’t move freely.
- Lack of ventilation: A space without proper airflow can trap humidity and heat.
- Blocked vents or fans: Any obstruction can significantly reduce air movement.
- Humidity levels: High humidity makes it harder for air to circulate effectively.
- Improper placement: Positioning sprouts in corners or enclosed spaces limits airflow.
Addressing these causes can help prevent mold and promote healthy sprouting.
Inadequate Cleaning Practices
While maintaining a clean environment may seem straightforward, inadequate cleaning practices can inadvertently create conditions ripe for mold growth.
I’ve learned that failing to regularly wash your sprouting equipment—like jars, lids, and trays—can lead to bacterial and fungal contamination. Even minor residue from previous batches can foster a mold-friendly atmosphere.
Additionally, neglecting to sanitize surfaces where you prepare and store sprouts can exacerbate the problem. It’s essential to use food-safe sanitizers and hot water to eliminate potential spores.
I recommend developing a strict cleaning routine, ensuring every tool and surface is spotless before and after each use. By prioritizing cleanliness, you significantly reduce the risk of mold and ensure a healthier sprouting experience.
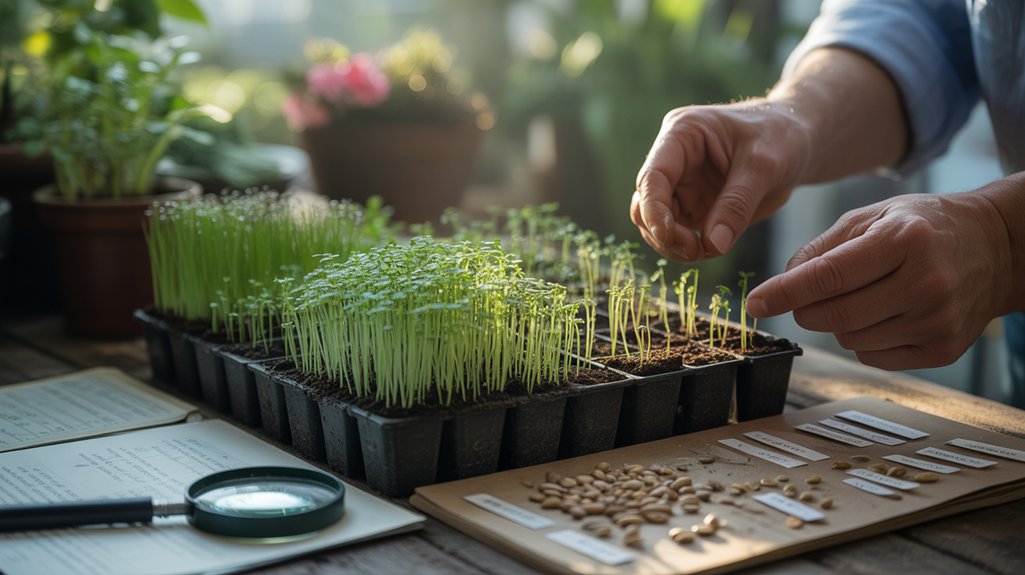
Troubleshooting Poor Germination Rates
Have you ever wondered why your seeds aren’t germinating as expected? It can be frustrating, but several factors may be at play.
Here are key points to consider:
- Seed Quality: Ensure your seeds are fresh and viable.
- Soil Temperature: Check that the soil temperature is optimal for the specific seed type.
- Moisture Levels: Maintain consistent moisture without over-saturating.
- Light Conditions: Some seeds require light for germination; others need darkness.
- Planting Depth: Plant seeds at the appropriate depth for their species.
Recognizing and Addressing Odors
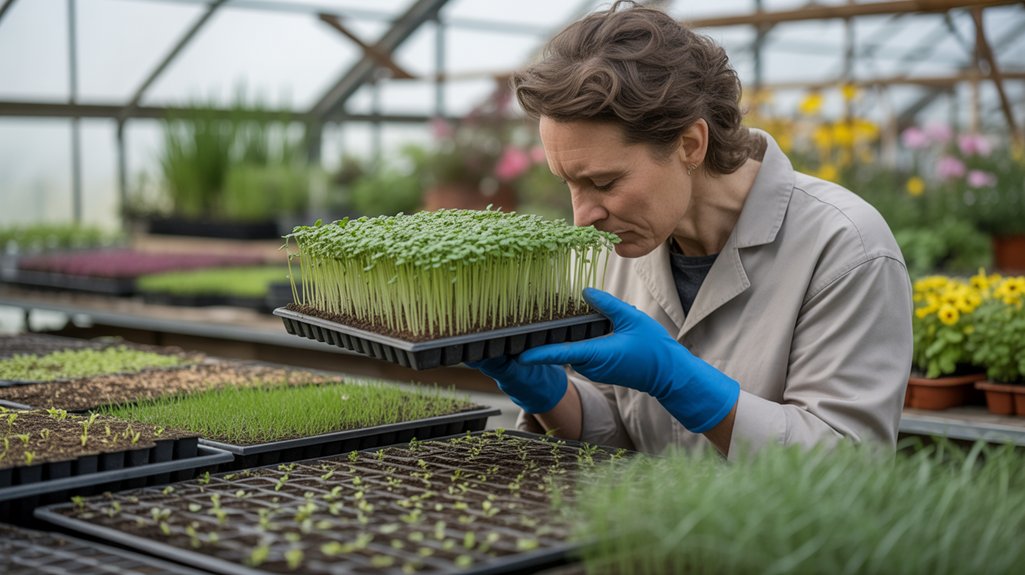
Identifying odors in your sprouting environment can be crucial for ensuring healthy growth. When I detect a sour or rotten smell, it often indicates microbial activity, typically from excess moisture or decaying seeds.
In contrast, a musty odor may suggest mold presence, which can hinder sprouting. If you encounter these issues, I recommend removing affected seeds and improving ventilation.
Additionally, ensure your sprouting containers are clean and dry before use. If you’re sprouting indoors, consider using a fan to enhance air circulation.
Regularly check your sprouts to catch any issues early. By addressing these odors promptly, you can maintain an optimal environment for healthy sprouting and avoid further complications down the line.
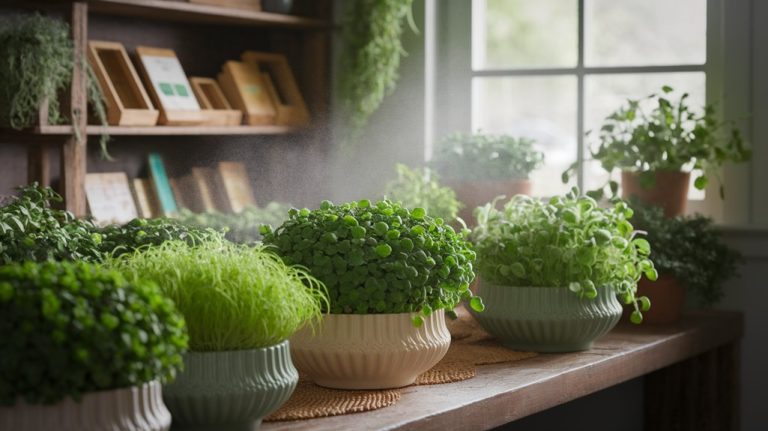
Managing Humidity and Temperature Levels
To ensure optimal sprouting conditions, I focus on managing humidity and temperature levels effectively. Keeping these factors in check is crucial for successful sprouting.
Here are key points I follow:
- Humidity: Aim for 40-60% humidity to prevent mold.
- Temperature: Maintain a range of 65-75°F for most seeds.
- Ventilation: Ensure good airflow to regulate moisture levels.
- Monitoring: Use a hygrometer and thermometer for accurate readings.
- Adjustments: Be ready to modify conditions based on seed type and growth stage.
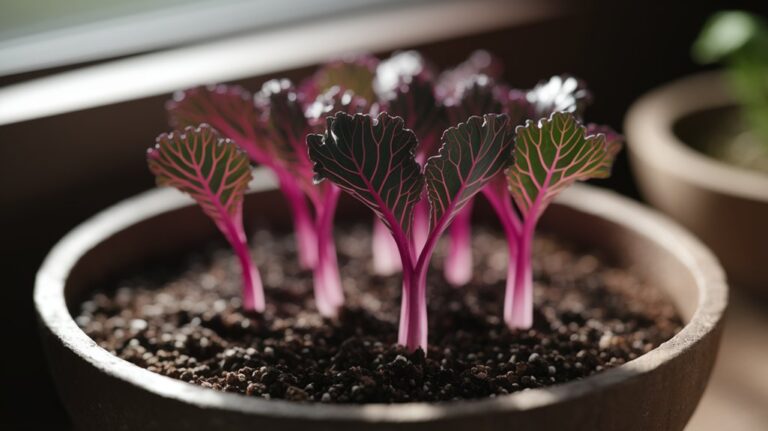
Choosing the Right Seeds for Sprouting
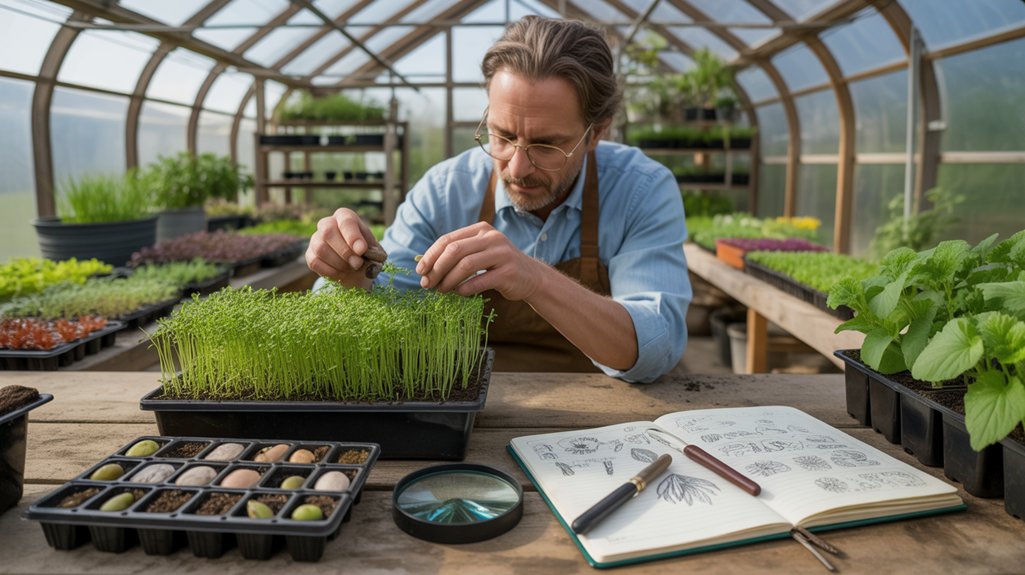
Selecting the appropriate seeds plays a significant role in the success of your sprouting efforts. I recommend choosing certified organic seeds, as they’re less likely to carry pathogens and chemicals.
Look for seeds specifically labeled for sprouting; these varieties have higher germination rates and are often tested for safety. Popular options include alfalfa, broccoli, and radish seeds, each offering unique flavors and nutritional benefits.
Avoid using seeds from your garden or those treated with pesticides, as they may not sprout effectively. Pay attention to the seed size and soak time—larger seeds often require longer soaking.
Lastly, check the expiration date on the seed packets to ensure maximum viability. These steps will set you up for successful and healthy sprouts.
Ensuring Proper Watering Techniques
How can you ensure your sprouts receive the right amount of water? I’ve learned that proper watering is crucial for healthy sprouting. Here are some key techniques I follow:
- Check moisture levels: Touch the soil; it should be damp but not soggy.
- Use a spray bottle: This allows for gentle and even watering without displacing seeds.
- Water consistently: Aim for daily watering, adjusting based on humidity and temperature.
- Avoid standing water: Ensure proper drainage to prevent root rot.
- Monitor growth: Adjust water frequency as sprouts mature, since their needs change.
Tips for Maintaining Clean Equipment
Maintaining clean equipment is just as important as ensuring your sprouts receive the right amount of water. I’ve found that proper sanitation can prevent contamination and promote healthy growth. Here are some tips I’ve implemented:
| Equipment | Cleaning Method | Frequency |
|---|---|---|
| Sprouting Jar | Soak in vinegar solution | After each use |
| Mesh Lid | Rinse with hot water | Daily |
| Mixing Spoon | Wash with dish soap | After each use |
Always use food-safe cleaning agents, and avoid harsh chemicals that could linger. After cleaning, allow everything to air dry completely before storing. By following these practices, I ensure my equipment stays spotless and my sprouts thrive.
Frequently Asked Questions
Can I Sprout Seeds That Are Past Their Expiration Date?
Yes, you can sprout seeds that are past their expiration date, but the success rate may vary.
I’ve found that older seeds might take longer to germinate or result in fewer sprouts. To maximize your chances, I recommend soaking the seeds overnight before planting and keeping them in a warm, moist environment.
Monitor them closely, and don’t be discouraged if some don’t sprout—it’s a learning experience in seed viability!
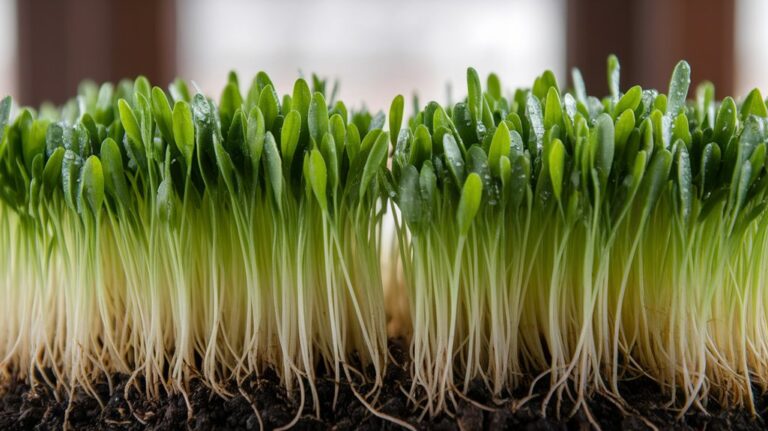
How Long Do Sprouts Typically Last After Harvesting?
Sprouts typically last about 4 to 7 days after harvesting if stored properly in the refrigerator.
I always make sure to rinse them gently and pack them in a breathable container, like a paper towel or a perforated bag, to maintain their freshness.
If you notice any off smells or sliminess, it’s best to discard them.
Enjoy your sprouts within this timeframe for the best taste and nutritional value!
What Are the Best Containers for Sprouting Seeds?
I find that the best containers for sprouting seeds are glass jars, mesh lids, or dedicated sprouting trays.
Glass jars allow for easy rinsing and visibility, while mesh lids provide excellent airflow.
Sprouting trays offer depth and drainage, making them ideal for larger batches.
It’s crucial to ensure any container you choose is clean and free from contaminants to promote healthy growth.
Always consider the size of the seeds and the space available for sprouting.
Can I Use Tap Water for Sprouting?
Yes, you can use tap water for sprouting, but I recommend considering its quality first.
Some tap water contains chlorine or other chemicals that might hinder seed germination. If I notice any adverse effects, I switch to filtered or distilled water.
It’s essential to ensure the water is at room temperature to avoid shocking the seeds.
Monitoring your sprouts closely will help you determine if the water choice is effective for your needs.
Are There Specific Seeds That Should Not Be Sprouted?
Yes, there are specific seeds I avoid sprouting. For instance, seeds from plants like rhubarb, avocado, and cherry contain toxins that can be harmful when sprouted.
Additionally, certain beans, like kidney beans, can produce harmful toxins unless cooked properly.
It’s crucial to research each seed before sprouting to ensure it’s safe for consumption.
I always prioritize safety and health when choosing which seeds to sprout in my kitchen.
Conclusion
In conclusion, troubleshooting sprouting issues requires attention to detail and a proactive approach. By understanding the basics and addressing common problems like mold, poor germination, and improper humidity, you can ensure a successful sprouting experience. Remember to choose the right seeds and maintain clean equipment for optimal results. With these tips in hand, you’re well-equipped to overcome challenges and enjoy the benefits of home-grown sprouts. Happy sprouting!