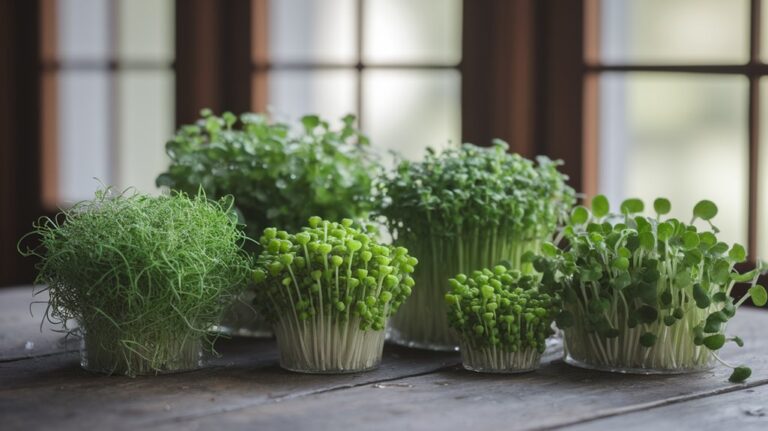
Why Your Microgreens Aren’t Growing (and How to Fix It)
If your microgreens aren’t growing, it might be due to insufficient light, inconsistent watering, poor soil quality, incorrect temperatures, or overcrowding. Make sure they get 12 to 16 hours of quality light each day and maintain a consistent watering schedule. Use nutrient-rich, well-draining soil, keep temperatures between 60°F and 75°F, and space your seeds properly to prevent overcrowding. By addressing these factors, you can encourage healthy growth. There’s more to consider to ensure your success.
Key Takeaways
- Ensure microgreens receive 12 to 16 hours of light daily using full-spectrum grow lights positioned just above the plants.
- Maintain a consistent watering schedule, checking soil moisture and allowing excess water to drain to prevent root rot.
- Use nutrient-rich, well-draining soil, incorporating organic matter and avoiding heavy garden soil to support healthy growth.
- Keep temperatures between 60°F to 75°F, providing shade during peak hours to prevent overheating and wilting.
- Space seeds about one inch apart and thin seedlings to improve air circulation and light penetration for stronger growth.
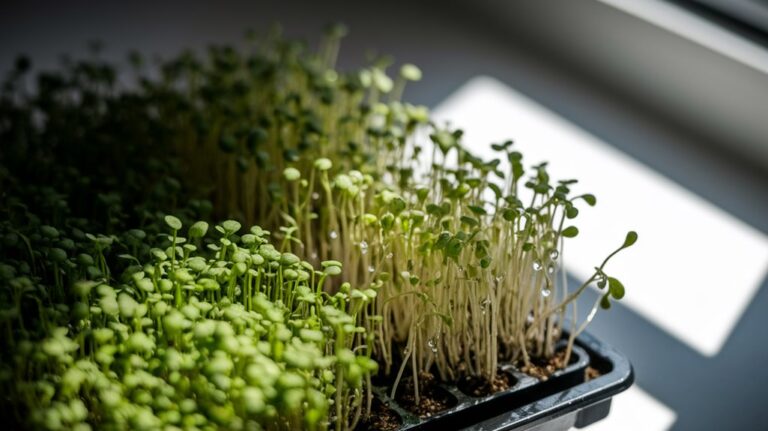
Insufficient Light Exposure
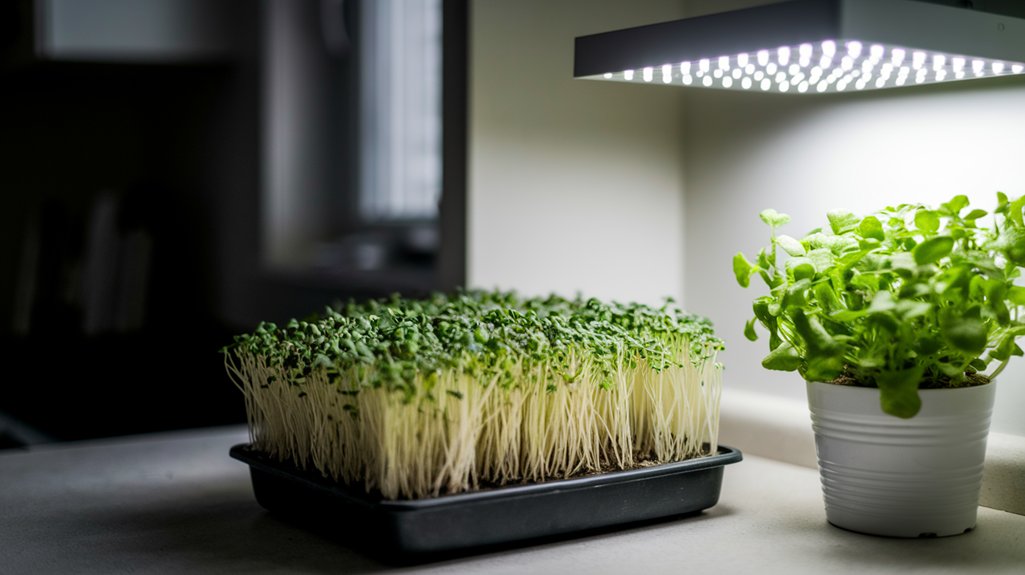
Many growers underestimate the importance of light exposure when cultivating microgreens. I’ve found that providing adequate light is crucial for healthy growth.
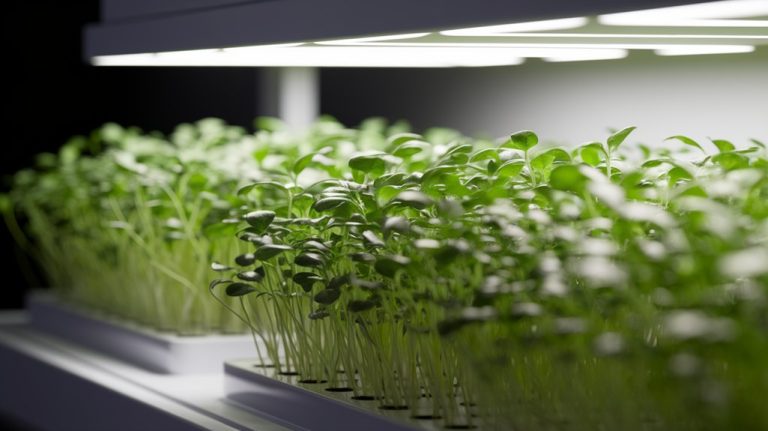
Microgreens typically need around 12 to 16 hours of light daily, and the quality of that light matters, too. Natural sunlight is ideal, but if that’s not an option, using full-spectrum grow lights can effectively mimic natural conditions.
I recommend positioning your lights just a few inches above the plants to maximize exposure without causing heat stress. Also, rotating the trays ensures even light distribution, preventing leggy growth.
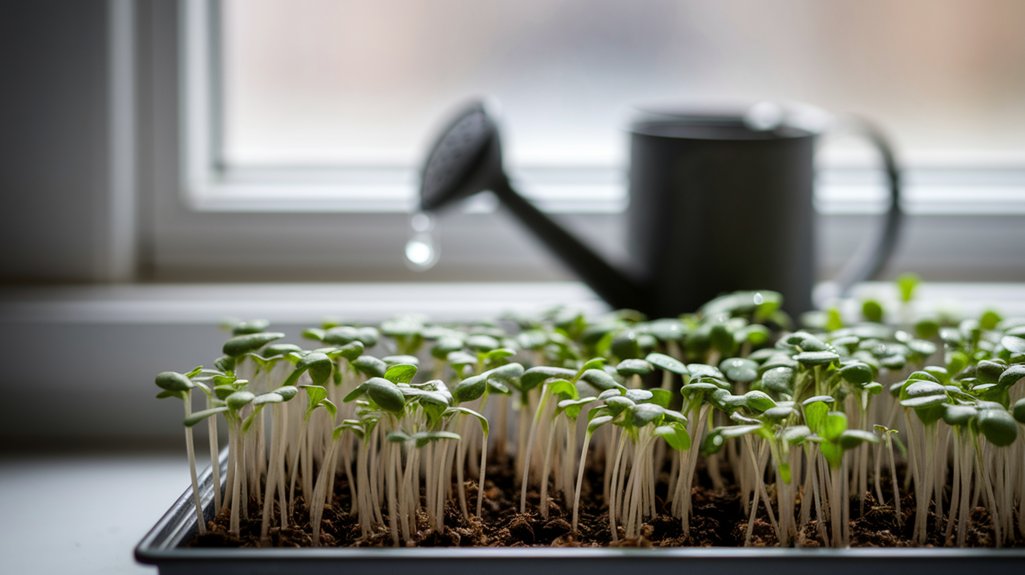
Inconsistent Watering Practices
While I understand that maintaining a consistent watering schedule can be challenging, it’s vital for the health of your microgreens. Inconsistent watering can lead to stunted growth or even crop failure.
I’ve found that keeping a simple routine helps immensely. Watering daily, or every other day, depending on your environment, can create a stable moisture level.
When I notice the soil feels dry to the touch, I make it a point to water, ensuring excess water drains away to prevent root rot.
I also keep an eye on humidity; dry air can speed up evaporation. By tracking your microgreens’ response to your watering habits, you can adapt and find the right balance for thriving plants.
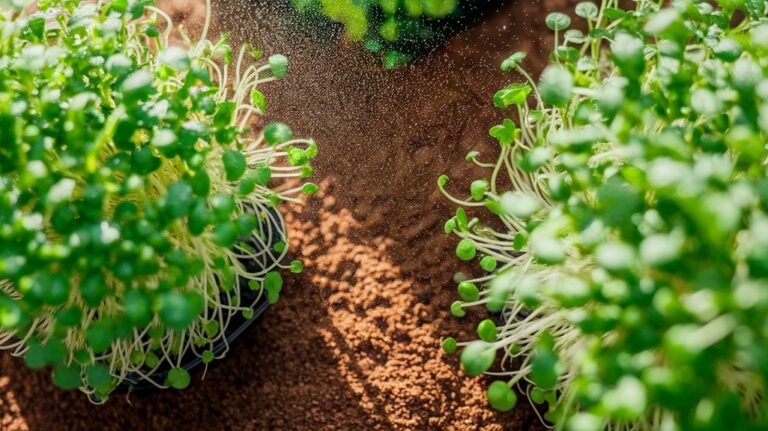
Poor Soil Quality
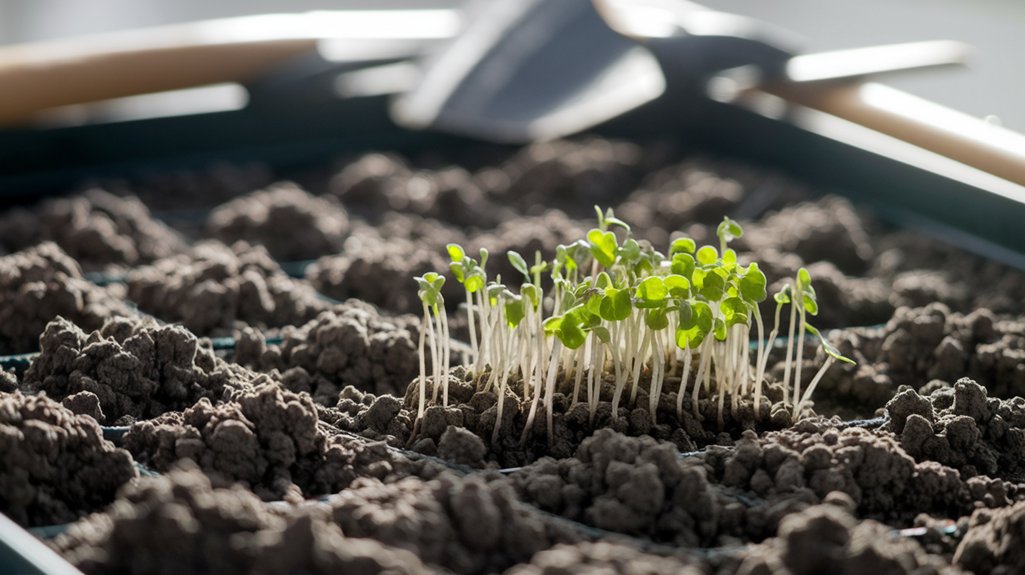
Since the foundation of healthy microgreens lies in the soil, poor soil quality can significantly hinder their growth.
I’ve learned that using nutrient-rich, well-draining soil is essential for microgreens to thrive. If the soil is too compacted or lacks essential nutrients, your seeds may struggle to germinate and grow.
I recommend testing your soil for pH and nutrient levels, as this can reveal deficiencies or imbalances. You can improve your soil by incorporating organic matter, like compost or worm castings.
Additionally, avoid using heavy garden soil, as it can suffocate young roots. By ensuring your soil is optimal, you’ll create a nurturing environment for your microgreens, allowing them to flourish and reach their full potential.
Incorrect Temperature Conditions
After ensuring your soil quality is up to par, the next factor to consider is temperature.
I’ve found that microgreens thrive best at temperatures between 60°F and 75°F. If it’s too cold, growth stalls; if it’s too hot, they may bolt or wilt.
It’s essential to monitor your growing area, whether it’s indoors or outdoors. I recommend using a thermometer to keep track of fluctuations throughout the day.
If your microgreens are in a sunlit spot, they might overheat, so consider providing some shade during peak hours. Conversely, if they’re in a drafty area, they could be too chilly.
Adjusting temperature conditions can make a significant difference, so don’t overlook this crucial factor in your microgreens’ growth journey.
Overcrowding of Seeds
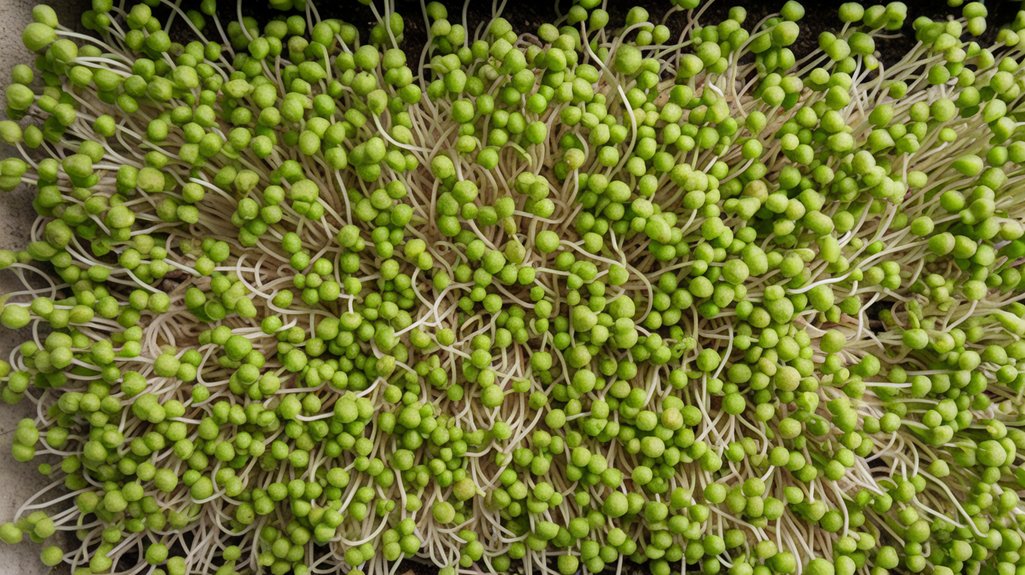
When I plant my microgreens, I often find that proper seed spacing is crucial for their healthy growth.
Overcrowding can lead to weak plants and hinder their development, so I make sure to employ effective thinning techniques.
Seed Spacing Importance
Although it might seem tempting to sow seeds densely for a quicker harvest, overcrowding can lead to significant growth issues in microgreens. When seeds are too close together, they compete for light, water, and nutrients, which stunts their growth.
I’ve noticed that crowded microgreens often develop weak stems and smaller leaves, making them less vibrant and flavorful.
Proper seed spacing allows each plant adequate room to expand and access resources, promoting healthier growth. For most microgreens, a spacing of about one inch between seeds is ideal.
This simple adjustment can transform your harvest from mediocre to exceptional. So, take a moment to plan your seed layout; your future microgreens will thank you for it.
Thinning Techniques Explained
While many gardeners may overlook the importance of thinning, I’ve found that it’s a crucial step in addressing overcrowding in microgreens. When seeds are sown too densely, they compete for light, nutrients, and water, leading to spindly, unhealthy growth.
I recommend starting thinning as soon as the seedlings develop their first true leaves. Use a pair of scissors to snip away the weaker seedlings at the soil line, rather than pulling them out, to avoid disturbing the roots of neighboring plants. Aim for a spacing of about one to two inches between each seedling.
This simple technique can significantly improve air circulation and light penetration, promoting healthier growth and a more robust harvest. Don’t underestimate the power of thinning!
Pests and Diseases
As I delve into the realm of microgreens, I can’t overlook the impact pests and diseases can have on their growth. These tiny greens are particularly vulnerable, and even a minor infestation can stunt their development.
Common pests like aphids and fungus gnats thrive in damp conditions, while diseases such as damping-off can wipe out entire trays. To combat these issues, I recommend maintaining proper airflow and avoiding overwatering.
Regularly inspecting your microgreens is crucial—catching problems early can save your crop. If you spot pests, consider using insecticidal soap or neem oil as a natural remedy.
For diseases, ensure your seeds are disease-free and practice crop rotation to minimize risk. A proactive approach is key to thriving microgreens.
Frequently Asked Questions
How Long Does It Take for Microgreens to Germinate?
Microgreens typically take about 5 to 14 days to germinate, depending on the variety.
I’ve found that factors like temperature, moisture, and light can influence this timeline. For instance, warmer conditions usually speed up germination, while cooler ones slow it down.
I always keep my soil consistently moist but not soggy, as it helps the seeds sprout more reliably.
Patience is key, but it’s exciting to see those little greens emerge!
Can I Grow Microgreens Indoors Without Grow Lights?
Yes, you can grow microgreens indoors without grow lights, but it’s challenging. I’ve found that natural sunlight works well if you place them near a south-facing window.
However, you’ll need to monitor the light exposure, as too little can hinder growth. If you can’t provide sufficient sunlight, consider using fluorescent bulbs instead.
Just remember, consistent moisture and the right temperature are crucial for healthy microgreens, regardless of your light source.
What Containers Are Best for Growing Microgreens?
When it comes to growing microgreens, I’ve found that shallow containers work best.
I prefer using seed trays or recycled plastic containers with drainage holes. These allow for proper root development and prevent waterlogging. Avoid deep pots since microgreens don’t need much soil depth.
I also like using biodegradable options like peat pots, as they’re eco-friendly.
Experimenting with different materials can help you discover what suits your growing style best!
Are There Specific Microgreens That Are Easier to Grow?
Absolutely, some microgreens are easier to grow than others.
I’ve found that radish and mustard greens sprout quickly and thrive in various conditions. Sunflower shoots are also forgiving, requiring minimal care while delivering impressive results.
For beginners, I recommend starting with these varieties to build confidence.
By focusing on easy options, you’ll gain valuable experience and enjoy the process of growing your own nutritious microgreens.
Happy gardening!
How Often Should I Fertilize My Microgreens?
I usually fertilize my microgreens once every week or two, depending on their growth stage.
Starting with a diluted liquid fertilizer helps promote healthy development without overwhelming the young plants.
I pay close attention to their response; if they seem to be growing slowly or the leaves look pale, I adjust my fertilization schedule.
Conclusion
In conclusion, if your microgreens aren’t thriving, it’s crucial to assess each factor we’ve discussed. Ensure they get ample light, maintain consistent watering, and use quality soil. Keep an eye on temperature and avoid overcrowding your seeds. Lastly, don’t overlook potential pests or diseases. By addressing these issues systematically, you’ll create an optimal environment for your microgreens to flourish. With a little patience and care, you’ll soon enjoy the vibrant growth you desire.