Mastering the Art of Microgreens
Your Step-by-Step Guide to Growing Microgreens at Home
Microgreens are more than just a trendy culinary adornment; they represent a nutritious, easy-to-grow crop that can elevate any diet or dish. Whether you’re a seasoned gardener or a beginner looking to cultivate a green thumb, mastering the art of growing microgreens offers not only the satisfaction of homegrown produce but also significant health benefits. This comprehensive guide will walk you through each step of the process, ensuring you can successfully grow these tiny powerhouses in the comfort of your home, regardless of the season or your experience level. Let’s embark on this vibrant, green journey together.
Brief Overview
Growing microgreens at home is a delightful adventure for gardeners of all levels, offering an easy way to enhance meals with nutrient-packed greens. This comprehensive guide provides step-by-step instructions to cultivate, harvest, and store these tiny health powerhouses while highlighting their significant health benefits. By exploring their history and understanding their cultivation needs, you can transform your home into a lush green oasis, guiding you towards a healthier lifestyle. Dive into the world of microgreens and enjoy the fresh flavors and nutritious boost they bring to your culinary creations.
Key Highlights
- Nutrient-dense microgreens enhance diets with vitamins, minerals, and antioxidants, supporting overall health improvement.
- Growing microgreens requires selecting appropriate trays and mediums like organic soil or coco coir for optimal growth.
- Microgreens need about 12 to 16 hours of light daily and consistent watering for lush and healthy growth.
- Harvest microgreens when true leaves appear and store in a sealed container for extended freshness.
- Incorporate microgreens into meals to add color, texture, and flavor, enhancing culinary creations effectively.
The History and Origins of Microgreens
Dive into the fascinating history and origins of microgreens, a delightful addition to home gardens. This section explores the journey from their early days to becoming a popular choice for health enthusiasts. We’ll look at how microgreens evolved from essential plants to common home garden additions, gaining popularity around the world. We’ll delve into the research surrounding their growth and production. By the end, you’ll have a clearer view of how these tiny leaves transformed from mere sprouts to culinary staples.
Understanding the Benefits of Microgreens
Packed with nutrients and loaded with flavor, microgreens have become a staple in healthy diets. Their petite size should not fool you; these tiny greens have big benefits. From improving nutrition to enhancing safety in food consumption, they support a range of health aspects. In this section, we take a deep dive into the health benefits packed in these tiny leaves, offering insights that will improve your view of this easy-to-grow superfood. Let’s explore why adding microgreens to your diet is an art worth mastering and how it contributes to a healthier lifestyle.
Microgreens Benefits
|
Rank |
Benefits |
Description |
|
1 |
Rich in Nutrients |
Microgreens are packed with vitamins, minerals, and antioxidants, often containing higher levels compared to mature greens. |
|
2 |
Aids in Weight Management |
Low in calories and high in nutrients, microgreens can help in satisfying hunger and managing weight. |
|
3 |
Supports Heart Health |
These greens are rich in polyphenols and can help reduce the risk of heart disease. |
|
4 |
Improves Digestive Health |
High in fiber, they assist in maintaining a healthy digestive system. |
|
5 |
Boosts Immune System |
With their high levels of vitamins A, C, and E, microgreens enhance immune function. |
|
6 |
Enhances Skin Health |
Antioxidants and vitamin C help protect the skin and promote a healthy glow. |
|
7 |
Protects Against Chronic Diseases |
Antioxidants present in microgreens may reduce the risk of chronic diseases such as diabetes and certain cancers. |
|
8 |
Easy to Grow |
Microgreens are simple to cultivate at home, ensuring a fresh supply of greens. |
|
9 |
Versatile in Cooking |
They can be added to salads, sandwiches, smoothies, and more, providing flavor and nutrition. |
|
10 |
Environmentally Friendly |
Microgreens require less water and space to grow compared to traditional farming practices. |

Health Benefits Packed in Tiny Leaves
Microgreens are a powerhouse of nutrition, boasting impressive levels of vitamins, minerals, and antioxidants. Unlike their mature plant counterparts, these tiny greens have a concentrated nutrient profile that can offer substantial health benefits with minimal consumption. For instance, varieties like arugula and kale are loaded with Vitamin C and beta-carotene, crucial for maintaining a strong immune system and improving vision. As you incorporate microgreens into your diet, you’re not just adding flavor; you’re enhancing your overall health by ensuring you get more nutrition in smaller portions.
The art of using microgreens lies in their versatility and ease of growth. Whether you’re adding a sprinkle to your soup or topping a sandwich, these greens bring an elevated nutrition level to everyday meals. Beyond their nutritional value, microgreens also offer potential health benefits that are hard to overlook. They’re known to help improve digestion, boost the immune system, and lower chronic disease risks, making them a healthy choice for all age groups.
Furthermore, for those cautious about food safety, microgreens provide a safe option when grown correctly. Unlike sprouts, which have a higher potential for bacterial growth, microgreens are typically considered a safer alterative as they are grown in soil or on mats above ground. This method of growing reduces their exposure to pathogens, making them a preferred choice for health-conscious individuals. The ease of growing them at home ensures that you maintain control over their growth environment, further enhancing their safety.
The health benefits don’t stop there. Regular consumption of microgreens can improve your cardiovascular health by helping to lower levels of LDL cholesterol, often referred to as “bad” cholesterol. Their rich dietary fiber content aids digestion and improves gut health, contributing to overall well-being. When consumed as part of a balanced diet, these greens can also improve brain function, thanks to their rich supply of nutrients like folate and Vitamin K, both crucial for cognitive health.
Incorporating microgreens into your lifestyle is an easy step towards improving your health. Whether you’re looking to boost your nutrition intake or enjoy a flavorful twist in your meals, these greens deliver in spades. As you explore the world of microgreens, you’ll discover how their benefits can enrich your diet and improved quality of life. Start growing these little wonders at home and embrace the full spectrum of health benefits packed in every leaf. Try them today, and see how they can redefine your culinary and health journey.
Top 10 Microgreens Health Benefits
What You Need to Grow Microgreens at Home
Embarking on the journey of growing microgreens at home is both exciting and rewarding. These tiny greens, packed with nutrients, are simple to cultivate when you have the right tools and know-how. In this section, we will explore the essential items needed to begin your microgreen adventure, concentrating on selecting the appropriate growing trays and medium. With some expert tips and an encouraging guide, you’ll be well on your way to enjoying fresh microgreens from the comfort of your home.
Selecting the Right Growing Trays and Medium
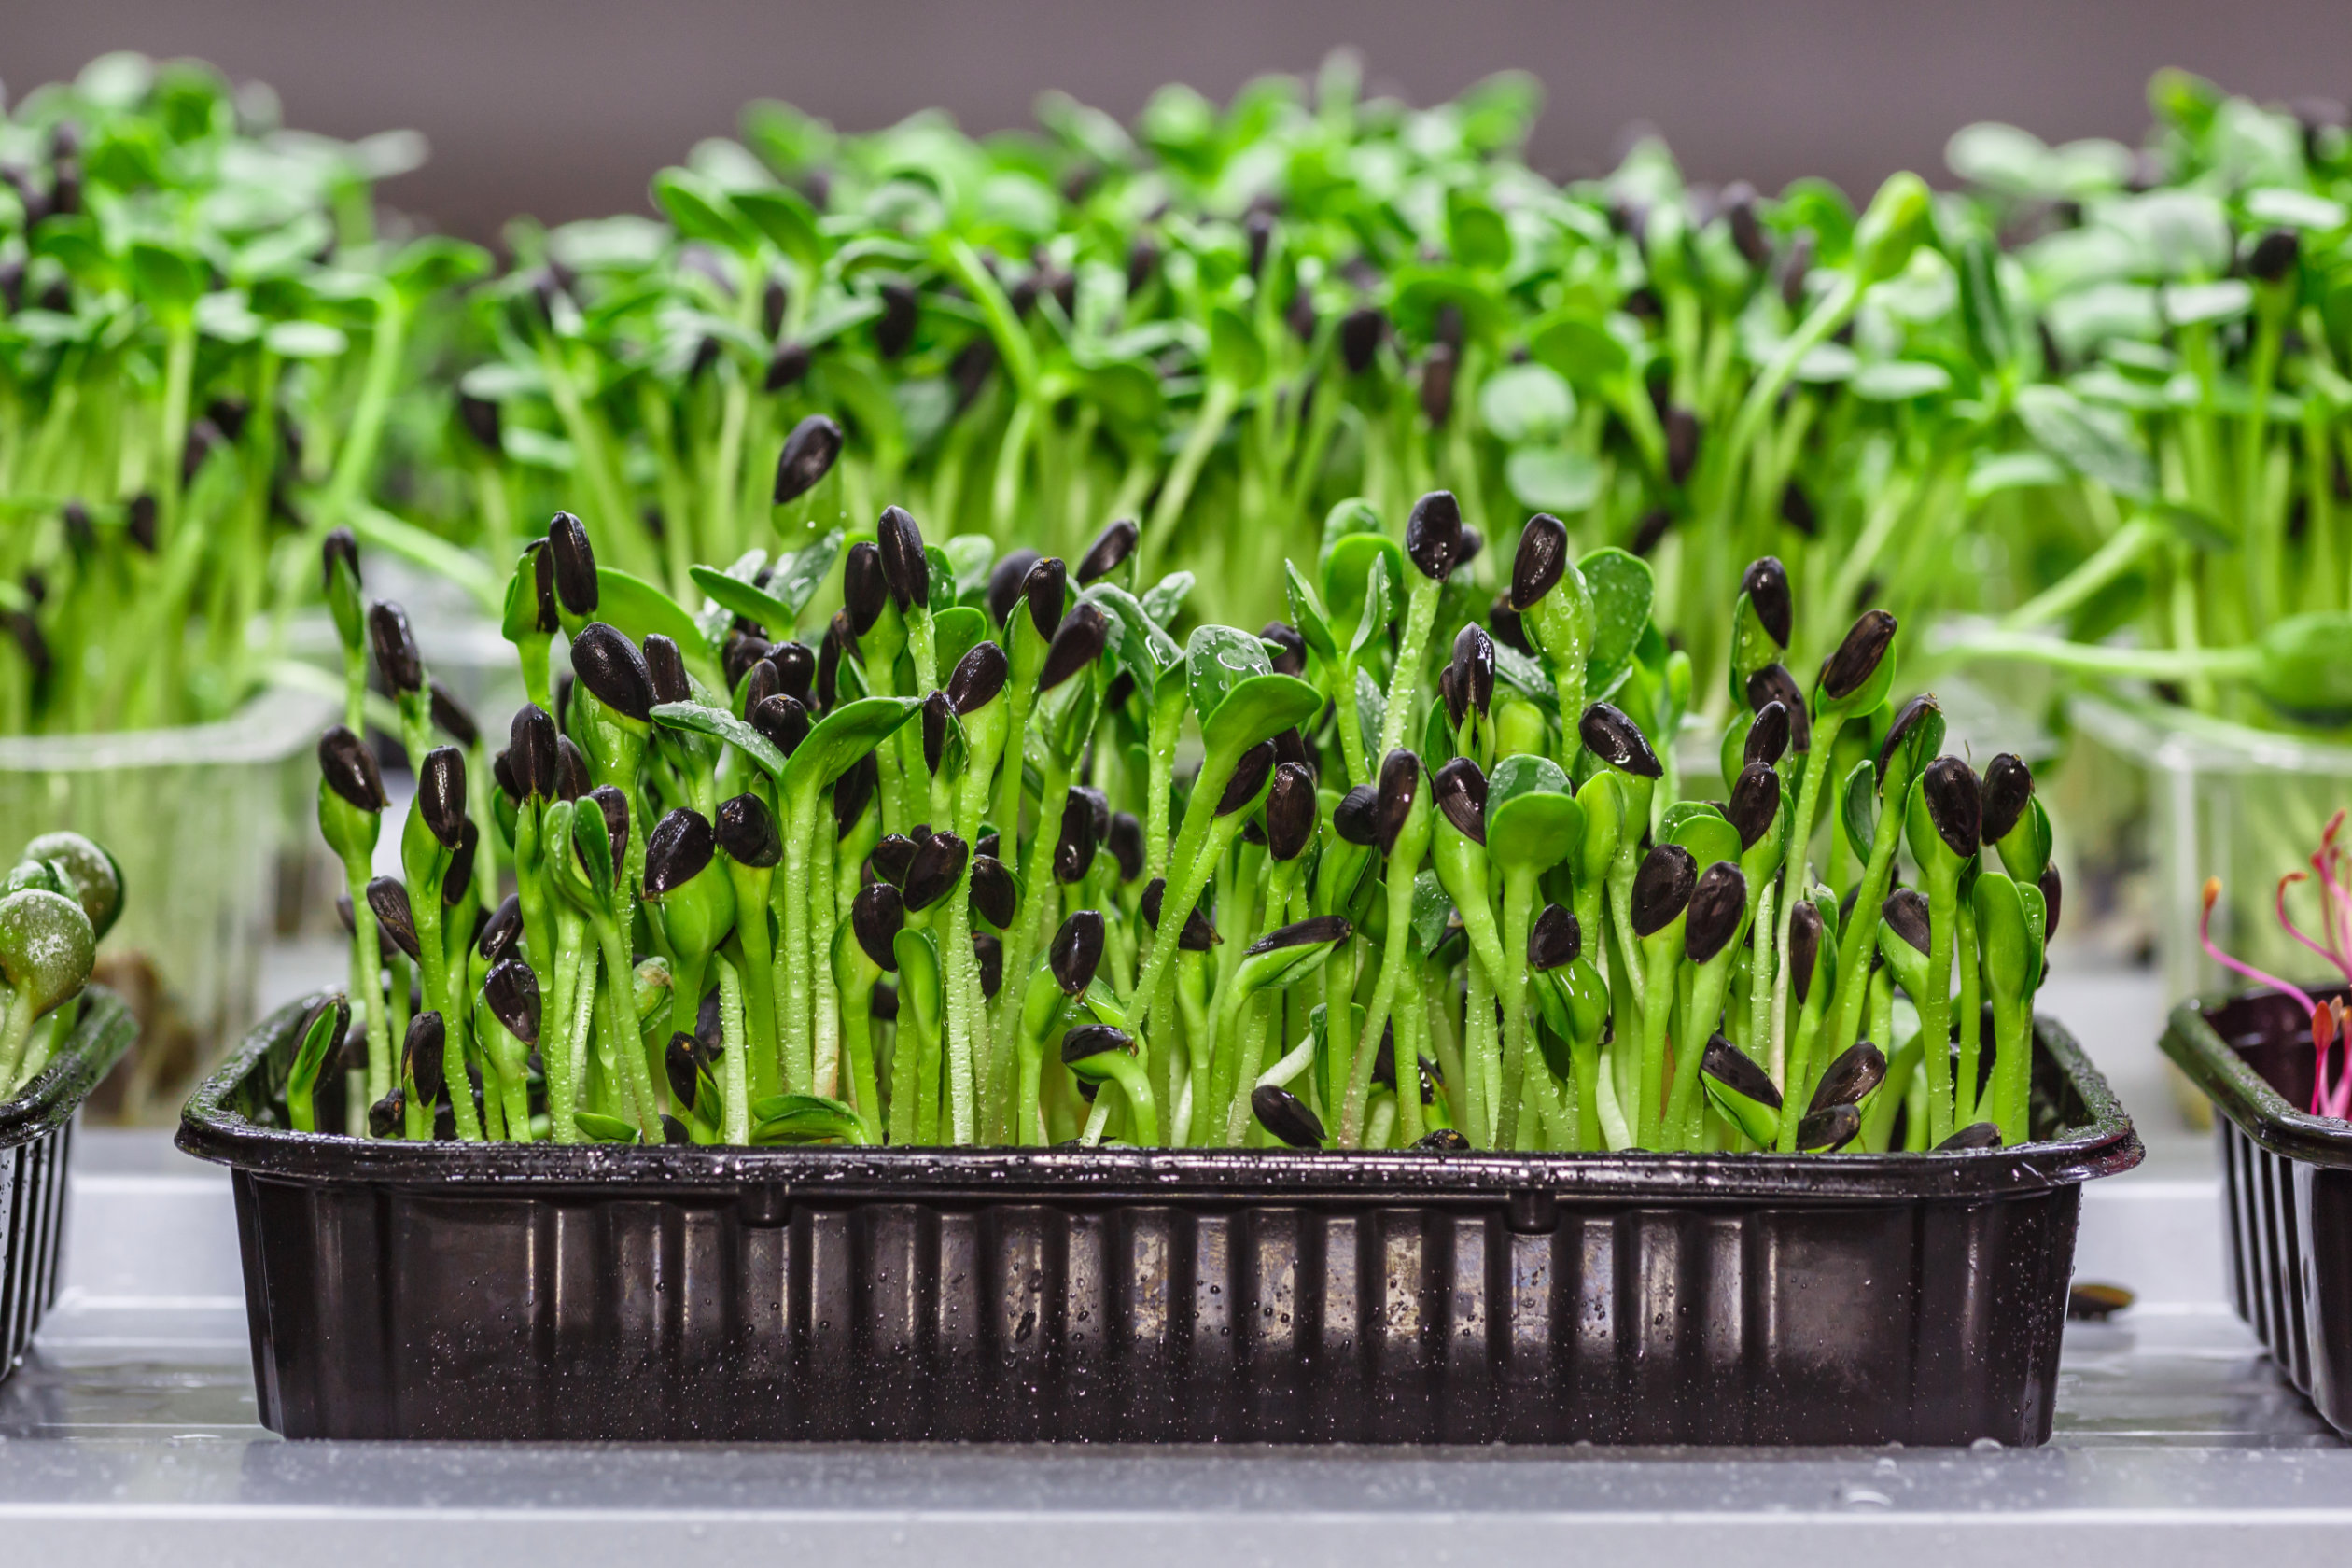
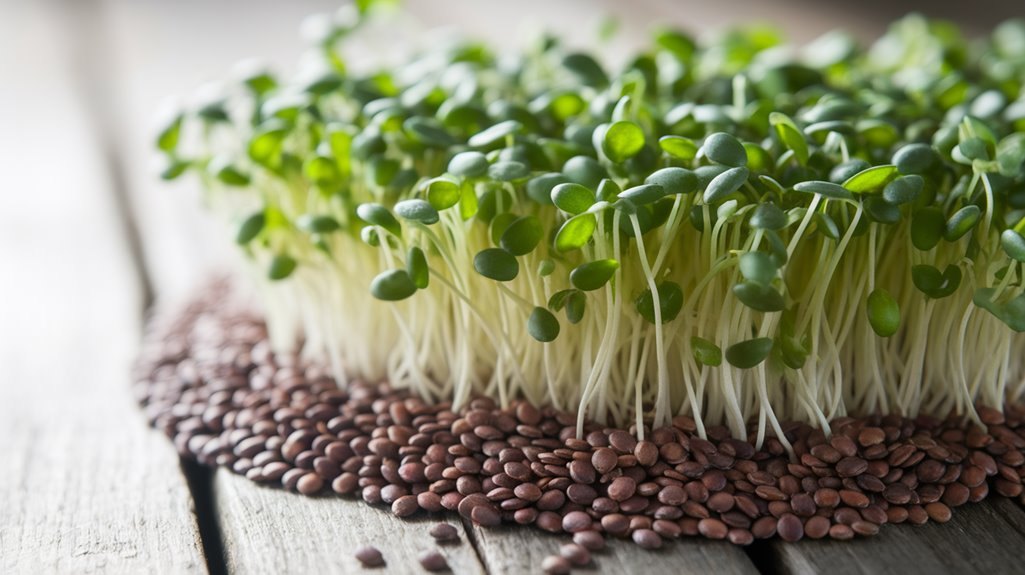
Choosing the right growing trays and medium is the crucial first step in establishing a thriving microgreens garden at your home. The foundation for successful growth starts here, and it’s essential to pick quality materials that suit your particular growing space and needs. When selecting trays, look for ones with good drainage, as this prevents water from stagnating at the bottom and hindering the growth of your microgreens. Trays with shallow depths, typically 1 to 2 inches, are ideal. They allow for the efficient growth of seeds without crowding the roots. Many gardeners prefer using seedling trays as they offer balanced moisture levels and can be placed anywhere in your home, from sunny windowsills to kitchen counters.
Now, let’s discuss the medium. The most common growing medium is soil, a versatile choice that supports robust growth for a wide range of microgreens. You can opt for organic potting mix to ensure a nutrient-rich environment for your seeds. Another alternative is using coco coir, a renewable resource made from coconut husks that retains moisture well and provides good aeration to the roots. Some gardeners use hydroponic pads, which offer a soil-free option that can be cleaner and easier to manage. These pads are particularly suitable for those living in apartments who prefer a minimal mess. Regardless of your choice, ensure the medium supports strong roots and provides a healthy growth environment.
When starting, it’s crucial to consider the types of seeds you’ll be growing, as this will influence both your tray and medium choices. For seeds like radish or arugula, which are more forgiving, almost any medium will do. However, more delicate seeds like basil may require specific conditions to thrive. Speaking of seeds, remember that quality is paramount. Organic, non-GMO seeds are ideal, supplying your microgreens with a strong start. Plant them close enough to ensure dense growth but not so close that they compete for nutrients. A well-packed tray ensures each microgreen receives ample light and space to grow.
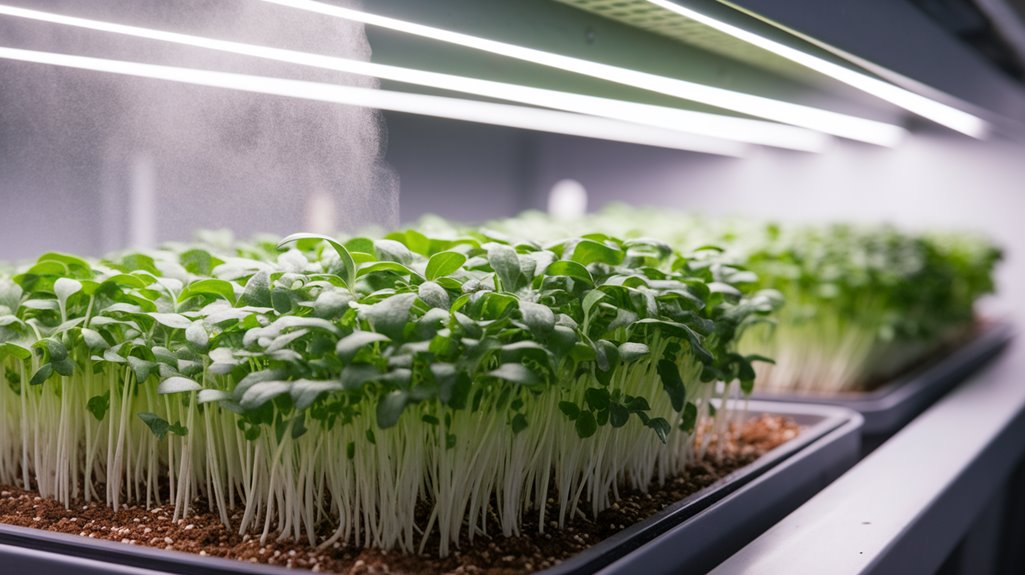
Once you have your trays and medium ready, it’s time to focus on the environment. Light is a significant factor — microgreens thrive with about 12 to 16 hours of light per day. Placing them on a windowsill can suffice, but if your home doesn’t get enough natural light, consider supplementing with LED grow lights. An important tip: too much direct sunlight can dry out your medium and scorch the delicate sprouts, so ensure they’re not exposed to direct sun rays for extended periods. This balance will help with even growth and prevent the top layer of your medium from drying out.
Maintaining the right moisture level is equally vital. After sowing your seeds, keep the medium moist but avoid over-watering, as this can lead to mold and inhibit growth. Most gardeners find that using a gentle misting spray is effective, enabling water to reach the roots lightly without displacing the seeds. You’ll see your efforts sprout to life in no time, typically within 7 to 14 days, depending on the seed variety. This early stage is crucial; careful monitoring will ensure optimal germination and robust seedling development.
With these insights, you’re well-equipped to embark on the rewarding journey of growing microgreens at home. Each step, from selecting the right trays and medium to ensuring the perfect growing conditions, contributes to a successful and fruitful harvest. Enjoy the journey and the delectable taste of your homegrown greens, and remember that patience and care are your best allies in this fulfilling hobby. Happy gardening!
Best Microgreens Growing Trays
Step-by-Step Instructions to Grow Microgreens
Growing microgreens at home can be both a rewarding and enjoyable endeavor. This section provides step-by-step instructions, guiding you from the preparation of your growing surface to the sowing of seeds. With a well-prepared growing area, you can ensure a successful harvest that enriches your meals with fresh, nutrient-packed greens. Let’s dive into these detailed steps that make growing microgreens an accessible hobby for anyone.
Step 1: Preparing Your Growing Surface
Before you can start planting your seeds, preparing your growing surface is crucial. Taking the time to set up a suitable environment will pay off in healthy, vibrant microgreens. Begin by selecting a sturdy tray with good drainage. This is vital as excessive water can lead to mold and poor growth conditions. A shallow tray, around 1 to 2 inches deep, usually works best as it supports the shallow rooting nature of most microgreen varieties.
You’ll need to decide on the growing medium as part of this step. Traditional soil is highly recommended for beginners, as it’s forgiving and suits a wide range of microgreens like arugula and radish. Select a high-quality, organic potting mix to boost seed germination and nutrient availability. Consider coco coir if you’re seeking a more sustainable option; its excellent water retention and aeration make it a popular choice among seasoned gardeners. Whichever medium you choose, ensure it meets the needs of the seeds you plan to grow.
Once you have the tray and medium figured out, it’s time to fill the tray. Spread the medium evenly, making sure not to pack it too tightly to ensure proper air circulation for the roots. Aim for a consistent layer of about an inch thickness, creating a balanced environment for the seeds. Lightly dampen the medium before planting to set the right moisture level – not too wet, not too dry. This sets a fine foundation for your seeds to thrive.
Proper lighting is another aspect of preparing your growing surface. Ideally, microgreens require about 12 to 16 hours of daylight or artificial light. If natural sunlight is sparse, opt for LED grow lights, which provide the perfect spectrum for microgreen growth without overheating the plants. Avoid placing your tray in direct sunlight unless it is early or late in the day, as this might dry out your growing medium and stress the plants. Balance is key to supporting your microgreens as they make their initial growth stages.
Finally, consider how you’ll water your microgreens during their growth period. Using a spray bottle ensures you can lightly mist the soil without displacing the seeds or overly saturating the medium. This gentle approach keeps moisture levels optimal, allowing the seedlings to anchor well and boost their initial root development. Ensuring a moist, stable environment from the beginning will lead to healthier, more robust microgreens.
When these preparations are in order, you’re well equipped to move on to planting. This foundational work facilitates each seed’s transition from dormancy to growth, resulting in a vibrant sea of greens ready to harvest. Your careful preparation of the growing surface will make a notable difference in the outcomes you’re able to achieve with your microgreen garden.
Step 2: Sowing and Planting Your Seeds
Once your growing surface is ready, you’ve prepared the stage for planting your seeds, an essential part of mastering the art of microgreens. Successful sowing begins with choosing the right seeds. Opt for reliable varieties like arugula, mustard, and basil, as these are well-suited to indoor growing and showcase swift growth. Invest in high-quality, organic seeds to ensure a robust start. Their purity and vigor will contribute significantly to your plants’ overall health, offering you a dense and flavorful harvest.
Spread your seeds evenly across the prepared surface. A dense sowing will yield lush, thick microgreens, but be careful not to crowd them too much. Overcrowding can hinder air circulation, leading to insufficient growth and increased risk of disease. A good rule of thumb is to aim for a uniform layer that gently blankets the medium without excessive overlap. This spacing allows each seed access to the necessary light, nutrients, and space to flourish.
Once the seeds are in place, cover them lightly with a thin layer of soil or medium. This layer should be just enough to secure the seeds in position without obstructing their potential growth. Using a small sieve can help distribute soil evenly, enhancing seed-to-soil contact and optimizing germination rates. Make sure this top layer stays consistently moist, as this will keep seeds hydrated during their initial growth stage.
Member to mist the seeds delicately with water. This gentle approach minimizes disruption while maintaining ideal moisture levels in your growing environment. Avoid overwatering, as it can lead to seed rot or mold formation, setbacks that can impact your growing success. Assess the moisture daily, adjusting your watering schedule as needed to maintain a consistently damp surface without excess water retention.
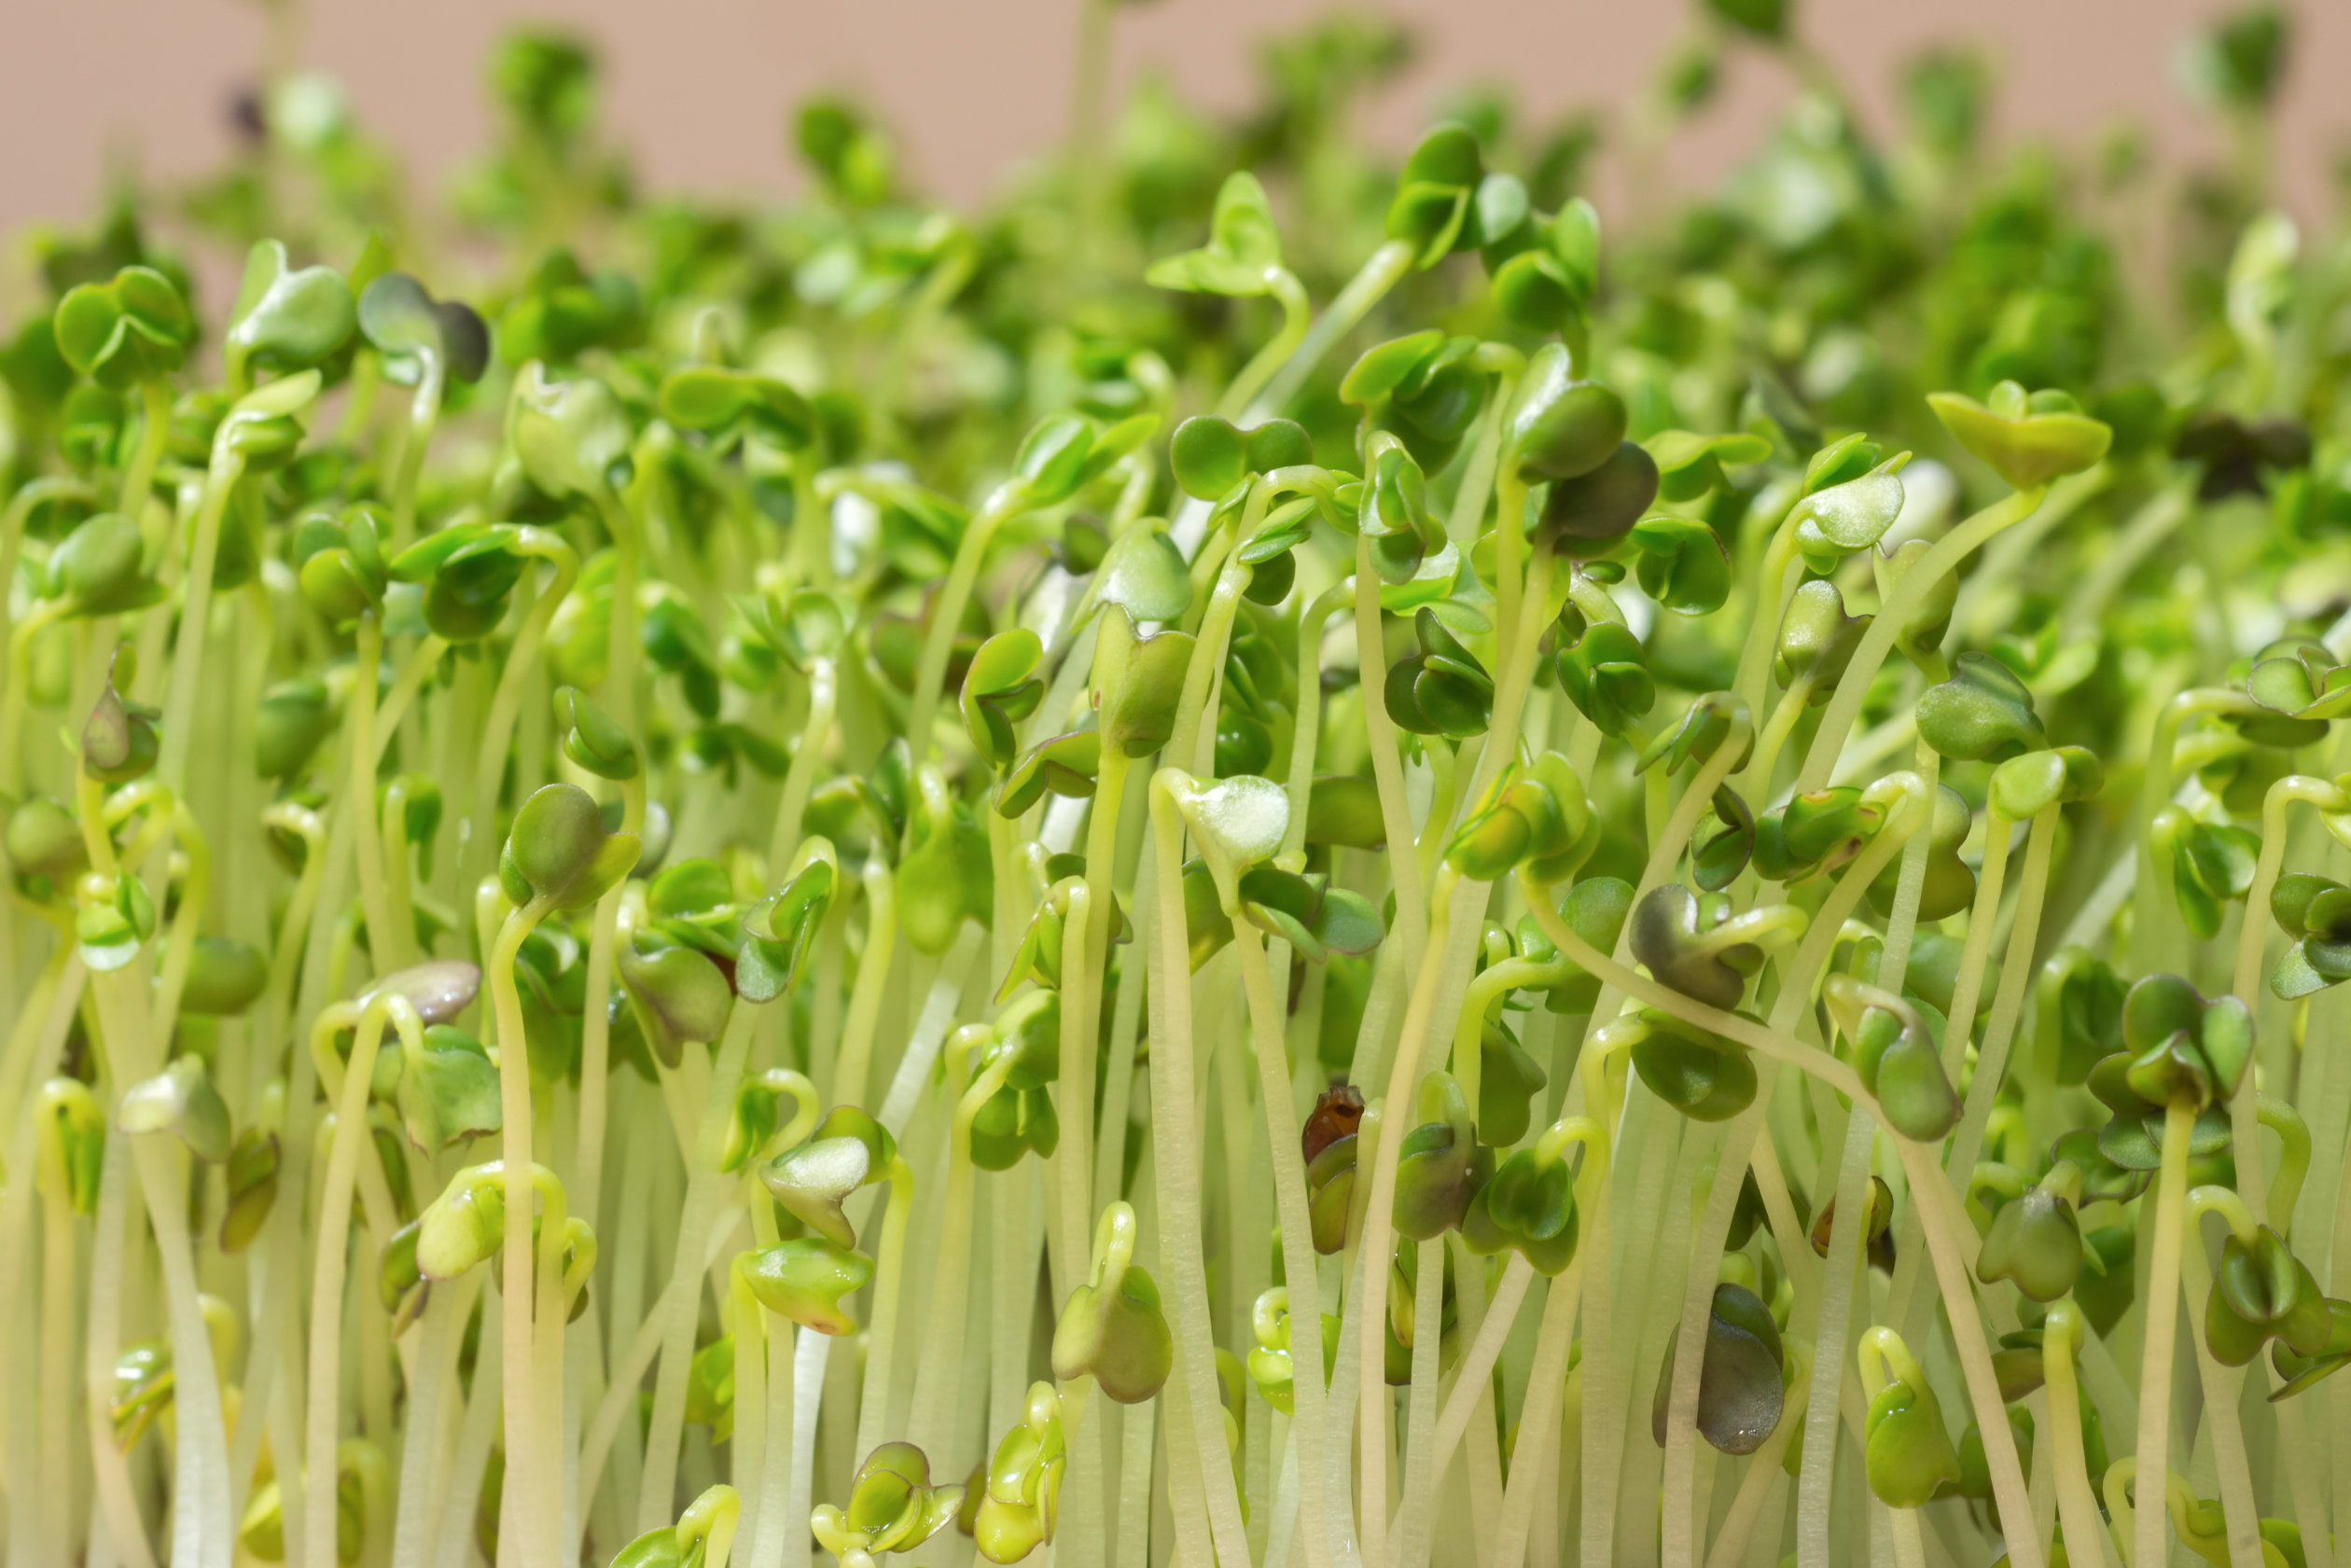
In the days following planting, keep a close eye on the seed development. Within a matter of days, you’ll notice small sprouts beginning to emerge. This period requires patience and observation; each variety has its distinct germination timeline. For instance, seeds like radish may shoot up within 3 to 5 days, while others like basil might take a bit longer. Ensuring your seedlings get enough light at this stage will amplify their growth, leading to stronger microgreens.
By following these steps, you align yourself with the rewarding process of microgreen cultivation. With the right care and a little patience, the seeds transform into a vibrant crop of microgreens ready for harvest in about 7 to 14 days. Each carefully planted seed brings you closer to enjoying fresh, homegrown additions that can elevate your meals and enrich your health. The commitment and attention to detail will surely yield delicious results.
Optimal Growth and Care for Your Microgreens
Understanding how to nurture microgreens forms the cornerstone of a thriving indoor garden. This section walks you through the essentials of water and light, helping you achieve full growth potential safely and efficiently. Knowing when to water and understanding light necessities will equip you with the tools to master the art of cultivating robust microgreens. Let’s dive into the nuances of how often to water your greens and what kind of light they truly need for the best growth results.
How Often to Water and Light Requirements
Caring for your microgreens means ensuring they receive the proper balance of water and light, a critical aspect of their growth. Too much or too little of either can drastically impact your plants’ health and growth levels. So how often should microgreens be watered? Much like any plant endeavor, consistency is key. Generally, most microgreens need to be watered once a day, though this can vary based on environmental conditions such as humidity and temperature. The goal is to keep the growing medium consistently moist without becoming waterlogged. A proper technique is to use a misting spray bottle which provides an even distribution of water across the surface, preventing potential dislodging of seeds or young sprouts. This simple yet effective tool helps elevate your microgreens’ growth significantly by maintaining the right moisture levels.
When it comes to light, microgreens thrive with about 12 to 16 hours of light per day. This light exposure can be achieved through a variety of means. Natural sunlight is sufficient if your microgreens are positioned on a windowsill that receives ample daylight. In situations where natural light is sparse, the use of LED grow lights comes highly recommended. These lights can mimic the sun’s full spectrum without overheating your plants. Importantly, LED grow lights can also be adjusted in proximity to your microgreens, allowing for optimal light absorption depending on their specific growth stage.
Over-lighting can be as detrimental as insufficient light. If placed under direct sunlight, microgreens risk being scorched or dried out, which can compromise their robust growth. Therefore, it’s crucial to position them where they can benefit from good light diffusion rather than direct rays. The perfect light setup encourages microgreens to develop evenly and retains their vibrant color—a sign of healthy growth.
Beyond light and water management, temperature plays a supportive role in your microgreens’ success. Most varieties thrive in environments that maintain a temperature range of 65-75°F. You should aim to keep your microgreens away from drafts or direct heaters, as temperature fluctuations can affect growth consistency. This temperature balance not only supports growth but also optimizes nutrient uptake, enhancing the health benefits of your microgreens.
Let’s not forget about airflow—crucial yet often overlooked by many gardeners. Ensuring adequate circulation around your microgreens can prevent mold, a common issue when moisture levels are high. Consider using a small fan or simply placing your trays in a well-ventilated area. The airflow will maintain a healthy environment for your microgreens to thrive while minimizing the potential for pests or diseases. Combined with proper watering and lighting techniques, you’ll soon see your microgreens reaching their full potential effortlessly.
In essence, achieving the right balance of water and light is the master key to cultivating high-quality microgreens. Adapting to the specific needs of the varieties you are growing will improve your gardening skills exponentially. Stay observant, adjust as necessary, and watch as your microgreens grow into a lush, nutritious addition to your home garden. With attentive care and passion, you’ll soon find yourself an adept in this satisfying world of microgreen management.
Mastering the Harvest and Storage of Microgreens
Harvesting and storing microgreens with precision is an art that’s just as critical as growing them. Correct techniques ensure that these nutrient-packed greens retain their full flavor and health benefits long after they’re picked. In this section, we’ll delve into the best practices for harvesting your microgreens at the perfect time, followed by effective storage methods that keep them fresh and ready for your culinary creations. These insights will empower you to manage your microgreens efficiently and ensure your efforts in growing them culminate in a healthy, bountiful harvest.
Tips to Harvest and Store Microgreens
Best Practices for Harvesting and Storing
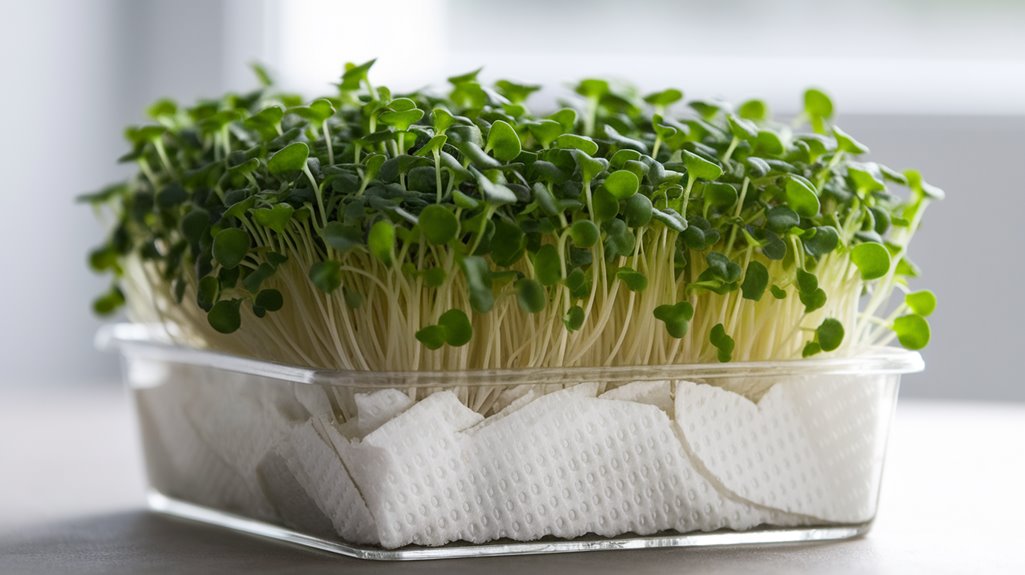
When it comes to harvesting microgreens, timing and technique are key to ensuring you gather the fullest flavor and nutrients. The general practice is to harvest when the first true leaves appear, typically 7 to 21 days after sowing, depending on the seed variety. These young leaves are vital as they provide a healthy punch of vitamins and minerals, making them coveted for their impressive nutrition. At this stage, microgreens offer the best of both taste and health benefits. Using a sharp pair of scissors or a knife, cut the greens just above the soil level. It’s crucial to handle them gently to avoid damaging the delicate plants. This careful attention to detail helps maintain the microgreens’ quality, ensuring they remain a safe and delightful addition to your meals.
The art of harvesting also involves understanding the right size for the microgreens. Aim for consistency in size, focusing on those that have reached their full potential but have not yet lost their vitality. Avoid harvesting when the leaves look wilted or are yellowing, as this indicates a loss of nutritional value. This balance plays a pivotal role in making sure you’re picking greens that are at their peak health and flavor. After you’ve gathered your bounty, the real skill lies in storing them correctly. Proper storage extends their shelf life, keeping them fresh, vibrant, and ready to use at a moment’s notice.
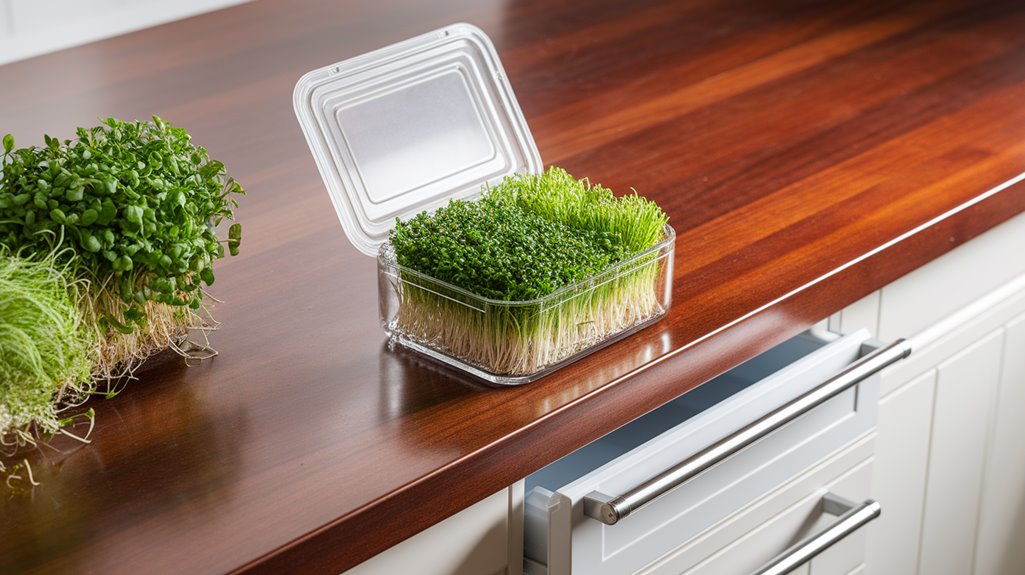
For optimal storage, ensure that your harvested microgreens are dry before packaging. Excess moisture can lead to spoilage, reducing the shelf life significantly. After harvesting, lay them on a paper towel to remove any remaining humidity. It’s best to store them in a sealed container or plastic bag lined with a dry paper towel to absorb any moisture. Place them in the crisper drawer of your refrigerator. This chilled environment with low humidity is ideal for preserving their freshness, allowing them to stay crispy and maintain their healthy benefits for up to a week.
Remember, proper harvesting and storage do more than just keep greens fresh — they enhance taste and nutritional value, continuously offering a delectable bounty for your recipes. Consider this process as part of your larger journey in mastering microgreens. Each step, from planting to storing, requires unique skills and careful attention. With practice, you’ll develop an intuitive understanding of your greens, knowing instinctively when to harvest and how to store. This mastery not only contributes to your health but also elevates your culinary creations, making microgreens a staple in your kitchen pantry. By routinely applying these best practices, you maximize the yield from each batch of your locally grown microgreens, enriching your diet and embodying the full cycle of this rewarding gardening adventure.
Now that you’ve equipped yourself with the knowledge of growing and storing microgreens, you have the power to boost both the nutrition and flavor levels in your meals. The care and passion you invest into nurturing these leafy wonders will reflect in every bite. Your microgreens, fresh from the harvest and safely stored, hold the key to a world of healthy, delightful possibilities. Ready to take your home gardening to the next level and enjoy the fruits of your labor in every dish, let your culinary creativity flow! Adding homegrown microgreens to your meals will surely invite a burst of flavors, adding color and freshness that elevate your daily nutrition.
Creative Ways to Incorporate Microgreens into Recipes
Introducing microgreens into your meals doesn’t just add a splash of color and texture; it’s an opportunity to elevate your dishes with a punch of flavor and health benefits. Whether you’re a culinary enthusiast or someone exploring healthier eating, microgreens offer versatile ways to enhance your cooking. In this section, we’ll dive into how you can incorporate these nutrient-packed greens into your favorite recipes effortlessly. From salads to sandwiches, the creative possibilities are endless, transforming every dish into a gastronomic delight.
Maintenance and Management of Your Microgreen Garden
Ensuring a thriving microgreen garden requires thoughtful maintenance and effective management. As a microgreen grower, maintaining the right balance of water and light is essential for the health of your greens. Proper watering techniques and adequate light exposure are core components of a flourishing garden. This section will explore the importance of consistent watering, the ideal light conditions for microgreens, and additional management tips to keep your greens at their best. Let’s dive into the art of microgreen management and discover how to sustain vibrant and nutrient-dense plants.
Embarking on your microgreens journey is both a rewarding and healthful endeavor. As you’ve mastered the art of growing these nutrient-dense greens, you contribute not only to your culinary delights but also to your wellbeing. Whether you’re a seasoned gardener or a curious newbie, the simplicity and sustainability of microgreens make them an accessible hobby for all. By incorporating these vibrant greens into your lifestyle, you’re embracing freshness every step of the way. So, sprinkle these tiny wonders over your meals and relish the joy of homegrown flavors. Ready to start growing your own? Download our complete guide for more insights.