The Best Seeds for Growing Nutrient-Dense Microgreens Year-Round
When I’m selecting seeds for nutrient-dense microgreens year-round, I prioritize varieties like broccoli, radish, pea shoots, and sunflower. Broccoli is packed with vitamins, while radish adds a spicy kick. Pea shoots offer sweetness and protein, and sunflower seeds provide healthy fats. For optimal growth, I ensure the right soil mix, temperature, and light exposure. If you’re interested, I can share tips on effective growing conditions and harvesting methods to maximize your microgreen yield.
Key Takeaways
- Broccoli seeds are nutrient-dense, containing vitamins A, C, and K, making them a top choice for year-round microgreens.
- Radish seeds grow quickly and are rich in antioxidants, offering a spicy flavor that enhances dishes year-round.
- Pea shoots provide sweetness and tenderness, along with protein and fiber, making them a nutritious addition to microgreens.
- Sunflower seeds yield crunchy microgreens loaded with healthy fats and essential minerals, perfect for year-round cultivation.
- Experimenting with various seeds, like kale and arugula, increases flavor diversity and nutrient density for year-round microgreens.
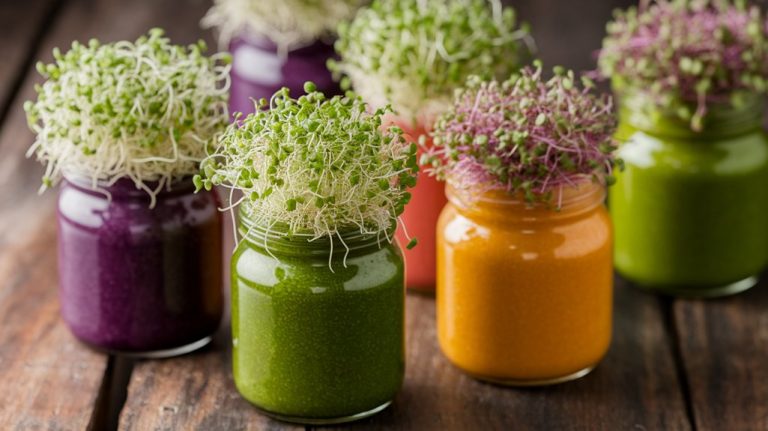
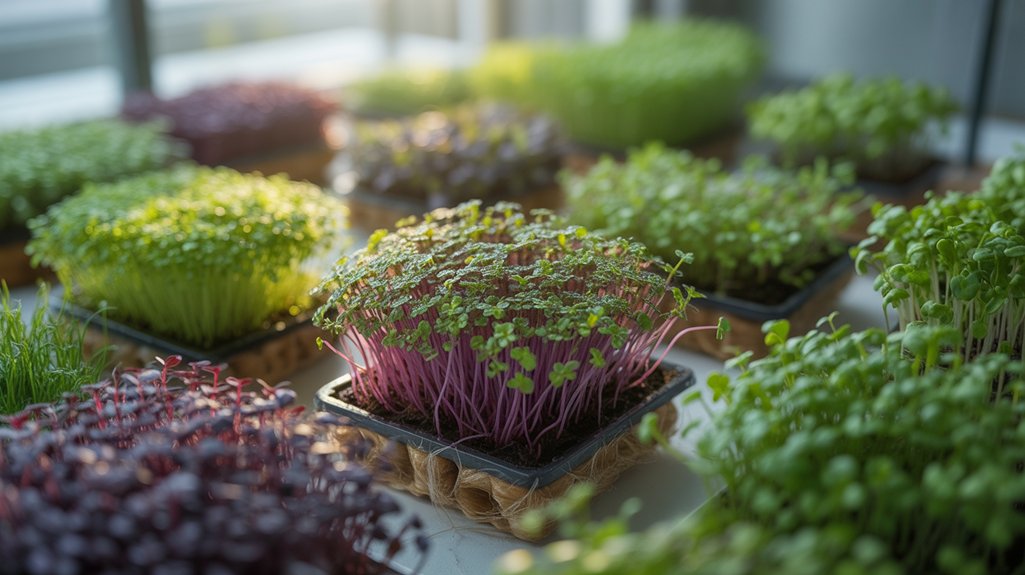
Nutritional Benefits of Microgreens
When I explore the nutritional benefits of microgreens, I’m often amazed by their impressive concentration of vitamins, minerals, and antioxidants.
These tiny greens pack a powerful punch, often containing up to 40 times the nutrients of their mature counterparts. For instance, varieties like broccoli and kale are rich in vitamin C, while red cabbage boasts high levels of vitamin K.
Moreover, microgreens are excellent sources of essential minerals such as calcium, magnesium, and iron. Their high antioxidant content can help combat oxidative stress, supporting overall health.
Incorporating microgreens into my diet not only enhances flavor but also significantly boosts my nutrient intake, making them a fantastic addition to salads, sandwiches, and smoothies.
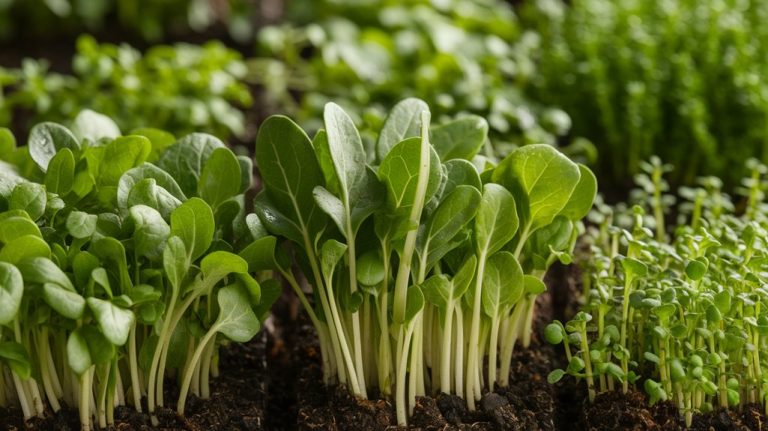
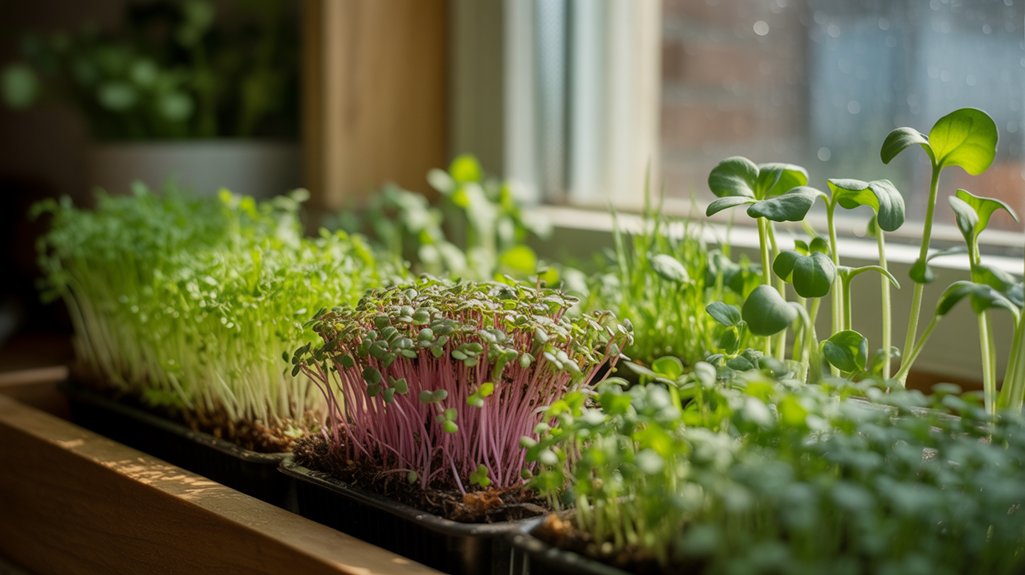
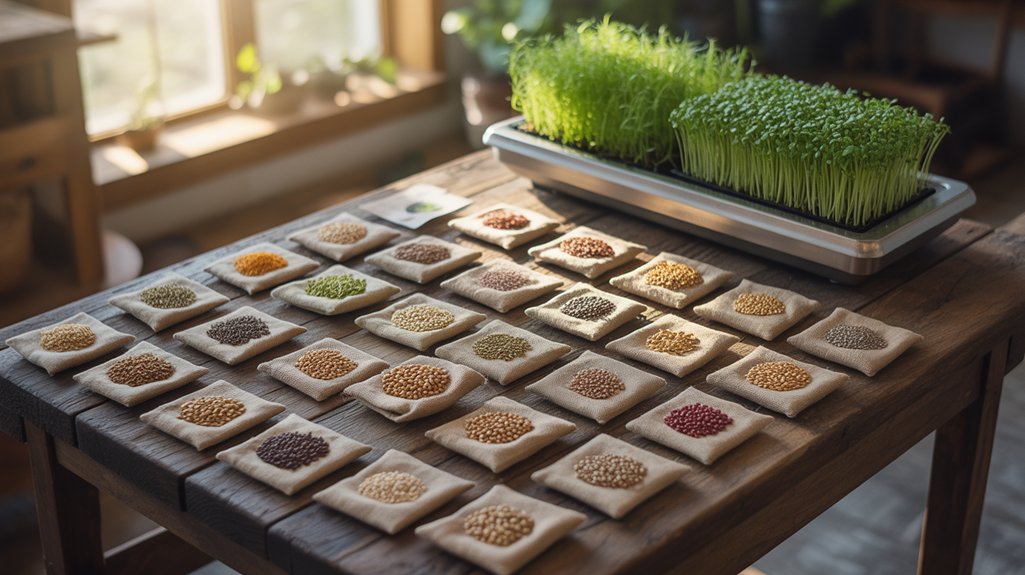
Top Seeds for Microgreens
Choosing the right seeds for microgreens is crucial, as they can greatly influence both flavor and nutrient density.
I’ve found that certain seeds stand out for their robust growth and rich nutritional profiles. Here are my top picks:
- Broccoli – Packed with vitamins A, C, and K, these microgreens have a mild, peppery flavor.
- Radish – They grow quickly and offer a spicy kick, rich in antioxidants and vitamins.
- Pea Shoots – Sweet and tender, they contain protein, fiber, and various vitamins.
- Sunflower – Nutty and crunchy, these microgreens are loaded with healthy fats and minerals.
Experimenting with these varieties can elevate your microgreen game while ensuring maximum nutrient density.
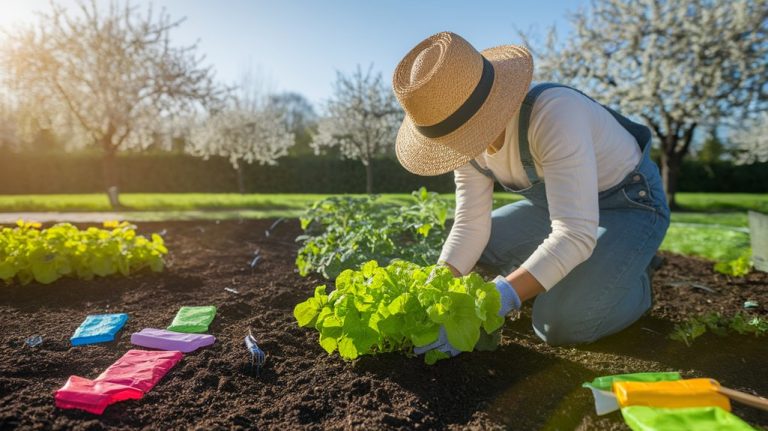
Growing Conditions and Requirements
To ensure successful growth of microgreens, understanding their specific growing conditions and requirements is essential.
I’ve found that microgreens thrive in a well-draining medium, ideally a soil mix or coconut coir that retains moisture yet allows excess water to escape. They prefer temperatures between 65°F and 75°F, so I monitor their environment closely, especially during seasonal changes.
Adequate light is crucial; I use grow lights or place them in a sunny spot for around 12-16 hours daily. Consistent moisture is vital, but I avoid overwatering; misting the soil surface works well.
Lastly, good air circulation helps prevent mold, so I ensure my growing area has adequate ventilation. By adhering to these conditions, I’ve achieved vibrant, nutrient-dense microgreens year-round.
Harvesting and Using Microgreens
Although the growth process is rewarding, knowing how and when to harvest microgreens is just as crucial for maximizing their flavor and nutritional benefits. I typically wait until the first true leaves, or cotyledons, develop, which usually takes about 7-14 days.
Here’s how I approach harvesting:
- Use sharp scissors: This minimizes damage to the remaining plants.
- Cut above the soil line: This helps retain the root system for potential regrowth.
- Harvest in the morning: Nutrient levels peak during this time.
- Rinse and dry thoroughly: This removes any debris and retains freshness.
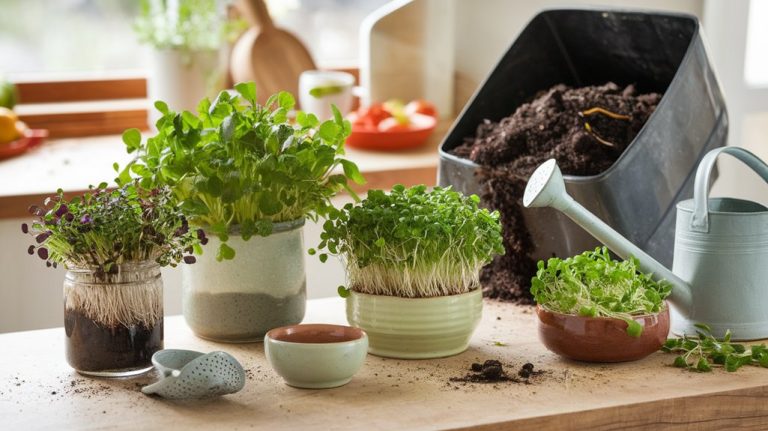
Tips for Successful Indoor Gardening
When I decided to start indoor gardening, I quickly learned that creating the right environment is crucial for plant health and growth.
First, I focused on light; using full-spectrum LED grow lights ensures my microgreens receive adequate energy. I also maintained a consistent temperature, ideally between 65°F and 75°F, to promote optimal germination.
Humidity plays a vital role, so I mist my plants regularly to maintain moisture without waterlogging. Using high-quality seed trays with drainage holes prevents root rot.
I also rotated my trays to ensure even light exposure, which encourages uniform growth. Lastly, I keep a close eye on the nutrient levels in the soil, adjusting with organic fertilizers as needed.
These practices have transformed my indoor gardening experience.
Frequently Asked Questions
Can I Grow Microgreens Without Natural Sunlight?
Yes, you can grow microgreens without natural sunlight. I use grow lights to provide the necessary light spectrum for healthy growth.
LED lights work great, as they’re energy-efficient and emit less heat. I keep the lights on for about 12-16 hours daily to mimic natural sunlight.
Make sure the lights are positioned just above the seedlings to ensure they get adequate light for optimal growth.
With the right setup, you’ll have thriving microgreens year-round!
How Often Should I Water My Microgreens?
I usually water my microgreens once a day, ensuring the soil stays moist but not soggy.
After sowing the seeds, I mist them lightly until they germinate. Once they sprout, I switch to bottom watering, which helps prevent damping-off disease.
I check the moisture level daily; if the top inch feels dry, I water again.
Adjust your frequency based on your environment—humidity and temperature can affect how often you need to water.
What Containers Are Best for Growing Microgreens?
I’ve found that shallow trays with drainage holes are best for growing microgreens. They allow excess water to escape, preventing root rot.
I prefer using plastic or recycled materials for their lightweight nature and durability. If you want something more aesthetic, ceramic or wooden containers also work well, but ensure they’ve proper drainage.
Ultimately, the container’s depth should be around 2-3 inches to accommodate the roots while allowing for optimal growth.
How Long Do Microgreens Typically Take to Grow?
Microgreens typically take about 7 to 21 days to grow, depending on the variety.
I’ve found that faster-growing types, like radish or mustard, can be ready in as little as a week. On the other hand, slower varieties like sunflower may take closer to two weeks.
It’s crucial to monitor their growth closely, ensuring they get adequate light and moisture during this period for optimal flavor and nutrient density.
Can I Reuse Soil for Growing Microgreens?
I wouldn’t recommend reusing soil for growing microgreens. Fresh soil provides essential nutrients and minimizes the risk of disease and pests.
When I’ve tried reusing soil, I noticed stunted growth and lower yields. Instead, I opt for a fresh, sterile medium each time.
This ensures my microgreens receive the best possible start, promoting healthy growth and vibrant flavors. Investing in new soil leads to a more successful harvest every time.
Conclusion
In conclusion, growing nutrient-dense microgreens year-round is not only rewarding but also enhances your diet. By choosing the right seeds and providing optimal growing conditions, you can enjoy a continuous supply of these flavorful greens. Remember to harvest them at the right time for maximum nutritional benefits. With a bit of practice and attention to detail, you’ll be well on your way to mastering indoor gardening and reaping the health benefits of microgreens. Happy growing!