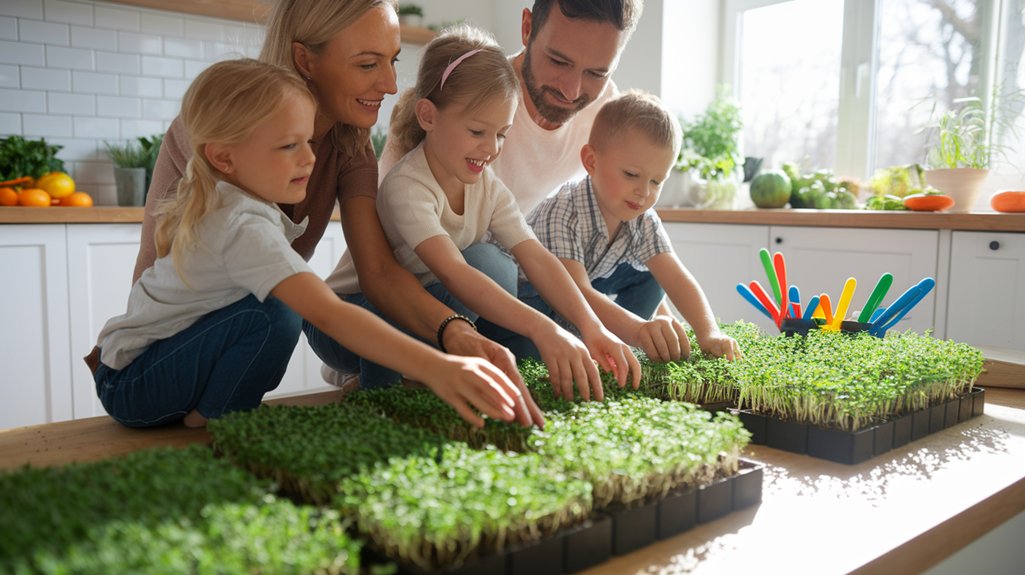
Family Fun: Get Your Kids Involved in Growing Microgreens
Growing microgreens with your kids is a fun and rewarding adventure! These tiny plants pack a punch of nutrients and are quick to grow, making them perfect for little hands. I love involving my kids in every step, from picking seeds to watching them sprout. It teaches them about healthy eating and responsibility while strengthening our family bond. You’ll be amazed at how much joy and learning comes from this simple activity – and there’s so much more to explore!
Key Takeaways
- Choose fun and colorful microgreen seeds together to spark excitement for gardening.
- Involve kids in preparing the soil and planting seeds, promoting hands-on learning.
- Establish a daily watering routine, making it a family bonding activity.
- Celebrate the harvest together, emphasizing the joy of homegrown food.
- Discuss nutrition and the importance of healthy eating after enjoying the microgreens in meals.
What Are Microgreens and Why Grow Them?
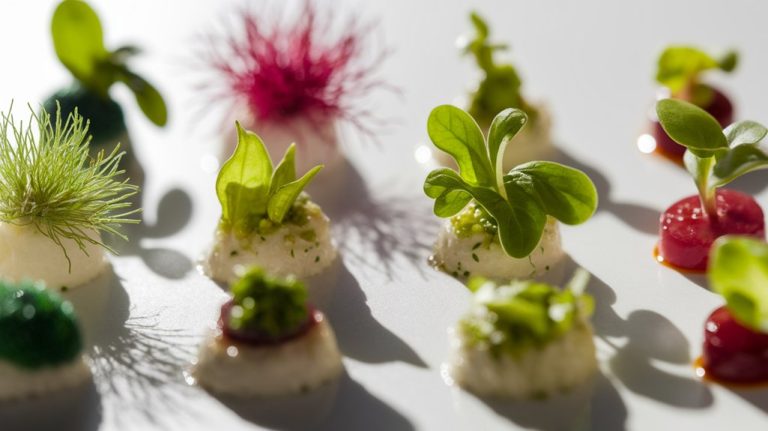
Microgreens are tiny, flavorful plants that pack a nutritional punch. I love how these little greens can transform any dish, adding color and taste while boosting its health benefits.
They’re essentially young seedlings of vegetables and herbs, harvested just after the first true leaves develop. What’s fascinating is that they can contain up to 40 times more nutrients than their mature counterparts!
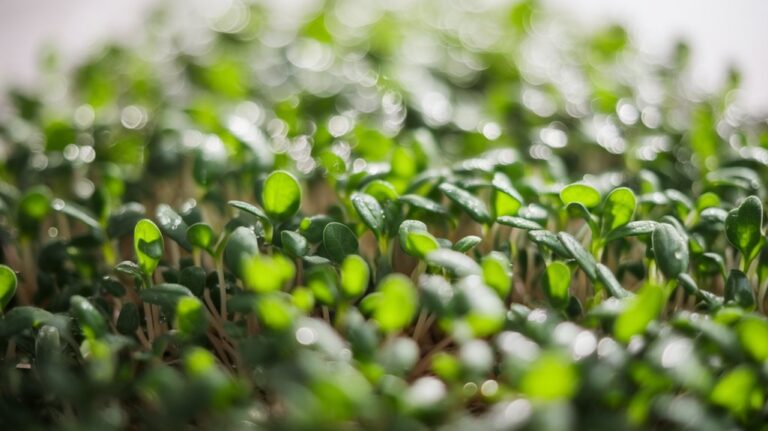
Plus, growing them is super easy and quick—most varieties are ready to harvest in just a couple of weeks. Getting kids involved in this process is a blast!
They’ll learn about responsibility, nature, and healthy eating while having fun. So, why not dive into the world of microgreens together? It’s a rewarding adventure that’ll inspire a love for gardening!
Getting Started: Supplies You’ll Need
To kick off your microgreens adventure, you’ll need a few basic supplies that make the process simple and enjoyable.
Trust me; gathering these items will set the stage for a fun family experience!
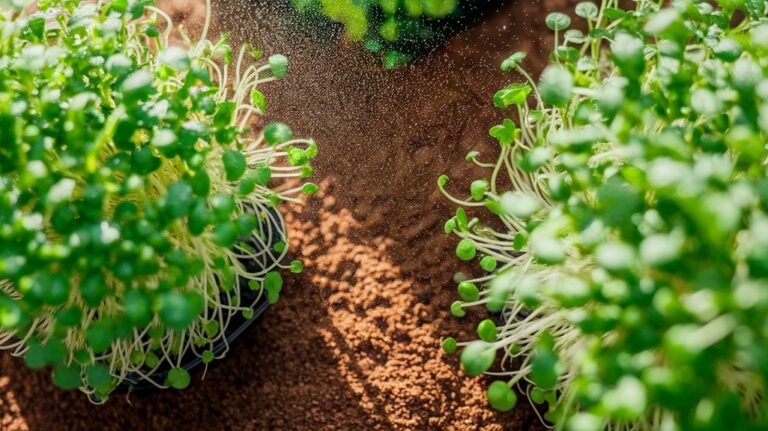
- Seeds: Choose your favorite microgreens—like basil, radish, or sunflower. Picking vibrant varieties makes it exciting for kids!
- Growing Medium: You’ll need a soil or coconut coir. This is where the magic happens, and kids will love watching the seeds sprout!
- Containers: Grab shallow trays or recycled containers with drainage holes. It’s an eco-friendly way to get started, and kids can decorate their own pots!
With these essentials in hand, you’re all set for a wonderful journey into the world of microgreens with your kids!
Involving Your Kids: The Planting Process
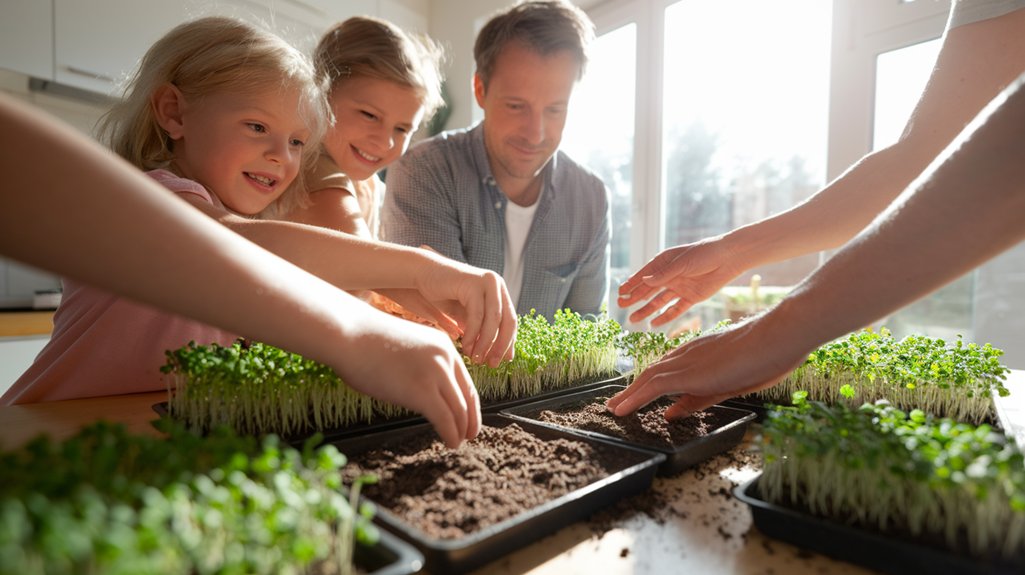
When it comes to planting microgreens with kids, I love starting by choosing the right seeds together.
We also get hands-on with preparing the growing medium, and I make sure they understand how important watering and light are for our little plants.
It’s a fun way to learn about gardening while creating something we can all enjoy!
Choosing the Right Seeds
Have you ever wondered which seeds are best for your family’s microgreen adventure? Choosing the right seeds can ignite excitement in your kids and make the process even more fun!
Here are three fantastic options to consider:
- Radish Seeds: They sprout quickly and have a peppery flavor that kids adore.
- Sunflower Seeds: These are large and easy for little hands to handle, plus they taste delicious in salads.
- Pea Shoots: They grow tall and lush, allowing kids to marvel at their rapid growth.
Let your kids help pick out the seeds, and watch their eyes light up as they learn about the different flavors and textures.
It’s a delightful way to bond while cultivating a love for gardening!
Preparing the Growing Medium
As we dive into preparing the growing medium for our microgreens, I can already feel the excitement bubbling up!
First, I gather some seed-starting soil—it’s light and fluffy, perfect for our little plants. I invite my kids to help me mix it with some compost, teaching them about nutrients and how they help our greens thrive.
We fill our trays, making sure to pack the soil gently but firmly. I love watching my kids’ faces light up as they smooth the surface, readying it for planting.
We sprinkle a bit of water over the soil to moisten it, making it cozy for our seeds. In this simple task, I see their enthusiasm grow for gardening!
Watering and Light Needs
To ensure our microgreens thrive, we need to pay close attention to their watering and light needs.
I love involving my kids in this part of the process! Here’s how we do it:
- Watering: We check the soil daily, giving it a light mist when it feels dry. It’s a fun way for the kids to understand how plants drink!
- Light: We place our microgreens in a sunny spot or use grow lights. Watching them stretch toward the light fascinates my little ones.
- Observation: We keep a journal, noting how different conditions affect growth. It sparks curiosity and excitement in them.
Caring for Your Microgreens Together
Now that we’ve planted our microgreens, it’s time to care for them together!
We’ll pick the right seeds, establish a daily watering routine, and, best of all, enjoy the joy of harvesting together.
It’s a wonderful way to bond while teaching kids about responsibility and the magic of growing food!
Choosing the Right Seeds
When you’re ready to dive into growing microgreens with your kids, picking the right seeds is a fun and crucial step. It’s like choosing the perfect adventure together!
Here are a few tips I keep in mind:
- Flavor: Kids love the taste of radishes or sunflower greens, making them more excited to eat what they’ve grown.
- Growth Time: Choose seeds that sprout quickly, like peas or mustard, so your kids don’t lose interest waiting.
- Variety: Mix it up! Try a colorful assortment of seeds, such as beet, broccoli, and basil, to create a vibrant garden.
Involving your kids in this process makes it all the more special. Happy planting!
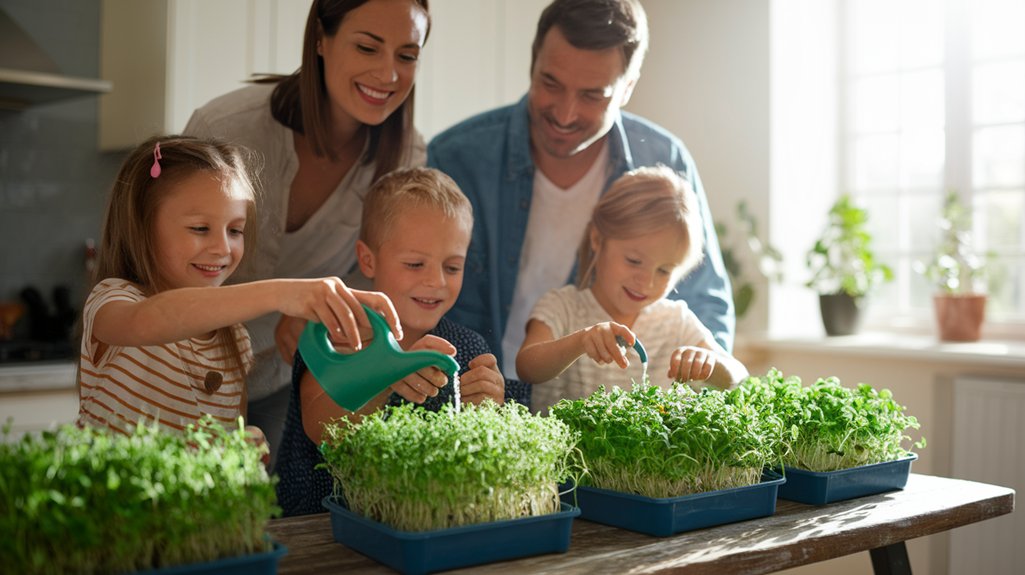
Daily Watering Routine
There’s something magical about the daily ritual of watering our microgreens together. Each morning, I grab the watering can, and my kids race to join me, giggling with excitement. We take turns pouring just the right amount of water, watching the tiny sprouts drink it up. It’s such a simple task, yet it brings us closer and teaches responsibility.
| Day | Microgreens’ Mood | Kids’ Excitement Level |
|---|---|---|
| Monday | Perky | High |
| Tuesday | Thirsty | Medium |
| Wednesday | Cheerful | High |
| Thursday | Growing | High |
| Friday | Vibrant | Off the charts! |
This routine not only nurtures the plants but also fosters a love for nature in my kids.
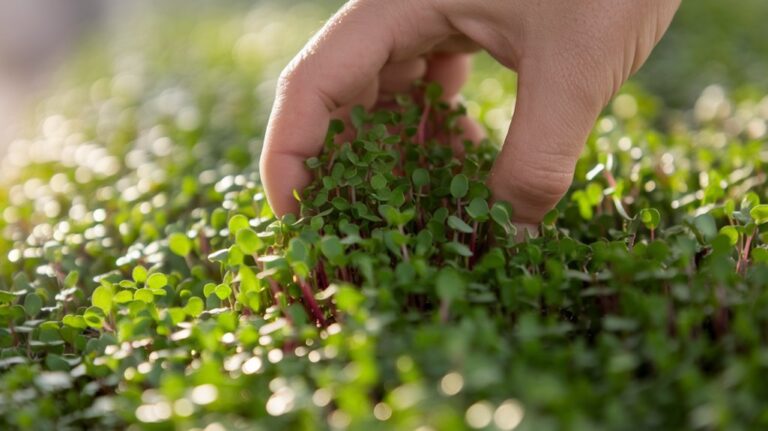
Harvesting Together Joyfully
After nurturing our microgreens with daily watering, the excitement of harvesting together brings a whole new level of joy.
It’s like a mini celebration! I love watching my kids’ faces light up as we gather our greens.
Here are three reasons why this moment is so special:
- Sense of Achievement: We’ve all worked hard, and seeing the fruits of our labor feels incredible.
- Bonding Time: Sharing this experience strengthens our family connection. We laugh, chat, and enjoy the process together.
- Healthy Eating: We’re not just growing greens; we’re learning the importance of fresh, nutritious food, which we can enjoy together in meals.
Harvesting microgreens isn’t just a task; it’s a joyful family adventure!
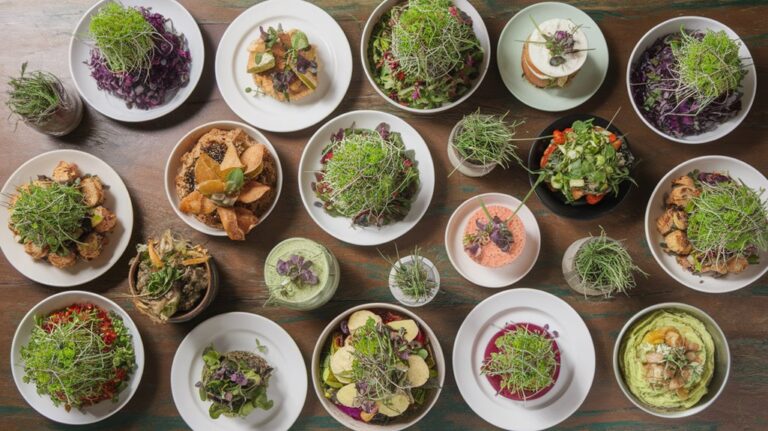
Harvesting and Enjoying Your Greens
As soon as those vibrant microgreens reach the perfect height, it’s time to gather our harvest and enjoy the fruits of our labor. I love involving my kids in the process; they get so excited! Here’s a quick guide for us to remember how to enjoy our greens:
| Type of Microgreen | Best Use | Flavor Profile |
|---|---|---|
| Arugula | Salads | Peppery and spicy |
| Sunflower | Sandwiches | Nutty and crunchy |
| Pea Shoots | Stir-fries | Sweet and tender |
| Radish | Tacos | Zesty and crisp |
| Basil | Pestos | Sweet and aromatic |
We can sprinkle them on everything from omelets to smoothies. Trust me, these tiny greens pack a punch in flavor and nutrients!
Teaching Nutrition Through Gardening
Harvesting our microgreens is just the beginning of the fun!
It’s amazing how gardening can teach kids about nutrition in such an enjoyable way. When we grow our own food, it sparks curiosity and healthy eating habits.
Here’s what I love to share with my kids:
- Understanding Nutrients: We discuss how different greens provide vitamins and minerals essential for our bodies.
- Making Connections: They see the journey from seed to plate, realizing where their food comes from.
- Encouraging Healthy Choices: It’s easier for them to choose greens when they’ve nurtured them themselves.
Gardening together not only bonds us but also instills a lifelong appreciation for nutrition.
Let’s dig in and grow some healthy habits!
Frequently Asked Questions
How Long Does It Take for Microgreens to Grow?
I’ve found that microgreens are super quick to grow! Typically, they take about 7 to 21 days, depending on the variety.
I love checking on them daily as they sprout and transform. It’s fascinating to watch those tiny seeds turn into vibrant greens in such a short time.
If you’ve got a sunny spot and some soil, you’re set to enjoy fresh, homegrown microgreens in just a couple of weeks!
Can We Grow Microgreens Indoors Year-Round?
Absolutely, you can grow microgreens indoors year-round!
I’ve been doing it for a while now, and it’s so rewarding. All you need is a sunny windowsill or some grow lights.
The process is simple, and you can enjoy fresh greens even in winter. Just make sure you keep the soil moist and give them enough light.
Trust me, it’s a fun and easy way to add some greenery to your space!
Are There Any Allergies Related to Microgreens?
Sure, I’ve wondered about allergies related to microgreens too.
While most folks enjoy them without issues, some might be sensitive to certain varieties, like mustard or radish greens.
It’s always a good idea to start with small amounts if you’re new to them.
If you’ve got known allergies to specific plants, it’s best to check with a doctor.
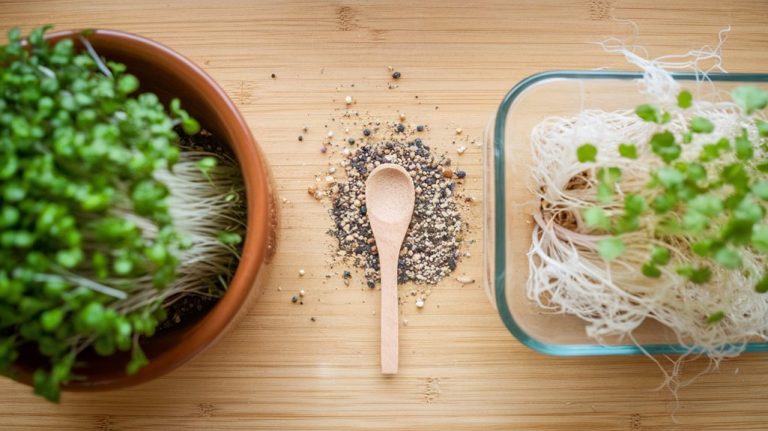
What Types of Soil Are Best for Microgreens?
When it comes to growing microgreens, I’ve found that using a light, well-draining soil is key.
I prefer a mix of potting soil and coconut coir because it holds moisture without getting soggy. You could also use seed-starting mix, which is super fine and great for small seeds.
Just make sure whatever soil you choose is organic and free from chemicals. Trust me, your microgreens will thrive!
How Do We Store Harvested Microgreens for Freshness?
When I harvest my microgreens, I always make sure to store them properly to keep them fresh.
I gently rinse them, then pat them dry with a paper towel. I place them in an airtight container lined with a damp paper towel to maintain moisture.
Then, I store them in the fridge, where they usually last about a week.
Trust me, this simple method keeps them crisp and flavorful for my salads and sandwiches!
Conclusion
Growing microgreens with your kids can be a fantastic bonding experience. Not only do you get to enjoy the fruits of your labor, but you also teach them about nutrition and responsibility. Plus, it’s a fun way to spark their curiosity about where food comes from. So, grab those seeds and get planting! I promise, watching those tiny greens sprout will bring smiles and a sense of accomplishment to your whole family. Happy gardening!