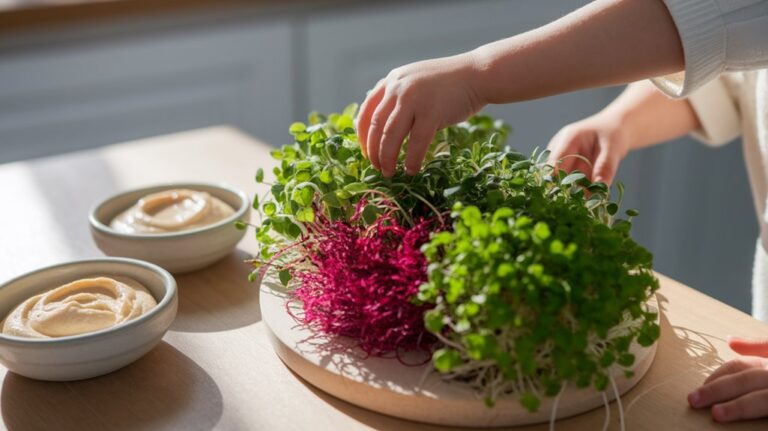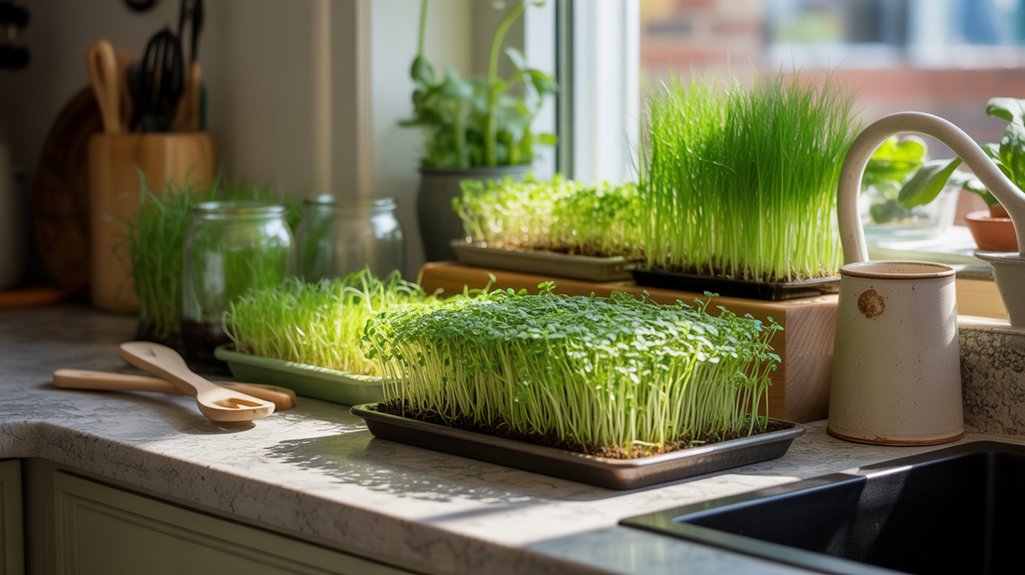
How to Create a Mini Indoor Microgreen Garden on Your Kitchen Counter
To create my mini indoor microgreen garden, I choose easy-to-grow varieties like mustard greens or radish. I gather shallow trays with drainage holes, a quality soil mix, and high-quality seeds. After moistening the soil, I sow the seeds evenly and place the trays under grow lights, ensuring they get 12-16 hours of indirect sunlight. I water them gently and maintain humidity with a clear lid. There’s so much more to explore about maximizing my microgreens, though!
Key Takeaways
- Choose a sunny spot on your kitchen counter that receives 12-16 hours of indirect sunlight or use LED grow lights.
- Select shallow trays with drainage holes and fill them with a lightweight, well-draining soil mix.
- Opt for quick-growing microgreens like broccoli or radish for faster harvests, and consider your flavor preferences.
- Water gently using a spray bottle to maintain moisture without overwatering, checking soil daily for dryness.
- Cover the trays with a clear plastic lid or dome during germination to maintain humidity, then remove once seedlings emerge.
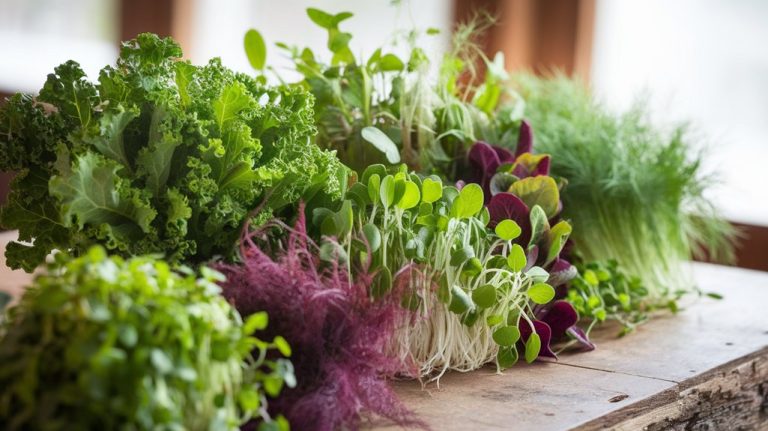
Choosing the Right Microgreens
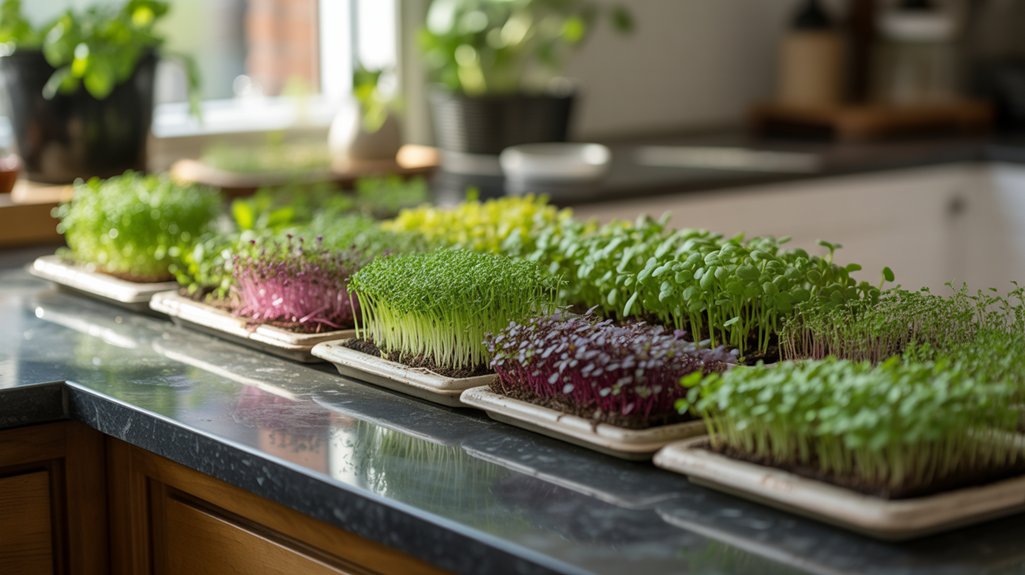
When selecting microgreens for your indoor garden, how do you determine which varieties will thrive best in your space?
First, consider your light conditions. If you have bright, direct sunlight, options like radish or sunflower microgreens flourish. For lower light, I recommend shade-tolerant varieties like basil or arugula.
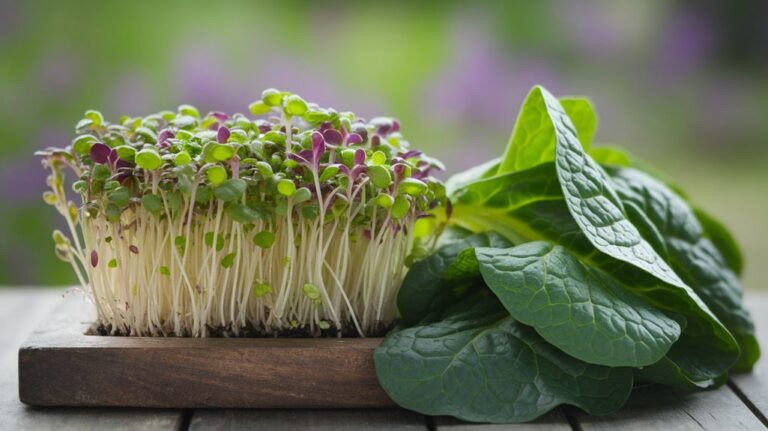
Next, think about flavor and culinary use; I often choose mustard greens for their peppery bite in salads.
Additionally, germination time is crucial; some varieties, like broccoli, sprout quickly in just 5-7 days, while others, like beets, take longer.
Lastly, check your growing medium and container size to ensure compatibility.
Essential Supplies for Your Indoor Garden
To successfully cultivate your indoor microgreen garden, you’ll need a few essential supplies that ensure optimal growth conditions.
Start with high-quality seeds specifically designed for microgreens; they’re often packed with nutrients. You’ll also need shallow trays with drainage holes that allow excess water to escape, preventing root rot.
A lightweight soil mix, ideally one rich in organic matter, will provide the necessary nutrients. Don’t forget a spray bottle for gentle watering—this helps maintain moisture without washing away your seeds.
Lastly, consider a grow light if natural sunlight is limited; this will ensure your microgreens receive adequate light for vigorous growth.
With these supplies in hand, you’re well on your way to a thriving indoor garden!
Preparing Your Containers and Soil
Preparing your containers and soil is crucial for a successful microgreen garden. I always start by selecting the right containers—make sure they’ve drainage holes to prevent waterlogging.
Then, I focus on the soil. It’s essential to use a lightweight, well-draining mix designed for seedlings. Here’s what I do:
- Choose shallow trays or pots (2-3 inches deep)
- Use a sterile seed-starting mix to minimize disease risk
- Moisten the soil thoroughly before planting
- Level the soil surface for even seed distribution
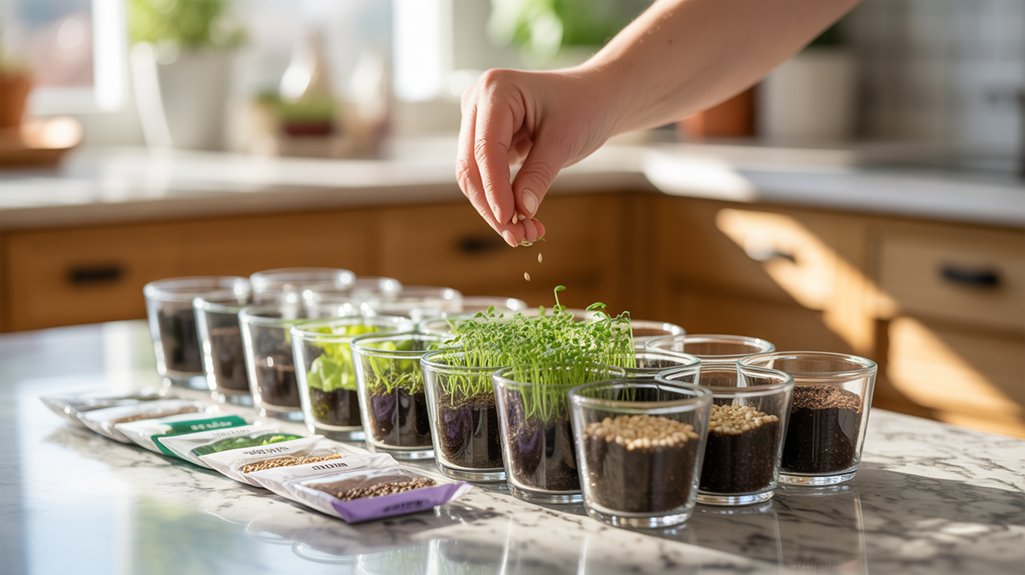
Sowing the Seeds
Although it may seem straightforward, sowing the seeds for your microgreen garden requires careful attention to detail for optimal growth.
Start by evenly distributing your seeds across the soil surface. I like to use a seed tray or shallow container, ensuring the soil is moist but not soggy. For small seeds, like basil or arugula, sprinkle them lightly, about a quarter of an inch apart. Larger seeds, such as peas, can be spaced slightly further apart.
Once the seeds are sown, I gently press them into the soil to ensure good contact. Cover them with a thin layer of soil, no more than twice their diameter. Finally, mist the surface with water to avoid displacement and promote germination.
Providing the Perfect Environment
To ensure my microgreens thrive, I focus on three critical environmental factors: lighting, temperature, and soil conditions.
I’ve found that providing adequate light and maintaining the right humidity levels significantly boosts growth, while proper drainage prevents root rot.
Ideal Lighting Conditions
Light is the lifeblood of any successful microgreen garden, and understanding the ideal lighting conditions is crucial for robust growth.
I’ve found that providing the right light not only boosts photosynthesis but also enhances flavor and nutrient density.
Here’s what I recommend:
- Natural sunlight: Aim for 12-16 hours of indirect sunlight daily.
- Artificial lights: Use LED grow lights for consistent results; they’re energy-efficient and effective.
- Light distance: Keep lights 2-4 inches above the microgreens to prevent leggy growth.
- Light spectrum: Choose full-spectrum lights that mimic natural sunlight to support all growth stages.
Temperature and Humidity
After establishing the right lighting for your microgreens, the next key factor in achieving vibrant growth is managing temperature and humidity.
I’ve found that most microgreens thrive between 65°F and 75°F (18°C to 24°C). Keeping this temperature range helps promote germination and healthy growth. If your home fluctuates outside this range, consider using a heat mat or a small fan to stabilize conditions.
Humidity is equally important; I aim for around 40% to 60%. If it’s too dry, you might notice stunted growth or wilting.
To increase humidity, I frequently mist the microgreens or place a small humidifier nearby. Monitoring these factors closely ensures my mini indoor garden flourishes and produces vibrant, nutrient-packed greens.
Soil and Drainage Needs
While selecting the right soil and ensuring proper drainage may seem straightforward, it’s crucial for the health of your microgreens.
I’ve found that using a quality seed-starting mix works best, as it’s lightweight and nutrient-rich. Proper drainage prevents waterlogging, which can lead to root rot.
Here are some key considerations for soil and drainage:
- Soil Composition: Look for a mix of peat moss, vermiculite, and perlite for optimal aeration.
- Container Choice: Use shallow trays with drainage holes to allow excess water to escape.
- Moisture Monitoring: Keep the soil consistently moist, but not soggy; check daily.
- Layering Technique: Consider adding a layer of gravel at the bottom of the tray to enhance drainage.
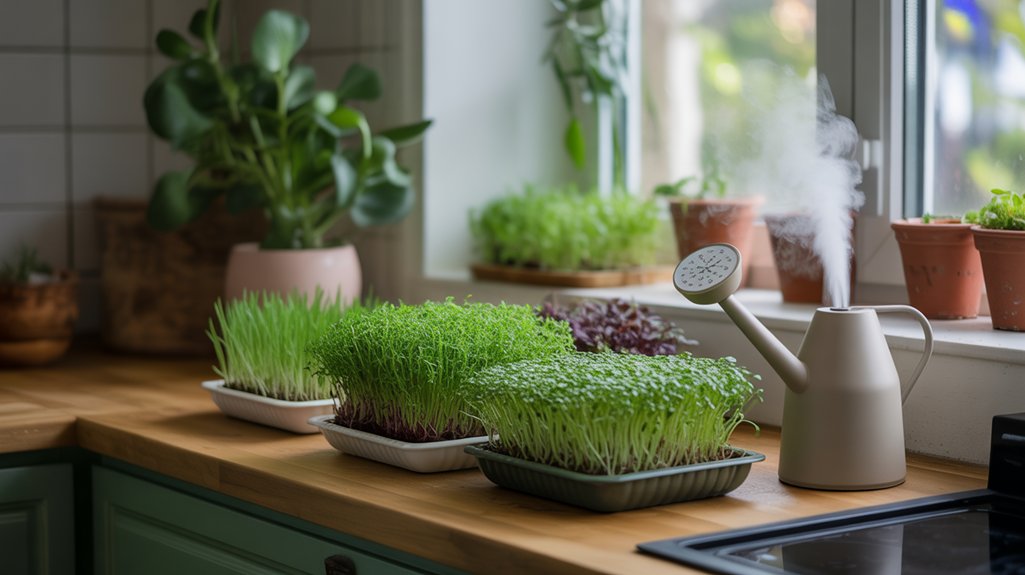
Watering and Maintenance Tips
Although it may seem simple, proper watering and maintenance are crucial for a thriving mini indoor microgreen garden.
I typically check the soil moisture daily by sticking my finger about an inch deep. If it feels dry, I mist the soil lightly using a spray bottle—this prevents overwatering and ensures even moisture distribution.
I also keep the microgreens in a bright location, but not in direct sunlight to avoid scorching. To maintain humidity, I cover the garden with a clear plastic lid for the first few days. After germination, I remove the cover.
Lastly, I rotate the containers occasionally for even light exposure. This routine helps my microgreens grow healthy and vibrant.
Harvesting Your Microgreens
Once your microgreens reach a height of about 2 to 4 inches, it’s time to harvest. I recommend using clean, sharp scissors to ensure a precise cut.
Here’s how I approach the process:
- Timing: Harvest in the morning when the plants are most hydrated.
- Technique: Cut just above the soil line to promote regrowth.
- Storage: Place harvested greens in a damp paper towel and store them in a sealed container in the fridge.
- Frequency: Regularly check for maturity, as different varieties may have varying growth rates.
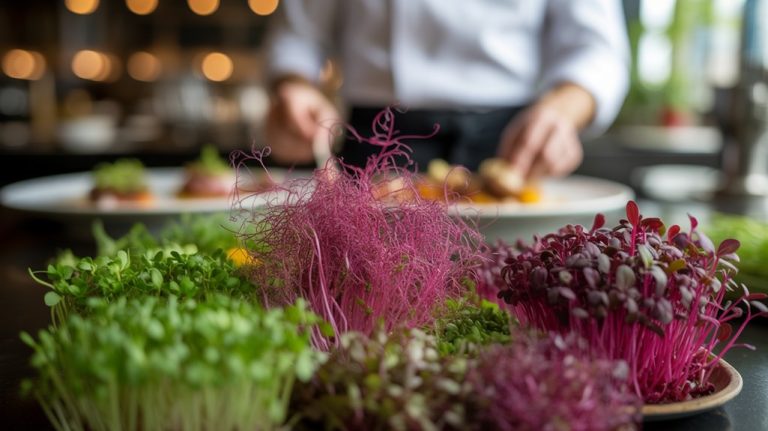
Creative Ways to Use Microgreens in Your Cooking
After harvesting your microgreens, the next step is to explore the many creative ways to incorporate them into your cooking.
I love adding microgreens to salads for a nutrient boost and vibrant color—try mixing radish and pea shoots for a peppery crunch. You can also sprinkle them on sandwiches or wraps, enhancing flavor and texture.
For a gourmet touch, I often blend them into pesto or smoothies, blending their unique tastes with other ingredients. Additionally, microgreens make a stunning garnish for soups and entrees, elevating presentation.
When cooking, add them at the last minute to retain their texture and nutrients. Experimenting with different varieties will open up a world of culinary possibilities in your kitchen!
Frequently Asked Questions
How Long Do Microgreens Take to Grow Indoors?
Microgreens usually take about 7 to 21 days to grow indoors, depending on the variety.
I’ve found that most seeds germinate within a week, then the real growth begins. For instance, radish and mustard greens sprout quickly, while basil can take a bit longer.
I always keep an eye on moisture and light conditions to ensure optimal growth.
Can I Reuse Soil for Growing Microgreens?
I wouldn’t recommend reusing soil for growing microgreens.
After the first use, the soil loses essential nutrients and may harbor pathogens from the previous crop.
Instead, I prefer to use fresh potting mix each time. This ensures my microgreens get the best nutrients for healthy growth.
If you’re concerned about waste, consider composting the used soil or using it in outdoor gardens where it can enrich the earth.
What Is the Best Light Source for Indoor Microgreens?
I’ve found that LED grow lights work best for indoor microgreens. They provide the right spectrum of light, promoting healthy growth without overheating.
I typically set my lights about 12-18 inches above the plants and keep them on for 12-16 hours a day. This mimics natural sunlight and helps my microgreens thrive.
If I notice any stretching, I adjust the height or increase the light duration to ensure optimal growth.
Are There Any Pests That Affect Indoor Microgreens?
Yes, indoor microgreens can face pests like aphids, fungus gnats, and spider mites.
I’ve noticed that maintaining good air circulation and avoiding overwatering helps prevent these issues. If I spot any pests, I usually spray a mixture of water and mild soap to eliminate them.
Regularly inspecting my plants is crucial, as catching infestations early makes a big difference. Keeping my growing environment clean also minimizes the risk of pest problems.
How Do I Store Harvested Microgreens for Freshness?
To store harvested microgreens for freshness, I rinse them gently under cool water and spin them dry in a salad spinner.
Then, I place them in a breathable container lined with a paper towel to absorb excess moisture.
I keep the container in the refrigerator’s crisper drawer, where they can stay fresh for up to a week.
I avoid sealing them tightly, as that can trap moisture and lead to spoilage.
Conclusion
Creating a mini indoor microgreen garden on your kitchen counter isn’t just rewarding—it’s a sustainable way to enhance your meals. By carefully selecting the right seeds, providing optimal growing conditions, and maintaining your plants with attention, you’ll enjoy fresh, nutrient-packed greens at your fingertips. Whether you sprinkle them on salads or blend them into smoothies, the versatility of microgreens makes them a delicious addition to any dish. Start your journey today and savor the benefits!