How to Grow Broccoli Sprouting Seeds
To grow broccoli sprouting seeds, I start by choosing organic, non-GMO seeds for quality. I soak around one tablespoon of seeds in cool water for 2-3 hours, then rinse and drain them. I place the seeds in a glass jar with a mesh lid and keep them in a warm, humid environment with indirect sunlight. I check moisture levels daily and rinse the seeds until they’re ready to harvest at 2-3 inches. There’s more to discover about their nutritional benefits and storage methods.
Key Takeaways
- Choose organic, non-GMO broccoli sprouting seeds from a reliable source with high germination rates and freshness within the last year.
- Soak seeds for 2 to 3 hours in cool water, using a ratio of 1 tablespoon of seeds to 1 cup of water.
- Use a glass jar or specialized sprouting tray with a mesh lid, maintaining humidity levels of 70-90% and temperatures between 65-75°F (18-24°C).
- Rinse and drain sprouts twice daily, providing indirect sunlight until they reach 2 to 3 inches in height and exhibit a green color.
- Harvest sprouts with clean scissors and store them in a breathable container in the fridge for optimum freshness within 5 to 7 days.
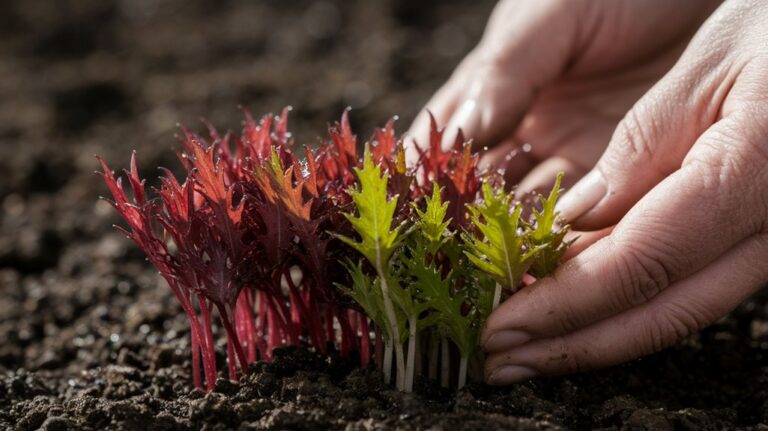
Choosing the Right Broccoli Sprouting Seeds

When I set out to grow broccoli sprouting seeds, I quickly realized that choosing the right seeds is crucial for a successful harvest.
I focused on organic, non-GMO seeds to ensure quality and avoid harmful chemicals. It’s essential to check the seed source; reputable suppliers often provide detailed information about germination rates and seed viability.
I also considered the specific variety of broccoli; some are bred for faster germination while others may have distinct flavor profiles.
Additionally, I looked for seeds that are fresh, ideally packaged within the last year, to maximize germination potential.
Preparing Your Sprouting Equipment
Before diving into the sprouting process, I’ve found that preparing the right equipment is essential for success.
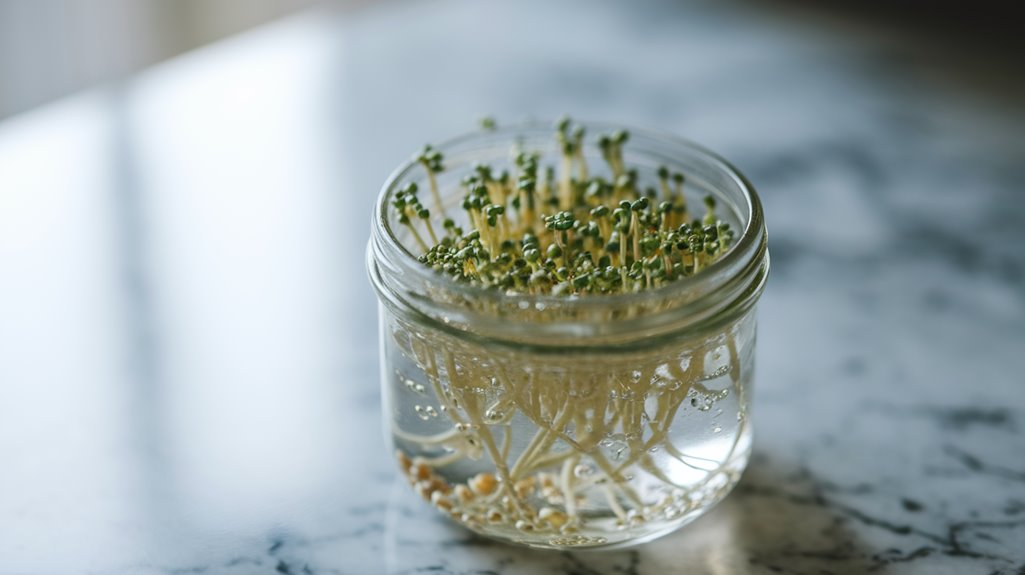
First, I gather a glass jar or a specialized sprouting tray, both of which allow for proper drainage and airflow. If I use a jar, I cover the opening with a mesh lid or cheesecloth secured with a rubber band; this prevents debris while allowing moisture to escape.
Next, I ensure I’ve a clean, soft cloth for drying the seeds post-soaking. I also keep a fine-mist spray bottle handy for regular misting to maintain humidity levels.
Finally, I prepare a designated space with indirect light to encourage optimal sprout growth. This setup lays the foundation for healthy broccoli sprouts.
Soaking the Seeds
Soaking the seeds is a crucial step in the sprouting process, and I typically soak them for about 2 to 3 hours. This initial soak rehydrates the seeds, activating enzymes that kickstart germination.
I use a clean, non-reactive container filled with cool water, ensuring the seeds are fully submerged. It’s important to avoid using hot water, as it can damage the seeds. I find that a ratio of about 1 tablespoon of seeds to 1 cup of water works well.
During this time, I keep the container in a dark, cool place, away from direct sunlight. After soaking, the seeds will swell and soften, preparing them for the next vital steps in sprouting.
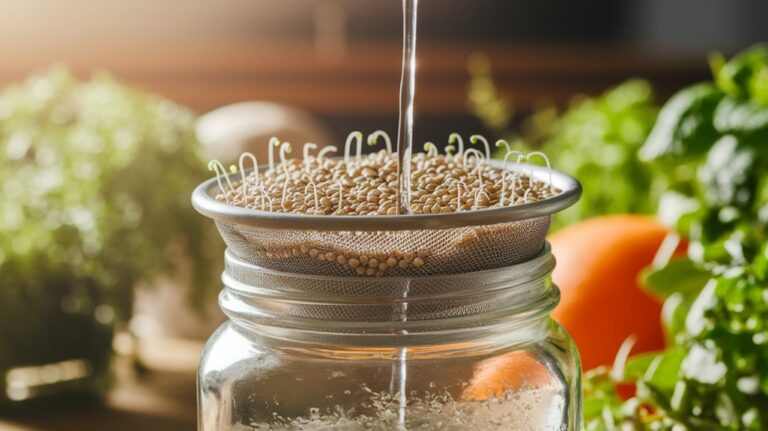
Rinsing and Draining
After soaking, I immediately rinse and drain the seeds to remove any residual substances and ensure optimal germination.
I use a fine mesh strainer to hold the seeds securely while rinsing them under cool, running water. This step is crucial; it helps eliminate any gelatinous coating that can hinder germination.
I gently agitate the seeds with my fingers, ensuring they’re thoroughly rinsed. After about a minute, I let the water drain completely, shaking the strainer gently to remove excess moisture.
This process not only cleans the seeds but also introduces oxygen, which is essential for the germination process.
Once drained, I transfer the seeds to a suitable container, preparing them for the next stage in their growth journey.
Creating the Ideal Environment
With the seeds rinsed and drained, the next step is to create an optimal environment for germination. I find that maintaining the right temperature, humidity, and light conditions is crucial for successful sprouting. Ideally, you want a temperature range of 65-75°F (18-24°C) and high humidity to encourage sprout development.
Here’s a quick reference table to help you set up the ideal environment:
| Factor | Ideal Condition | Notes |
|---|---|---|
| Temperature | 65-75°F (18-24°C) | Consistent warmth is key |
| Humidity | 70-90% | Use a humidity dome if needed |
| Light | Indirect sunlight | Avoid direct sunlight |
Monitoring Growth
As I monitor the growth of my broccoli sprouting seeds, I pay close attention to the ideal conditions for development.
I consistently observe the sprout’s progress and note any changes in appearance or size.
Additionally, tracking moisture levels is crucial to ensure the seeds remain hydrated without becoming waterlogged.
Ideal Growth Conditions
To ensure optimal growth of your broccoli sprouting seeds, I closely monitor several critical conditions that can significantly impact their development. Key factors include light, temperature, and humidity. Maintaining the right balance helps my seeds thrive.
| Condition | Ideal Range | Notes |
|---|---|---|
| Light | 12-16 hours/day | Indirect sunlight preferred |
| Temperature | 65-75°F (18-24°C) | Avoid extreme fluctuations |
| Humidity | 50-70% | Use a humidity dome if needed |
Observe Sprout Development
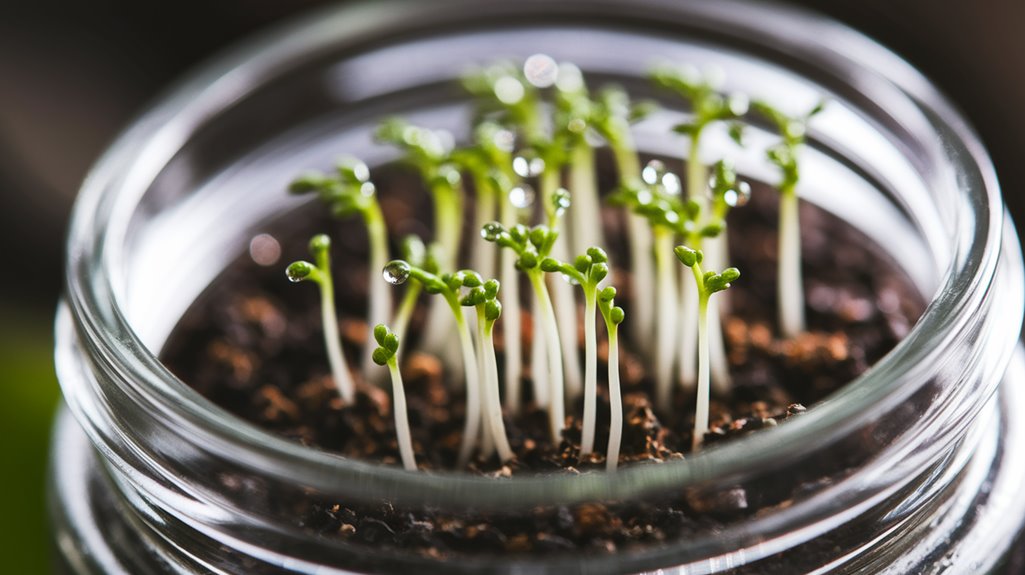
After establishing the ideal growth conditions, I closely observe the sprout development to ensure my broccoli seeds are progressing as expected. Each day, I check for germination signs, typically within 3 to 5 days after planting.
I look for tiny green shoots emerging from the soil, indicating healthy sprouting. I pay attention to the color and texture of the sprouts; vibrant green indicates optimal health, while yellowing can signal issues.
I also note the height of the sprouts, as they should grow steadily. If I notice any stunted growth, I reassess conditions like light exposure and temperature.
Track Moisture Levels
Maintaining the right moisture levels is crucial for the successful growth of my broccoli sprouts. I regularly monitor the moisture in my growing environment, ensuring it’s neither too dry nor overly saturated. I find that using a moisture meter can be extremely helpful. Below is a simple table I created to track moisture levels effectively:
| Day | Moisture Level | Action Needed |
|---|---|---|
| Day 1 | High | Drain excess water |
| Day 3 | Moderate | Mist lightly |
| Day 5 | Low | Water thoroughly |
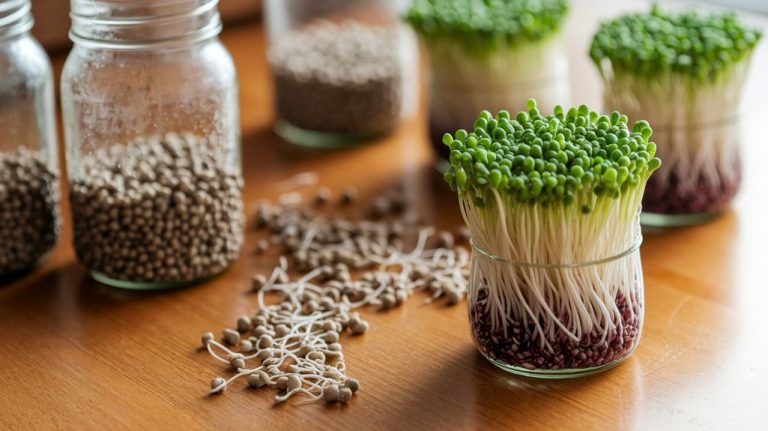
Harvesting Your Broccoli Sprouts
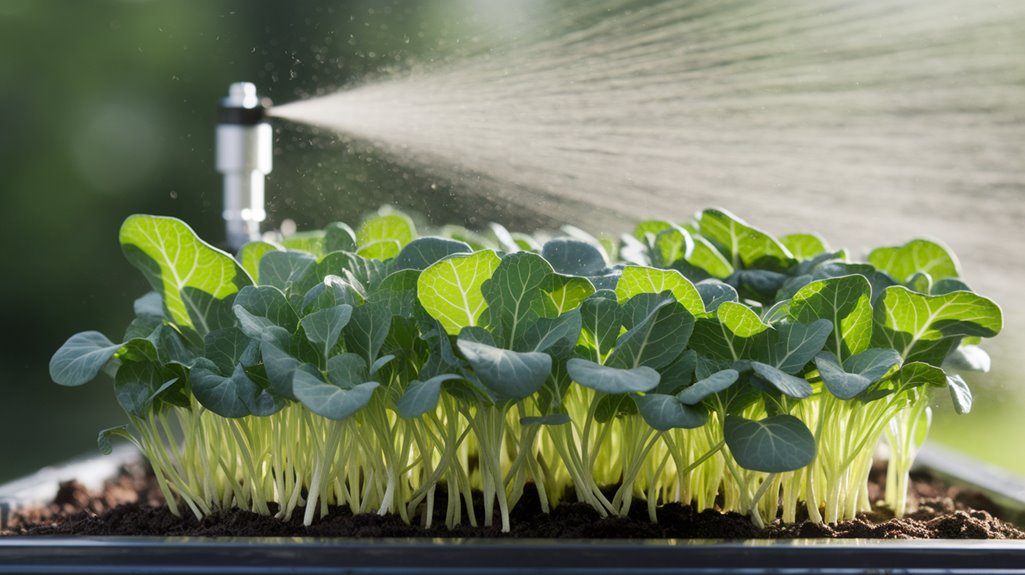
Once the broccoli sprouts reach about 2 to 3 inches in height and exhibit their characteristic green color, it’s time for me to harvest them.
I typically look for a crisp texture and vibrant color, indicating optimal flavor and nutrient density. To harvest, I use clean scissors to cut the sprouts just above the soil line. This method minimizes damage to the roots, allowing for potential regrowth.
Here are some key points to remember during harvesting:
- Timing is crucial; harvest in the morning for maximum freshness.
- Wash your hands and tools to prevent contamination.
- Avoid harvesting if sprouts show signs of wilting.
- Store harvested sprouts promptly in a cool, dark place.
- Enjoy them fresh for the best taste and nutrition.
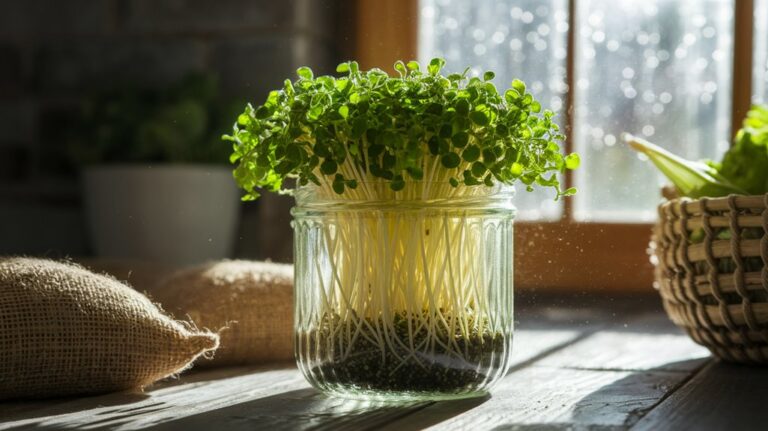
Storing Your Sprouts
After harvesting my broccoli sprouts, I focus on storing them properly to maintain their freshness.
I’ve found that keeping them in a cool, dark place with good airflow significantly extends their shelf life.
Additionally, I recommend using an airtight container in the refrigerator for optimal storage conditions.
Ideal Storage Conditions
To ensure your broccoli sprouts stay fresh and nutritious, I recommend storing them under specific conditions that optimize their longevity. Proper storage is key to maintaining their flavor and health benefits.
Here are the ideal conditions I follow:
- Temperature: Keep them in the refrigerator, ideally between 32°F and 40°F (0°C to 4°C).
- Container: Use a breathable container, like a glass jar or a mesh bag, to prevent moisture buildup.
- Humidity: Aim for a low-humidity environment; excess moisture can lead to mold.
- Light: Store them in a dark place, as light can degrade their nutrients.
- Duration: Consume them within 5 to 7 days for the best taste and nutritional value.
Shelf Life Tips
Maintaining the freshness of your broccoli sprouts requires attention to a few critical factors that directly influence their shelf life. To keep your sprouts crisp and vibrant, store them in a breathable container, ideally in the fridge. I recommend consuming them within 5-7 days for optimal flavor and nutrition. Here’s a quick reference table to help you:
| Storage Method | Shelf Life |
|---|---|
| Refrigerated (in a breathable container) | 5-7 days |
| Room Temperature | 1-2 days |
| Sealed in Plastic | 3-5 days |
| Freezing (for later use) | 6-12 months |
Incorporating Broccoli Sprouts Into Your Diet
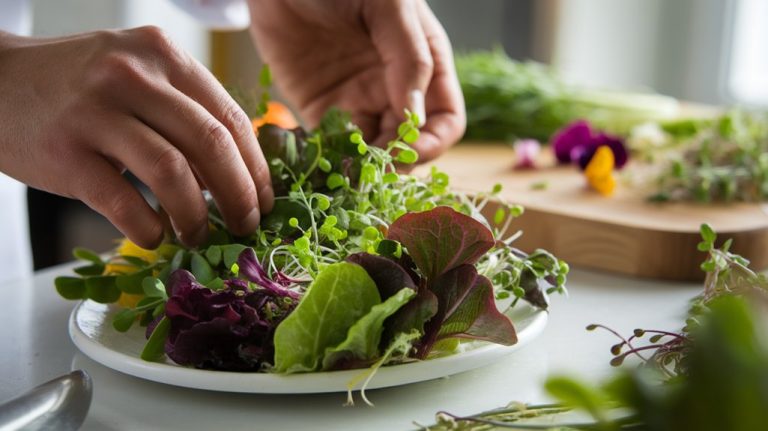
While incorporating broccoli sprouts into my diet, I’ve found that their versatility makes them an excellent addition to various meals.
They provide a crunchy texture and a mild, peppery flavor that enhances dishes without overpowering them. Here are some ways I enjoy using broccoli sprouts:
- Salads: I sprinkle them on top of mixed greens for added nutrition.
- Sandwiches: They add a delightful crunch to wraps and sandwiches.
- Smoothies: Blending them into my smoothies boosts nutrient content.
- Stir-fries: I toss them in during the last minute of cooking for a fresh bite.
- Garnish: They make a great garnish for soups and grain bowls.
These methods not only enhance flavor but also significantly increase my intake of vitamins and antioxidants.
Frequently Asked Questions
Conclusion
By following these steps, I’ve successfully grown my own broccoli sprouts, and I encourage you to try it too. It’s a simple yet rewarding process that yields nutritious sprouts packed with flavor and health benefits. With a bit of care in soaking, rinsing, and creating the right environment, you’ll soon enjoy the satisfaction of harvesting and incorporating these vibrant greens into your meals. Start your sprouting journey today and enhance your diet with these fantastic additions!