How to Grow Organic Sprouts Without Soil or Chemicals at Home
To grow organic sprouts at home, I select organic seeds specifically labeled for sprouting, like alfalfa or broccoli. I use a sprouting jar with a fine mesh lid for drainage and airflow. After rinsing the seeds, I soak them in water for 8-12 hours, then rinse and drain them twice daily in a warm, dark spot. I keep an eye on their progress and care for them to enjoy fresh, nutritious sprouts. Let’s explore more details together!
Key Takeaways
- Choose organic seeds specifically labeled for sprouting to ensure chemical-free growth and high germination rates.
- Use a sprouting jar or tray with a fine mesh lid for proper drainage and airflow.
- Soak seeds in clean water for 8 to 12 hours before draining and placing in a warm, dark location.
- Rinse seeds twice daily to keep them hydrated and promote healthy growth.
- Harvest sprouts at 1-2 inches in height, and store them in a breathable container in the refrigerator for freshness.
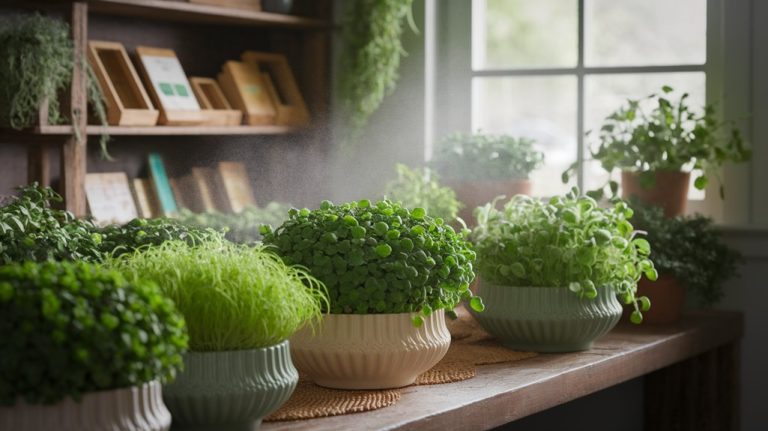
Choosing the Right Seeds for Sprouting
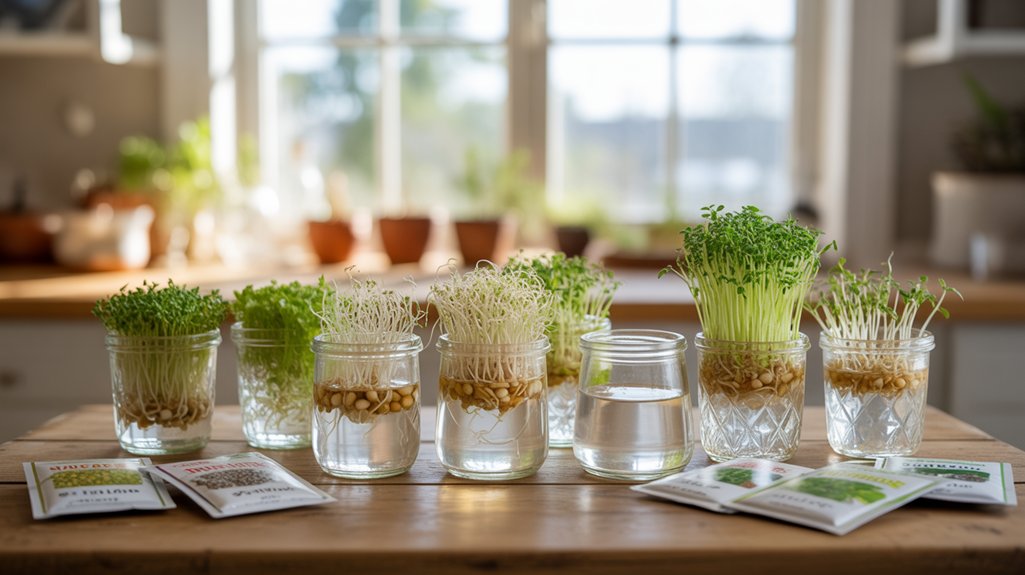
Choosing the right seeds for sprouting is crucial for a successful home garden. I always opt for organic seeds, as they’re free from harmful chemicals and pesticides.
Look for seeds specifically labeled for sprouting; these varieties have higher germination rates and are safe to consume. My favorites include alfalfa, broccoli, and radish seeds, as they’re packed with nutrients and flavor.
It’s also essential to check the packaging for freshness, as older seeds mightn’t sprout well. When I’m unsure, I consult local suppliers or trusted online sources that focus on sustainable practices.
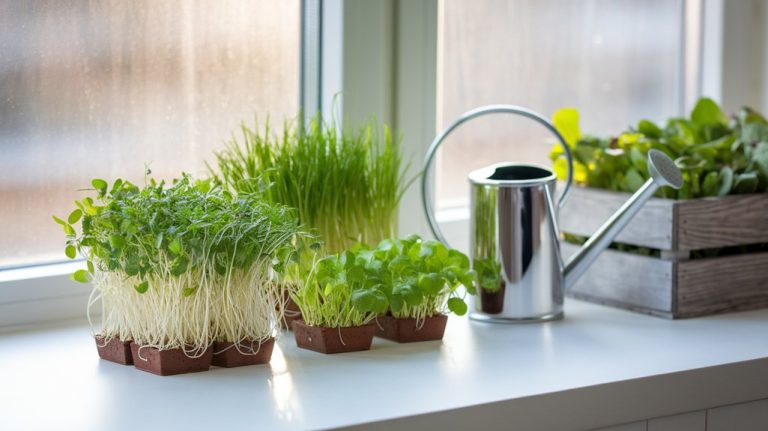
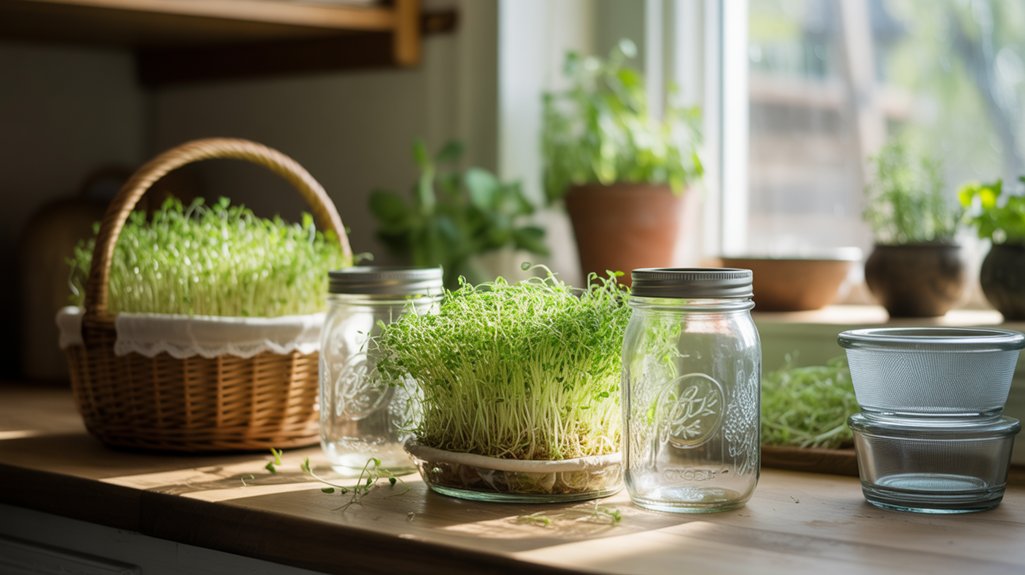
Essential Supplies You’ll Need
Before starting your sprouting adventure, it’s important to gather some essential supplies that will make the process smoother and more efficient.
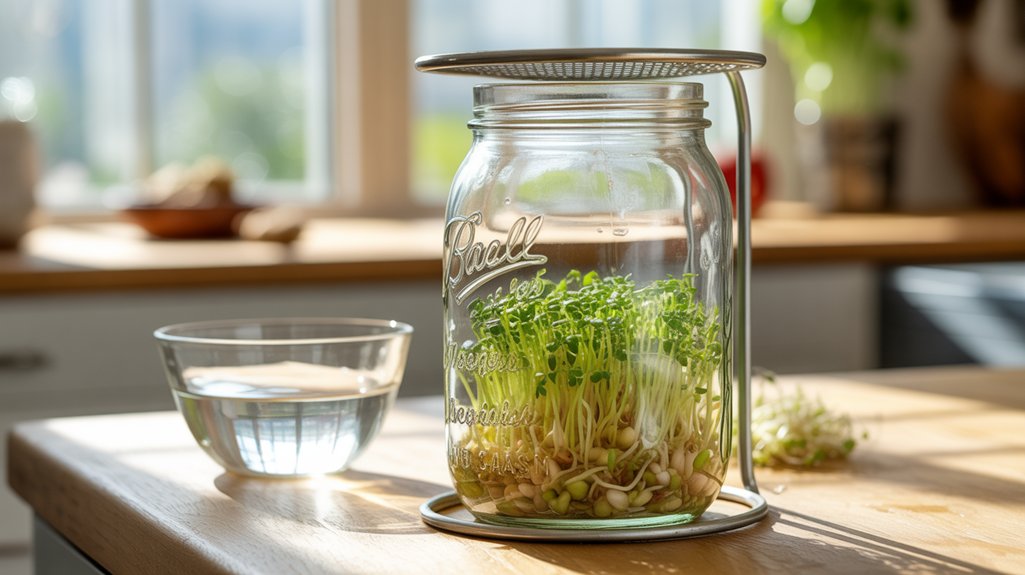
First, you’ll need a good-quality sprouting jar or tray, which allows for proper drainage and airflow. I recommend getting a fine mesh lid or cheesecloth to cover the jar; this keeps contaminants out while letting moisture escape.
You’ll also want to have clean water on hand for soaking and rinsing your seeds. A small bowl for soaking and a dish for catching excess water can be useful too.
Lastly, find a warm, dark spot in your home where your sprouts can thrive.
With these supplies, you’re ready to embark on your eco-friendly sprouting journey!
The Sprouting Process Step-by-Step
Now that you’ve gathered your supplies, it’s time to kick off the sprouting process. First, I rinse about one cup of seeds under cool water, ensuring they’re clean.
Next, I add the seeds to my sprouting jar and fill it with water, letting them soak for 8 to 12 hours. After soaking, I drain the water and place the jar in a warm, dark spot, tilted at an angle to allow excess moisture to escape.
I rinse and drain the seeds twice a day, keeping an eye on their progress. Within a few days, tiny sprouts will emerge.
This step-by-step approach is simple, eco-friendly, and incredibly rewarding as I watch my seeds transform into nutritious sprouts right at home!
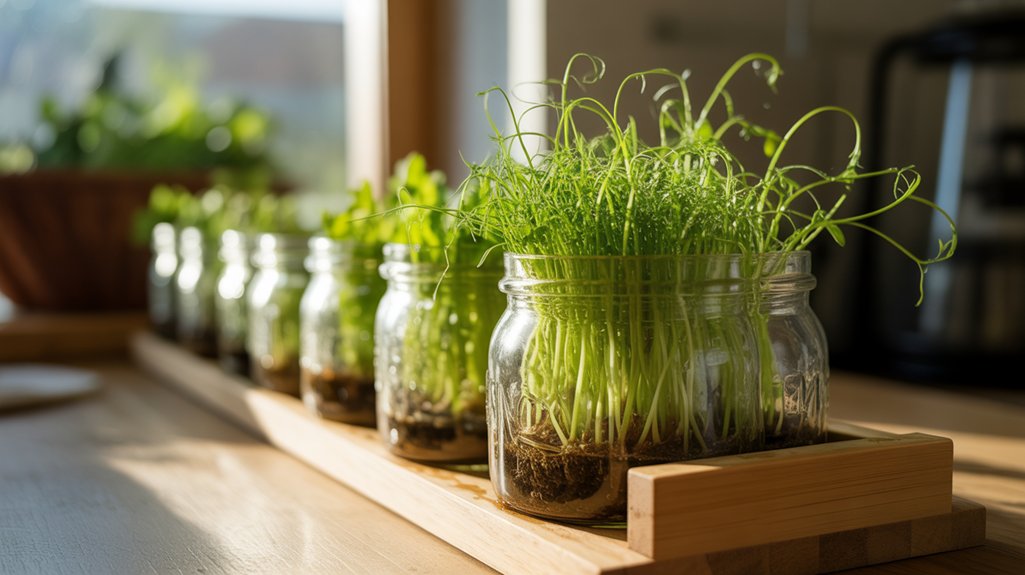
Caring for Your Sprouts
As soon as the tiny sprouts begin to emerge, caring for them becomes essential to ensure they thrive. I make sure to rinse them gently with cool water twice a day, which keeps them hydrated and helps prevent mold. It’s important to use a fine mesh strainer so the tiny sprouts don’t slip through.
I also keep them in a well-ventilated area, away from direct sunlight, to avoid overheating. Maintaining a consistent temperature between 65-75°F really helps their growth. If I notice any wilted or discolored sprouts, I remove them immediately to keep the batch healthy.
Lastly, I always wash my hands before handling my sprouts to minimize contamination. By following these simple steps, I can enjoy vibrant, healthy sprouts at home!
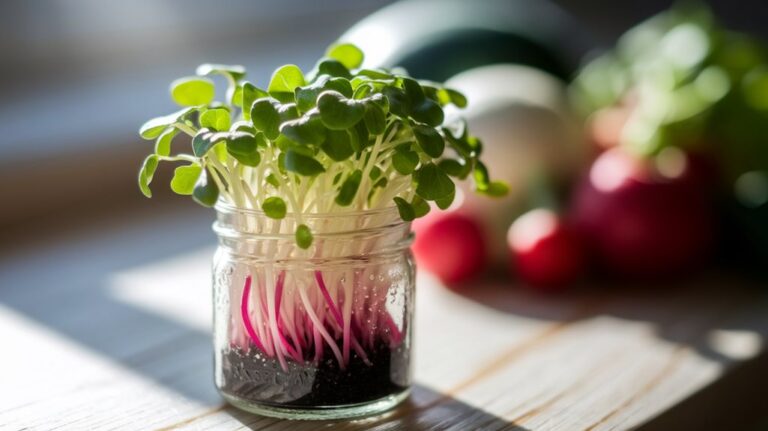
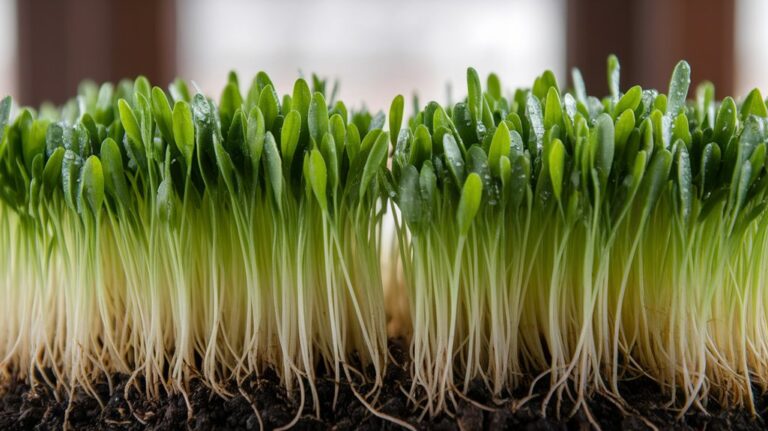
Harvesting and Storing Your Sprouts
When the sprouts reach about 1-2 inches in height, it’s time for me to harvest them for the best flavor and nutrition. I simply rinse them under cool water and gently shake off any excess moisture. Using clean scissors, I snip the sprouts just above the jar or tray.
To store them, I place the harvested sprouts in a breathable container like a paper bag or a glass jar lined with a paper towel to absorb moisture. Here’s a quick reference table for your convenience:
| Storage Method | Duration |
|---|---|
| Refrigerator | 3-5 days |
| Freezer (blanched) | Up to 6 months |
| Room Temperature | 1-2 days |
| Airtight Container | 3-4 days |
Enjoy your fresh, home-grown sprouts!
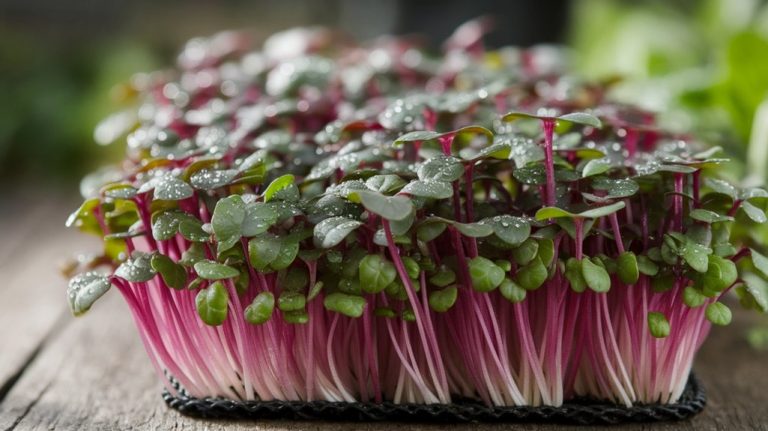
Nutritional Benefits of Sprouts
Although I’ve always appreciated fresh flavors in my meals, the nutritional benefits of sprouts truly elevate their appeal.
These tiny powerhouses pack a serious punch, making them a must-have in my kitchen. Here are three reasons why I love including sprouts in my diet:
- Rich in Nutrients: Sprouts are loaded with vitamins, minerals, and antioxidants that help boost overall health.
- Easily Digestible: The sprouting process breaks down complex carbohydrates, making nutrients easier for our bodies to absorb.
- Low in Calories: They provide a fresh, crunchy addition without adding many calories, perfect for maintaining a balanced diet.
Creative Ways to Use Sprouts in Your Meals
Sprouts bring a delightful crunch and a burst of flavor to any dish, making them a versatile ingredient in my kitchen. I’ve discovered creative ways to incorporate them into meals that not only enhance taste but also boost nutrition. Here are some ideas to inspire you:
| Meal Type | Usage | Suggested Sprouts |
|---|---|---|
| Salads | Toss in for crunch | Alfalfa, Radish |
| Sandwiches | Layer for added texture | Broccoli, Pea |
| Smoothies | Blend for nutrition | Mung Bean, Lentil |
| Stir-fries | Stir in at the end | Clover, Sunflower |
These simple additions can transform ordinary meals into exciting, nutrient-rich dishes. Give them a try, and enjoy the freshness sprouts bring!
Frequently Asked Questions
How Long Can I Store Unharvested Sprouts?
I’ve found that unharvested sprouts can typically last around 5 to 7 days if stored properly in a cool, dark place.
Keeping them in a breathable container helps maintain freshness.
I usually check them daily for any signs of spoilage or mold.
If you notice any off smells or discoloration, it’s best to discard them.
Can I Sprout Seeds From My Kitchen Pantry?
Absolutely, you can sprout seeds from your kitchen pantry!
I often use seeds like mung beans or lentils that I keep on hand. Just rinse them well, soak them overnight, and then place them in a jar with a breathable lid.
Rinse and drain daily, and in just a few days, you’ll have fresh sprouts ready to enjoy.
It’s a simple, eco-friendly way to add nutrition to my meals without any fuss!
Are There Any Risks Associated With Sprouting at Home?
Yes, there are some risks associated with sprouting at home.
I’ve found that improper sanitation can lead to contamination, which might cause foodborne illnesses. It’s crucial to use clean equipment and rinsing methods.
I always soak my seeds properly and keep them in a well-ventilated area to prevent mold.
What Is the Best Temperature for Sprouting Seeds?
The best temperature for sprouting seeds is typically between 65°F and 75°F (18°C to 24°C).
I’ve found that maintaining this range helps my seeds germinate effectively. If it gets too cold, the seeds might take longer to sprout, and if it’s too hot, they could spoil.
I always keep an eye on the temperature and adjust accordingly, ensuring a cozy environment for my little sprouts to thrive.
How Often Should I Rinse My Sprouts During Growth?
I rinse my sprouts about two to three times a day during their growth. This keeps them hydrated and helps prevent mold.
I fill my sprouting jar with water, then gently swish it around before draining it thoroughly.
It’s important to keep the sprouts moist but not soggy. This routine not only boosts their growth but also ensures I get the freshest, healthiest sprouts possible.
Happy sprouting!
Conclusion
Growing organic sprouts at home is not only easy but also a rewarding way to enhance your meals with fresh, nutrient-rich ingredients. By choosing the right seeds and following simple steps, you can cultivate your own healthy greens without soil or chemicals. Plus, the versatility of sprouts means you can enjoy them in salads, sandwiches, or smoothies. So, why not give it a try? You’ll be amazed at how simple it is to bring the garden to your kitchen!