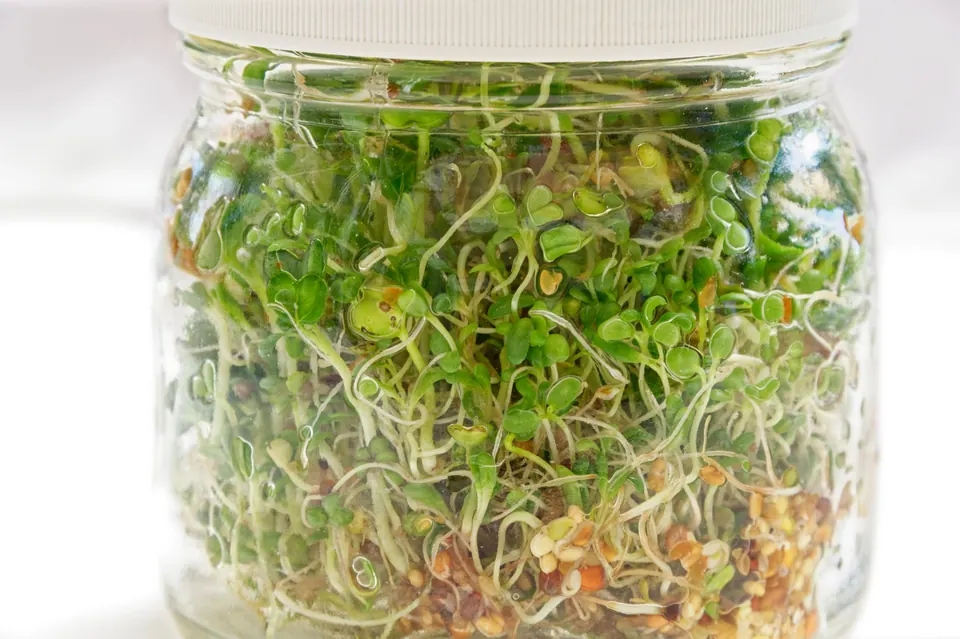
What you'll need
- A wide-mouth glass jar, 1 quart (1 liter)
- A mesh sprouting lid
- Seed sold for sprouting
- A bowl or rack to drain the jar upside down
- Optional: a tray sprouter for small seeds
Short answer: put 1 to 2 tablespoons of small seed, or ½ cup of beans, in a wide-mouth jar with a mesh lid. Soak it in cool water, from 1 to 12 hours depending on the seed. Drain it, then rinse and drain twice a day, keeping the jar upside down at an angle out of direct sun. Harvest in 2 to 6 days, dry the sprouts for a few hours and refrigerate them.
What are sprouts?
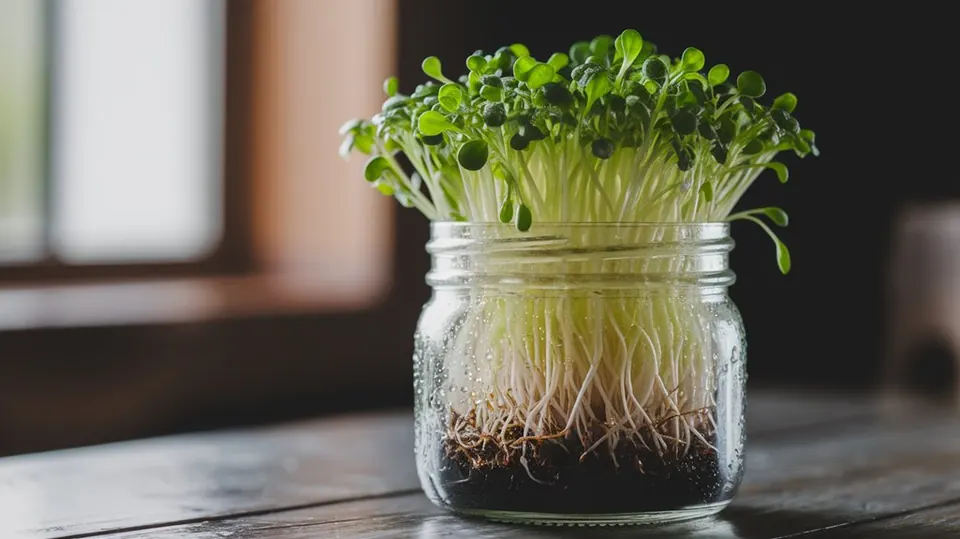
Sprouts are seeds in their first few days of growth. When you soak a seed, it takes up water and wakes up. Within a day or two it pushes out a small root, then a stem, and for many seeds two small leaves. You eat the whole thing.
Sprouts are the fastest food you can grow. They don't need soil or light, and they take up a few inches of counter space. For an overview of the different types, see the sprouts hub.
How to grow sprouts: what you need
You need very little to start:
- A jar. A wide-mouth glass jar, about 1 quart (1 liter), works for most seeds. Mason jars are ideal.
- A mesh lid. A sprouting lid screws onto a mason jar and lets water drain out while the seeds stay in. Cheesecloth and a rubber band also work.
- Seed sold for sprouting. This is the most important thing to get right. See below.
- A bowl or rack. You'll leave the jar upside down at an angle so it drains.
Later, you may want a tray sprouter for small seeds or a hemp bag for beans. Our sprouting kit and supplies guide covers the options.
Step 1: Choose your seed
Use seed sold for sprouting. Garden seed may be coated with fungicide and isn't meant to be eaten. Bulk food seed can be old or heat-treated, so it sprouts poorly. Sprouting seed is fresh and handled with eating in mind. Read more in our guide to sprouting seeds.
If you're new, start with one of these:
| Seed | Soak | Ready in | Amount per quart jar | Taste |
|---|---|---|---|---|
| Mung beans | 6–8 h | 2–3 days | ½ cup | Mild, crunchy |
| Lentils | 6–12 h | 2–3 days | ½ cup | Earthy, crunchy |
| Chickpeas | 6–12 h | 2–3 days | ½ cup | Nutty |
| Alfalfa | 4–12 h | 5 days | 1 tbsp | Mild, grassy |
| Clover | 4–8 h | 4–5 days | 1 tbsp | Mild, sweet |
| Broccoli | 1–2 h | 4–5 days | 1–2 tbsp | Mild, peppery |
| Radish | 4–8 h | 4–5 days | 1 tbsp | Hot, peppery |
| Fenugreek | 6–12 h | 3–5 days | 2 tbsp | Bitter, maple-like |
For every seed, see the sprouting calendar or the Seed Library.
Step 2: Rinse and soak
Put the seed in the jar and rinse it once to wash off dust. Then fill the jar with cool water, about three times the volume of the seed, and let it soak.
How long depends on the seed:
| Seed type | Examples | Soak time |
|---|---|---|
| Small brassica seeds | Broccoli, kale, bok choy | 1–4 hours |
| Small legume seeds | Alfalfa, clover | 4–12 hours |
| Medium seeds | Radish, quinoa, fenugreek | 4–12 hours |
| Beans, peas and grains | Mung, lentil, chickpea, wheat | 6–12 hours |
| Gel-forming seeds | Chia, basil, cress, arugula | Don't soak |
Some small seeds lose germination if they soak too long. Sprouting.com warns that broccoli soaked for more than 2 hours can stop sprouting, so follow the soak time for each seed.1
Gel-forming seeds don't go in a jar. Chia, basil, cress, flax and arugula form a sticky gel when wet. Instead of soaking them, sprinkle them dry onto a damp plate or tray and mist them. See how to sprout chia.
Step 3: Drain completely
Pour the soak water out through the lid. Then tap the jar against your palm, turn it and tap again until no more drips come out. Set it upside down at an angle in a bowl or on a rack so any remaining water can run out and air can move through.
This is the step that decides whether your sprouts succeed. Seeds need to stay damp, never wet. Water sitting in the bottom of the jar is the number one cause of sour or moldy batches.
Step 4: Rinse and drain twice a day
Every morning and evening:
- Fill the jar with cool water.
- Swirl it gently to rinse every seed.
- Drain it completely and tap it dry.
- Put it back upside down at an angle.
That's about a minute each time. The rinse keeps the sprouts cool and evenly moist. In hot weather, above about 80°F (27°C), add a third rinse.
For small seeds like alfalfa, gently shake or roll the jar after rinsing to loosen the mat of roots, so the middle gets air.
Where to keep the jar
- Temperature: 65 to 75°F (18 to 24°C) is ideal for most seeds. Colder rooms add days; hot rooms raise the risk of spoilage.
- Light: out of direct sun. Sun through glass heats the jar quickly. Bean sprouts are best kept completely dark.
- Air: somewhere with a little airflow, not inside a closed cupboard with no gaps, unless you're growing bean sprouts.
Step 5: Green them up (optional)
On the last day, leafy sprouts like alfalfa, broccoli, clover and radish can sit near a bright window, out of direct sun, for 4 to 8 hours. The small leaves turn green. This is optional. It changes the colour and adds a little flavour, but it doesn't make or break the batch.
Skip this step for bean sprouts. Light makes mung and soybean sprouts green and bitter.
Step 6: Harvest, dry and store
Your sprouts are ready when:
- Beans and lentils have tails about as long as the bean, usually day 2 or 3.
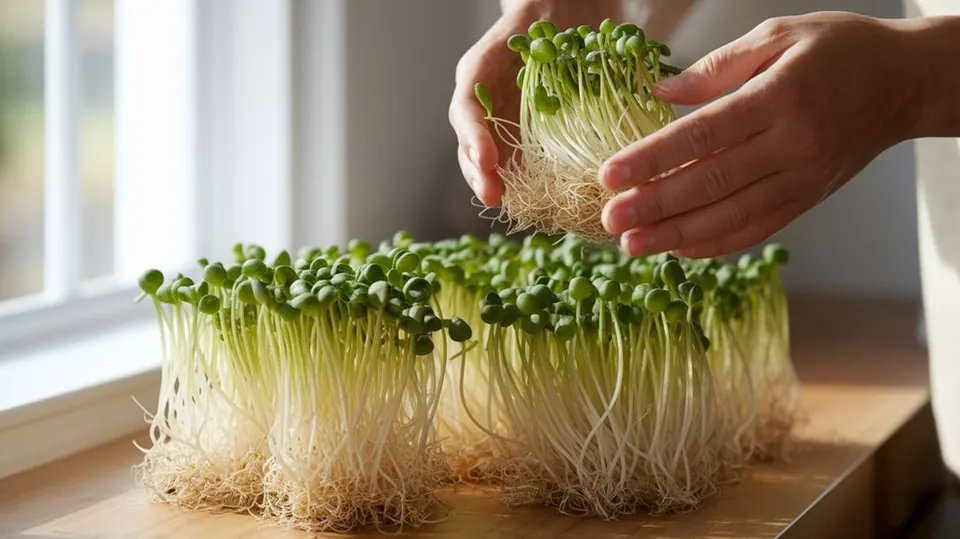
- Small salad seeds have opened their two small leaves, usually day 4 or 5.
Give them a final rinse. If you like, swish small sprouts in a big bowl of water to float off loose hulls. Then dry them: drain them for several hours, or spin them in a salad spinner.
Store them in the fridge in a covered container lined with a paper towel. Dry sprouts keep about 5 to 7 days for small leafy seeds and 3 to 5 days for beans. Wet sprouts spoil in half that time. See how to harvest and store sprouts.
How to grow sprouts in your first jar, day by day
Here's a full example using alfalfa, the classic beginner sprout:
- Day0
Evening: rinse and soak
Put 1 tablespoon of alfalfa seed in a quart jar. Rinse it, then cover with a cup of cool water and leave it overnight.
- Day1
Morning: drain
Drain the water, tap the jar dry and set it upside down at an angle in a bowl.
- Day1–4
Rinse morning and evening
Fill the jar and swirl it, then drain and tap it dry, twice a day. Roll the jar gently to spread the sprouts along the glass.
- Day5
Green up
When the leaves have opened, move the jar near a bright window for a few hours, out of direct sun.
- Day5
Harvest and dry
Rinse once more, skim off loose hulls if you like, then drain or spin dry. Refrigerate.
For a three-step version, see sprouting in a mason jar.
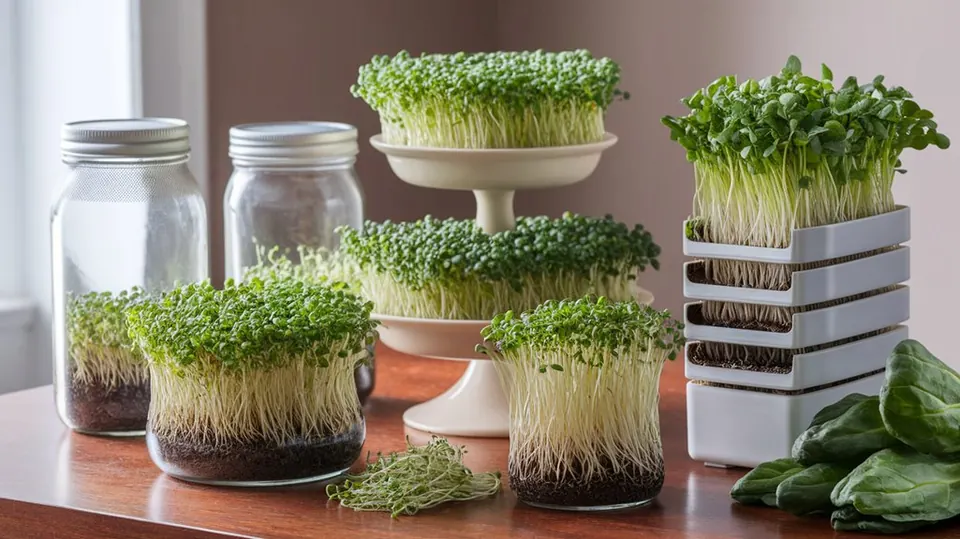
Jars, trays and other sprouters
The jar is the easiest place to start, but it isn't the only way.
| Method | Best for | Pros | Cons |
|---|---|---|---|
| Glass jar + mesh lid | Most seeds | Cheap, simple, easy to clean | Small seeds can mat and stay wet |
| Tray sprouter | Small seeds | Spreads seeds thin, great airflow | More pieces to wash |
| Hemp bag | Beans and grains | Drains on its own, no glass to break | Hard to see inside |
| Clay tower | Several small batches at once | Holds moisture evenly | Takes more counter space |
| Plate or clay dish | Gel-forming seeds | The only easy way for chia and cress | Small harvests |
Compare them in best sprouter: jars vs trays vs towers vs bags.
Keeping a steady supply
Sprouts keep about a week at most, so it's better to grow small batches often than one big batch. A simple routine:
- Start a new jar every 2 or 3 days.
- Keep two or three jars going at different stages.
- Mix fast and slow seeds: a bean jar is ready in 2 to 3 days, while a salad seed jar takes 5.
The sprouting calculator gives you the harvest date for any seed and start day.
Food safety
Raw sprouts carry a real food-safety risk. The warm, damp conditions that sprout seeds also suit bacteria such as Salmonella, Listeria and E. coli. The FDA says young children, pregnant people, older adults and anyone with a weakened immune system should not eat raw or lightly cooked sprouts of any kind.2 Health Canada advises everyone to cook sprouts well before eating them.3
Growing your own doesn't remove the risk, but you control the steps that lower it:
- Buy seed sold for sprouting. Contaminated seed is the usual source of problems, and nothing you do at home reliably fixes bad seed.
- Start clean. Wash the jar and lid in hot, soapy water before every batch and rinse well. Wash your hands before handling sprouts.
- Drain completely every time you rinse.
- Refrigerate promptly once the sprouts are dry.
- Throw out any batch that smells sour or musty, feels slimy or shows colored fuzz. Rinsing won't save it.
- Cook them if you're in a higher-risk group, or if you'd rather be safe. Most sprouts are delicious stir-fried or added to soup.
Read the full sprout safety guide.
Common problems and fixes
| Problem | Likely cause | Fix |
|---|---|---|
| Seeds won't sprout | Old, split or heat-treated seed, or a cold room | Use fresh seed sold for sprouting. Keep the jar above 65°F (18°C) |
| Only some seeds sprout | Old seed, or soaked too long | Check the soak time for that seed. Replace seed if two batches fail |
| Sour or musty smell | Water trapped in the jar, or too much seed | Throw it out. Use less seed and drain at a steeper angle |
| Slimy sprouts | Not draining well | Throw them out. Tap the jar dry after every rinse |
| White fuzz on day 2–3 | Root hairs (normal) | Rinse. If it flattens, it's root hairs |
| Gray, black or colored fuzz | Mold | Throw the batch out and clean the jar well |
| Bitter sprouts | Grown too long or in too much light | Harvest a day earlier. Keep bean sprouts dark |
| Short shelf life | Stored wet | Dry for several hours before refrigerating |
For more, see sprouting problems and fixes and mold on sprouts vs root hairs.
What to do with your sprouts
- Pile leafy sprouts onto sandwiches and salads.
- Stir bean sprouts into stir-fries, noodle soups and fried rice at the end.
- Add lentil and chickpea sprouts to curries and soups.
- Blend them into pesto or smoothies.
Browse all our sprout recipes, or start with 25 easy ways to eat sprouts.
Next steps
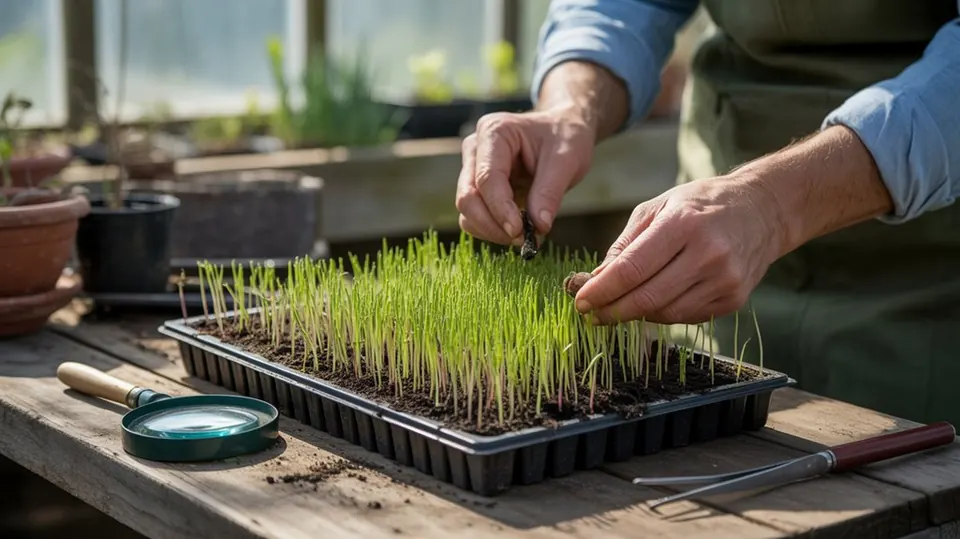
- Ready for something leafier? Try growing microgreens.
- Want the full seed list? Browse the Seed Library.
- Need seed? Read our guide to sprouting seeds.
Frequently asked questions
How long does it take to grow sprouts?
Two to six days, depending on the seed. Beans and lentils are ready in 2 to 3 days. Small salad seeds like alfalfa, broccoli and radish take 4 to 5 days. Onion and garlic chives take 10 days or more.
Do sprouts need sunlight?
No. Sprouts grow on the energy stored in the seed, so they don't need light. Keep the jar out of direct sun, which overheats it. A few hours of indirect light at the end greens up leafy sprouts, but bean sprouts taste best kept dark.
How often should I rinse sprouts?
Twice a day is enough for most seeds in a normal kitchen. In hot weather, above about 80°F (27°C), rinse three times a day. Always drain them completely afterwards.
Can I use tap water to grow sprouts?
Yes. Clean drinking water from the tap works well for most people. If your water is heavily chlorinated and the sprouts grow slowly, try filtered water or let tap water stand for a few hours first.
What are the easiest seeds to sprout?
Mung beans, lentils and alfalfa. Mung beans and lentils are big, drain well and are ready in 2 to 3 days. Alfalfa takes about 5 days but is very forgiving. Start with one of these before trying gel-forming seeds like chia.
Why do my sprouts smell bad?
A sour or musty smell almost always means water is trapped in the jar or there's too much seed. Throw the batch out. Next time, use less seed, drain at a steeper angle and tap the jar dry after each rinse.
Is the white fuzz on my sprouts mold?
Usually not. Most sprouts grow fine white root hairs around day 2 or 3. They're even, attached to the roots, and flatten when you rinse. Mold is gray, black or colored, grows in patches and smells musty.
How long do homegrown sprouts last?
About 3 to 7 days in the fridge, depending on the seed. Bean sprouts last 3 to 5 days, and small leafy sprouts last 5 to 7. Dry them well before refrigerating, because wet sprouts spoil much faster.

Written by Michael
A passionate sprouting professional sharing practical tips for growing sprouts and microgreens at home. More about Michael