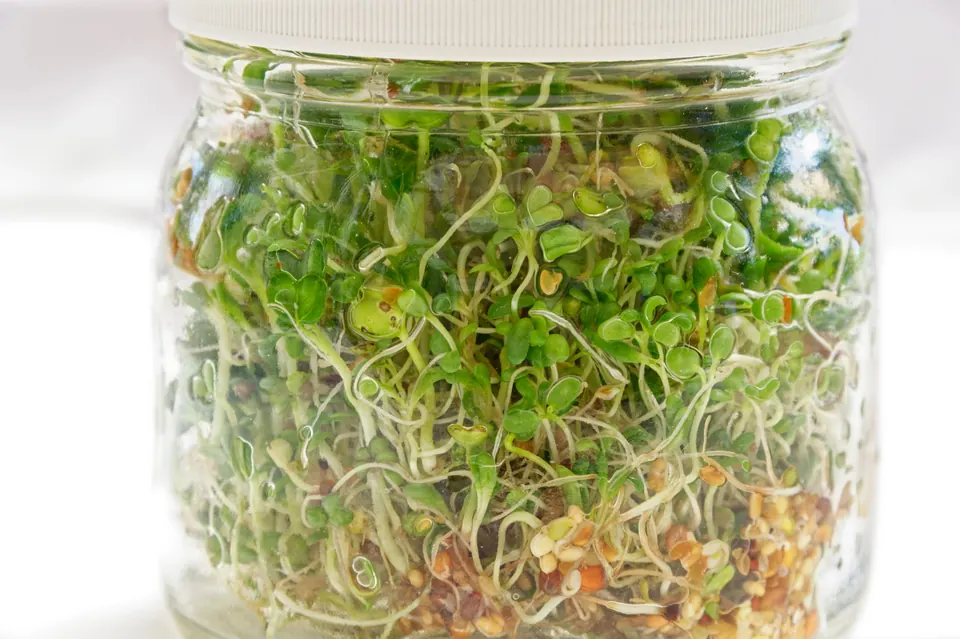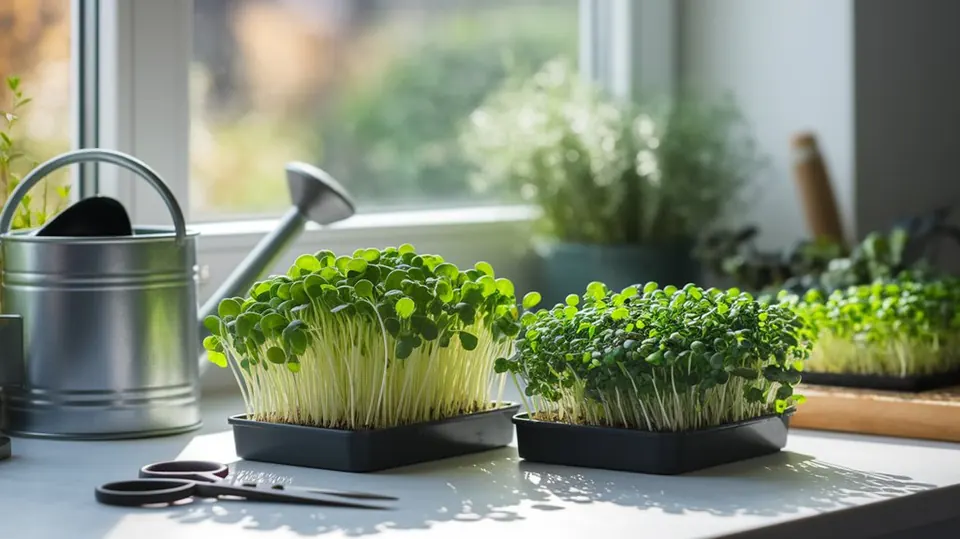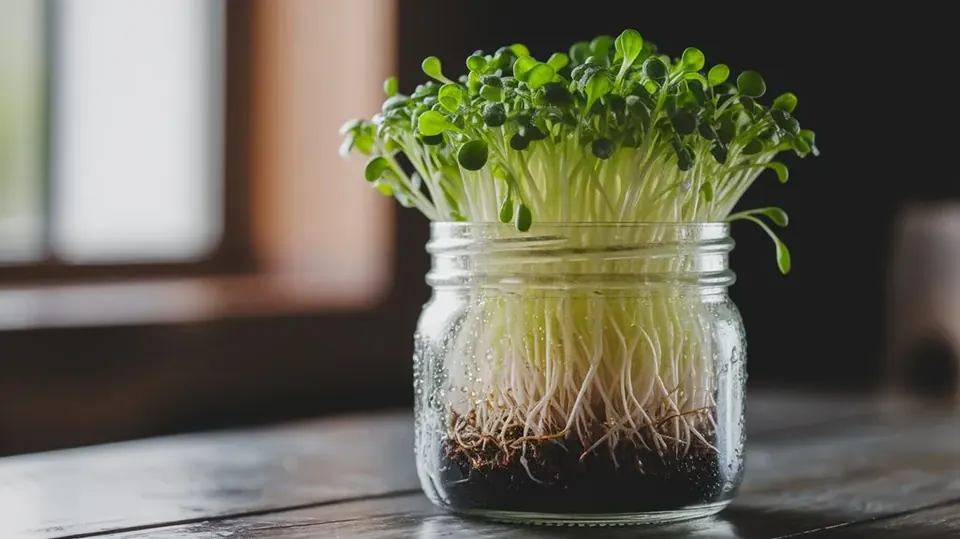
Short answer: for your first harvest, grow alfalfa or mung bean sprouts in a jar. You need a wide-mouth jar, a mesh sprouting lid and seed sold for sprouting. Soak the seed, then rinse and drain it twice a day. Mung beans are ready in 2 to 3 days and alfalfa in 5. When you're ready for more, try a tray of radish or pea shoot microgreens.
Sprouting for beginners, path 1: your first jar (5 days)
This is the easiest way to start. You need:
- A wide-mouth glass jar, about 1 quart (1 liter)
- A mesh sprouting lid
- Alfalfa seed or mung beans sold for sprouting
- A bowl to rest the jar in, upside down
- Day0
Soak
Put 1 tablespoon of alfalfa seed (or ½ cup of mung beans) in the jar. Rinse it, cover it with cool water and leave it overnight.
- Day1
Drain
Drain through the lid and tap the jar dry. Rest it upside down at an angle in a bowl, out of direct sun.
- Day1–4
Rinse twice a day
Morning and evening: fill the jar with water and swirl it, then drain and tap it dry. That's it.
- Day2–3
Mung beans are ready
If you grew mung beans, eat them when the tails are about ½ inch long. Keep them in the dark the whole time.
- Day5
Alfalfa is ready
Give alfalfa a few hours of indirect light to green up, rinse once more, dry it well and refrigerate.
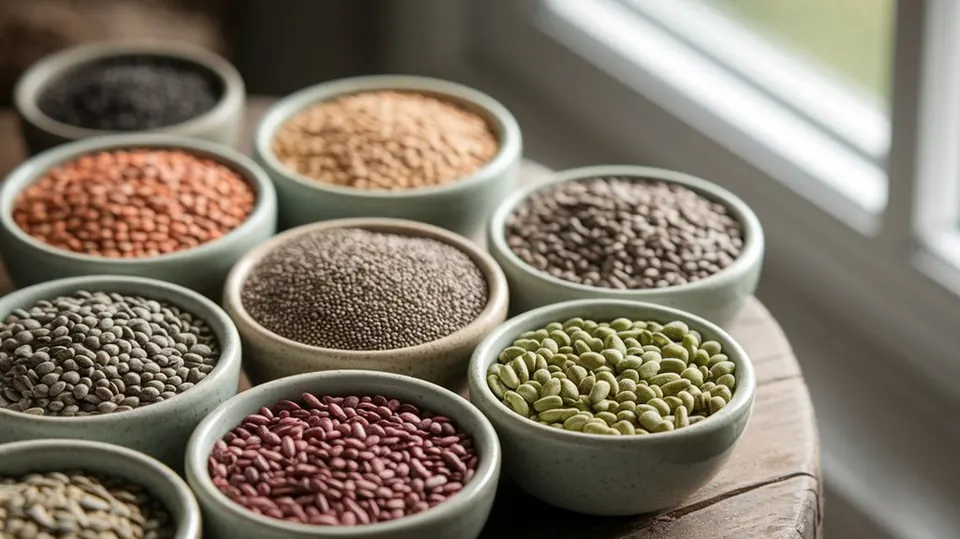
What to grow next: broccoli, radish and lentils all grow the same way. Read the full sprouting guide for soak times and troubleshooting.
Path 2: Your first tray of microgreens (10 days)
Microgreens need a little more gear but give you leafy greens with real flavour. You need:
- Two shallow trays, one with drainage holes and one without (a 10 × 20 inch tray or a 10 × 10)
- Potting mix or a grow mat
- Radish seed or peas for pea shoots
- A spray bottle and scissors
- A sunny window or a simple LED light
- Day0
Sow
Fill the tray with 1 inch of damp potting mix. Sprinkle radish seed thickly and evenly over it (about 25 to 35 g for a 10 × 20 tray). Press it in and mist.
- Day0–3
Keep it dark
Cover with the second tray. Mist once or twice a day. Fuzzy white root hairs on day 2 are normal.
- Day3
Give it light
When the seedlings lift the cover, uncover them and move the tray to a bright window or under a light.
- Day3–9
Water from below
Pour water into the bottom tray once a day, let the roots drink for 10 minutes, then tip out the rest.
- Day8–12
Harvest
Cut above the soil with scissors once the leaves are open. Store them dry in the fridge.
What to grow next: broccoli, sunflower and pea shoots. Read the full microgreens guide.
The three rules that matter most
- Use seed sold for sprouting or microgreens. Garden seed can be treated with chemicals, and old seed sprouts poorly. See sprouting seeds.
- Drain well. Damp, not wet. Standing water is the cause of almost every sour or moldy batch.
- Keep it clean and cool. Wash your jar or tray before each batch, keep it out of direct sun and refrigerate your harvest once it's dry.
A note on safety
Your first week, at a glance
| Day | Sprouts jar | Microgreens tray |
|---|---|---|
| 0 | Soak overnight | Sow and cover |
| 1 | Drain, start rinsing | Mist under cover |
| 2–3 | Mung beans ready | Root hairs appear |
| 3–4 | Keep rinsing | Uncover, give light |
| 5 | Alfalfa ready | Water from below daily |
| 8–12 | Start your next jar | Harvest |
Sprouting for beginners: where to go next
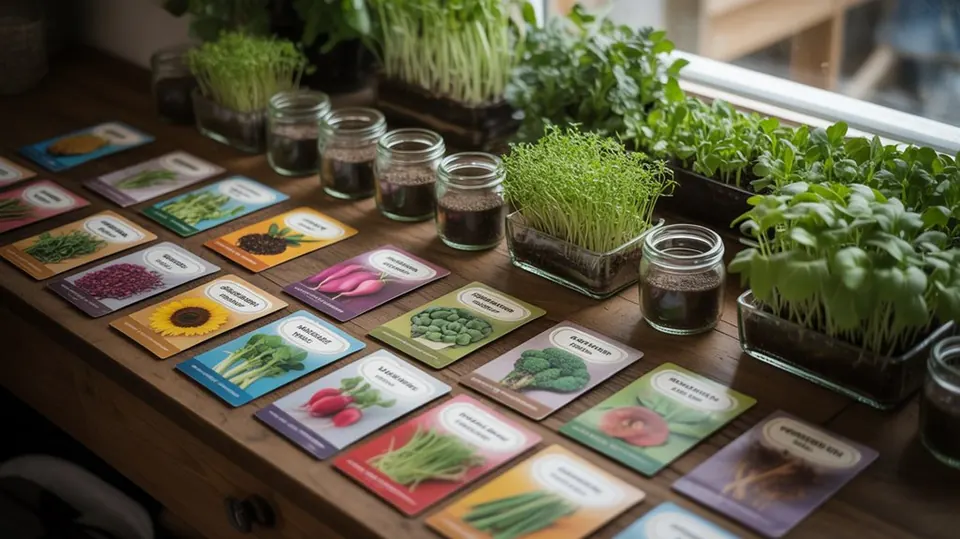
- Browse all 67 seeds in the Seed Library.
- Plan your harvests with the sprouting calendar and calculator.
- Cook what you grow: sprout recipes.
- Something gone wrong? See sprouting problems and fixes.
Frequently asked questions
Should I start with sprouts or microgreens?
Sprouts. They need only a jar and a lid, they're ready in 2 to 5 days, and they teach you the basics of soaking and rinsing. Once you've grown a couple of jars, microgreens are an easy next step.
How much does it cost to start sprouting?
Very little. A mason jar, a mesh sprouting lid and a small bag of seed are all you need. Many people already have the jar. A small bag of seed makes several batches.
What if my first batch fails?
It happens to everyone. The usual cause is too much seed or water left in the jar. Throw the batch out, use a little less seed, drain well after every rinse, and try again. Most second batches work.
How much time does sprouting take each day?
About two minutes: one quick rinse and drain in the morning and one in the evening. Microgreens need about the same, plus watering from below once a day.

Written by Michael
A passionate sprouting professional sharing practical tips for growing sprouts and microgreens at home. More about Michael