How to Harvest Microgreens Like a Pro (and Keep Them Fresh Longer)
To harvest microgreens like a pro, I always wait until the seedlings show their first true leaves, which usually takes 7 to 21 days. I use sharp scissors to cut just above the soil line in the morning for optimal hydration. After harvesting, I gently rinse them, pat them dry, and store them in breathable containers in the fridge to keep them fresh longer. There’s more to effective techniques and tools that will help boost your harvesting game.
Key Takeaways
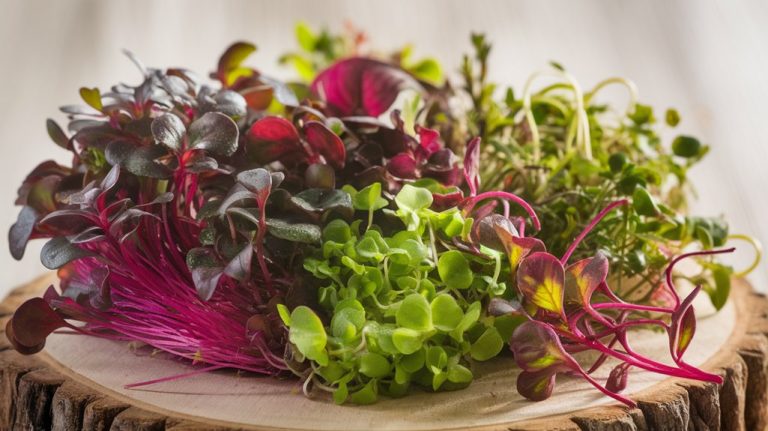
- Harvest microgreens when they develop true leaves for optimal flavor and nutrient density.
- Use sharp scissors and cut just above the soil line to maximize yield and minimize plant stress.
- Rinse harvested greens gently with cool water, pat dry, and inspect for quality before storage.
- Store microgreens in breathable containers in the fridge, adding a damp paper towel for moisture.
- Avoid stacking heavy items on top to prevent bruising and crushing of the delicate microgreens.
Choosing the Right Time to Harvest

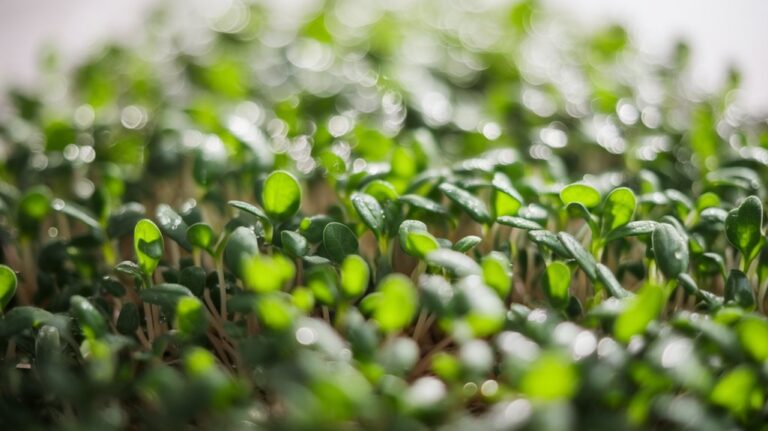
When I’m ready to harvest my microgreens, timing becomes crucial for achieving the best flavor and nutrient density. I usually wait until the seedlings have developed their first true leaves, which is typically around 7 to 21 days after planting, depending on the variety.
If I wait too long, the greens can become bitter or tough. I also pay attention to the color; vibrant greens indicate peak freshness.
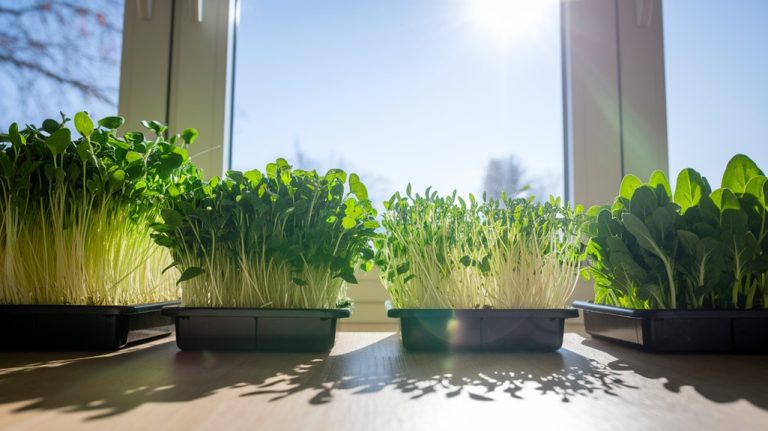
Another tip is to check the moisture level in the soil; overly dry conditions can affect taste and nutrients. Harvesting in the morning, when the plants are full of moisture, also enhances flavor.
Mastering the Cutting Techniques
After determining the optimal time to harvest, mastering the cutting techniques is the next step to ensure your microgreens stay fresh and flavorful.
I’ve found that the way you cut can make all the difference. Here are a few tips I swear by:
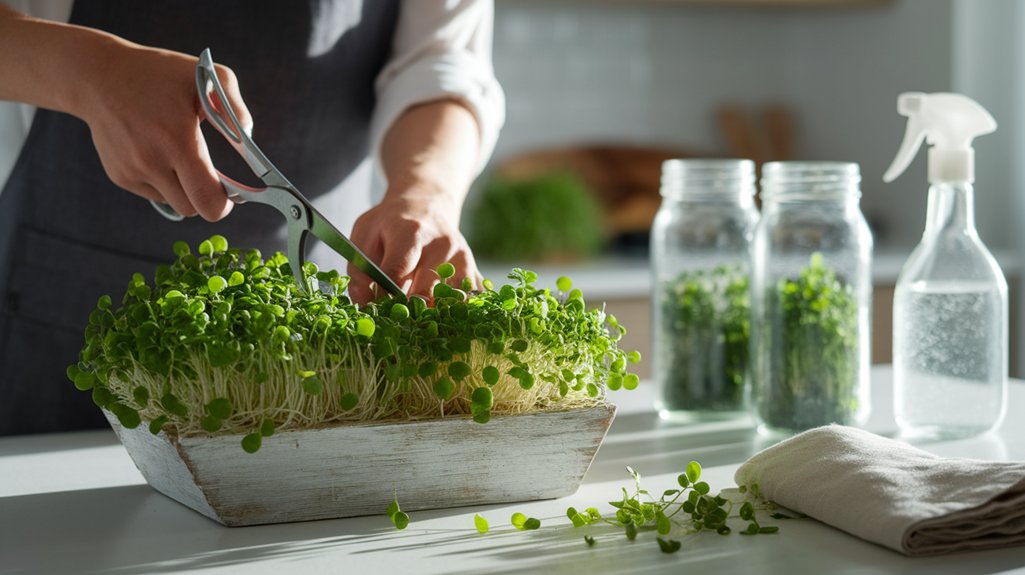
- Use sharp scissors: A clean cut prevents damage and promotes freshness.
- Cut just above the soil line: This method maximizes yield while minimizing stress on the plants.
- Harvest in the morning: The greens are more hydrated and resilient, making for a better cutting experience.
Tools You’ll Need for Efficient Harvesting
Having the right tools at your disposal can make all the difference in harvesting microgreens efficiently. I’ve found that a few essential items can streamline the process and ensure I get the best results. Here’s a quick rundown of what you’ll need:
| Tool | Purpose | Tips |
|---|---|---|
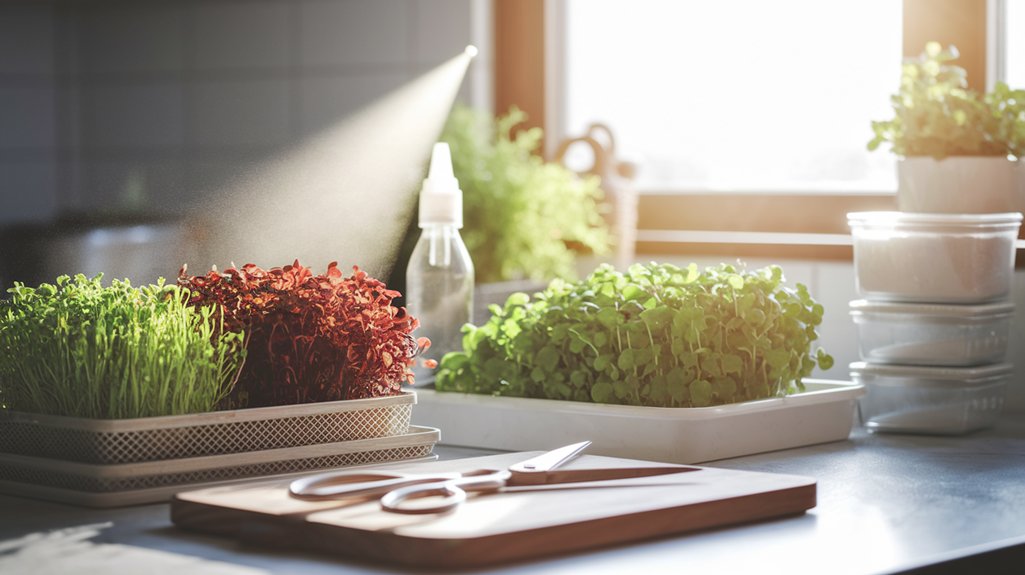
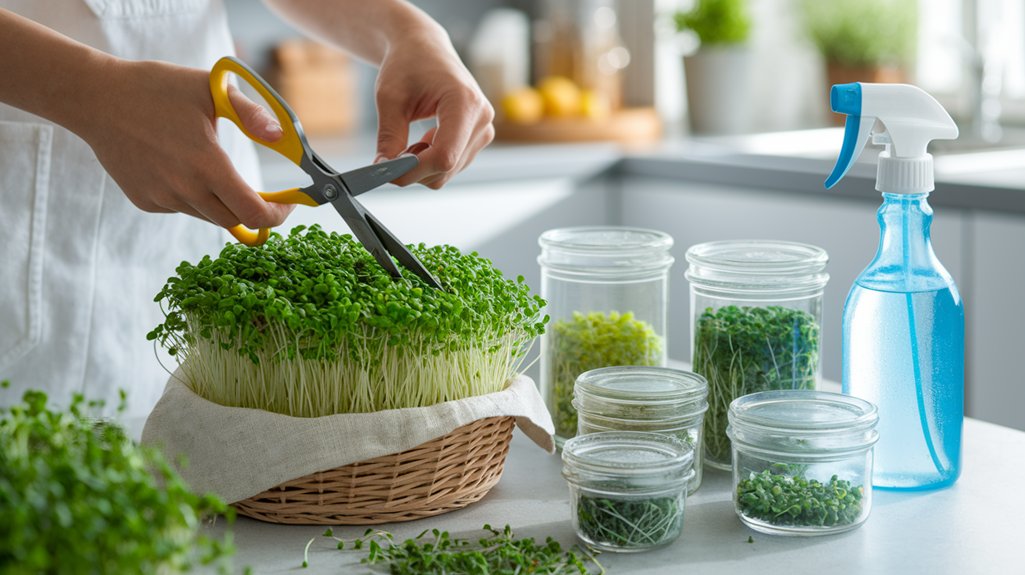
| Sharp Scissors | For precise cutting | Use clean, sharp blades |
| Harvest Tray | To catch and collect greens | Choose the right size |
| Spray Bottle | To mist and keep moisture | Keep it filled with water |
With these tools, I can harvest quickly and effectively, making the experience more enjoyable. By being prepared, I not only save time but also enhance the quality of my microgreens!
Proper Handling and Cleaning After Harvest
Once I’ve harvested my microgreens, I make it a priority to handle and clean them properly to maintain their freshness and flavor.
Here’s how I do it:
- I gently rinse them under cool water to remove any dirt or debris.
- I pat them dry with a clean kitchen towel or use a salad spinner to avoid bruising.
- I inspect each microgreen, discarding any that look wilted or damaged.
Best Storage Practices for Longevity
To ensure your microgreens stay fresh and flavorful for as long as possible, it’s essential to store them correctly right after harvesting.
I always place my microgreens in a breathable container, like a paper bag or a vented plastic container. This helps maintain airflow, preventing moisture buildup.
I also make it a point to keep them in the refrigerator, ideally in the crisper drawer where humidity levels are just right.
If I’m not using them immediately, I lightly dampen a paper towel and place it in the container to keep them hydrated without making them soggy.
Lastly, I avoid stacking heavy items on top, as that can crush them.
Following these simple steps extends their shelf life significantly!
Frequently Asked Questions
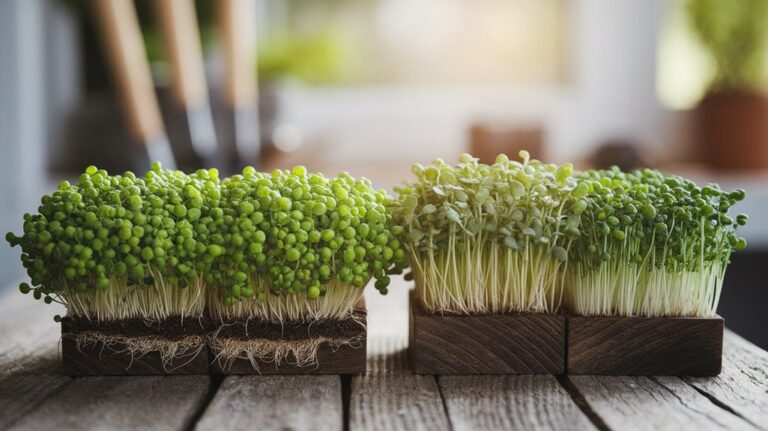
Are There Specific Microgreens That Are Easier to Harvest?
Absolutely, I’ve found that some microgreens are easier to harvest than others.
For instance, radish and pea shoots tend to grow tall and sturdy, making them simple to cut without damaging the plants.
On the other hand, delicate varieties like basil or cilantro require a gentler touch.
When I harvest, I always look for those with thicker stems—they’re much more forgiving and easier to handle, giving me a smoother experience overall.
How Can I Tell if Microgreens Are Ready to Eat?
I can tell when my microgreens are ready to eat by looking for a few key signs.
Their leaves should be vibrant and fully formed, usually around 1-3 inches tall, depending on the variety. I also check for a rich color that indicates healthy growth.
Additionally, I taste a few to ensure they’ve that fresh, crisp flavor.
Once I see these signs, I know it’s time to enjoy my homegrown greens!
Can I Harvest Microgreens More Than Once?
Absolutely, you can harvest microgreens more than once, but it depends on the type.
I usually cut them just above the soil line, allowing the plant to regrow.
After the first harvest, I’ve found that some varieties, like basil or cilantro, can produce a second crop, while others mightn’t thrive.
Just make sure you’re giving them enough light and water to encourage regrowth.
Enjoy your fresh microgreens!
What Nutrients Do Microgreens Provide After Harvesting?
Microgreens pack a nutritional punch!
After harvesting, they’re rich in vitamins like A, C, E, and K, along with minerals such as iron and calcium. I love adding them to my meals for an extra boost.
Plus, they contain antioxidants that help protect my body from damage.
It’s amazing how these tiny greens can enhance my diet, providing flavors and nutrients that make my dishes not just healthier, but tastier too!
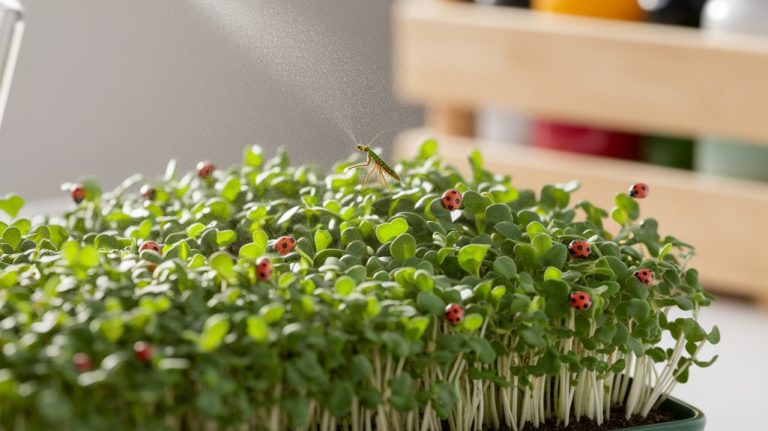
How Do I Prevent Pests on My Microgreens Before Harvest?
To prevent pests on my microgreens, I focus on maintaining a clean growing environment.
I make sure to use sterile soil and containers, and I regularly inspect my plants for any signs of unwanted visitors.
I also introduce beneficial insects, like ladybugs, and occasionally mist my microgreens with a diluted neem oil solution.
Keeping good air circulation and avoiding overwatering has really helped me minimize pest problems, ensuring a healthier harvest.
Conclusion
Now that you know how to harvest microgreens like a pro, you can enjoy their fresh flavors and vibrant colors in your meals. Remember to choose the right time to cut, use the right tools, and handle them with care. By following proper storage practices, you’ll keep your microgreens fresh longer. So go ahead, put these tips into action, and elevate your culinary creations with these nutrient-rich greens. Happy harvesting!