Turn Your Window Into Profit: Selling Microgreens Locally
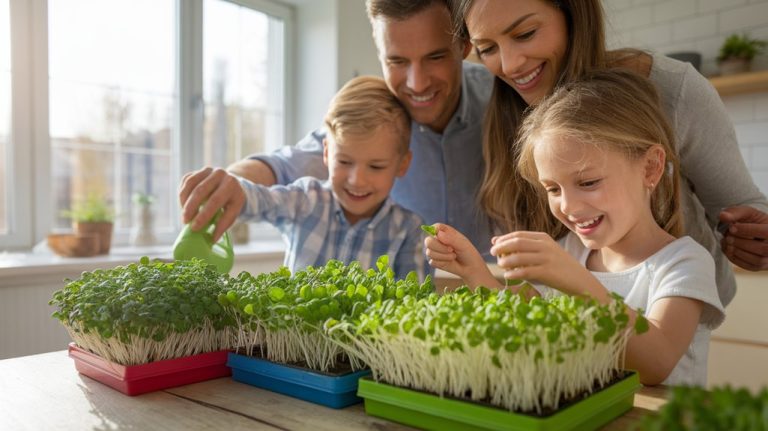
I’m excited to show you how to transform your window space into a profitable venture by growing and selling microgreens locally. These nutrient-rich plants are easy to cultivate and can attract local customers looking for fresh, flavorful ingredients. Start by choosing popular varieties that suit your community’s tastes, set up your indoor farm for optimal growth, and establish connections at local markets. If you’re eager to learn effective marketing strategies and grow your customer base, keep exploring!
Key Takeaways
- Choose popular microgreens like basil and radish that appeal to local tastes and enhance meal flavors.
- Set up your indoor farm near a window with adequate light and maintain optimal growing conditions.
- Market your microgreens at local farmers’ markets to connect directly with customers and build relationships.
- Utilize social media to share recipes and engage with your audience, showcasing the versatility of your products.
- Collaborate with local restaurants to increase visibility and create a community-focused brand around your microgreens.
Understanding Microgreens: What They Are and Why They’re Popular
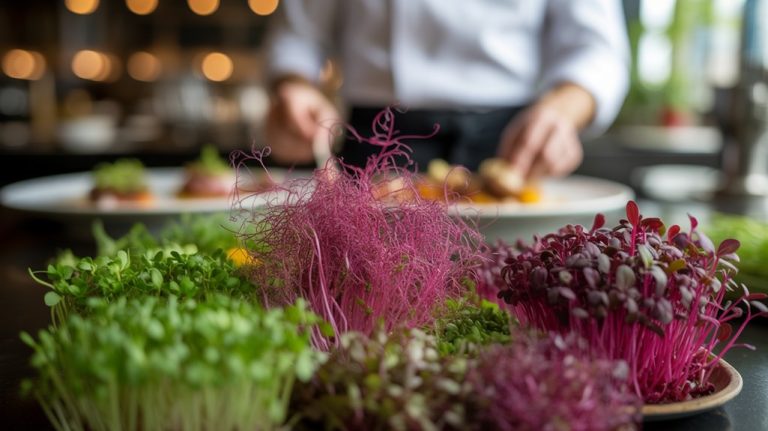
Microgreens have taken the culinary world by storm, and for good reason. These tiny, nutrient-packed plants are more than just a garnish; they’re a powerhouse of flavor and health benefits.
I’ve discovered that microgreens, harvested just after the first true leaves appear, come in various types, including radish, basil, and kale. Their vibrant colors and intense tastes elevate dishes, making them a favorite among chefs and home cooks alike.
Plus, they’re easy to grow, requiring minimal space and effort. I’ve found that incorporating microgreens into my meals not only enhances the visual appeal but also boosts nutritional value.
If you’re looking to impress your customers or friends, microgreens are a fantastic way to add sophistication and health to any dish!
Choosing the Right Microgreens for Your Market
When I think about choosing the right microgreens for my market, I focus on popular varieties that catch people’s attention.
It’s essential to assess local demand and see what flavors or benefits resonate with my community. This way, I can ensure I’m growing what sells and keeps customers coming back for more.
Popular Varieties to Grow
Choosing the right microgreens can significantly impact your success in the local market. I’ve found that some popular varieties tend to catch the eye of customers more than others.
For instance, basil and cilantro are favorites in many kitchens, adding fresh flavor to dishes. Radish microgreens, with their peppery taste and vibrant color, are perfect for salads and sandwiches.
Then there’s sunflower, which isn’t only nutritious but also visually appealing. Pea shoots are another great choice; they’re sweet and versatile.
I recommend starting with a few of these varieties to gauge interest. By focusing on what’s popular, you’ll increase your chances of selling out and building a loyal customer base in your community.
Assessing Local Demand
How can you ensure that your microgreens business thrives in your local market? Start by assessing local demand to choose the right varieties. Here’s how I approach it:
- Visit Local Farmers’ Markets: Observe what’s popular and talk to vendors about their sales.
- Survey Potential Customers: Ask friends, family, and local chefs about their favorite microgreens.
- Check Online Groups: Join local foodie forums or social media groups to see what people are excited about.
- Study Seasonality: Identify which microgreens are in demand during different seasons to plan your planting schedule.
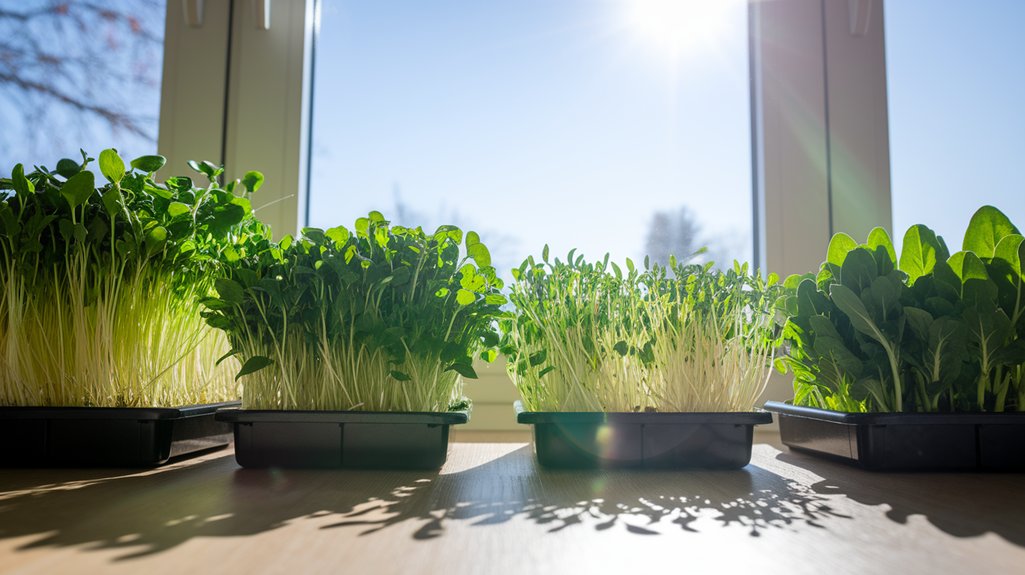
Setting Up Your Indoor Microgreen Farm
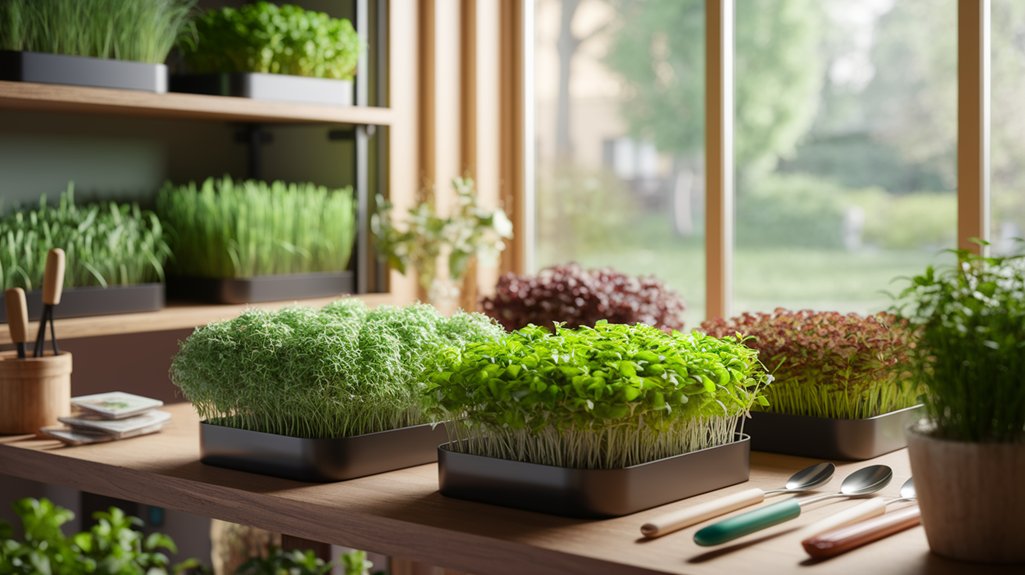
As I set up my indoor microgreen farm, I quickly realized that creating the right environment is crucial for success.
I chose a well-lit area, ideally near a south-facing window, to ensure my greens get enough sunlight. If natural light isn’t sufficient, I invested in grow lights to mimic sunlight.
Next, I set up shelves to maximize space, stacking trays of microgreens vertically. I also focused on temperature and humidity, aiming for a consistent range between 60-75°F and about 50-70% humidity.
Using seedling trays with drainage holes, I made sure the soil stays moist but not soggy.
Lastly, I organized my supplies—seeds, soil, and water—so that everything is easily accessible.
This setup laid the foundation for a thriving microgreen business.
Growing Techniques: Tips for Healthy Microgreens
With my indoor microgreen farm set up, the next step is mastering the growing techniques that lead to healthy, vibrant greens.
Here are some tips that I’ve found essential:
- Choose Quality Seeds: Always select high-quality, organic seeds for the best flavor and nutrition.
- Use the Right Soil: A lightweight, well-draining soil mix promotes healthy root development.
- Control Moisture: Keep the soil evenly moist but never soggy; overwatering can lead to mold.
- Provide Adequate Light: Ensure your microgreens get plenty of light, ideally 12-16 hours a day, to encourage strong growth.
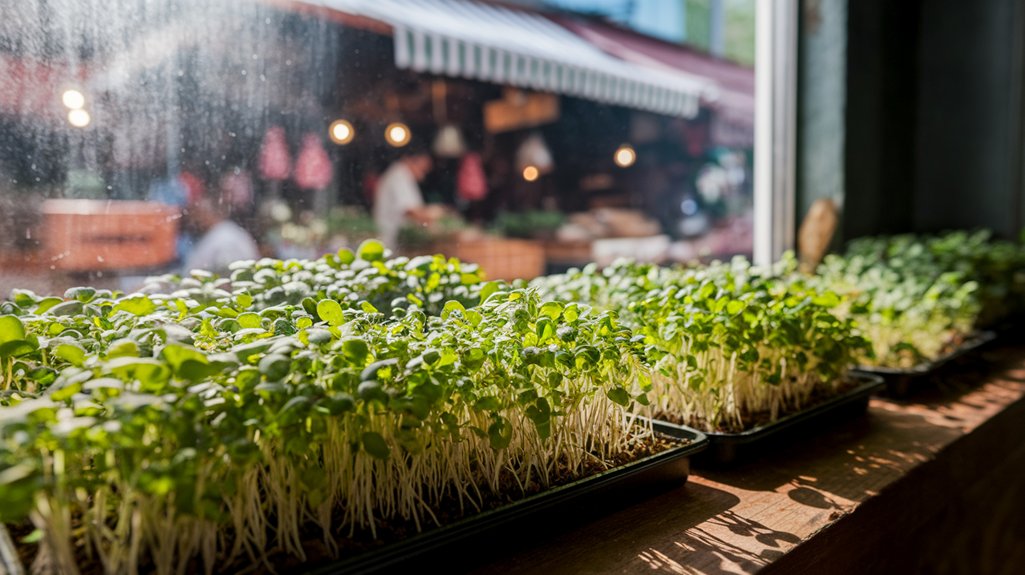
Harvesting and Packaging for Sale
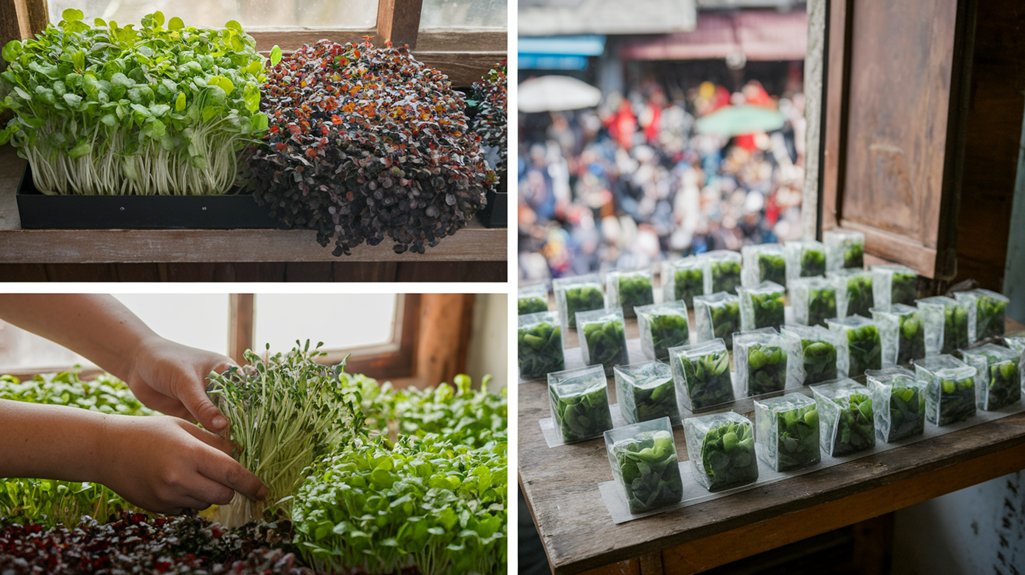
Once I’ve nurtured my microgreens to maturity, the next crucial step is harvesting and packaging them for sale. I carefully cut the greens just above the soil line, using a sharp knife to ensure a clean cut. Timing is key; I harvest in the morning for peak freshness.
For packaging, I opt for breathable containers to keep them fresh. Here’s a quick guide to my process:
| Step | Description |
|---|---|
| 1. Harvest | Cut microgreens above soil |
| 2. Rinse | Gently wash to remove debris |
| 3. Dry | Use paper towels to absorb water |
| 4. Pack | Place in breathable containers |
| 5. Label | Include the type and harvest date |
This ensures my microgreens stay vibrant and appealing for my customers!
Marketing Your Microgreens Locally
Although growing microgreens is an art, effectively marketing them is just as vital to my business’s success. I’ve found that a strategic approach makes all the difference.
Here’s what I focus on:
- Local Farmers’ Markets: Setting up a booth lets me connect directly with customers and showcase my products.
- Social Media: I use platforms like Instagram and Facebook to share vibrant photos and recipes, engaging with a wider audience.
- Collaborations: Partnering with local restaurants or health food stores helps me reach new customers while adding value to their menus.
- Sampling Events: Offering tastings at community events introduces my microgreens to potential buyers and builds excitement.
Building Relationships With Customers and the Community
Building strong relationships with customers and the community is essential for my microgreens business.
I find that networking with local businesses, participating in community events, and using social media effectively can create lasting connections.
Let’s explore how these strategies can boost my visibility and foster loyalty among my customers.
Networking With Local Businesses
Networking with local businesses is essential for anyone looking to sell microgreens. Building strong relationships can open doors and create opportunities. Here’s how I’ve done it:
- Visit Farmers’ Markets: I make connections with local vendors, sharing my microgreens and learning about their products.
- Collaborate with Restaurants: I reach out to chefs, offering samples and discussing how my microgreens can enhance their dishes.
- Join Local Groups: I participate in community business associations to meet like-minded entrepreneurs and exchange ideas.
- Leverage Social Media: I use platforms like Instagram to showcase my microgreens and tag local businesses, encouraging collaborations.
These strategies have helped me grow my customer base and strengthen community ties, making my microgreens more profitable.
Engaging Community Events
How can engaging in community events boost your microgreens business? Participating in local farmers’ markets, food fairs, and workshops lets you showcase your microgreens while connecting with potential customers.
I’ve discovered that setting up a booth not only increases visibility but also fosters trust. People love to meet the grower behind their food, and sharing my knowledge about microgreens creates lasting relationships.
Hosting tastings or cooking demonstrations can spark interest and encourage sales. It’s an opportunity to educate others on the health benefits and versatility of microgreens in their meals.
Plus, collaborating with local chefs or nutritionists can enhance your credibility. By actively participating in community events, I’ve seen my customer base grow, and my business thrive.
Social Media Outreach
While I’ve enjoyed connecting with my community through events, social media has become an essential tool for expanding those relationships. It allows me to engage more deeply and reach a wider audience.
Here’s how I leverage social media effectively:
- Share Recipes: I post creative ways to use microgreens, inspiring my followers to try new dishes.
- Highlight Local Partnerships: Collaborating with local chefs or businesses showcases our community and builds credibility.
- Engage with Customers: I respond to comments and messages promptly, fostering a sense of connection.
- Run Contests: Hosting giveaways keeps my audience excited and encourages sharing, increasing my reach.
Frequently Asked Questions
How Much Space Do I Need to Grow Microgreens Indoors?
When I started growing microgreens indoors, I quickly learned that you don’t need a lot of space. A simple windowsill or a small shelf can work wonders.
I’ve found that about 10 to 20 square feet is usually enough for a decent harvest. The key is to use vertical space effectively.
With proper lighting and good airflow, even a compact area can yield a bountiful crop of delicious greens.
What Is the Best Lighting for Indoor Microgreen Growth?
When it comes to lighting for indoor microgreens, I’ve found that LED grow lights work best. They provide the right spectrum for photosynthesis and don’t generate too much heat, which can harm delicate seedlings.
I typically keep my lights about 12-18 inches above the plants and run them for 12-16 hours a day. This setup ensures my microgreens thrive, giving them the bright, consistent light they need to grow strong and healthy.
Can I Grow Microgreens Without Soil?
Absolutely, you can grow microgreens without soil!
I’ve tried hydroponic methods using just water and a nutrient solution. It’s surprisingly easy!
I start by soaking seeds, then placing them in a growing tray with a moisture-retaining mat.
The key is to keep them damp and provide enough light.
Within a week, I’ve got vibrant greens ready to harvest.
If you’re up for it, I highly recommend giving it a shot!
How Long Do Microgreens Typically Take to Grow?
Microgreens typically take about 7 to 21 days to grow, depending on the variety.
I’ve found that fast-growing options like radish and mustard can be ready in just a week, while slower ones like cilantro might take closer to three weeks.
I love checking on them daily as they sprout! If you provide the right light and moisture, you’ll be amazed at how quickly they thrive.
It’s a rewarding experience, trust me!
What Are Common Pests or Diseases Affecting Microgreens?
When I started growing microgreens, I quickly learned about common pests and diseases that could affect my crops.
Aphids and fungus gnats were frequent visitors, while damping-off disease threatened my seedlings.
To tackle these issues, I keep my growing area clean and well-ventilated.
I also use neem oil as a natural pest repellent.
Staying vigilant has really helped me maintain healthy microgreens and avoid losing my hard work to pests or diseases.
Conclusion
In conclusion, turning your window into a microgreen farm can be a rewarding venture both personally and financially. By understanding your market and cultivating healthy greens, you can provide fresh, nutritious options to your local community. Remember, building relationships with your customers is just as important as the product itself. So, embrace this journey, get your hands dirty, and start growing—your window of opportunity is waiting for you!