How to Sprout Red Clover
To sprout red clover, start by choosing high-quality seeds and a clean container with drainage. Soak the seeds for 6 to 12 hours in lukewarm water, then rinse and drain thoroughly. Place the container in a warm, dark area, rinsing the seeds twice daily to keep them moist. Once sprouts appear, expose them to indirect sunlight and continue the rinse routine. Harvest sprouts when they reach 2-4 inches tall for optimal flavor. There’s so much more to discover about this nutritious process!
Key Takeaways
- Gather high-quality red clover seeds and soak them in lukewarm water for 6 to 12 hours before rinsing.
- Use a clean glass jar with a wide mouth, and cover it with breathable material like cheesecloth for optimal air circulation.
- Place the jar in a dark, warm location, rinsing and draining seeds twice daily to maintain moisture and prevent mold.
- Expose sprouts to indirect sunlight once they show tiny shoots, maintaining a temperature between 65°F and 75°F for healthy growth.
- Harvest sprouts at 2-4 inches in height, refrigerating them in a breathable container and consuming within 5-7 days for best quality.
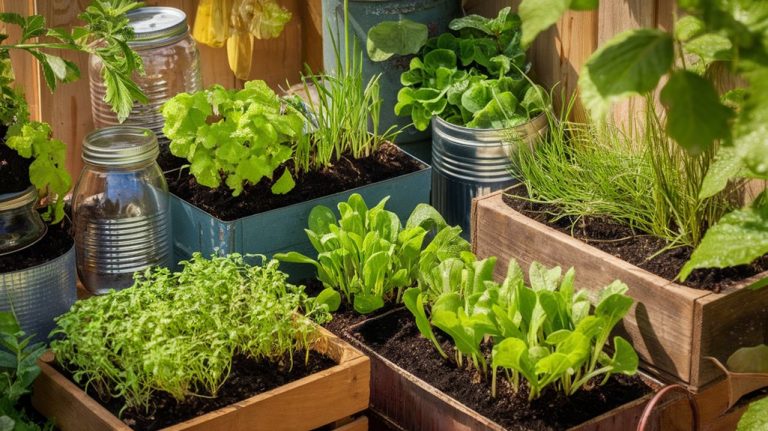
What You Need to Get Started
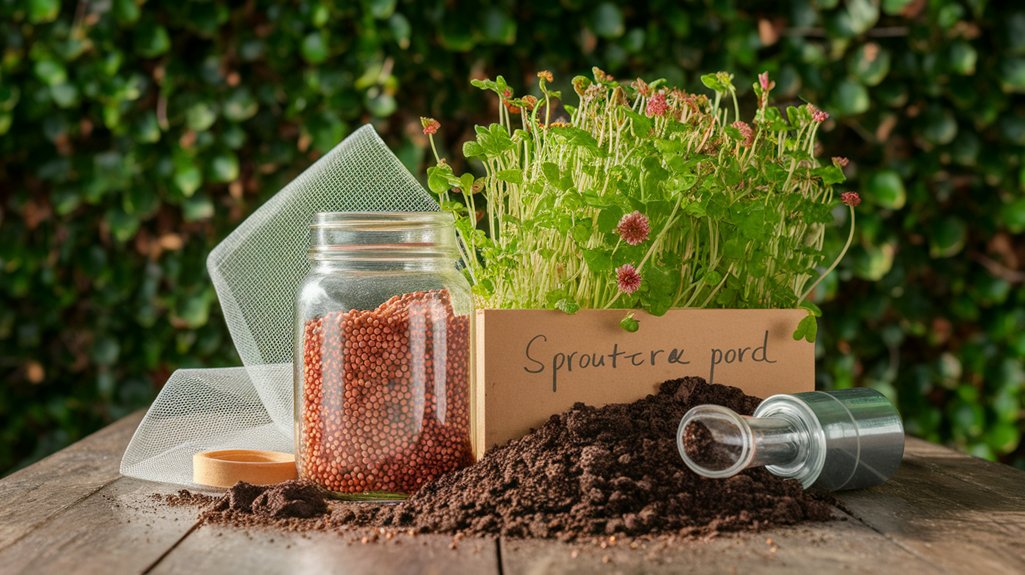
Before I dive into sprouting red clover, let’s gather what you need to get started. First, you’ll need high-quality red clover seeds, which can usually be found at gardening stores or online.
Next, grab a clean glass jar with a wide mouth to facilitate air circulation and easy rinsing. A fine mesh strainer is also essential for draining excess water.
You’ll want to prepare some clean, filtered water for soaking and rinsing the seeds. Lastly, find a warm, dark place for the jar to encourage germination. A kitchen cabinet works perfectly.
With these supplies on hand, you’re ready to embark on your red clover sprouting journey, ensuring you have everything necessary for a successful start.
Choosing the Right Seeds
When choosing seeds for sprouting red clover, I prioritize quality to ensure healthy growth.
I often weigh the benefits of organic versus conventional seeds, as this can impact both the sprouting process and the final product.
Additionally, I explore various sourcing options to find the best seeds available.
Seed Quality Importance
Choosing high-quality seeds is crucial for successful red clover sprouting, as the health and viability of your plants depend on it.
When selecting seeds, I always check for a high germination rate, ideally above 85%. This indicates that most of the seeds will sprout, ensuring a robust yield.
I also examine the seed’s purity, looking for minimal weed seeds or contaminants. Freshness matters too; seeds older than a year may have reduced viability.
I prefer reputable suppliers who provide detailed information about their seed quality and testing.
Remember, investing in high-quality seeds today sets the foundation for a thriving red clover crop, making all the difference in your sprouting success.
Don’t cut corners—your plants will thank you!
Organic vs. Conventional Seeds
While weighing the options between organic and conventional seeds, it’s essential to understand their differences and implications for your red clover crop.
Organic seeds come from plants grown without synthetic pesticides or fertilizers, promoting a healthier ecosystem and potentially enhancing soil quality. They often yield robust plants that resist pests and diseases.
On the other hand, conventional seeds may have higher germination rates and are usually more readily available, but they can be treated with chemicals that might impact soil health over time.
If you’re aiming for sustainability and environmental responsibility, organic seeds are the way to go. However, if you’re focused on immediate results and ease of access, conventional seeds could be a better fit for your needs.
Choose wisely!
Seed Sourcing Options
How can I ensure I’m sourcing the best seeds for sprouting red clover?
First, I look for reputable suppliers who specialize in organic or non-GMO seeds. This guarantees that I’m getting high-quality seeds without harmful chemicals.
I also check for certifications and reviews from other growers, as this can indicate reliability and seed viability.
Additionally, I pay attention to the seed’s harvest date; fresher seeds typically yield better germination rates.
I prefer heirloom varieties for their robustness and flavor, but I also consider hybrid options that may offer specific benefits.
Lastly, I always buy in small quantities to test germination before committing to larger amounts, ensuring I’m set up for successful sprouting.
Preparing Your Sprouting Container
To successfully sprout red clover, you need to prepare your sprouting container properly. Selecting the right container ensures optimal growth and health for your seeds. Here’s what I recommend:
- Material: Choose glass, ceramic, or BPA-free plastic for safety.
- Size: A container with a wide mouth allows for easy access and air circulation.
- Drainage: Ensure your container has holes at the bottom to prevent waterlogging.
- Cleanliness: Sterilize your container before use to eliminate harmful bacteria.
- Lid or Cover: Use a breathable cover like cheesecloth to allow moisture while keeping pests out.
Soaking the Seeds
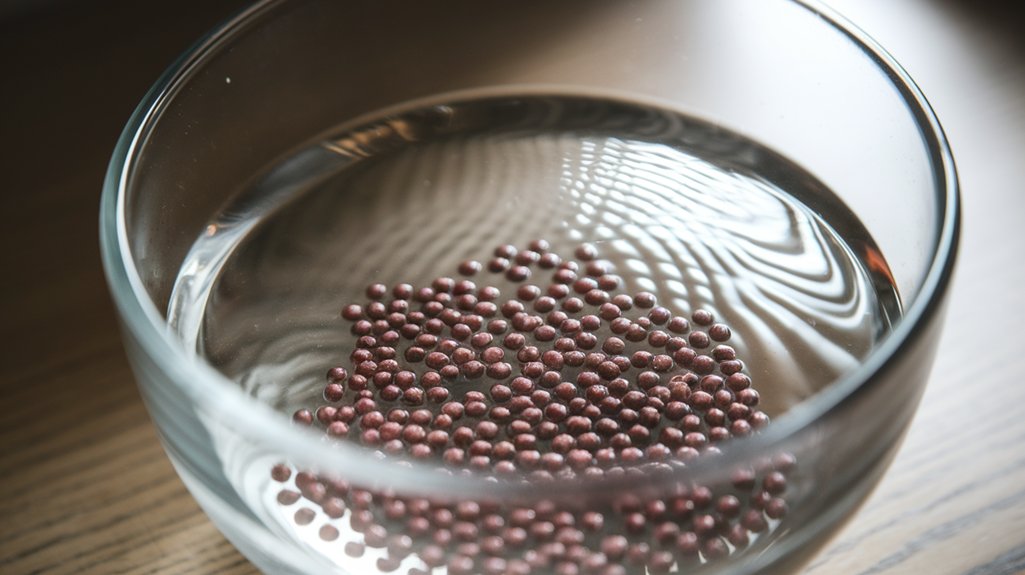
Before I start sprouting red clover seeds, I always soak them to enhance germination.
The ideal soaking duration is around 8 to 12 hours, and I find that using lukewarm water helps activate the seeds effectively.
This step is crucial for ensuring robust growth once I plant them.
Seed Preparation Process
While preparing red clover seeds for sprouting, soaking them is a crucial step that enhances germination rates and promotes healthier growth. Here’s what I typically do during this process:
- Choose high-quality seeds to ensure robust growth.
- Rinse the seeds under cool water to remove any dust or impurities.
- Use a glass or ceramic container for soaking, as these materials are non-reactive.
- Fill the container with water, covering the seeds completely to allow for even absorption.
- Monitor the soaking time, ensuring the seeds are adequately hydrated without over-soaking.
Following these steps not only prepares the seeds effectively but also sets the stage for successful sprouting.
Happy sprouting!
Ideal Soaking Duration
The ideal soaking duration for red clover seeds typically ranges from 6 to 12 hours. This timeframe ensures the seeds absorb enough moisture to initiate the germination process without risking damage. I’ve found that soaking for too long can lead to seed rot, so it’s crucial to stick to this recommended window.
Here’s a quick reference table for better understanding:
| Soaking Duration | Benefits | Risks |
|---|---|---|
| 6 hours | Quick germination | Minimal risk of rot |
| 9 hours | Balanced moisture absorption | Optimal soaking time |
| 12 hours | Maximum hydration | Increased rot risk |
Water Temperature Considerations
Understanding water temperature is key to optimizing the soaking process for red clover seeds. The right temperature can significantly enhance germination rates and overall seed health.
Here’s what I’ve learned about water temperature considerations:
- Optimal Range: Use water between 60°F and 70°F (15°C to 21°C) for effective soaking.
- Avoid Extremes: Too hot or too cold water can shock the seeds and hinder germination.
- Temperature Testing: Always check the water temperature before soaking to ensure it falls within the optimal range.
- Pre-soaking Warm-Up: If the water is cold, consider letting it sit at room temperature for a while.
- Seed Type Sensitivity: Different varieties might respond differently, so adjust as needed.
Rinsing and Draining
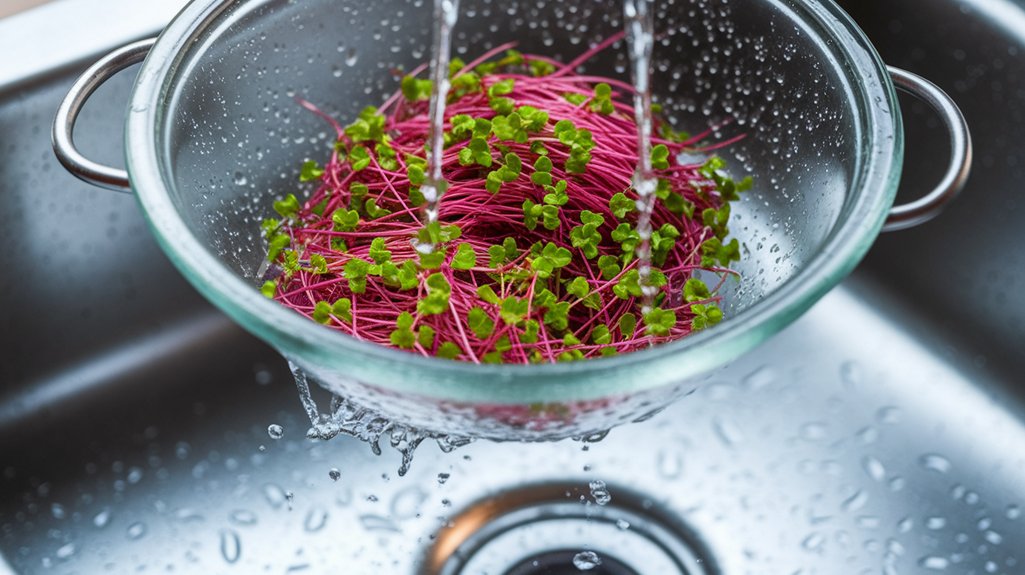
Rinsing and draining your red clover seeds is a crucial step in the sprouting process. After soaking the seeds for about four to eight hours, I carefully drain the water using a fine mesh strainer.
It’s essential to rinse the seeds thoroughly under cool running water to remove any debris or potential contaminants. I gently agitate the seeds with my fingers to ensure an even rinse.
Once rinsed, I let the seeds drain completely for a few minutes to eliminate excess moisture. This step helps prevent mold and promotes healthy sprouting conditions.
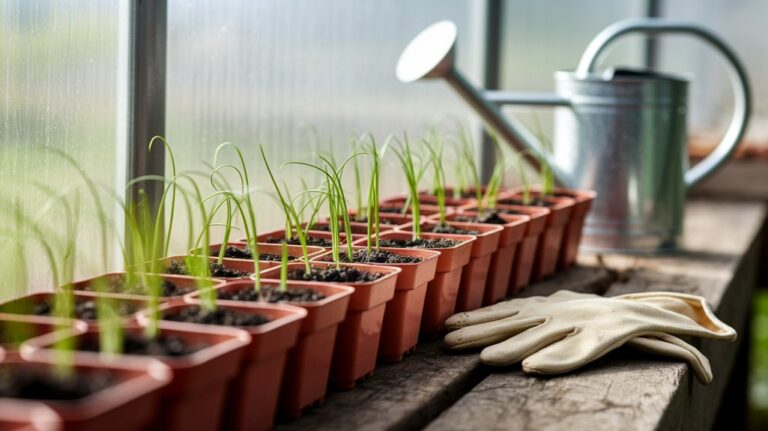
The Sprouting Process
Once the seeds are properly rinsed and drained, I move on to the sprouting process, which typically takes about 5 to 10 days.
Here’s how I do it:
- I place the seeds in a sprouting jar or tray, ensuring they’re spread evenly.
- I cover the jar with a breathable lid or cloth to allow airflow.
- I keep the jar in a warm, dark place to promote germination.
- I rinse and drain the seeds twice a day to maintain moisture and prevent mold.
- I watch for tiny sprouts, which indicate that the seeds are ready to be exposed to light.
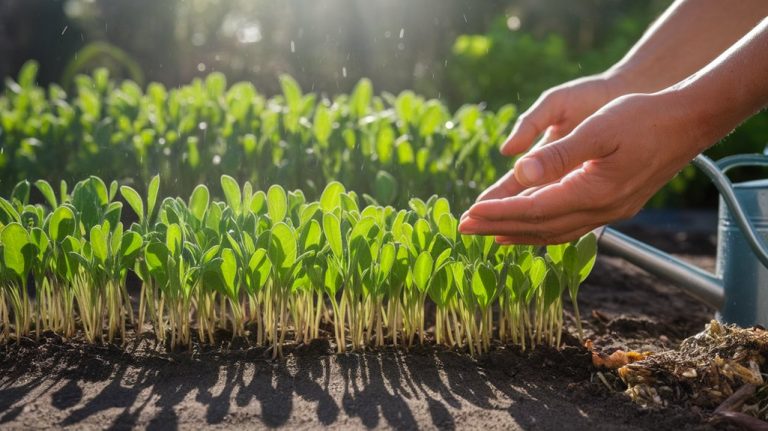
Maintaining Optimal Conditions
To ensure your red clover sprouts thrive, it’s crucial to maintain optimal conditions throughout the sprouting process.
First, keep the temperature between 65°F and 75°F (18°C to 24°C). This range promotes healthy growth without overheating the seeds.
Next, ensure your sprouts receive adequate light. A few hours of indirect sunlight each day will encourage photosynthesis, but avoid direct harsh light that can cause damage.
Moisture management is also essential; keep the sprouts consistently damp but not soggy. I recommend rinsing them two to three times daily to prevent mold.
Lastly, good air circulation is key. Placing your sprouts in a well-ventilated area helps prevent stagnation and promotes a thriving environment.
Following these steps, you’ll cultivate robust red clover sprouts.
Harvesting Your Sprouts
When it comes to harvesting my red clover sprouts, timing is crucial for optimal flavor and nutrition.
I carefully observe the sprouts, aiming to cut them just as they reach their peak growth.
Using proper cutting techniques ensures I get the best quality without damaging the remaining plants.
Optimal Harvest Timing
Harvesting your red clover sprouts at the right time is crucial for maximizing flavor and nutritional value. I’ve found that timing can make all the difference.
Here are some key indicators to look for:
- Sprout Size: Aim for 2-4 inches in height.
- Leaf Development: Look for at least two sets of true leaves.
- Color: Bright green indicates optimal growth.
- Taste Test: A slight crunch means they’re ready.
- Growth Duration: Typically, harvest between 7-14 days post-sprouting.
Proper Cutting Techniques
After identifying the optimal harvest timing for your red clover sprouts, it’s important to focus on the right cutting techniques to ensure a successful yield.
First, use a sharp, clean knife or scissors to avoid damaging the delicate sprouts. I’ll cut the sprouts just above the soil line, ensuring I leave the roots intact to promote regrowth if desired. Aim for a clean cut to minimize any stress on the plant.
I usually harvest in the morning when the sprouts are crisp and full of moisture, maximizing freshness.
Lastly, gently rinse the harvested sprouts under cool water to remove any debris and enhance their flavor. Proper cutting techniques can significantly impact both the quality and longevity of your sprouts.
Storing and Using Sprouts
Although I’ve successfully sprouted red clover, knowing how to store and use these delicate sprouts is crucial for maintaining their freshness and maximizing their nutritional benefits.
Here’s how I do it:
- Refrigerate promptly: Store the sprouts in a breathable container, like a paper bag, to keep moisture in check.
- Use within a week: For the best flavor and nutrients, consume them within 5-7 days.
- Rinse before use: Always rinse sprouts under cool water before adding to meals to remove any residual dirt.
- Add to dishes: Use them fresh in salads, sandwiches, or smoothies for a crunchy texture.
- Avoid cooking: To retain their nutrients, it’s best to enjoy them raw.
These steps ensure I get the most out of my red clover sprouts!
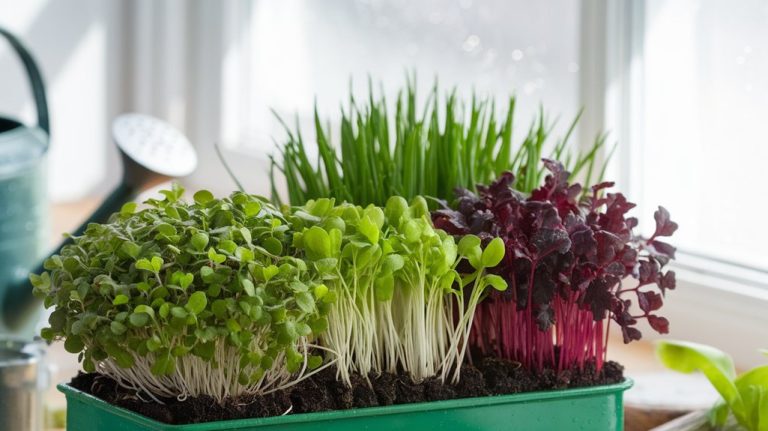
Nutritional Benefits of Red Clover Sprouts
Red clover sprouts pack a powerful nutritional punch that can enhance any diet. These tiny greens are rich in vitamins C and E, which support immune function and skin health.
They also contain essential minerals like calcium, magnesium, and potassium, crucial for bone health and muscle function. Additionally, red clover sprouts are a source of isoflavones, plant compounds that may help balance hormones and reduce the risk of certain cancers.
Their high fiber content aids digestion and promotes gut health. Plus, with low calories and high antioxidants, they’re an excellent addition to salads, sandwiches, or smoothies.
Frequently Asked Questions
Can I Sprout Red Clover Seeds Indoors or Outdoors?
Absolutely, you can sprout red clover seeds both indoors and outdoors. I’ve done it successfully in both settings.
Indoors, I recommend using shallow trays with soil and ensuring they get enough light.
Outdoors, choose a well-drained area with good sunlight. I’ve found that keeping the soil moist but not soggy helps the seeds germinate faster.
Whichever method you choose, just make sure to monitor the conditions regularly for the best results!
How Long Do Red Clover Sprouts Typically Last After Harvesting?
After harvesting red clover sprouts, I’ve found they typically last about 4 to 7 days in the fridge.
To keep them fresh, I store them in an airtight container. If I notice any wilting or discoloration, I use them right away.
Freshness is key, as they lose nutrients over time. Keeping an eye on them ensures I enjoy their flavor and health benefits while they’re still at their best.
Are There Any Pests That Commonly Affect Red Clover Sprouts?
Absolutely, red clover sprouts can attract pests like aphids and spider mites.
I’ve noticed that these tiny invaders can quickly damage the sprouts if left unchecked. To prevent infestations, I always monitor my plants closely and maintain good air circulation.
If I spot any pests, I act promptly with insecticidal soap or neem oil. Keeping the environment clean and healthy really helps me protect my sprouts from these common threats.
Can I Use Red Clover Sprouts in Smoothies?
Absolutely, I love using red clover sprouts in my smoothies! They add a mild, slightly sweet flavor and are packed with nutrients like vitamins C and E, as well as antioxidants.
I usually toss a handful in with my favorite fruits and a bit of yogurt or almond milk. It not only boosts the nutrition but also creates a refreshing texture.
Just make sure to rinse them well before adding to your blend!
Is It Safe to Eat Red Clover Sprouts Raw?
Yes, it’s safe to eat red clover sprouts raw. I often enjoy them in salads or on sandwiches.
These sprouts are packed with nutrients and have a mild, slightly sweet flavor. However, I make sure to source them from a reputable supplier to avoid contamination.
If you’re pregnant or have certain health conditions, it’s a good idea to consult a healthcare professional before adding them to your diet.
Enjoy their health benefits!
Conclusion
In conclusion, sprouting red clover is a simple and rewarding process that enhances your meals with fresh, nutritious greens. By following the steps outlined—from choosing quality seeds to maintaining the right conditions—you’ll enjoy a bountiful harvest of sprouts. Remember to store them properly to preserve their freshness and nutritional benefits. Incorporating red clover sprouts into your diet can boost your health and add a delightful crunch to salads, sandwiches, and more. Happy sprouting!