How to Sprout Rye
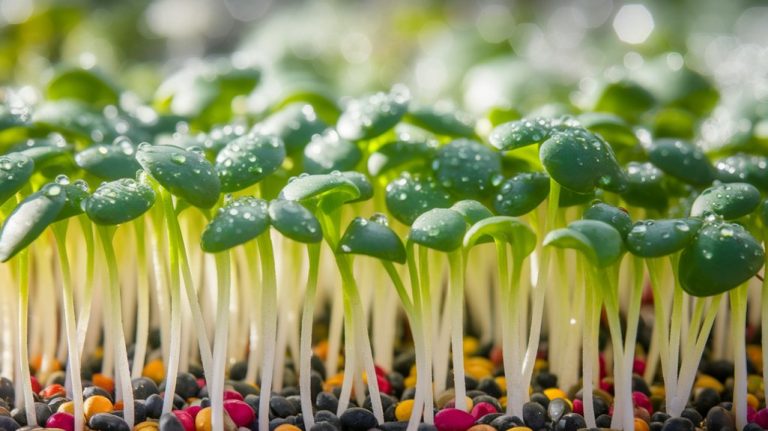
To sprout rye, I start by selecting high-quality seeds with a germination rate above 90%. I rinse them well, soak them for 8 hours, then drain excess moisture. I keep the seeds hydrated by rinsing every 8-12 hours and maintain a temperature between 65-75°F. Providing 12-16 hours of indirect sunlight is crucial for healthy growth. After a few days, I enjoy the nutritional benefits of my sprouts. There’s much more to learn about caring for and using sprouted rye.
Key Takeaways
- Rinse rye seeds thoroughly and soak them in water for 8 hours to kickstart germination.
- Drain excess water and rinse seeds every 8-12 hours to keep them hydrated.
- Maintain moisture in the soil, watering every other day without waterlogging.
- Ensure sprouts receive 12-16 hours of indirect sunlight daily for healthy growth.
- Monitor temperature (65-75°F) and airflow to prevent mold and promote sprouting.
Understanding Rye: Benefits and Nutritional Value
Rye, a hardy cereal grain, offers numerous benefits and a unique nutritional profile that makes it a valuable addition to any diet.
Its high fiber content, particularly soluble fiber, aids digestion and helps regulate blood sugar levels, which I find crucial for maintaining energy throughout the day.
Additionally, rye is rich in essential minerals like magnesium, iron, and zinc, contributing to overall health.
Its antioxidants, including phenolic compounds, combat oxidative stress and support cardiovascular health.
I also appreciate that rye contains beneficial phytochemicals that promote satiety, making it easier to manage weight.
Choosing the Right Rye Seeds
When selecting rye seeds, I focus on seed quality to ensure optimal sprouting and growth.
It’s important to consider whether to choose organic or conventional seeds, as each type has distinct benefits that can impact my results.
Understanding these factors allows me to make an informed decision tailored to my specific needs.
Seed Quality Considerations
Choosing the right rye seeds can significantly impact the success of your sprouting endeavor. I prioritize seed quality by examining factors like germination rates, purity, and seed size. High germination rates ensure that most seeds sprout, maximizing yield. Typically, I look for rates above 90%.
Purity is crucial, as contaminated seeds can introduce diseases or pests; I choose certified seeds to mitigate this risk. Seed size also plays a role; larger seeds often sprout more consistently than smaller ones.
Additionally, I check for any signs of damage or discoloration, which could indicate poor quality. By focusing on these criteria, I enhance my chances of achieving a successful rye sprout, ensuring my efforts are well-founded.
Organic vs. Conventional Seeds
While evaluating seed options, I find it essential to weigh the benefits of organic versus conventional rye seeds. Each type offers unique advantages that can impact growth and yield. Here’s what I consider:
- Pesticide Use: Organic seeds are free from synthetic pesticides, promoting healthier soil and biodiversity.
- GMO Status: Organic seeds are non-GMO, ensuring natural genetic integrity, which is crucial for sustainability.
- Nutritional Value: Studies suggest organic rye may have higher nutrient content, benefiting both sprouting and consumption.
- Environmental Impact: Organic farming practices generally result in lower environmental harm, supporting ecosystem health.
Preparing for Sprouting: Equipment and Materials Needed
To successfully sprout rye, I need to gather specific equipment and materials that will facilitate the process.
This includes selecting quality rye seeds, as their viability directly impacts the outcome, and choosing appropriate sprouting containers that allow for adequate airflow and drainage.
Necessary Equipment Overview
Before I dive into the sprouting process, it’s crucial to gather the necessary equipment that will ensure successful rye sprouting.
Having the right tools makes all the difference. Here’s what I recommend:
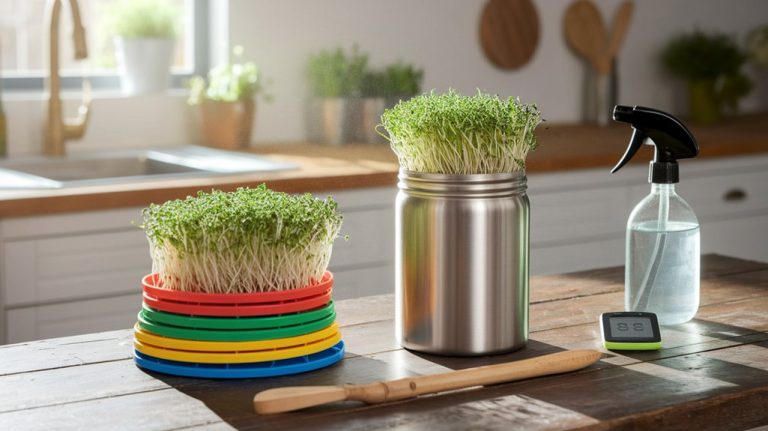
- Mason Jar: A quart-sized jar works well for soaking and draining the rye.
- Mesh Lid: This allows for proper air circulation while preventing the rye from escaping.
- Sprouting Tray: If you plan to sprout larger quantities, a tray will help manage space and drainage.
- Watering Can: A simple watering can or spray bottle will help you moisten the rye without overdoing it.
With these items in hand, you’ll be ready to embark on your rye sprouting journey effectively.
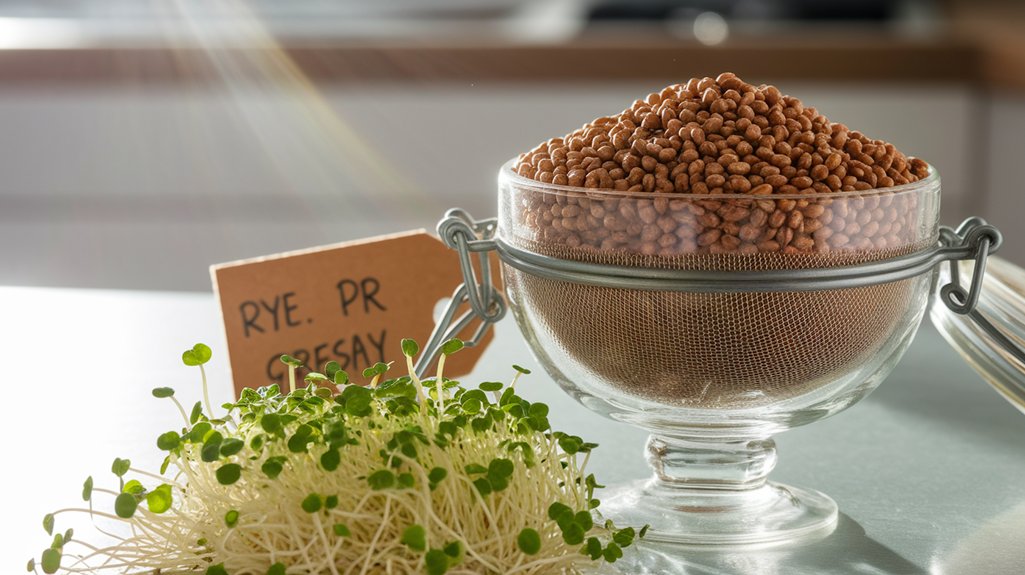
Choosing Quality Rye Seeds
Selecting quality rye seeds is essential for successful sprouting and optimal growth. To ensure I choose the best seeds, I check for several key factors.
First, I look for seeds that are organic and untreated, as this minimizes exposure to harmful chemicals.
Next, I inspect the seeds for uniform size and color, indicating they’re viable and healthy.
I also examine the packaging for a recent harvest date, ensuring freshness and better germination rates.
Additionally, I consider purchasing from reputable suppliers who provide germination testing results.
Finally, I avoid any seeds showing signs of mold or damage, as these can lead to poor sprouting outcomes.
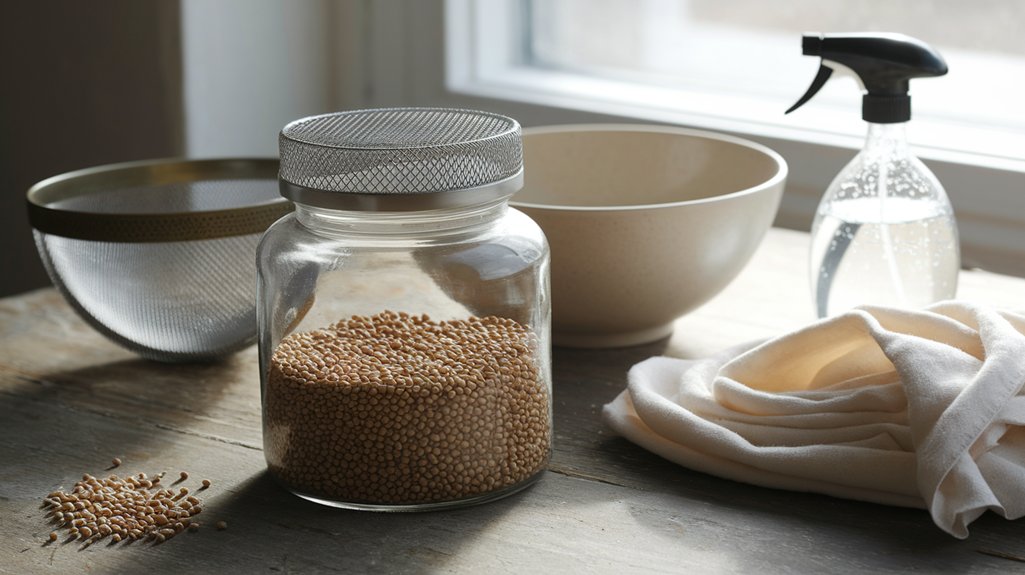
Essential Sprouting Containers
When it comes to sprouting rye, choosing the right containers is crucial for successful germination.
I’ve found that the container’s design and material can significantly impact the sprouting process. Here’s what I recommend:
- Glass Jars: Wide-mouth jars allow for easy rinsing and air circulation.
- Sprouting Lids: These mesh lids fit on jars, facilitating drainage and airflow.
- Bamboo Trays: Great for larger batches, they offer even moisture distribution.
- Plastic Sprouting Bags: Ideal for small quantities, they’re lightweight and easy to store.
Selecting the right container not only enhances the sprouting environment but also simplifies maintenance.
I’ve experienced firsthand how these options can improve the germination rate and overall quality of the sprouts.
Step-by-Step Guide to Sprouting Rye
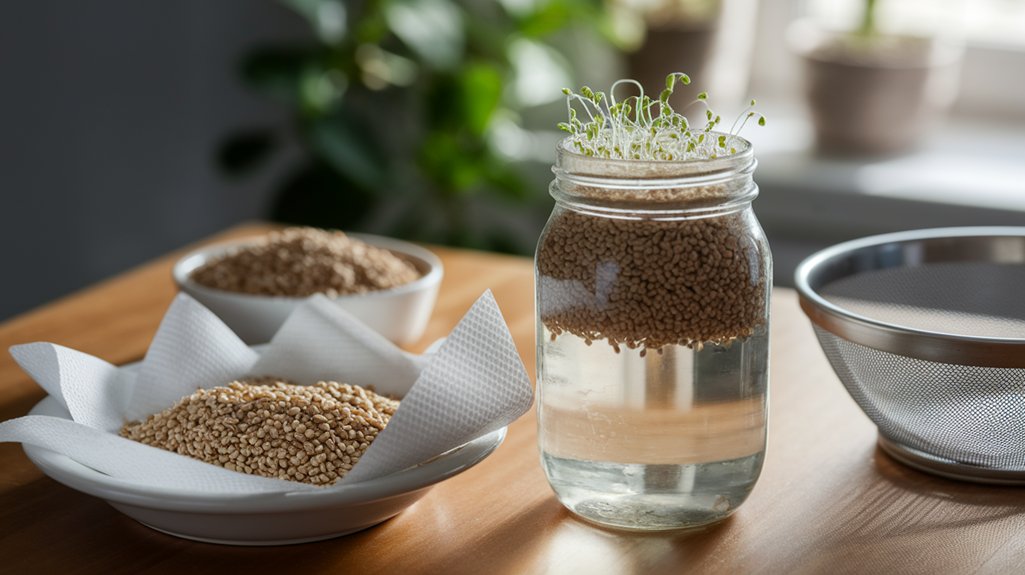
Sprouting rye involves a straightforward process that can enhance the grain’s nutritional profile and flavor. Here’s a step-by-step guide to sprouting rye effectively:
| Step | Action |
|---|---|
| 1. Rinse Seeds | Thoroughly rinse rye seeds |
| 2. Soak Seeds | Submerge in water for 8 hours |
| 3. Drain Water | Use a fine mesh sieve |
| 4. Rinse & Repeat | Rinse every 8-12 hours |
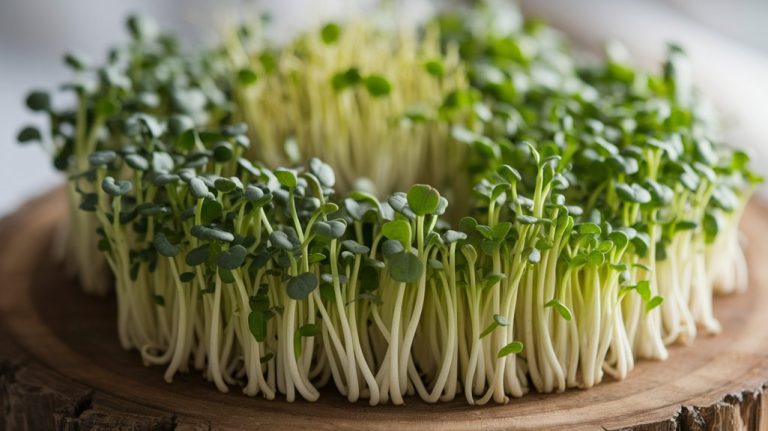
After following these steps, you’ll see sprouts developing within a few days. This method not only boosts the nutritional value but also enhances flavor, making it a fantastic addition to various dishes. By adhering to this guide, you’ll ensure optimal sprouting results.
Caring for Your Sprouted Rye
Caring for your sprouted rye is essential to maximize its growth and nutritional benefits.
I’ve found that following these key practices can make a significant difference:
- Watering: Keep the soil consistently moist but not waterlogged. I usually water every other day.
- Lighting: Ensure your sprouts receive about 12-16 hours of indirect sunlight daily. Too much direct light can scorch them.
- Temperature: Maintain a temperature between 65-75°F (18-24°C). I often use a thermometer to monitor this.
- Airflow: Provide good airflow to prevent mold. I gently fan the sprouts occasionally to promote circulation.
Harvesting and Storing Sprouted Rye
Harvesting your sprouted rye at the right moment ensures you capture its peak nutritional value and flavor. I usually begin the harvest when the shoots reach about 1 to 2 inches in height. To store your sprouted rye, rinse it thoroughly to remove any residual soil, then dry it gently with a clean towel. I prefer using an airtight container to keep it fresh for up to a week in the refrigerator.
| Step | Action | Duration |
|---|---|---|
| 1 | Rinse thoroughly | 5 minutes |
| 2 | Dry with a towel | 3 minutes |
| 3 | Store in airtight container | Up to 1 week |
| 4 | Refrigerate | Maintain freshness |
| 5 | Check regularly | Every few days |
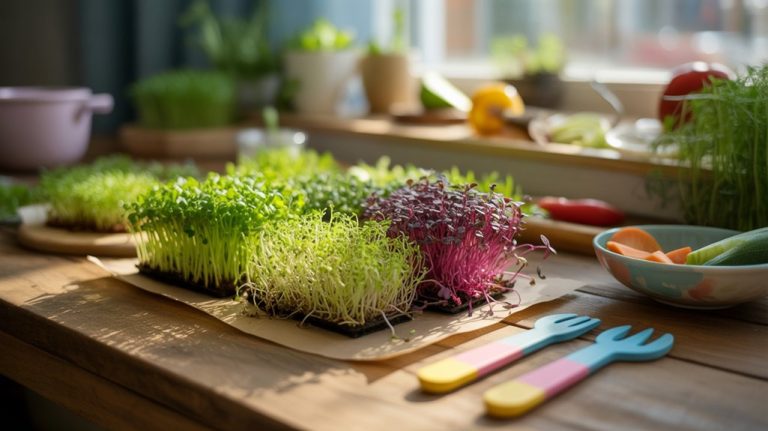
Delicious Ways to Use Sprouted Rye in Your Meals
Incorporating sprouted rye into your meals can elevate both flavor and nutrition.
I’ve found several effective ways to utilize this ingredient, enhancing both texture and health benefits.
Here are four delicious options:
- Salads: Toss sprouted rye into your salads for a nutty crunch and added protein.
- Smoothies: Blend it into smoothies for a nutrient boost without altering the flavor significantly.
- Bread: Use sprouted rye flour to make bread, achieving a heartier loaf with improved digestibility.
- Soups: Add sprouted rye to soups or stews, enriching them with a unique texture and enhancing their nutritional profile.
Troubleshooting Common Sprouting Issues
While sprouting rye can be a rewarding endeavor, it’s not uncommon to encounter issues along the way. One common problem is mold growth, which usually occurs due to excess moisture. To mitigate this, ensure proper ventilation and reduce watering frequency.
If you notice that your rye isn’t sprouting, it might be due to insufficient warmth or old seeds; try adjusting the temperature or using fresher seeds. Additionally, if the sprouts are weak or discolored, they may be lacking light. Position them near indirect sunlight to promote healthier growth.
Lastly, if you experience an unpleasant odor, it could indicate decay; discard affected seeds and start anew, ensuring all equipment is sanitized. With these adjustments, you should see improved results.
Frequently Asked Questions
How Long Does It Take for Rye to Sprout?
When it comes to rye, I find that sprouting typically takes about 5 to 7 days under the right conditions.
I’ve noticed that maintaining consistent moisture and a suitable temperature significantly influences the speed of germination.
If I keep the seeds in a well-ventilated area and rinse them regularly, they sprout more evenly.
It’s fascinating to observe how quickly they transform, showcasing nature’s efficiency in growth and development.
Can I Sprout Rye in Any Climate?
Yes, you can sprout rye in various climates, but the conditions matter.
I’ve found that rye prefers cooler temperatures, ideally between 60°F and 75°F. In hotter climates, I’ve noticed that keeping the seeds moist and shaded can help mitigate heat stress.
It’s crucial to monitor humidity levels, as too much moisture can lead to mold.
Is It Safe to Eat Raw Sprouted Rye?
I’ve found that eating raw sprouted rye can be safe, provided it’s properly handled and rinsed.
Sprouting activates enzymes and breaks down antinutrients, which makes the grain more digestible. However, it’s crucial to ensure that the rye is free from contaminants and grown in a controlled environment.
I recommend using organic rye and monitoring for any signs of spoilage. Always trust your instincts—if something seems off, it’s best not to consume it.
Can I Use Old Rye Seeds for Sprouting?
I’ve found that using old rye seeds for sprouting can be hit or miss.
While some seeds retain their viability for several years, others may not sprout at all after a certain age.
I recommend checking the seeds for any signs of mold or damage.
If they seem healthy, give them a try, but be prepared for potentially lower germination rates.
Fresh seeds usually yield better results, so consider that option too.
What Are Signs of Bad Sprouted Rye?
When assessing sprouted rye, I look for several signs of spoilage.
If I notice a sour smell, slimy texture, or discoloration, I know the sprouts are bad. Healthy sprouts should have a crisp texture and a fresh, earthy aroma.
Additionally, if I see any mold, I discard them immediately. It’s crucial to trust my senses; if something seems off, it’s better to err on the side of caution.
Conclusion
In conclusion, sprouting rye is a rewarding process that enhances its nutritional profile and versatility in cooking. By following the outlined steps and maintaining proper care, you can successfully grow nutrient-dense sprouts at home. Remember to monitor for common issues, ensuring a healthy yield. Once harvested, you’ll find countless ways to incorporate sprouted rye into your meals, enriching your diet with its unique flavor and health benefits. Enjoy the journey of sprouting rye!