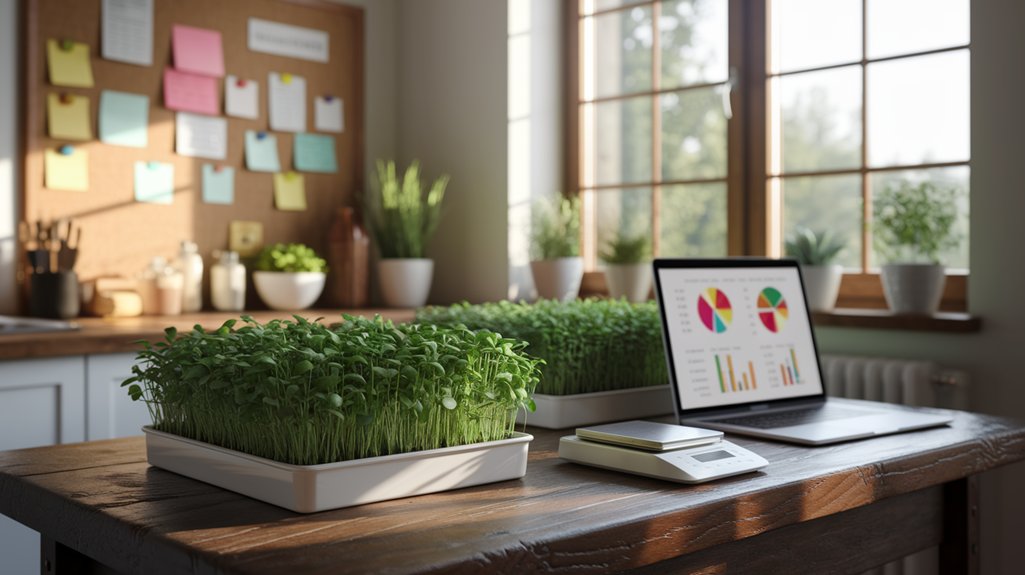
How to Start a Small Microgreens Business From Home
Starting a small microgreens business from home can be exciting and profitable! I focus on choosing nutrient-dense varieties like radish and pea shoots. I set up my growing space with ample light and the right temperature. Sourcing quality seeds is essential for success. Using proper cultivation techniques helps me produce healthy greens, and I package them for freshness. Pricing fairly is key, and I market creatively to attract customers. You’ll uncover even more tips as you explore further!
Key Takeaways
- Choose popular and unique microgreen varieties based on local market trends to attract diverse customers and maximize sales potential.
- Set up a growing space with adequate natural light or grow lights, ensuring stable temperatures for optimal microgreen growth.
- Source quality seeds and supplies from reliable suppliers to guarantee high crop quality and successful cultivation.
- Implement effective marketing strategies, leveraging social media and local events to promote your microgreens business and engage with potential customers.
- Research and comply with local regulations and food safety standards to ensure your business operates legally and maintains a strong reputation.
Understanding Microgreens and Their Benefits
When I first discovered microgreens, I was amazed by how much flavor and nutrition these tiny plants pack into a small package. They’re like little powerhouses, bursting with vitamins and minerals that can elevate any dish.
I quickly learned that microgreens can grow in just a couple of weeks, making them a fantastic option for anyone looking to start a business. They require minimal space, so whether you have a sunny windowsill or a small backyard, you can cultivate them.
Plus, the variety is astounding—think radish, basil, or sunflower. Each type brings its unique taste and health benefits. Understanding these fundamentals was crucial for me, as they opened the door to countless culinary possibilities and a profitable venture.
Choosing the Right Microgreens Varieties
When I started my microgreens business, choosing the right varieties was a game-changer.
I focused on popular options, growth times, and unique flavor profiles to cater to different tastes and uses.
Let’s unpack how these factors can influence your success in this green venture!
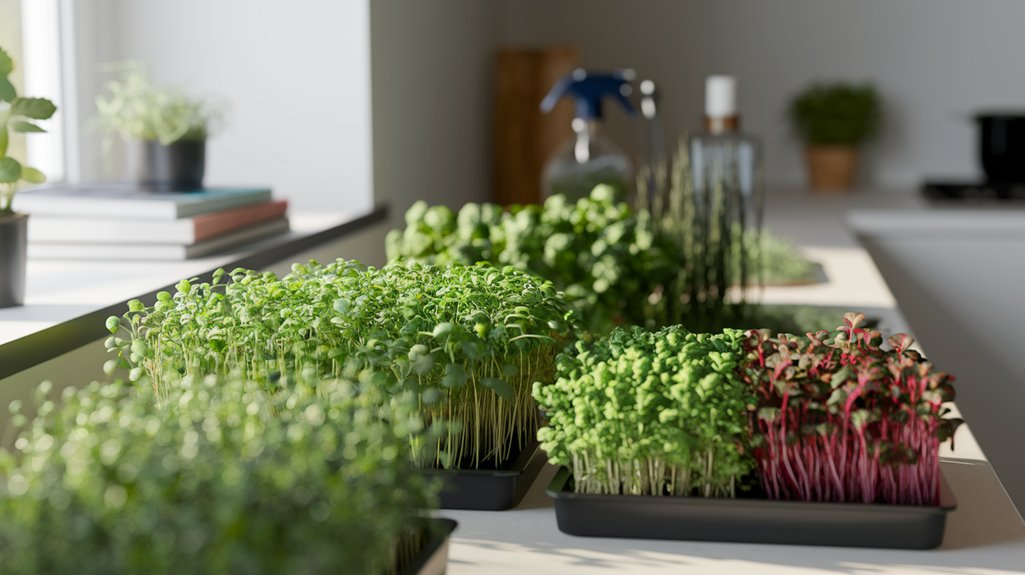
Popular Microgreens Options
Choosing the right microgreens varieties can be a game-changer for your business. I’ve found that popular options like radish, pea shoots, and sunflower aren’t only easy to grow but also in high demand.
Radish microgreens pack a spicy punch that chefs love, while pea shoots add a sweet crunch to dishes. Sunflower microgreens, with their nutty flavor, appeal to health-conscious customers seeking nutrient-dense options.
It’s smart to consider your local market—do some research and see what’s trending in your area. Experimenting with unique varieties like basil or cilantro can set you apart, too.
Ultimately, choosing a mix of classics and unique flavors can attract diverse customers and keep your offerings fresh and exciting.
Growth Time Considerations
While exploring the world of microgreens, it’s crucial to consider growth times for each variety you want to cultivate.
Some, like radish or mustard greens, sprout in just 5 to 10 days, making them perfect for quick turnover.
Others, such as sunflower or pea shoots, may take up to 14 days, which is still relatively fast but requires a bit more patience.
I recommend starting with a mix of fast and slightly slower varieties to keep your harvests consistent and engaging.
Plus, understanding these timelines helps you plan your planting schedule effectively.
By balancing growth rates, you’ll optimize your space and resources, ensuring you maintain a steady supply for your budding microgreens business.
Happy planting!
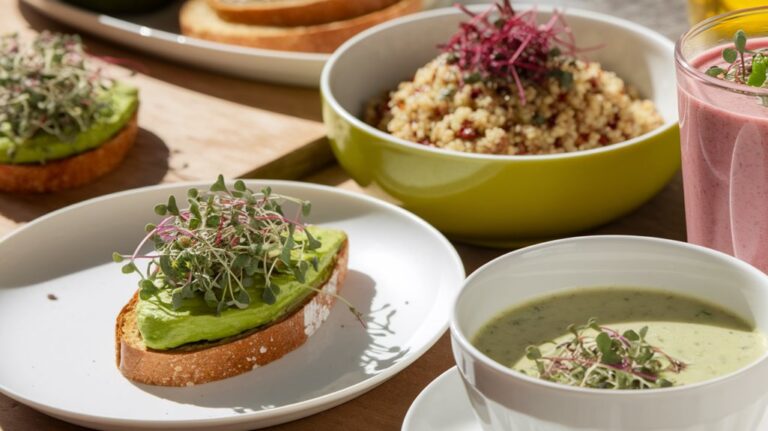
Flavor Profiles and Uses
Selecting the right microgreens isn’t just about growth speed; it’s also about flavor and culinary versatility. I love experimenting with different varieties to enhance my dishes. Here’s a quick guide to help you choose:
| Microgreen | Flavor Profile | Common Uses |
|---|---|---|
| Arugula | Peppery, bold | Salads, sandwiches |
| Basil | Sweet, aromatic | Pesto, Italian dishes |
| Radish | Spicy, zesty | Tacos, garnishes |
These flavors can elevate your meals, making them vibrant and exciting. Whether you’re topping a gourmet burger or adding a pop of freshness to a salad, the right microgreens can make all the difference. Experiment with combinations to discover your favorites!
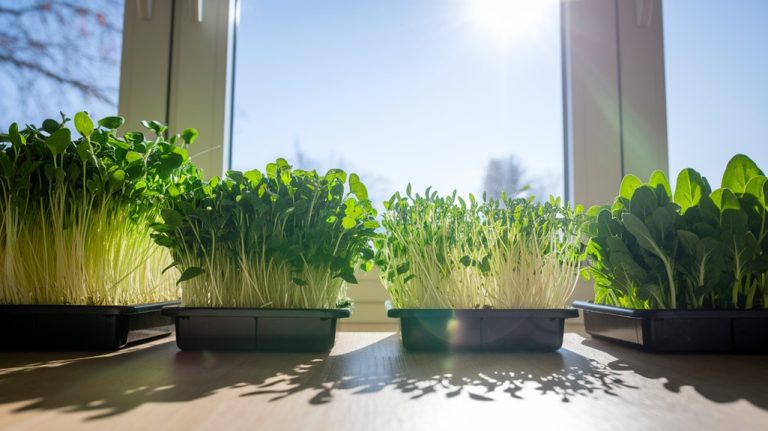
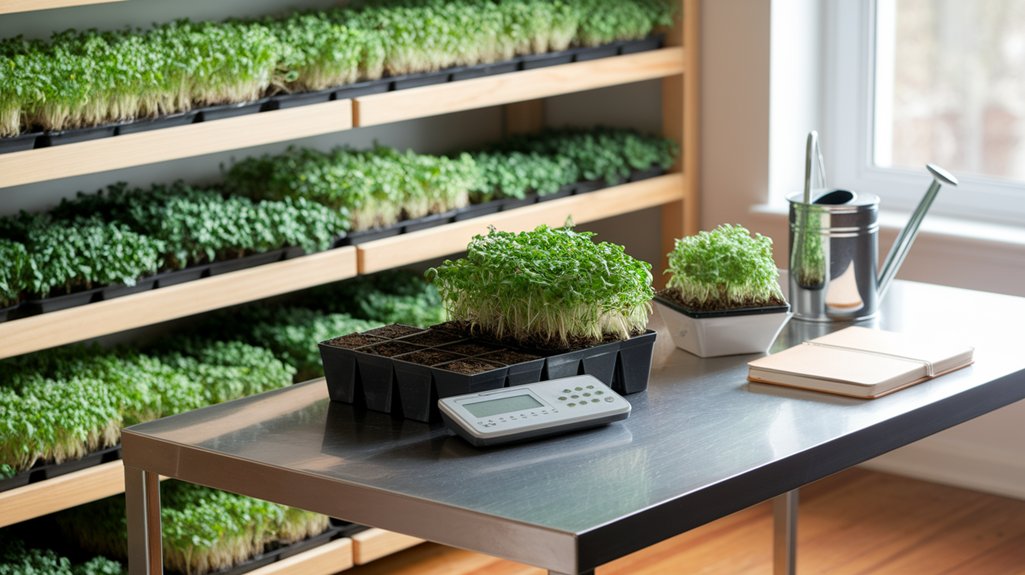
Setting Up Your Growing Space
When I set up my growing space, I realized that choosing the right location is crucial for success.
You’ll need the right equipment and supplies to nurture your microgreens, plus optimal lighting conditions to help them thrive.
Let’s explore how to create an efficient and productive environment for your tiny greens.
Selecting the Right Location
Finding the right location for your microgreens business can make all the difference in your success. I’ve learned that a well-chosen space can enhance growth and streamline your operations.
Here are some key factors to consider:
- Light Access: Ensure your location gets ample natural light or can accommodate grow lights.
- Temperature Control: Look for a space with a stable, cool environment to prevent overheating.
- Accessibility: Choose a spot that’s easy to access for both growing and delivering your products.
I found my ideal spot in a spare room with large windows. This setup not only provides great lighting but also keeps my plants thriving.
Take the time to evaluate your space; it’s crucial for your microgreens journey!
Necessary Equipment and Supplies
Although setting up your growing space might seem daunting at first, having the right equipment and supplies can make the process smooth and efficient. Here’s a quick breakdown of essentials I’ve found helpful:
| Equipment/Supply | Purpose | Where to Buy |
|---|---|---|
| Seed trays | Planting microgreens | Garden centers |
| Potting mix | Healthy growth medium | Online retailers |
| Spray bottle | Watering and misting | Supermarkets |
| Grow lights | Artificial lighting | Home improvement stores |
| Thermometer | Monitoring temperature | Online marketplaces |
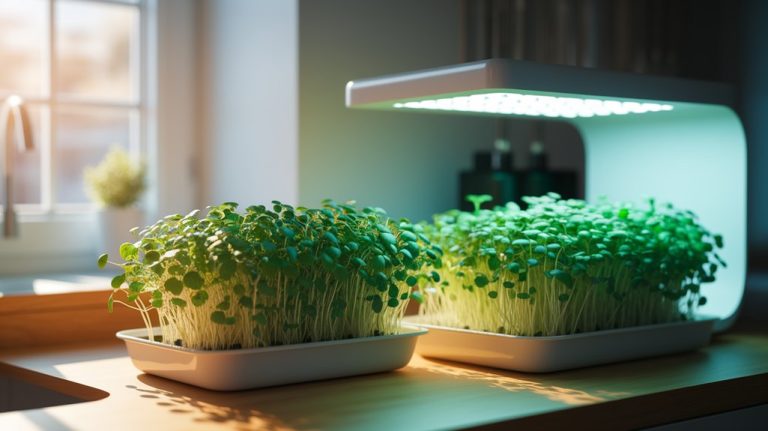
Optimal Lighting Conditions
Setting up your growing space goes beyond just having the right equipment; it’s also about ensuring your microgreens get the optimal lighting they need to thrive.
I’ve found that proper lighting is crucial for healthy growth, so here are some tips I swear by:
- Natural Light: Position your setup near a south-facing window to maximize sunlight exposure.
- Grow Lights: If natural light isn’t an option, invest in full-spectrum LED grow lights for consistent, high-quality support.
- Duration: Aim for 12-16 hours of light daily to mimic seasonal growth patterns.
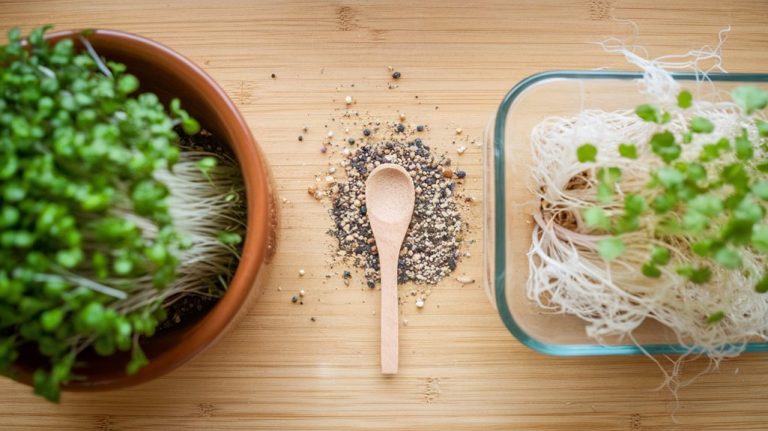
Sourcing Quality Seeds and Supplies
Sourcing quality seeds and supplies is crucial for launching a successful microgreens business. I’ve learned that choosing the right suppliers can make all the difference in your crop’s quality and yield. Here’s a quick reference table to help you evaluate potential suppliers:
| Supplier Name | Seed Variety | Price per Ounce |
|---|---|---|
| GreenThumb Seeds | Broccoli | $2.50 |
| Urban Sprout | Radish | $3.00 |
| FreshStart Seeds | Pea Shoots | $2.75 |
| SeedSavvy | Sunflower | $3.50 |
| MicroFarm Supply | Mustard Greens | $2.00 |
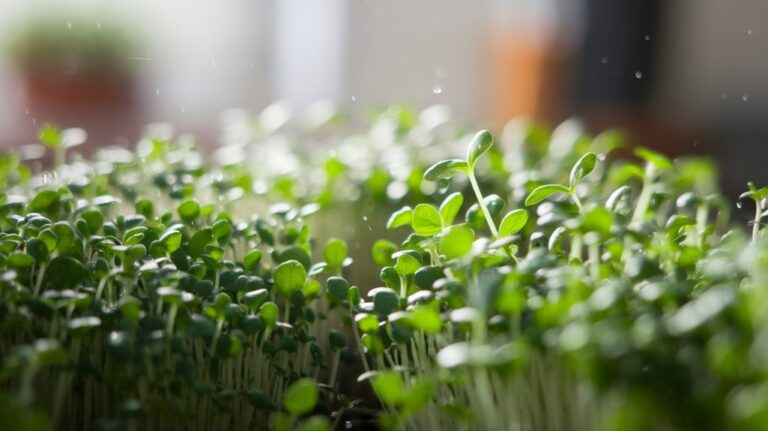
Cultivation Techniques for Healthy Microgreens

Once you’ve found reliable suppliers for your seeds and supplies, it’s time to focus on cultivation techniques that will yield vibrant, healthy microgreens.
Here are a few strategies I’ve found incredibly effective:
- Optimal Lighting: Use grow lights for 12-16 hours a day to ensure your microgreens get the right amount of light, promoting strong growth.
- Moisture Control: Keep your growing medium consistently moist, but not soggy. Mist your microgreens daily to maintain humidity without overwatering.
- Temperature Regulation: Aim for a temperature between 65°F and 75°F. This range helps your microgreens thrive and develop rich flavors.
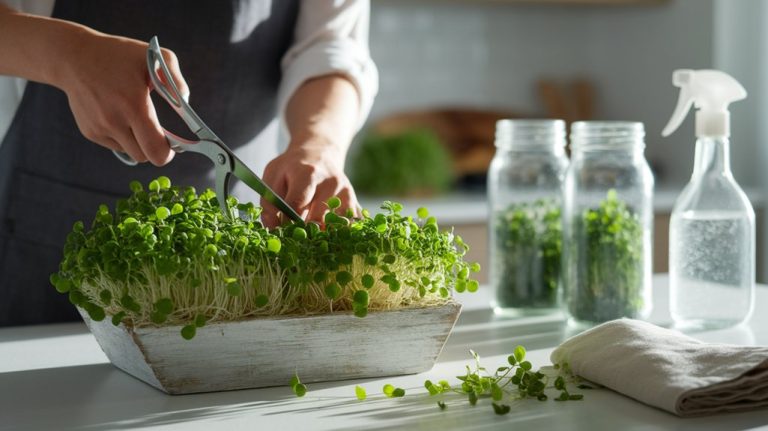
Harvesting and Packaging Your Products
As I prepare to harvest my microgreens, I know that timing is crucial for maximizing flavor and freshness. I usually aim for the perfect moment when they’re vibrant and at their peak growth. After cutting the greens, I rinse them gently and lay them out to dry.
For packaging, I use eco-friendly containers that not only preserve quality but also appeal to my customers. Here’s a quick look at my harvesting and packaging process:
| Step | Action |
|---|---|
| 1. Harvest | Cut at the base with scissors |
| 2. Rinse | Gently wash in cold water |
| 3. Dry | Use a salad spinner or towel |
| 4. Package | Place in biodegradable containers |
This method ensures my microgreens stay fresh and ready for my customers!
Pricing Your Microgreens for Profit
After ensuring my microgreens are harvested and packaged with care, the next step is setting the right price to make my business profitable.
I’ve found that pricing can be a bit tricky, but it’s crucial for sustainability. Here are some key factors I consider when determining my prices:
- Cost of Production: Calculate expenses like seeds, soil, and utilities to ensure I cover my costs.
- Market Research: Check local prices to stay competitive while maintaining quality.
- Target Audience: Understand who my customers are and what they’re willing to pay for fresh, nutritious microgreens.
Marketing Your Microgreens Business
How can I effectively market my microgreens business to stand out in a crowded market? First, I leverage social media to showcase vibrant photos of my microgreens. Engaging content, like recipes and health benefits, keeps my audience interested. I also collaborate with local chefs and farmers’ markets to gain visibility.
Here’s a quick table to help you visualize my marketing strategies:
| Strategy | Platform | Frequency |
|---|---|---|
| Social Media Posts | Instagram, Facebook | 3 times/week |
| Collaborations | Local Chefs | Monthly |
| Farmers’ Markets | Local Events | Weekly |
Navigating Regulations and Food Safety Standards
Navigating the maze of regulations and food safety standards can feel overwhelming, but it’s crucial for running a successful microgreens business.
I’ve found that understanding and complying with these rules not only protects your customers but also enhances your brand’s reputation.
Here are some key steps to keep in mind:
- Research local health department regulations for food production.
- Implement proper sanitation practices in your growing area.
- Stay updated on organic certification requirements if you choose that route.
Frequently Asked Questions
How Much Initial Investment Is Needed to Start a Microgreens Business?
When I started my microgreens venture, I found that the initial investment can vary widely. I spent around $200 to $500 on seeds, trays, soil, and basic equipment.
It’s crucial to research and find quality suppliers to stretch your budget. I also recommend starting small, allowing you to test the waters without breaking the bank.
With some creativity and resourcefulness, you can definitely kick off your microgreens business on a budget!
Can I Grow Microgreens Indoors Without Special Lighting?
Absolutely, you can grow microgreens indoors without special lighting!
I’ve done it myself. Just place your trays near a bright window where they can soak up natural sunlight. Ensure they get at least four to six hours of light daily.
I’ve found that rotating the trays helps them grow evenly. Keep an eye on moisture levels, and you’ll have vibrant microgreens flourishing in no time.
It’s all about using what you already have!
What Is the Shelf Life of Harvested Microgreens?
The shelf life of harvested microgreens really depends on the type and how you store them.
Generally, I’ve found they last about 5 to 14 days in the fridge. Keeping them in a sealed container helps maintain freshness.
I always use a damp paper towel to keep them moist, but not soggy. If you notice any wilting or discoloration, it’s best to use them up quickly or toss them out.
How Can I Find Local Farmers’ Markets to Sell My Microgreens?
Finding local farmers’ markets is easier than you might think!
I started by searching online for markets in my area and checking community boards. I also joined local farming groups on social media, where I connected with other vendors who shared valuable insights.
Don’t forget to visit markets in person; talking to vendors can lead to great opportunities.
Building relationships in your community can open doors to selling your microgreens.
What Are Some Common Pests That Affect Microgreens and How to Manage Them?
I’ve faced a few common pests while growing microgreens, like aphids and fungus gnats.
To manage them, I use a mix of preventative measures and natural solutions. I keep my growing area clean and monitor humidity levels.
If I spot pests, I spray a diluted solution of neem oil or insecticidal soap.
It’s all about staying proactive and keeping a close eye on my crops to ensure they thrive without unwanted guests!
Conclusion
Starting a microgreens business from home is an exciting venture that combines passion with profit. By understanding the benefits, selecting the right varieties, and mastering cultivation techniques, you’ll be well on your way. Don’t forget to market your fresh produce and stay compliant with food safety standards. With dedication and creativity, you can turn your small-scale operation into a thriving enterprise. So, roll up your sleeves, and let’s grow something amazing together!