Microgreens on a Budget: Grow Nutritious Greens for Pennies
I’ve found that growing microgreens on a budget is easier than you’d think. With just a few inexpensive supplies, like shallow trays and quality soil, I can enjoy nutritious greens year-round. Choosing fast-growing varieties like radish or mustard greens keeps costs low, and reusing containers reduces waste. Plus, I can monitor light and moisture levels to ensure a healthy harvest. There’s so much more to learn about maximizing flavor and health, so let’s explore together!
Key Takeaways
- Use recycled containers like old food containers or egg cartons to save on growing supplies.
- Choose fast-growing microgreens like radish and mustard greens to maximize yield for minimal cost.
- Purchase high-quality seeds in bulk to reduce expenses and ensure successful growth.
- Utilize natural sunlight or inexpensive grow lights to meet the light requirements without high energy costs.
- Maintain a consistent watering schedule to avoid overwatering or underwatering, preventing crop loss and waste.
Understanding Microgreens and Their Benefits
When I first encountered microgreens, I was surprised to learn how packed they’re with nutrients despite their tiny size. These young seedlings, harvested just after the first true leaves appear, boast concentrated levels of vitamins, minerals, and antioxidants.
For instance, a mere handful of broccoli microgreens can deliver more vitamins C, E, and K than their mature counterparts. They’re also a fantastic source of fiber and essential fatty acids.
Beyond their nutritional benefits, microgreens add vibrant flavors and textures to dishes, making them a favorite in culinary circles.
Plus, they’re incredibly easy to grow indoors or outdoors, allowing anyone to enjoy fresh greens year-round. Embracing microgreens not only enhances meals but also supports a healthier lifestyle.
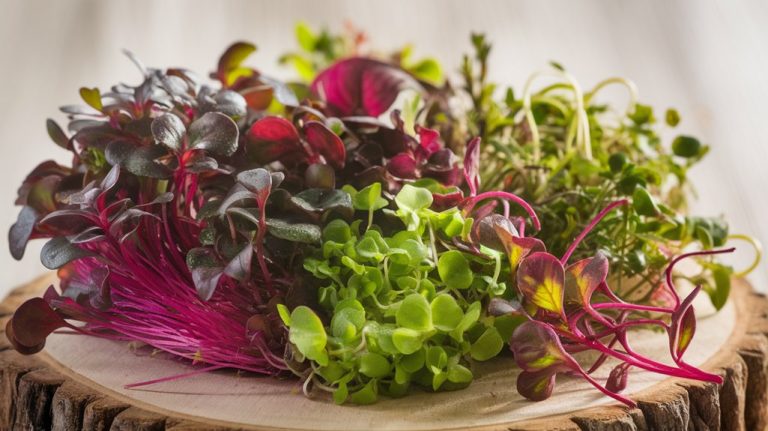
Choosing the Right Microgreens to Grow
Although the options for microgreens can seem overwhelming, choosing the right ones to grow can be straightforward if you consider your taste preferences and culinary needs.
Here are three factors I recommend focusing on:
- Flavor: Opt for microgreens that enhance your dishes. For instance, basil and cilantro can elevate salads and salsas.
- Nutritional Value: If you’re looking for specific health benefits, kale and broccoli microgreens are packed with vitamins and antioxidants.
- Growth Time: Some microgreens are quicker to harvest than others. Radish and mustard greens typically sprout in just 7-10 days, making them great for beginners.
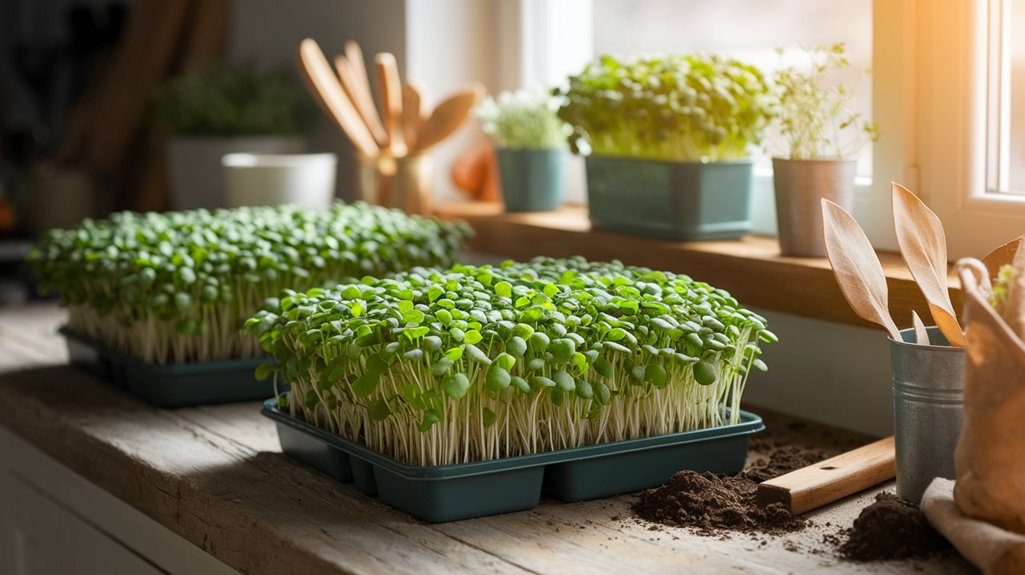
Essential Supplies for Growing Microgreens
When I started growing microgreens, I quickly realized that having the right supplies was crucial for success.
You’ll need basic growing containers, quality soil, and the right seeds to kick things off, along with proper light and water conditions to encourage healthy growth.
Let’s explore these essentials to ensure your microgreen garden thrives without breaking the bank.
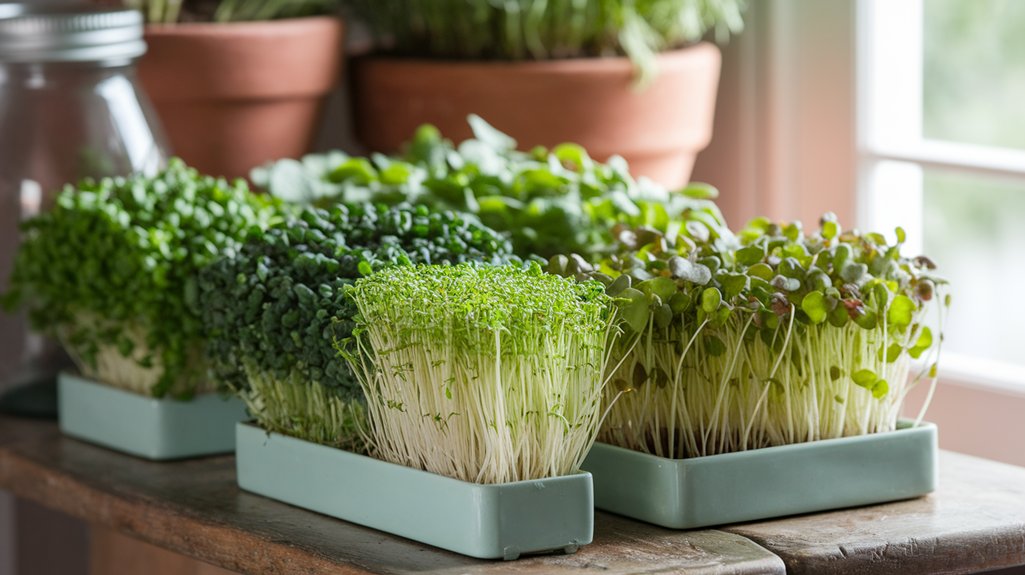
Basic Growing Containers
To successfully grow microgreens, selecting the right containers is crucial, as they directly influence the health and yield of your plants.
I’ve found that using the right materials can make a significant difference. Here are three container options I recommend:
- Shallow trays: These allow for good drainage and air circulation, which is vital for preventing mold.
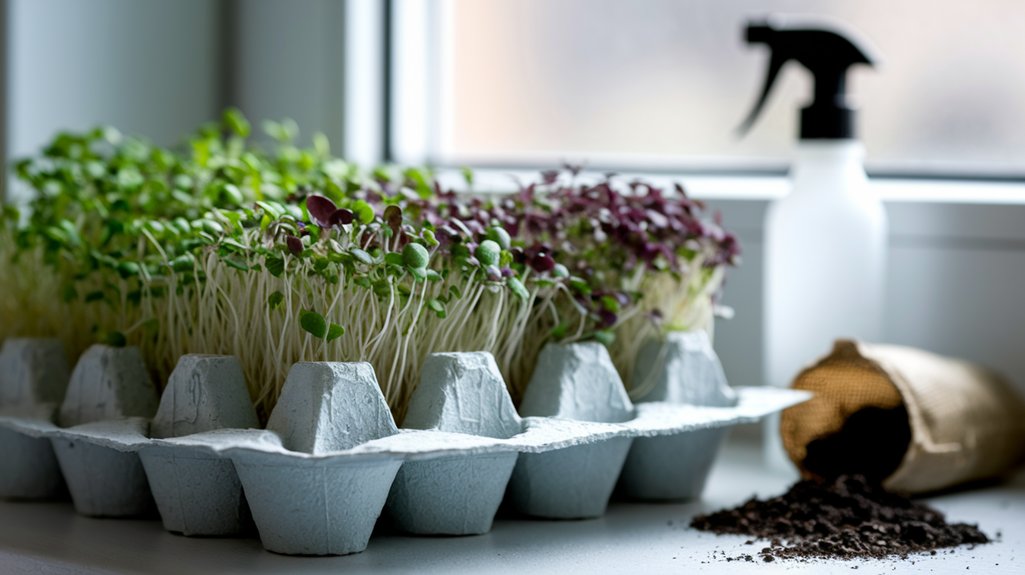
- Recycled containers: Consider using old food containers or egg cartons. Just ensure they’ve drainage holes.
- Biodegradable pots: These are eco-friendly, and they can be planted directly into the ground when your microgreens are ready.
Each option offers unique benefits, so experiment with what works best for you.
Happy growing!
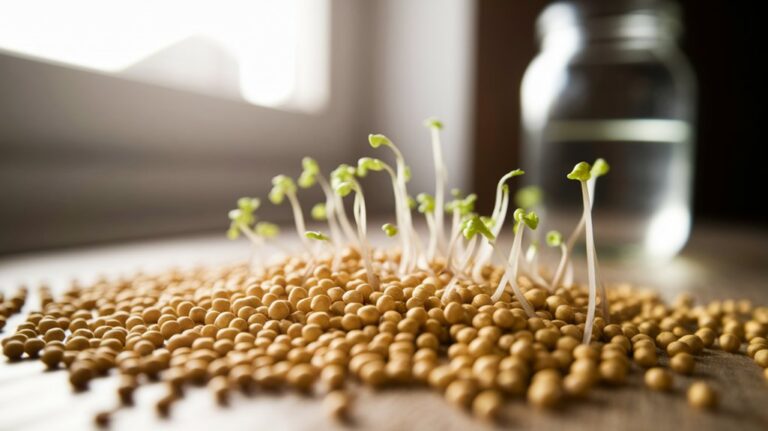
Soil and Seed Selection
Choosing the right soil and seeds is essential for achieving healthy and flavorful microgreens. I always opt for a lightweight, well-draining soil mix, specifically formulated for seed starting. This kind of soil ensures adequate aeration and moisture retention, which is crucial for germination.
Look for organic options if possible, as they provide the best nutrients without harmful chemicals.
When it comes to seeds, I prefer quality, non-GMO varieties. Brands that offer specific microgreen seeds are ideal, as they’re bred for optimal flavor and nutrition. Fast-growing options like radish, mustard, or pea shoots are great for beginners.
Light and Water Needs
Adequate light and water are crucial for the success of your microgreens, and getting these elements right can make all the difference in your harvest. Here’s what I’ve learned about their needs:
- Light: Aim for 12-16 hours of light daily. Natural sunlight works, but if that’s limited, consider using grow lights. Position them a few inches above your microgreens.
- Water: Keep the soil consistently moist but not soggy. Use a spray bottle for gentle watering, which prevents soil disturbance and overwatering.
- Humidity: Cover your trays with a humidity dome or plastic wrap until germination. This retains moisture, ensuring optimal growth.
Cost-Effective Growing Methods
While many might assume that growing microgreens requires a significant investment, I’ve discovered that cost-effective methods can yield impressive results without breaking the bank.
First, I use recycled containers like old takeout boxes or egg cartons, which serve as perfect growing trays. Instead of expensive potting soil, I opt for coconut coir or homemade compost, both affordable and nutrient-rich options.
For lighting, I utilize inexpensive LED grow lights that consume less energy while promoting healthy growth. Additionally, I save on seeds by purchasing in bulk or sharing with fellow growers.
Step-by-Step Guide to Planting Microgreens
Planting microgreens can be a rewarding experience, and I’ve broken it down into a simple, step-by-step process that anyone can follow.
Here’s how I do it:
- Choose Your Seeds: Opt for fast-growing varieties like radish, kale, or basil. Look for seeds specifically labeled for microgreens.
- Prepare Your Growing Medium: Use a shallow container filled with a quality seed-starting mix. Moisten it evenly but avoid oversaturation.
- Sow and Cover: Sprinkle the seeds densely on the surface, then lightly cover them with a thin layer of soil. Mist to keep the moisture level consistent.
Following these steps, you’ll be well on your way to growing vibrant microgreens right in your home!
Caring for Your Microgreens
Caring for your microgreens is crucial to their success, and I’ve found that a few key practices make all the difference.
First, ensure they receive adequate light—aim for at least 12-16 hours of bright, indirect sunlight daily. If natural light is limited, consider using grow lights.
Next, monitor moisture levels; I water them gently to keep the soil consistently damp but not soggy. Overwatering can lead to mold, which I’ve learned the hard way.
I also provide good air circulation by spacing the trays apart, preventing fungal growth.
Lastly, check for pests regularly; catching them early can save your crop.
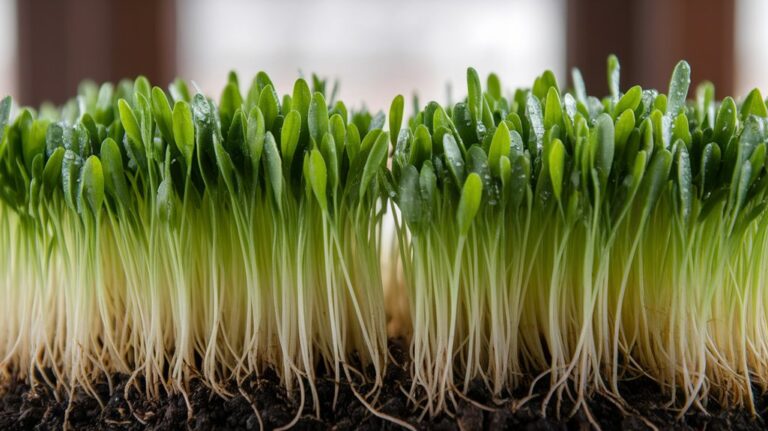
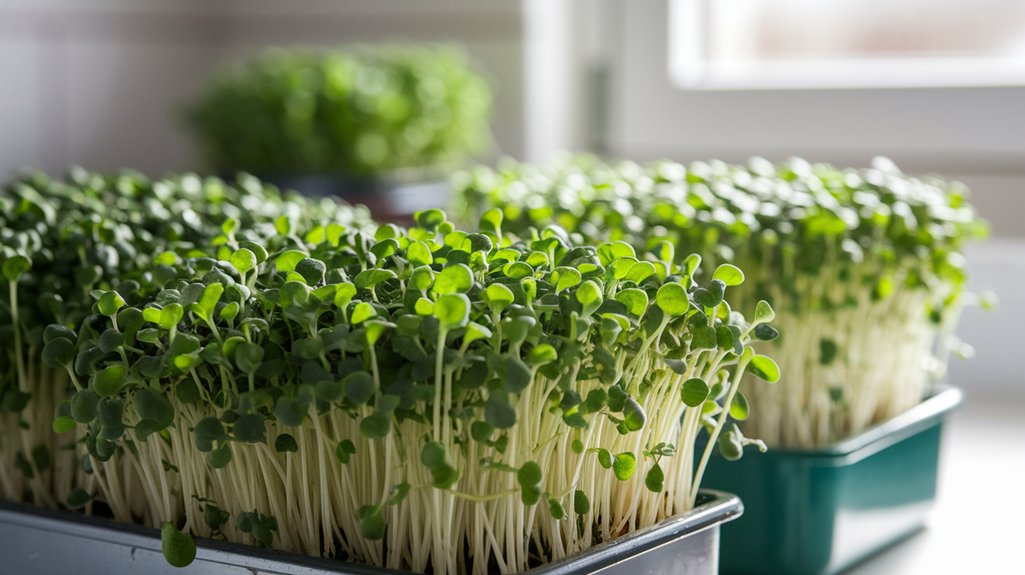
Harvesting and Storing Microgreens
Harvesting microgreens at the right time can maximize their flavor and nutritional value. I usually wait until they reach about 1-3 inches tall for peak taste.
When you’re ready to harvest, follow these steps:
- Use Sharp Scissors: Clean, sharp scissors ensure a clean cut, minimizing damage to the remaining plants.
- Cut Above the Soil Line: I cut just above the soil to maintain root health for potential regrowth.
- Harvest in the Morning: Morning is the best time; the greens are crisp and full of moisture.
Once harvested, store your microgreens in a breathable container in the fridge, ideally wrapped in a damp paper towel to maintain freshness.
Enjoy the vibrant flavors in your meals!
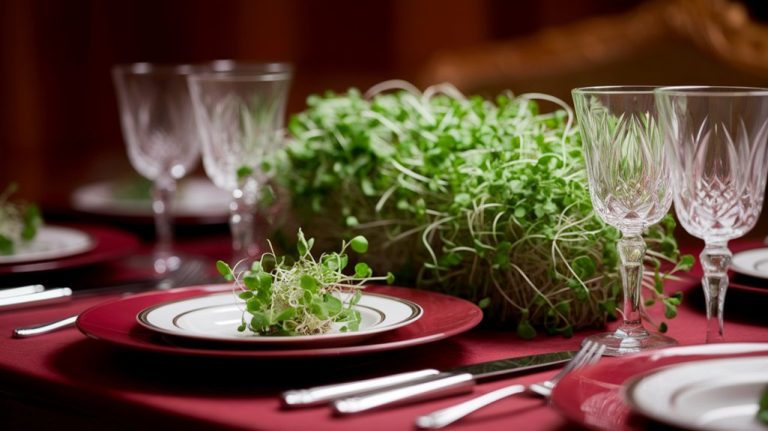
Creative Ways to Use Microgreens in Your Meals
After you’ve harvested and stored your microgreens, the fun really begins in the kitchen. I love adding them to salads for a burst of flavor and nutrition. Just a handful can elevate a simple dish into something special.
You can also toss them into smoothies; they blend seamlessly while boosting the nutrient content. Try layering microgreens on top of sandwiches or wraps for added crunch and vibrancy.
I often sprinkle them over omelets or scrambled eggs, enhancing both presentation and taste. For a quick side, sauté them lightly in olive oil with garlic.
Don’t forget to experiment with different varieties—each brings unique flavors and textures. Microgreens can truly transform your meals, making them more exciting and healthful.
Troubleshooting Common Microgreens Issues
When growing microgreens, I’ve encountered two common issues: overwatering and underwatering.
Understanding the right balance of moisture and the specific light requirements for each type can make all the difference in your crop’s health.
Let’s explore how to identify and fix these problems to ensure your microgreens thrive.
Overwatering vs. Underwatering
While growing microgreens can be a rewarding experience, distinguishing between overwatering and underwatering is crucial for ensuring healthy plants.
I’ve faced both issues, and understanding the signs has made all the difference.
Here are three key indicators to help you troubleshoot:
- Overwatering: Watch for yellowing leaves and a moldy surface. The soil may feel soggy and compacted, indicating excess moisture.
- Underwatering: If the leaves appear wilted and the soil feels dry, your microgreens are thirsty. They need water to thrive!
- Balance: Aim for consistently moist soil without pooling water.
Check daily, especially in warmer environments.
Light Requirements Explained
How can I ensure my microgreens get the right amount of light? Proper lighting is crucial for healthy growth. I use a combination of natural sunlight and grow lights to achieve the best results. Generally, microgreens need about 12-16 hours of light daily, ideally with a balanced spectrum.
Here’s a quick reference table to help you:
| Light Type | Pros |
|---|---|
| Natural Sunlight | Cost-effective, natural growth |
| LED Grow Lights | Energy-efficient, adjustable spectrum |
If my microgreens are leggy or discolored, I adjust the light distance or duration. By monitoring their growth and adapting my light setup, I ensure they thrive beautifully!
Frequently Asked Questions
How Long Does It Take for Microgreens to Grow?
When I grow microgreens, I usually see them sprout in just a few days.
Depending on the variety, they typically reach a harvestable size within 7 to 21 days. For instance, radish and mustard greens grow faster, while basil may take a bit longer.
I love checking on them daily, watching those vibrant greens emerge. It’s a quick and rewarding way to enjoy fresh, nutritious greens right from my kitchen!
Can I Reuse Soil for Growing Microgreens?
Yes, you can reuse soil for growing microgreens, but there are a few things I keep in mind.
First, I make sure to remove any leftover roots and debris from the previous crop.
Then, I mix in fresh compost or fertilizer to replenish nutrients. This helps maintain the soil’s health and ensures my new microgreens thrive.
Just remember, reusing soil too many times can lead to nutrient depletion, so I stay attentive to its condition.
Do Microgreens Require Sunlight or Artificial Light?
Microgreens thrive with adequate light, whether it’s sunlight or artificial light.
I’ve found that placing them near a sunny window works wonders, but if natural light isn’t sufficient, I use grow lights. These provide the right spectrum for strong growth.
Typically, I expose my microgreens to 12-16 hours of light daily. By ensuring they get enough light, I’ve noticed healthier plants and a more vibrant harvest.
It’s essential for their development!
Are Microgreens Safe for Pets?
I often get asked if microgreens are safe for pets.
Generally, most microgreens, like pea shoots and sunflower greens, are non-toxic to dogs and cats. However, some pets might’ve individual reactions or preferences, so it’s wise to monitor their behavior.
I’ve found that introducing new plants gradually helps. Always consult your vet if you’re unsure about specific varieties or if your pet shows any signs of discomfort after eating them.
Can I Grow Microgreens Indoors Year-Round?
Absolutely, you can grow microgreens indoors year-round!
I’ve found that with the right setup, it’s pretty straightforward. Make sure you have adequate light—either natural sunlight or grow lights.
I use seed trays filled with a quality growing medium, and I keep the moisture consistent. The key is to monitor temperature and humidity, ensuring optimal conditions.
It’s rewarding to harvest fresh greens whenever I like, regardless of the season!
Conclusion
Growing microgreens on a budget isn’t just possible; it’s rewarding. With a bit of effort and the right techniques, I’ve transformed my meals and improved my health without breaking the bank. Whether you’re a seasoned gardener or just starting, these tiny greens offer immense nutritional benefits and versatility. So, gather your supplies, follow the steps, and enjoy the fresh flavors and vibrant colors of your homegrown microgreens. Start your journey today and savor the difference!