My Sprouts Molded — Now What? Practical Fixes and Prevention Tips
If your sprouts molded, it’s crucial to act quickly. First, inspect them visually and check for smells. Discard any moldy sprouts, and clean your containers with hot, soapy water. Use natural solutions like vinegar for thorough cleaning. To prevent future issues, start with high-quality seeds and ensure proper airflow while monitoring moisture levels. Create the right environment for your sprouts, and you’ll boost your chances of success. Learn more about creating the perfect sprouting conditions.
Key Takeaways
- Discard any moldy sprouts immediately to prevent contamination; wear gloves during handling for protection against allergens.
- Clean all containers and surfaces with hot, soapy water or natural cleaning solutions to eliminate mold spores.
- Ensure proper drainage and air circulation to prevent moisture buildup, which encourages mold growth.
- Start with high-quality seeds and clean equipment to reduce the risk of mold in future batches.
- Monitor moisture levels and maintain a cooler environment to inhibit mold growth in your sprouts.
Understanding the Causes of Mold in Sprouts

When you’re growing sprouts, it’s crucial to understand the factors that lead to mold growth. First off, moisture is a significant culprit; if your sprouts are too wet, mold thrives.
I’ve learned that proper drainage is key—make sure your growing medium allows excess water to escape. Temperature also plays a role; molds prefer warm environments, so keep your sprouts in a cooler space if possible.
Air circulation is another factor; crowded sprouts can trap humidity, promoting mold. I always ensure my jars or trays have adequate airflow.
Lastly, using clean seeds and equipment helps prevent introducing mold spores. By taking these precautions, I’ve successfully minimized mold issues and enjoyed healthier sprouts.
Assessing the Extent of the Mold Problem
When assessing the extent of a mold problem in your sprouts, I start with a thorough visual inspection.
Look for any discoloration or unusual growth patterns on the sprouts, as these can indicate mold presence.
Don’t forget to check the smell and texture; if they feel slimy or have an off odor, it’s a clear sign that mold has taken hold.
Visual Inspection Techniques
Although it may seem daunting, assessing the extent of a mold problem in your sprouts starts with a simple visual inspection.
First, take a close look at your sprouts under good lighting. I recommend examining them for any discoloration, fuzzy patches, or unusual spots. It’s important to check not just the surface but also between the layers, as mold can hide in tight spaces.
Don’t forget to inspect the container; mold can form on the sides or bottom as well. If you notice any significant mold growth, it’s best to err on the side of caution. Discard the affected sprouts to prevent further contamination.
This straightforward assessment can save you time and ensure your next batch grows healthy and delicious.
Smell and Texture Check
While visual inspection is crucial, the smell and texture of your sprouts can provide additional insights into any mold issues. If your sprouts emit a sour or musty odor, it’s a strong indicator that mold has taken hold. Trust your nose; a fresh, earthy scent should be present instead.
Next, gently touch your sprouts. They should feel firm and crisp, not slimy or mushy. If they’ve an unpleasant texture, it’s likely time to discard them.
Always remember, mold can be harmful, so when in doubt, it’s safer to throw them away. Regularly checking both smell and texture can help prevent mold growth in the future, keeping your sprouts fresh and safe to eat.
Safe Methods for Cleaning Moldy Sprouts
When I find moldy sprouts, I act quickly to clean them safely and effectively.
It’s crucial to use safe cleaning solutions and know when to dispose of the sprouts altogether.
Let’s go over the immediate steps I take to tackle this issue.
Immediate Cleaning Steps
If you discover moldy sprouts in your kitchen, it’s crucial to act quickly to prevent contamination.
First, put on gloves to protect your hands. Carefully remove the affected sprouts and discard them in a sealed bag to avoid spreading spores.
Next, clean the container or tray where the sprouts were stored. Use hot, soapy water to scrub all surfaces thoroughly, ensuring you get into any crevices where mold spores might linger. Rinse well with hot water to eliminate soap residue.
Don’t forget to wipe down surrounding areas, like countertops, with a damp cloth.
Finally, dry everything completely before introducing new sprouts. These immediate steps will help keep your kitchen safe and mold-free.
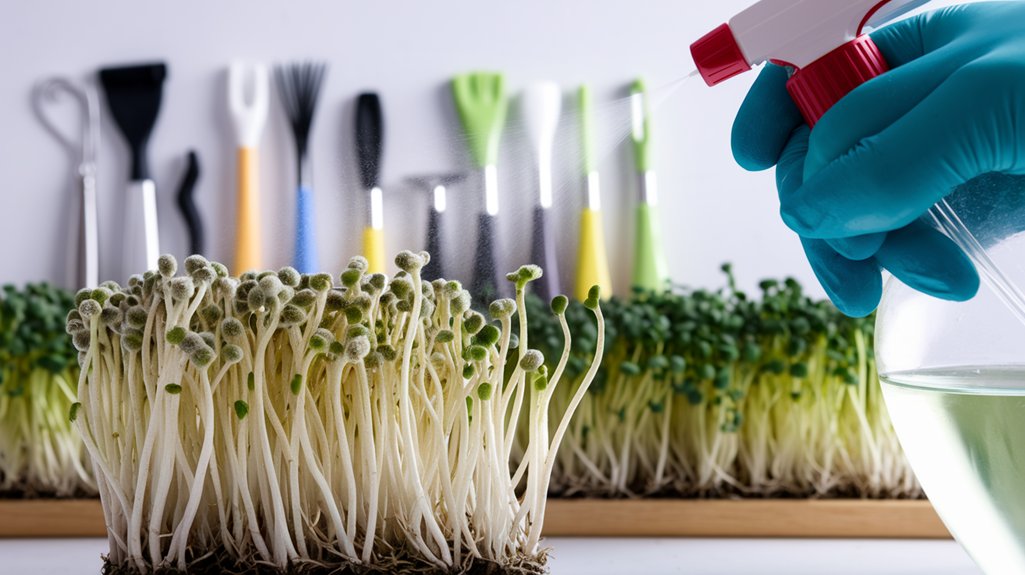
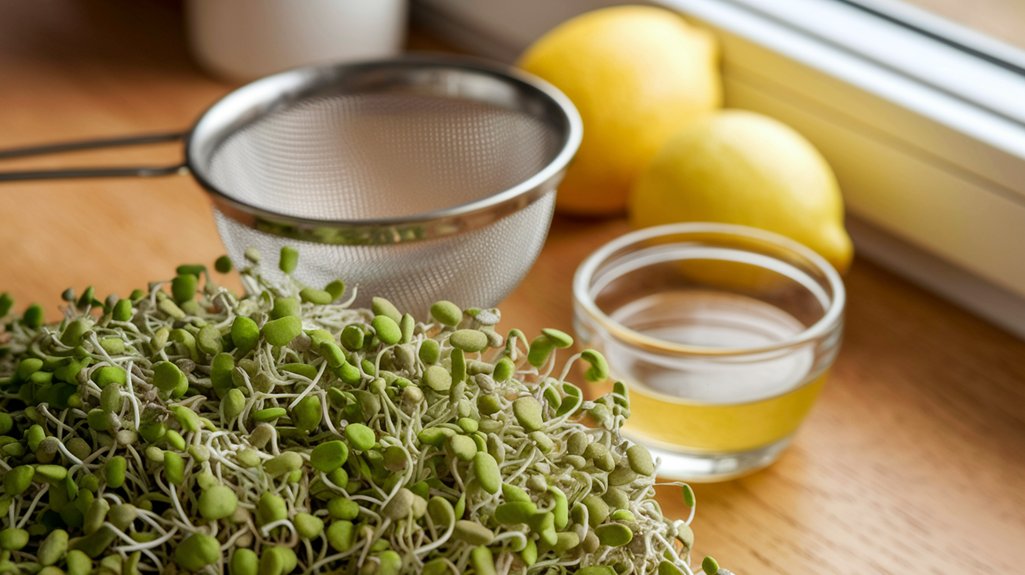
Safe Cleaning Solutions
After you’ve taken the immediate cleaning steps to tackle moldy sprouts, it’s time to focus on the right cleaning solutions. I recommend using natural and safe methods that effectively eliminate mold without harmful chemicals. Here’s a quick guide:
| Cleaning Solution | Usage Instructions |
|---|---|
| Vinegar | Mix with water (1:1) and spray directly on the affected area. Wipe clean. |
| Baking Soda | Create a paste with water, apply to the mold, let it sit for 10 minutes, then scrub off. |
| Lemon Juice | Use undiluted lemon juice; spray or apply directly to the moldy sprouts and rinse. |
These solutions are not only effective but also safe for your kitchen environment. Choose one that suits your needs and get back to enjoying your sprouts!
Disposal Considerations
Disposing of moldy sprouts requires careful consideration to ensure safety and minimize waste. First, I recommend wearing gloves to protect my hands from potential allergens.
I place the moldy sprouts in a sealed plastic bag to prevent spores from spreading. It’s crucial not to compost them, as this can contaminate the compost with mold. Instead, I throw the sealed bag in the regular trash.
If possible, I try to recycle the container the sprouts came in, provided it’s clean and safe to do so.
Lastly, I clean any surfaces or tools that came into contact with the moldy sprouts using a solution of vinegar and water to prevent future contamination. Safe disposal practices help keep my kitchen healthy and mold-free.
When to Discard Your Moldy Sprouts
When should you toss those moldy sprouts? If you see any signs of mold, like fuzzy spots or discoloration, it’s best to err on the side of caution.
Mold can produce harmful toxins, and consuming it isn’t worth the risk. I’ve learned that even if you think you can salvage some sprouts by cutting away the moldy parts, it’s often not safe to do so.
If the mold covers a significant area or if the sprouts have an off smell, just discard the entire batch. Remember, safety first!
Trust your instincts—if something seems off, don’t hesitate to throw it out. Fresh, healthy sprouts are worth the wait, so it’s always better to start anew than risk your health.
Tips for Preventing Mold in Future Batches
To ensure your future batches of sprouts stay mold-free, I recommend starting with high-quality seeds and clean equipment. It’s crucial to wash your jars, trays, and tools thoroughly before each use. Additionally, rinse your seeds well before soaking them, as this helps remove any contaminants.
Here’s a quick reference table to help you remember some essential steps:
| Step | Importance |
|---|---|
| Use quality seeds | Reduces risk of mold |
| Clean equipment | Prevents contamination |
| Rinse seeds | Eliminates surface debris |
| Monitor moisture | Keeps sprouts dry and healthy |
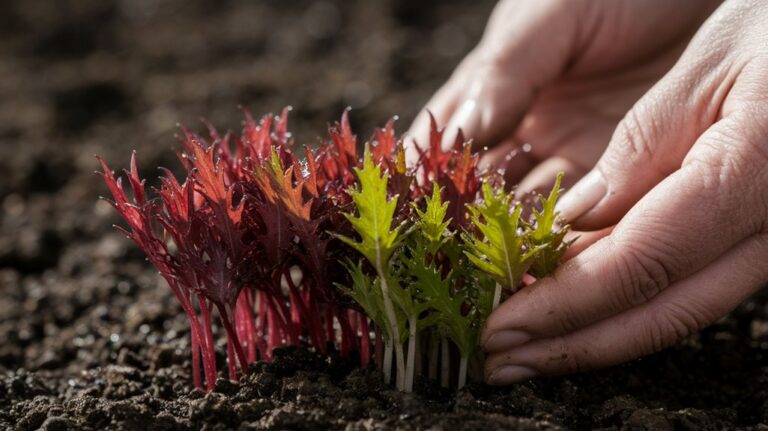
Choosing the Right Environment for Sprouting Success
Choosing the right environment for sprouting can make all the difference in your success.
I’ve learned that a few key factors significantly impact the growth of your sprouts. Here’s what I focus on:
- Temperature: Keep your sprouts in a warm spot, ideally between 65-75°F (18-24°C). This promotes optimal germination.
- Humidity: Sprouts thrive in a humid environment, but too much moisture can lead to mold. A balance is essential.
- Airflow: Ensure good ventilation to prevent stagnant air, which can foster mold growth.
Frequently Asked Questions
Can I Eat Moldy Sprouts if I Cut off the Affected Parts?
I wouldn’t recommend eating moldy sprouts, even if you cut off the affected parts.
Mold can penetrate deeper than you might think, potentially leaving harmful toxins. I always err on the side of caution with food safety.
If I notice any mold, I toss the entire batch to avoid any health risks. It’s better to prioritize your health and enjoy fresh, uncontaminated sprouts instead.
Trust me; it’s not worth the gamble!
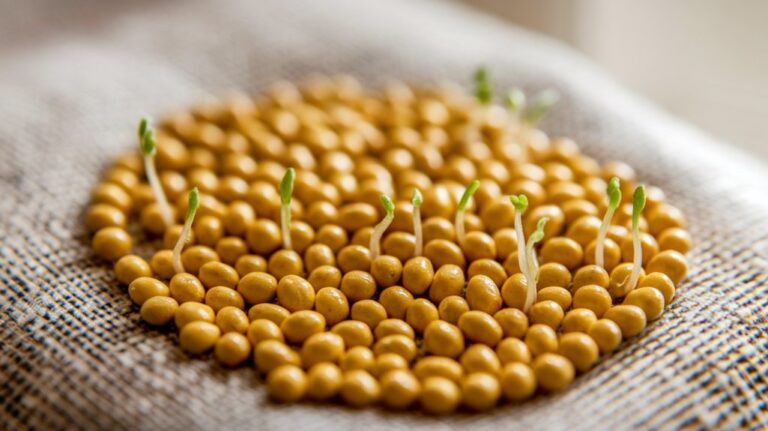
What Types of Sprouts Are Most Prone to Mold?
When growing sprouts, I’ve noticed that certain types are more prone to mold. For instance, alfalfa and clover sprouts tend to attract mold due to their delicate structure and high moisture content.
I’ve found that the thicker the seed coat, like with mung beans, the less likely they’re to mold. To prevent this, I always ensure proper air circulation and avoid overcrowding during the sprouting process.
Keeping things dry helps too!
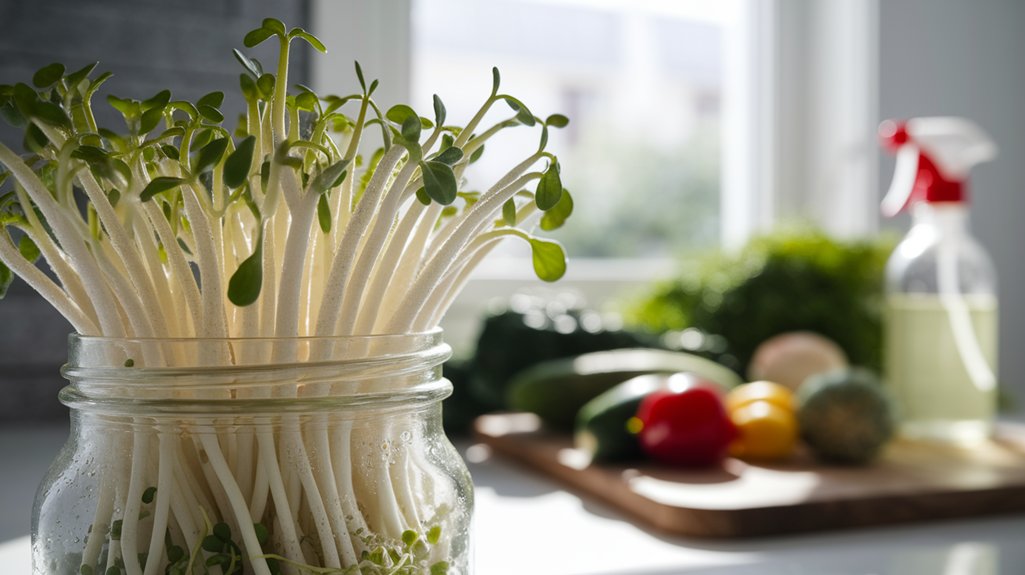
How Long Can I Store Sprouts Before They Mold?
I’ve found that sprouts can typically last about 5 to 7 days in the fridge before they start to mold.
Keeping them in a breathable container helps extend their freshness. I always rinse them well before storing and make sure they’re completely dry.
If I notice any signs of wilting or off smells, I toss them out immediately. It’s crucial to monitor them closely to enjoy their crunchiest, freshest state!
Can I Use Bleach to Clean Moldy Sprouts?
I wouldn’t recommend using bleach to clean moldy sprouts. While bleach can kill mold, it’s not safe for consumption and can leave harmful residues.
Instead, I’d suggest discarding any moldy sprouts to avoid potential health risks.
To prevent future mold issues, ensure your sprouts are stored in a cool, dry place with good airflow. Keeping them clean and dry is key to enjoying healthy, fresh sprouts without the worry of mold.
Is It Safe to Compost Moldy Sprouts?
I often wonder if it’s safe to compost moldy sprouts. Generally, it’s okay, as moldy plant material can break down and enrich the soil.
However, I’d avoid composting if the sprouts show signs of disease, as this could spread harmful pathogens.
To ensure a healthy compost pile, I chop them up to speed up decomposition and mix them with other materials.
Always keep an eye on the compost to maintain its balance!
Conclusion
In conclusion, dealing with moldy sprouts can be frustrating, but understanding the causes and knowing how to respond makes all the difference. If you find mold, assess the situation carefully and clean them properly if it’s safe to do so. Otherwise, it’s best to discard them. By following the prevention tips and creating the right environment for your sprouts, you can enjoy fresh, healthy greens without the worry of mold in the future. Happy sprouting!