Quick and Easy Sprouts: A Beginner’s Guide to Germination
To start sprouting at home, I choose seeds meant for sprouting, like alfalfa or mung beans, ensuring they’re fresh and chemical-free. I use a sprouting jar with a breathable lid for air circulation and rinse the seeds well. After soaking them for 6-12 hours, I spread them in the container and rinse them twice daily for moisture. With the right light and temperature control, I ensure optimal growth. There’s so much more to discover about sprout preparation and usage.
Key Takeaways
- Choose seeds specifically labeled for sprouting, like alfalfa or mung beans, to ensure successful germination.
- Soak seeds for 6-12 hours, then rinse and drain them to promote sprouting.
- Use a clean jar with a breathable lid and keep it in a dark, warm space for optimal growth.
- Rinse sprouts twice daily to maintain moisture and prevent mold, ensuring a fresh harvest.
- Incorporate sprouts into salads, sandwiches, and smoothies for added nutrition and flavor.
Choosing the Right Seeds for Sprouting
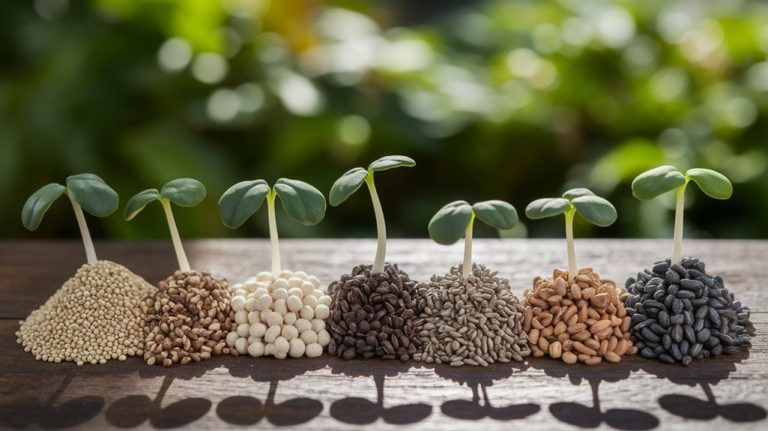
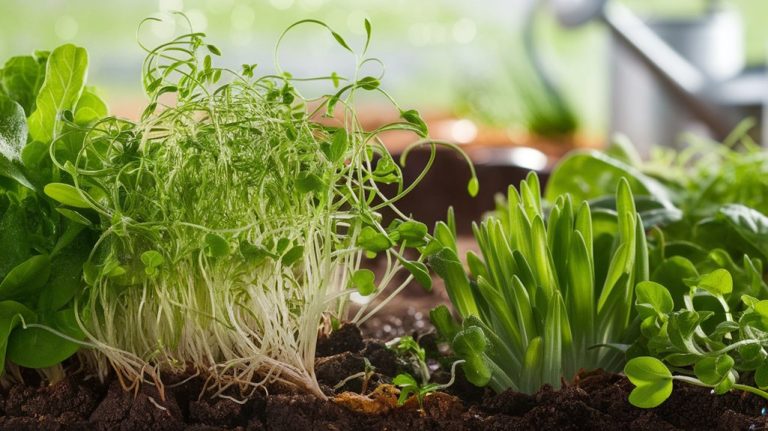
When I start thinking about sprouting, I know that choosing the right seeds is crucial for successful germination. I always opt for seeds specifically labeled as suitable for sprouting, like alfalfa, broccoli, or mung beans.
These seeds are often tested for high germination rates and are free from harmful chemicals. I also check for freshness; older seeds can have reduced viability. It’s essential to source seeds from reputable suppliers to ensure quality.
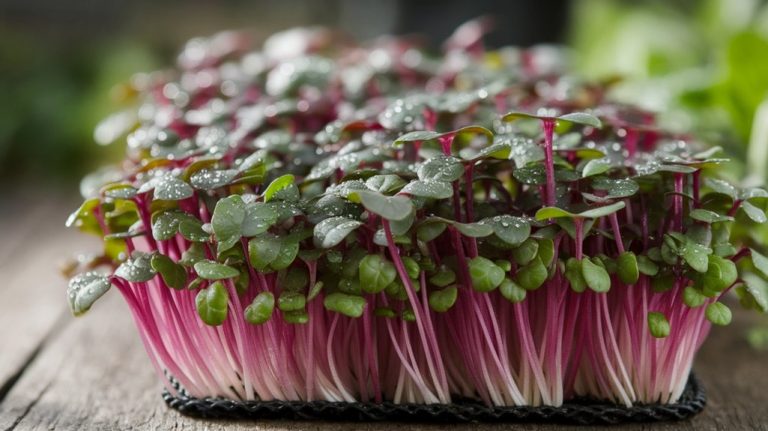
Additionally, I consider the flavor and nutritional benefits of the sprouts I want to grow. For instance, radish seeds yield spicy sprouts rich in vitamins.
Essential Equipment for Sprouting at Home
To successfully sprout seeds at home, you’ll need a few essential pieces of equipment that make the process efficient and easy.
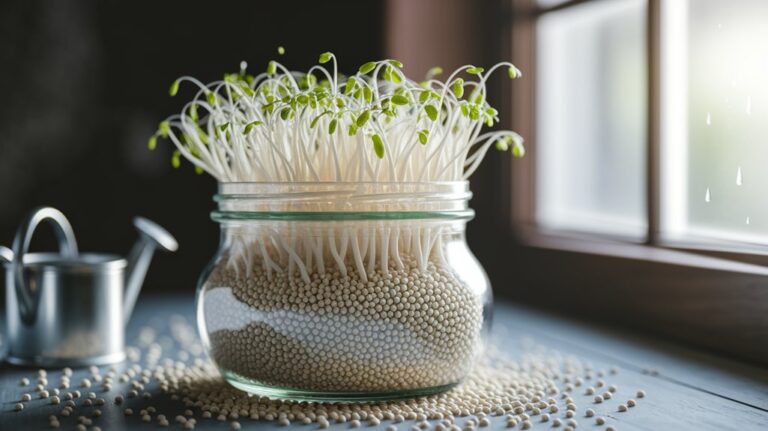
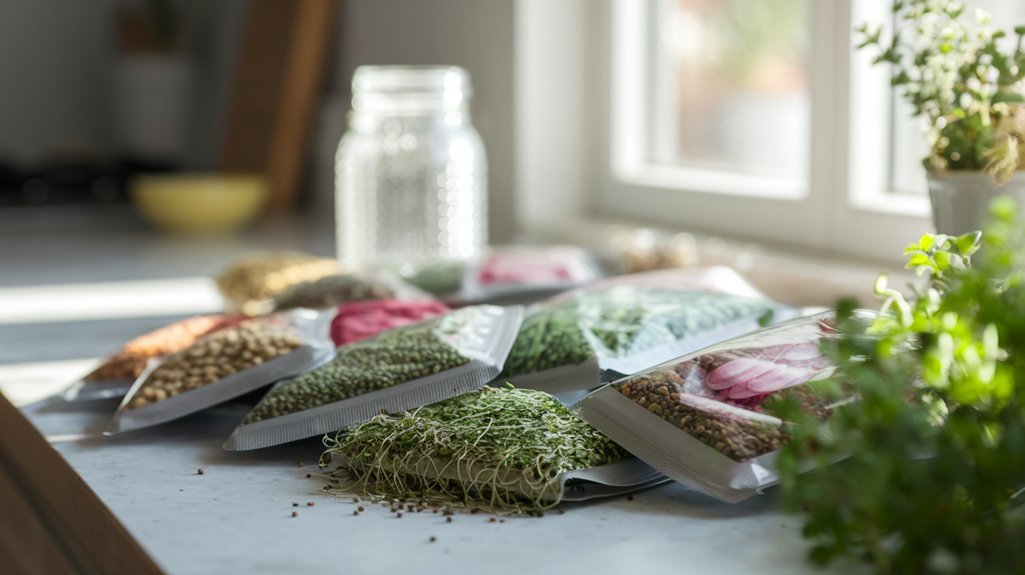
First, a sprouting jar or container is crucial; it should have a breathable lid or mesh cover to allow air circulation while preventing moisture buildup.
Next, a good-quality organic seed variety ensures healthy sprouts.
I also recommend having a fine-mesh strainer for rinsing your seeds easily. A bowl or tray for draining excess water is handy, too.
Lastly, a clean, dark space with a consistent temperature helps in the germination process.
With these tools, you’ll set yourself up for success as you embark on your sprouting journey!
Step-by-Step Guide to Germinating Sprouts
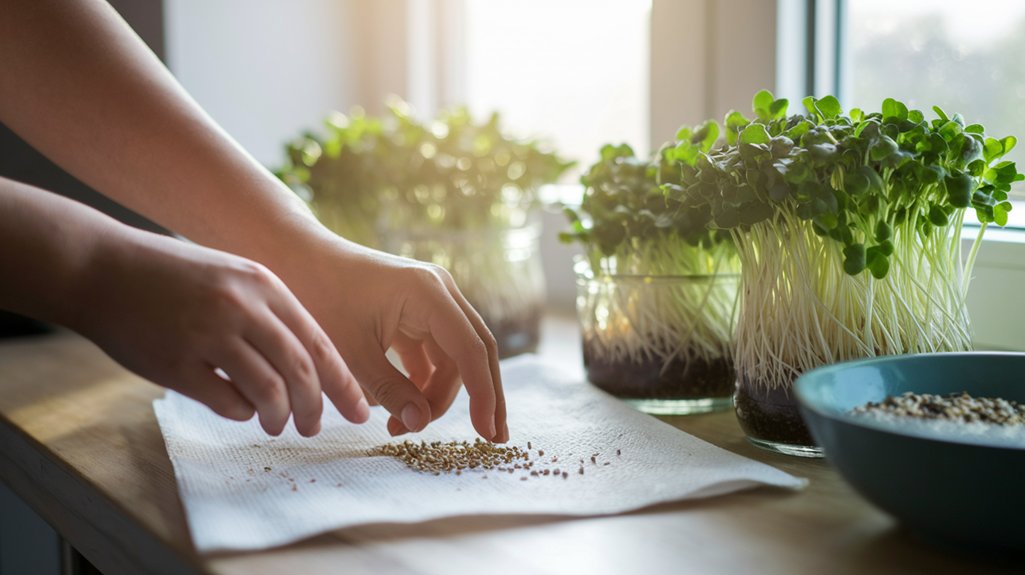
Having gathered your sprouting equipment, you’re ready to start the germination process. First, measure out your seeds—typically, two tablespoons is sufficient for most jars. Rinse them thoroughly to remove any debris.
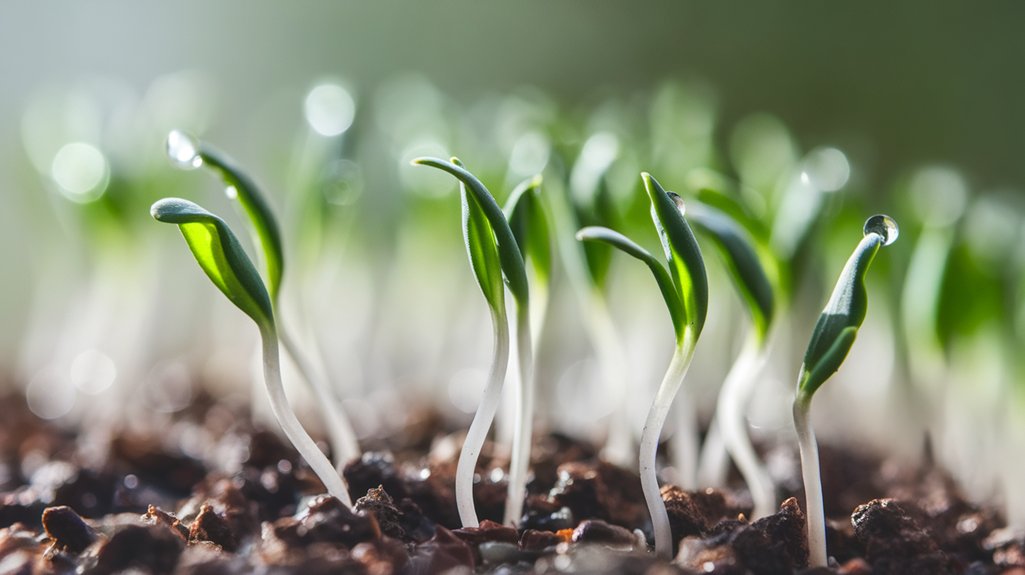
Next, soak the seeds in water for about 6-12 hours, depending on the type. After soaking, drain the water and spread the seeds evenly in your sprouting container. Place the container in a dark, warm spot, ensuring air circulation.
Rinse and drain the seeds twice daily, keeping them moist but not soaked. Within a few days, you’ll notice small sprouts emerging. When they reach about one to two inches, they’re ready to enjoy.
Caring for Your Sprouts: Tips for Success
While caring for your sprouts may seem straightforward, a few key practices can significantly enhance their growth and flavor.
First, ensure your sprouts receive adequate light; I place mine in a sunny spot or under a grow light for about 12 hours daily.
Next, keep the humidity levels consistent—this helps prevent mold. Mist them lightly with water to maintain moisture, but avoid overwatering, as soggy conditions can lead to root rot.
I also recommend rinsing your sprouts twice a day to keep them fresh and clean.
Lastly, monitor the temperature; aim for a range between 65°F to 75°F for optimal growth.
Incorporating Sprouts Into Your Meals
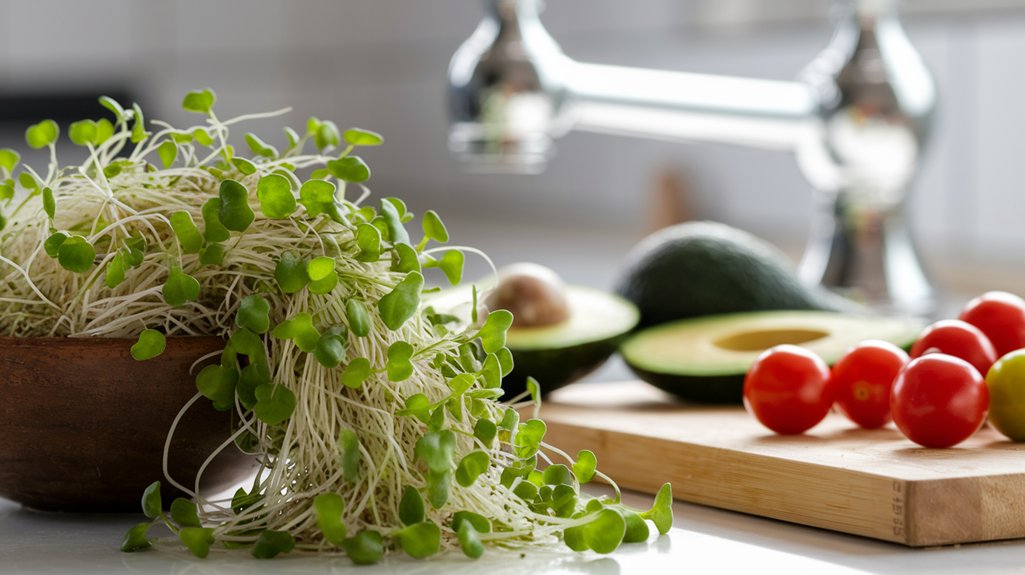
Incorporating sprouts into meals not only boosts their nutritional value but also adds a delightful crunch and fresh flavor. I love tossing them into salads, sandwiches, and wraps for an extra layer of texture. You can also blend them into smoothies for a nutrient-packed drink. Here’s a quick guide to help you think of ways to use sprouts creatively:
| Meal Type | Suggested Sprouts | Preparation Method |
|---|---|---|
| Salads | Alfalfa, Bean sprouts | Toss raw into salads |
| Sandwiches | Radish, Clover sprouts | Layer between ingredients |
| Wraps | Broccoli, Pea shoots | Add raw for crunch |
| Smoothies | Sunflower, Mung bean | Blend into smoothies |
| Stir-fries | Lentil, Chickpea sprouts | Stir-fry briefly |
Try these ideas and enjoy the benefits!
Frequently Asked Questions
How Long Do Sprouts Typically Take to Germinate?
When I start germinating sprouts, I usually find that they take anywhere from 3 to 7 days to fully sprout, depending on the type of seed.
For instance, alfalfa and broccoli seeds sprout quickly, often within 3 to 4 days, while larger seeds like chickpeas might take closer to a week.
I always ensure they’re kept in a warm, moist environment to encourage faster germination and healthy growth.
Timing can vary, but patience pays off!
Can I Sprout Seeds From My Kitchen Pantry?
Absolutely, you can sprout seeds from your kitchen pantry!
I’ve successfully sprouted beans, lentils, and even quinoa. Just make sure the seeds are whole and untreated.
I rinse them, soak them in water for a few hours, and then place them in a sprouting jar.
Keeping them moist and rinsing them daily, I usually see sprouts in a couple of days.
It’s a simple and rewarding way to add fresh nutrition to my meals!
Are Sprouts Safe for Pregnant Women?
I’ve read that sprouts can pose some risks for pregnant women due to potential bacteria like Salmonella or E. coli.
While they’re packed with nutrients, it’s crucial to ensure they’re grown and handled properly.
If you’re pregnant, I’d recommend consulting your healthcare provider before adding sprouts to your diet.
They might suggest avoiding raw sprouts altogether, opting for cooked versions instead to minimize any health risks during pregnancy.
Stay safe and healthy!
What Are the Best Storage Practices for Sprouts?
When it comes to storing sprouts, I always keep them in the fridge to maintain freshness.
I place them in a breathable container, like a paper bag or a perforated plastic container, which prevents moisture buildup.
I avoid washing them until I’m ready to use them, as excess moisture can lead to spoilage.
Regularly checking for any signs of decay helps me enjoy my sprouts at their best!
Can I Reuse Sprouting Equipment for Different Seeds?
Absolutely, you can reuse sprouting equipment for different seeds, but I always make sure to clean it thoroughly between uses.
Bacteria can linger, so I rinse and sanitize my jars or trays with a vinegar solution.
I’ve found that some seeds, like alfalfa and radish, might leave behind flavors or residues.
Conclusion
In conclusion, sprouting is a rewarding and straightforward process that anyone can master with the right seeds and equipment. By following the step-by-step guide and implementing the care tips provided, you’ll soon enjoy fresh, nutritious sprouts right from your kitchen. Don’t hesitate to experiment with different varieties and incorporate them into your meals – they can elevate your dishes while boosting your health. Happy sprouting, and enjoy the journey of growing your own food!