Radish Microgreens: Fast, Spicy, and Incredibly Easy
Radish microgreens are a fantastic addition to my meals! They sprout quickly and pack a delightful peppery punch that brightens up any dish. Plus, they’re nutrient-rich, loaded with vitamins and antioxidants that boost my immune system. The best part? They’re incredibly easy to grow right at home with just a few supplies and the right conditions. If you want to know how to cultivate these vibrant greens and make the most of them, there’s so much more to explore!
Key Takeaways
- Radish microgreens grow quickly, typically ready for harvest in just 7-14 days after planting.
- They have a spicy flavor that adds a kick to salads and sandwiches.
- Growing radish microgreens requires minimal equipment: a shallow container, potting soil, and seeds.
- They thrive in well-draining soil and need bright, indirect sunlight for optimal growth.
- Radish microgreens are packed with vitamins, antioxidants, and minerals, enhancing both nutrition and taste in meals.
The Nutritional Benefits of Radish Microgreens

When I think of vibrant flavors and health benefits, radish microgreens immediately come to mind. These tiny greens pack a powerful punch! They’re rich in vitamins A, C, and E, which are fantastic for boosting my immune system and promoting healthy skin.
I love how their spicy, peppery taste adds zest to my salads and sandwiches. Plus, they’re a great source of antioxidants, helping to combat oxidative stress in my body. Eating radish microgreens supports digestion, too, thanks to their fiber content.
I can’t overlook their mineral benefits; they’re loaded with calcium, magnesium, and potassium. Incorporating them into my meals not only elevates the flavor but also enhances my overall health. They’re a simple, nutritious addition I can’t resist!
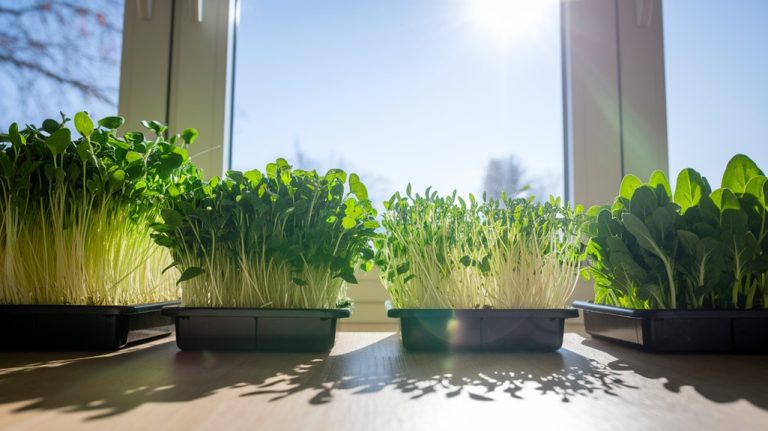
Ideal Growing Conditions for Radish Microgreens
To successfully grow radish microgreens, I’ve discovered that creating the right environment is key. First, aim for a temperature between 65°F and 75°F, as this range promotes optimal growth.
Next, make sure you have good lighting—ideally, bright, indirect sunlight or a grow light for about 12 to 16 hours a day. I also find that using a well-draining soil mix helps prevent mold and encourages healthy roots.
Keep the soil consistently moist but not soggy, as overwatering can lead to issues. Lastly, proper air circulation is essential; I often leave my growing area slightly open to ensure fresh air.
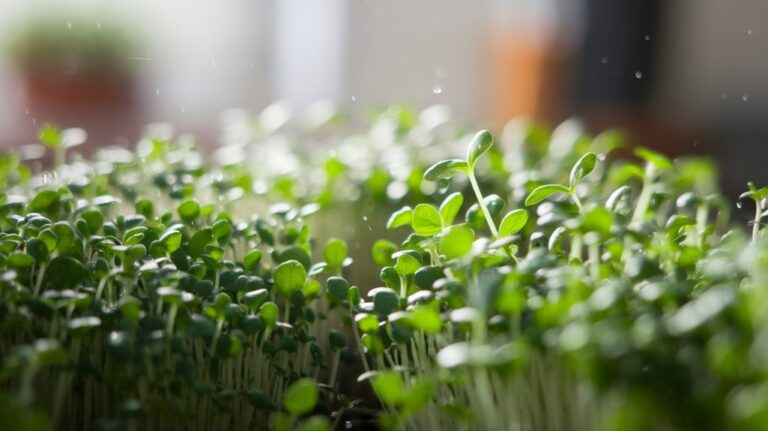
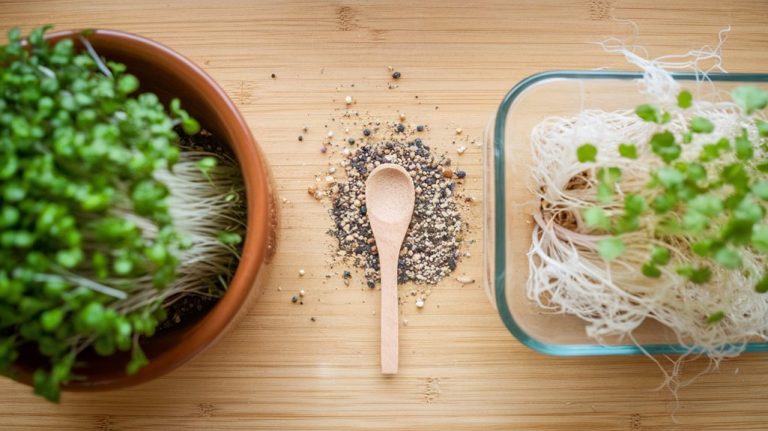
Step-by-Step Guide to Growing Radish Microgreens

With the ideal growing conditions set, I’m ready to share my step-by-step guide to growing radish microgreens.
First, gather your supplies: a shallow container, quality potting soil, and radish seeds.
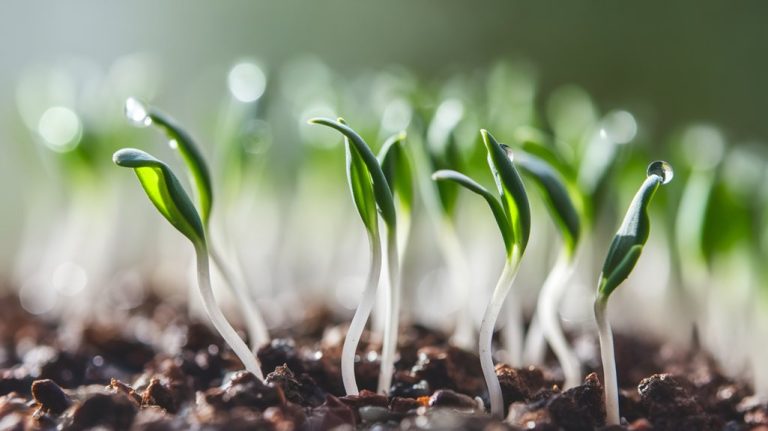
Fill your container with soil, leveling it out. Next, sprinkle the seeds evenly over the surface, aiming for a dense coverage but not overcrowding. Lightly press the seeds into the soil and mist with water to keep them moist.
Cover with a damp paper towel to create humidity. Place the container in a warm, well-lit area.
After about 3-4 days, remove the cover and continue to mist daily. In about 7-14 days, you’ll have a vibrant, spicy crop ready for harvest.
Enjoy your fresh radish microgreens!
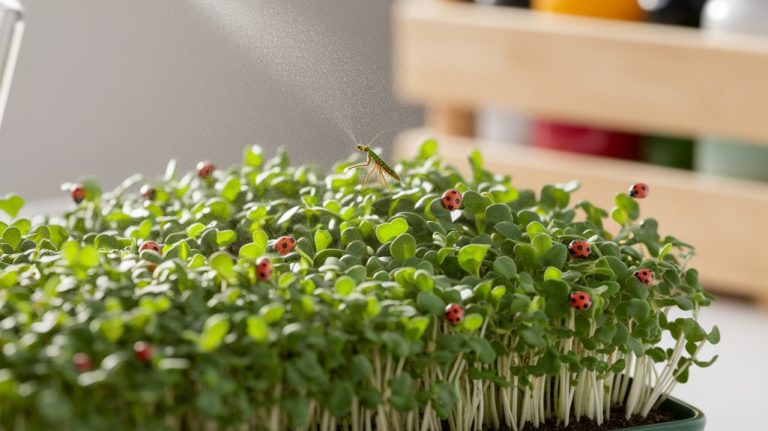
Common Mistakes to Avoid When Growing Radish Microgreens
Although growing radish microgreens can be a rewarding experience, many beginners stumble into common pitfalls that hinder their success. I’ve made some mistakes myself, so here’s a list of things to watch out for:
| Mistake | Solution |
|---|---|
| Overwatering | Allow soil to dry slightly |
| Insufficient light | Use bright, indirect sunlight |
| Not using quality seeds | Choose organic, fresh seeds |
| Ignoring temperature | Maintain 60-70°F for best growth |
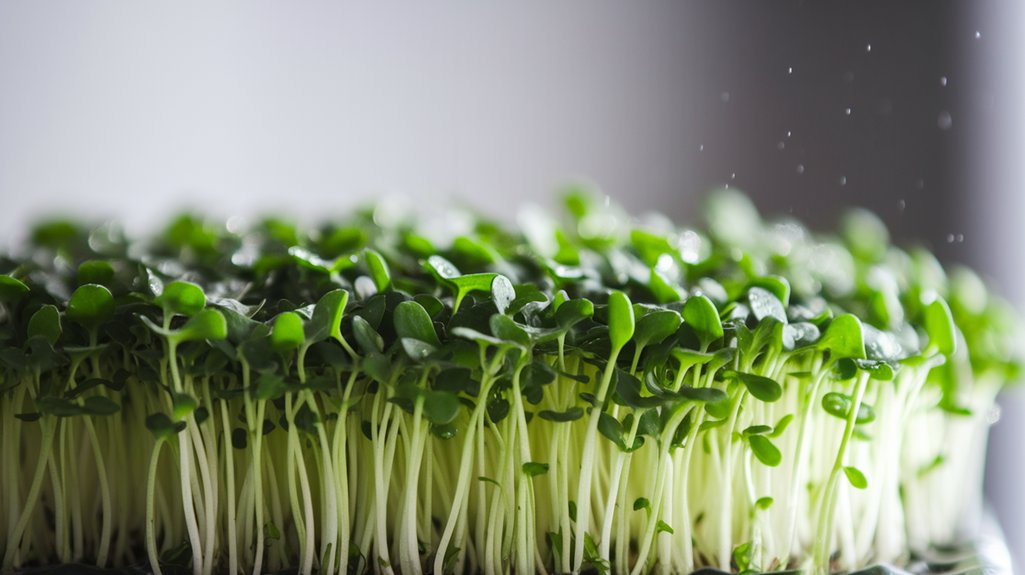
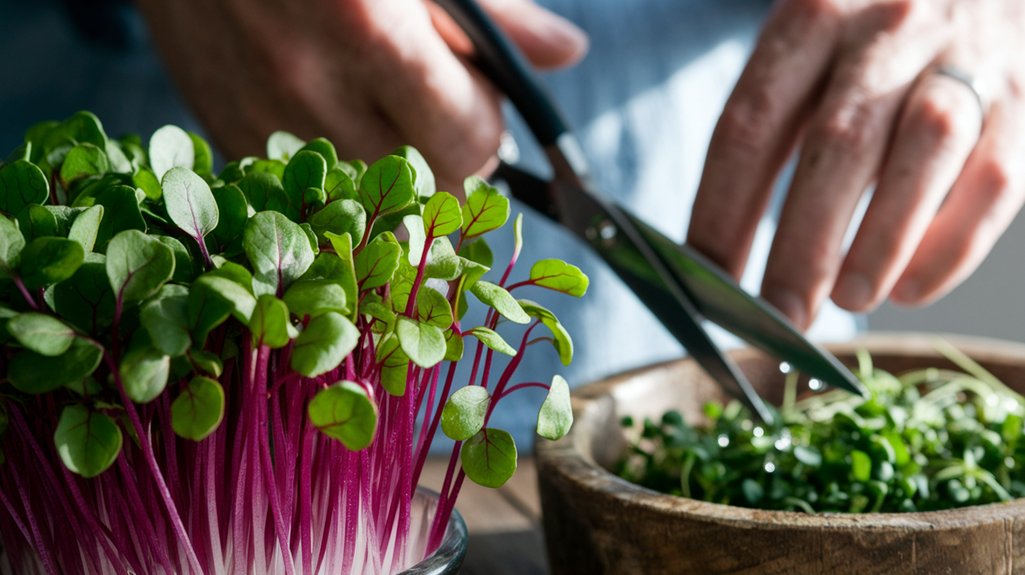
Harvesting and Storing Your Radish Microgreens
Once you’ve successfully navigated the common mistakes in growing radish microgreens, it’s time to enjoy the fruits of your labor.
I like to harvest them when they’re about 1-2 inches tall, just as their vibrant green leaves unfold. Using scissors, I snip them just above the soil line, taking care not to damage the remaining seedlings.
Once harvested, I gently rinse the microgreens under cool water to remove any soil residue. After drying them on a paper towel, I store them in a sealed container lined with a damp paper towel.
This keeps them fresh for about a week in the refrigerator. Trust me, properly harvested and stored radish microgreens can bring that delightful crunch to your dishes!
Creative Culinary Uses for Radish Microgreens
I love adding radish microgreens to my salads for an extra kick of flavor and texture.
Their peppery taste and vibrant color make them perfect for garnishing dishes or topping off sandwiches.
If you’re looking to elevate your meals, these tiny greens are a game-changer!
Salad Enhancements
Adding radish microgreens to salads can elevate your dish in multiple ways, transforming a simple bowl of greens into a vibrant culinary experience.
Their peppery flavor adds a delightful kick, making every bite exciting. I love tossing a handful into my mixed greens for a burst of color and taste.
You can pair them with creamy dressings, as their spiciness cuts through richness beautifully. Try incorporating them in a citrus salad; the microgreens enhance the zesty flavors while providing a crunchy texture.
They also make a fantastic addition to grain salads, giving a fresh contrast to hearty ingredients.
With radish microgreens, your salads become not just healthier but also an adventure for the palate!
Garnishing and Toppings
While exploring the world of garnishing and toppings, you’ll find that radish microgreens can transform ordinary dishes into visually stunning and flavorful creations. Their vibrant green leaves and peppery bite add an exciting touch to everything from soups to tacos.
I love scattering them atop a creamy avocado toast or mixing them into a fresh salsa for an extra zing. They’re also perfect for elevating a simple grilled fish or chicken, providing that much-needed crunch and flavor contrast.
For a daring twist, I often sprinkle them over a rich curry, balancing the spice with their crispness. With radish microgreens, you’ll discover that even the simplest meals can turn into a culinary masterpiece, delighting both the eyes and the palate.
Tips for Expanding Your Microgreens Garden
As you dive deeper into the world of microgreens, expanding your garden can be an exciting and rewarding endeavor. Start by experimenting with different varieties—try broccoli, beet, or mustard microgreens alongside your radishes. Each offers unique flavors and nutrients.
I’ve found that using staggered planting schedules allows for continuous harvests, keeping my supply fresh.
Don’t forget about your growing medium; a quality soil mix enhances growth and flavor. Using trays with drainage is essential to prevent overwatering.
Also, consider vertical gardening options if space is limited; they’re both space-saving and visually appealing.
Lastly, keep learning! Join online communities or local gardening clubs to exchange tips and experiences. Expanding your microgreens garden opens up endless culinary possibilities!
Frequently Asked Questions
How Long Do Radish Microgreens Take to Grow?
When I grow radish microgreens, I find they usually sprout in about 5 to 7 days.
It’s fascinating to watch them emerge quickly, with their vibrant green leaves pushing through the soil. I always make sure to keep the soil moist and provide adequate light.
After about two weeks, they’re ready to harvest! The whole process is so rewarding, and I love adding these spicy little greens to my meals.
They’re simply delightful!
Can I Grow Radish Microgreens Indoors?
Absolutely, you can grow radish microgreens indoors! I’ve done it myself, and it’s a fun project.
All you need is a shallow container, some potting soil, and seeds. I usually keep them in a sunny spot or under grow lights.
They sprout quickly, usually within a week, and the fresh, spicy flavor adds a kick to my salads.
It’s a rewarding way to bring a bit of greenery into my home!
What Tools Do I Need to Grow Radish Microgreens?
To grow radish microgreens, I’ve found just a few essential tools make all the difference.
First, I grab a shallow tray with drainage holes for planting.
Next, I use quality potting soil to ensure healthy growth.
A spray bottle helps me keep the soil moist without overwatering.
Lastly, I like having a light source, either natural sunlight or grow lights, to encourage those vibrant, spicy greens to thrive.
Happy growing!
Are Radish Microgreens Safe for Pets?
I’ve often wondered about the safety of radish microgreens for pets. Thankfully, they’re generally safe for cats and dogs.
I’ve done some research, and these tiny greens can even be a healthy treat in moderation. However, it’s always wise to monitor your pet’s reaction to new foods.
If you notice any unusual behavior, it’s best to consult your vet. Keeping our furry friends safe is always my top priority!
Can I Reuse Soil for Growing Radish Microgreens?
Absolutely, you can reuse soil for growing radish microgreens, but I recommend taking some precautions.
After harvesting, I make sure to remove any leftover roots and debris. Then, I refresh the soil by mixing in some compost or organic matter to replenish nutrients.
This way, my next batch of microgreens thrives. It’s a sustainable practice, and I love seeing the vibrant greens pop up again!
Just ensure the soil remains healthy and well-drained.
Conclusion
Growing radish microgreens has been a rewarding journey for me, bursting with flavor and nutrition. With just a little attention to detail and the right conditions, I’ve transformed my kitchen into a green haven. Whether I’m adding them to salads or using them as a zesty garnish, their spicy kick elevates every dish. I encourage you to dive into this easy gardening adventure—your taste buds and health will thank you! Happy growing!