Sprout Rye Like a Pro: Tips and Tricks for the Perfect Batch Every Time
To sprout rye like a pro, I focus on a few key steps. First, I choose the right seeds based on my climate and intended use. Then, I prepare my equipment and soak the seeds for 8 to 12 hours. Rinsing and draining them thoroughly prevents spoilage and ensures optimal germination. Maintaining ideal conditions—between 60°F to 75°F with 70-80% humidity—is crucial for healthy sprouts. When I achieve this balance, I’m rewarded with a perfect batch. There’s much more to explore on this process!
Key Takeaways
- Choose the right rye seeds based on local climate, soil conditions, and intended use for optimal sprouting results.
- Soak seeds for 8 to 12 hours in clean, filtered water to enhance germination and nutrient availability.
- Rinse soaked seeds thoroughly two to three times to eliminate contaminants and promote healthy sprouting.
- Maintain ideal conditions with temperatures between 60°F to 75°F and humidity levels of 70-80% for optimal growth.
- Sanitize all equipment and ensure proper drainage to prevent spoilage and encourage successful germination.
Choosing the Right Rye Seeds
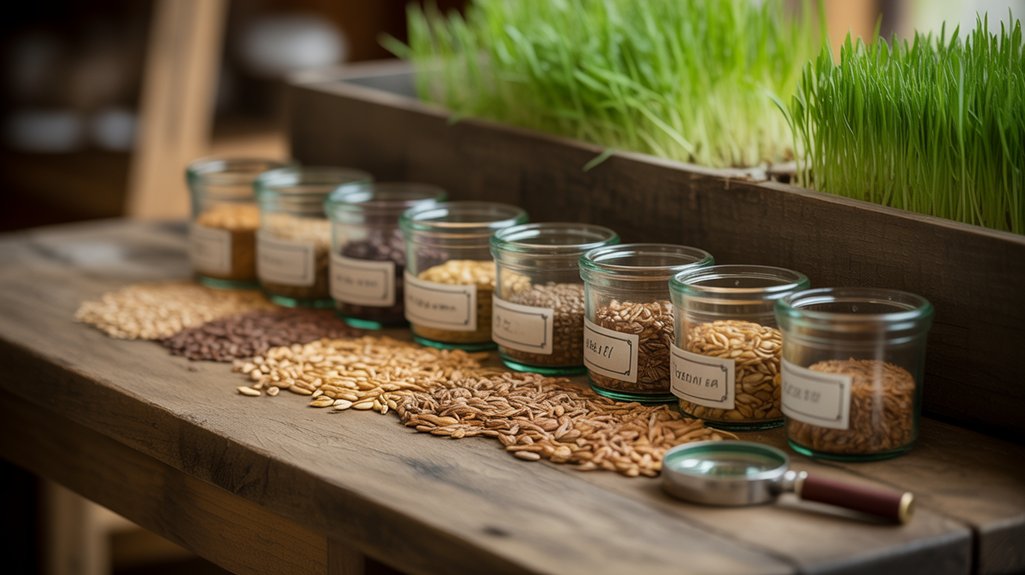
When choosing the right rye seeds, how do you ensure you’re selecting the best variety for your needs?
First, I evaluate the climate and soil conditions in my area. For instance, winter rye thrives in colder climates, while spring rye suits milder conditions.
Next, I look for disease resistance. Some varieties are more susceptible to common issues like rust or ergot, so I prioritize seeds with proven resistance.
I also consider the intended use—whether for grain production or cover cropping.
Lastly, I consult local agricultural extensions or seed catalogs for research-backed recommendations.
Preparing Your Equipment
After selecting the right rye seeds, preparing your equipment is the next step in ensuring a successful planting.
First, I gather essential tools: a sprouting jar or tray, a fine mesh strainer, and clean water. The sprouting jar should allow for adequate airflow while preventing seed escape.
I always make sure to sanitize the jar and strainer to eliminate any potential contaminants that could hinder growth. If I’m using a tray, I ensure it has drainage holes to prevent waterlogging.
Additionally, I check that my workspace is clean and organized, which minimizes the risk of introducing bacteria.
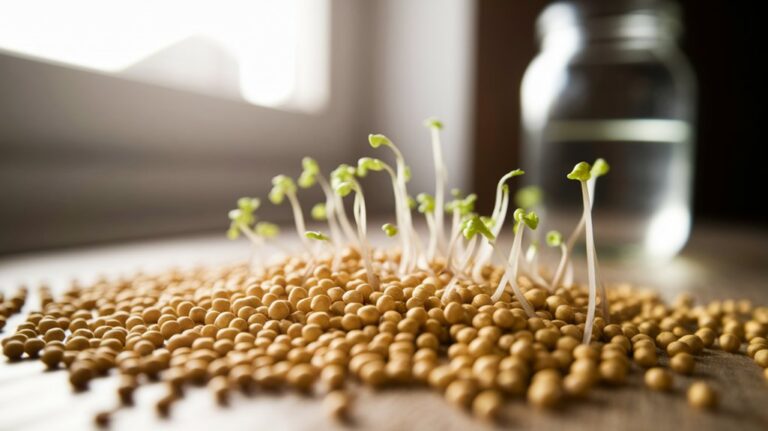
Soaking the Seeds

Soaking the seeds is a crucial step in the sprouting process, as it kickstarts germination and enhances nutrient absorption.
I typically soak my rye seeds for 8 to 12 hours, which allows them to absorb water and activate enzymes that promote sprouting. This hydration phase softens the seed coat, making it easier for the seed to break through during germination.
Research indicates that soaking not only improves germination rates but also increases the bioavailability of nutrients, such as vitamins and minerals.
It’s essential to use clean, filtered water to avoid introducing any contaminants.
After soaking, I find that the seeds are plump and ready for the next step, setting the stage for successful sprouting.
Rinsing and Draining
Rinsing the soaked rye seeds is crucial for removing any residual substances that could hinder sprouting.
I’ve found that effective draining techniques are equally important to prevent waterlogging, which can lead to mold growth.
Importance of Rinsing
When I prepare to sprout rye, I can’t overstate the significance of rinsing and draining the seeds properly. Rinsing not only removes surface debris and dust but also eliminates potential contaminants like mold and bacteria that can hinder sprouting.
Water acts as a catalyst, initiating the germination process by activating enzymes within the seeds. I find that a thorough rinse—typically two to three times—ensures the seeds are adequately hydrated without becoming waterlogged.
This step is crucial because excess moisture can lead to spoilage rather than healthy sprouts. Ultimately, the rinse serves as a foundation for successful germination, setting the stage for vibrant, nutritious rye sprouts.
Ignoring it could jeopardize the entire sprouting endeavor.
Effective Draining Techniques
After properly rinsing the rye seeds, the next vital step involves effective draining techniques to ensure optimal sprouting conditions. If excess water remains, it can lead to mold and hinder growth.
Here are three techniques I find useful:
- Tilt the Container: Place your rinsed seeds in a colander and tilt it to allow gravity to assist in draining excess water efficiently.
- Gentle Shake: Lightly shake the colander to help release any trapped water, ensuring the seeds are evenly drained.
- Air Dry: Let the seeds sit for a few minutes at room temperature. This allows any remaining moisture to evaporate, creating an ideal environment for sprouting.
Ideal Sprouting Conditions
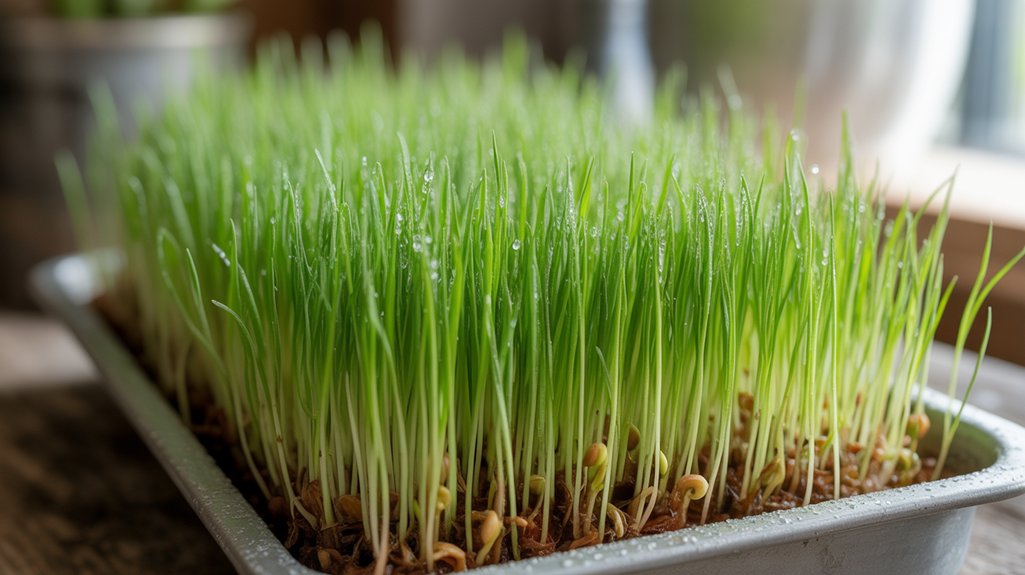
To sprout rye effectively, I’ve found that maintaining an optimal temperature range is crucial.
Typically, temperatures between 60°F and 75°F yield the best results for germination.
Additionally, ensuring the right humidity levels can significantly enhance the sprouting process, promoting healthier growth and maximizing yield.
Optimal Temperature Range
Understanding the optimal temperature range for sprouting rye is crucial for achieving successful germination. I’ve found that maintaining the right temperature can significantly impact the growth rate and health of the sprouts.
Ideally, you want to keep the temperature between 60°F and 75°F (15°C to 24°C). Here’s what I’ve observed:
- 60°F (15°C): This lower end can slow germination but can strengthen the seedlings.
- 68°F (20°C): This is often the sweet spot, promoting steady growth and robust sprouts.
- 75°F (24°C): While this can speed up germination, be cautious as excessive heat can stress the seeds.
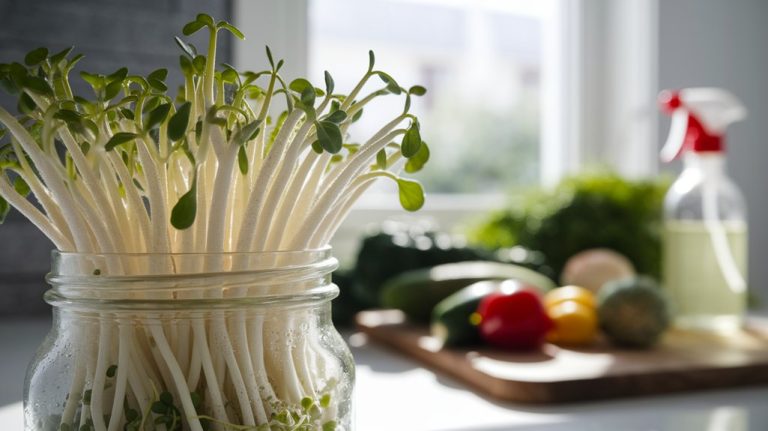
Humidity Levels Required
Maintaining the right humidity levels is equally important for sprouting rye effectively. I’ve found that a humidity level of around 70-80% creates an ideal environment for germination. This range promotes healthy sprout development while minimizing the risk of mold or rot.
If humidity drops below 60%, I’ve noticed that sprout growth slows significantly, leading to uneven results. Conversely, exceeding 85% can create a breeding ground for unwanted pathogens.
To monitor humidity, I use a hygrometer, ensuring I adjust conditions as needed. A spray bottle filled with water can help maintain moisture levels during the sprouting process.
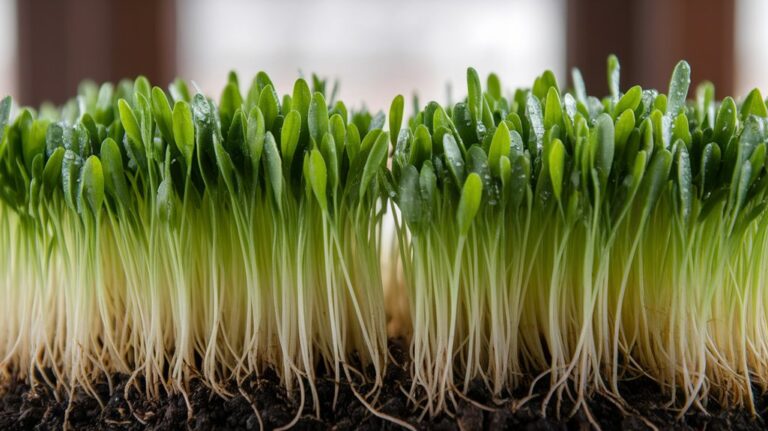
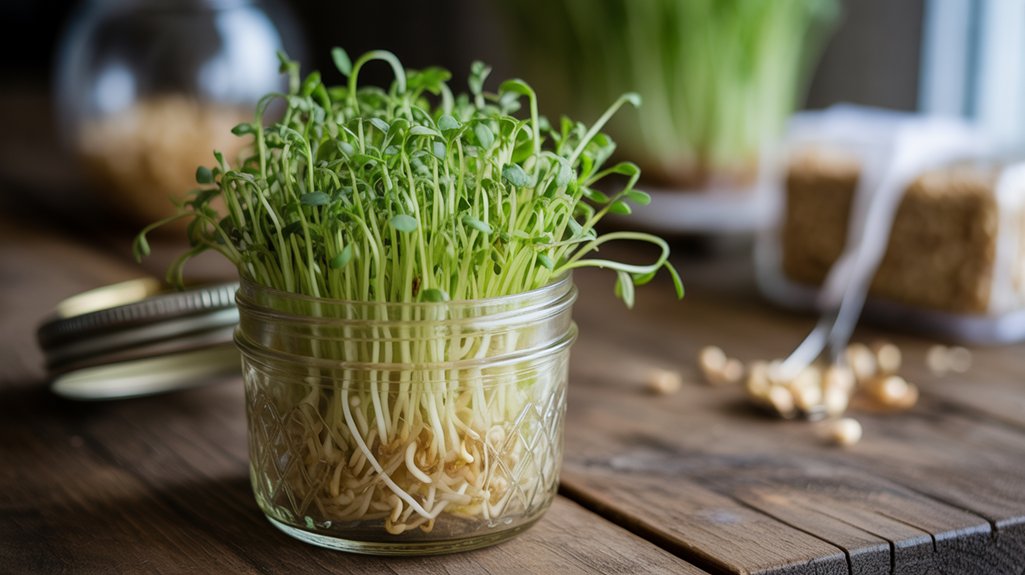
Harvesting Your Sprouted Rye
As I prepare to harvest my sprouted rye, I focus on timing and technique to ensure optimal yield and quality. The moment the sprouts reach about 1-2 inches in height and exhibit vibrant green leaves, I know it’s time to act.
Here’s what I do:
- Cutting: I use sharp scissors to cut the rye just above the root, ensuring minimal damage.
- Rinsing: After cutting, I rinse the sprouts thoroughly to remove any residual soil or debris, promoting cleanliness.
- Drying: I spread them out on a clean towel, allowing air circulation to dry them gently, preserving their nutrients.
Storing and Using Sprouted Rye
Once I’ve harvested my sprouted rye, I focus on storing and using it effectively to maximize its freshness and nutritional benefits. I typically rinse the sprouts thoroughly and then pat them dry.
For storage, I place them in an airtight container in the refrigerator, where they can last up to a week. This method helps prevent spoilage while retaining essential nutrients like vitamins B and E.
When it comes to using sprouted rye, I enjoy adding it to salads, smoothies, or even baking bread. The nutty flavor and crunchy texture enhance various dishes.
Also, research shows that sprouted grains have higher bioavailability of nutrients, making them a smart choice for my diet.
Frequently Asked Questions
Can I Sprout Rye Seeds Without a Sprouting Jar?
Yes, you can sprout rye seeds without a sprouting jar.
I’ve used a simple method involving a glass bowl and a breathable cloth. After soaking the seeds overnight, I drain them and spread them out in the bowl.
I cover the seeds with the cloth to keep moisture in while allowing airflow. I rinse them twice daily, and within a few days, I’ve had healthy sprouts.
It’s easy and effective!
How Long Does It Take for Rye Seeds to Sprout?
Rye seeds typically take about 3 to 5 days to sprout, depending on conditions like temperature and moisture.
I’ve found that keeping the seeds in a warm, dark place helps speed up the process. Each day, I rinse and drain them to maintain moisture and prevent mold.
It’s fascinating to watch them develop, and I’ve noticed that consistent care makes a big difference in the success of my sprouting efforts.
What Are the Benefits of Sprouted Rye Over Unsprouted?
Sprouted rye offers several benefits over unsprouted rye.
I’ve found that sprouting increases nutrient availability, enhancing vitamins and minerals like B vitamins and magnesium. It also boosts digestibility, making it easier for my body to absorb nutrients.
Additionally, sprouted rye has a lower glycemic index, which helps regulate blood sugar levels.
Are There Any Specific Pests to Watch Out For?
Yes, there are specific pests to watch out for when sprouting rye. I’ve encountered issues with aphids and spider mites, which can damage the sprouts.
Fungal infestations, like mold, also thrive in damp conditions. To combat these pests, I ensure proper air circulation and monitor moisture levels carefully.
I’ve found that regular inspections help catch any problems early, allowing me to maintain healthy sprouts and avoid significant losses in my batch.
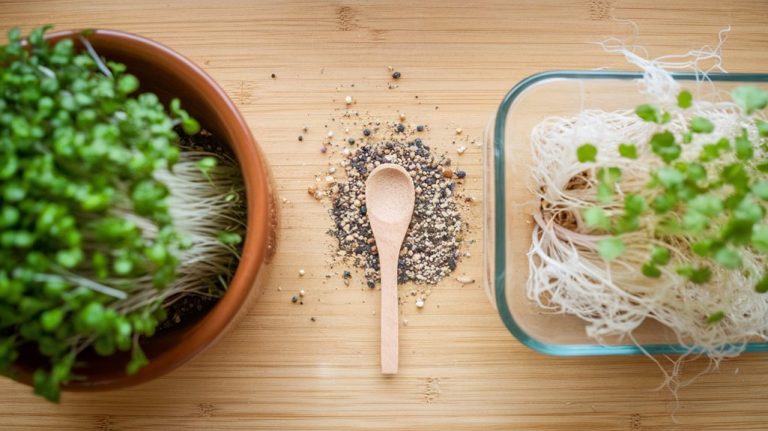
Can I Mix Different Types of Seeds for Sprouting?
Yes, you can mix different types of seeds for sprouting, and I’ve done it myself with great success.
Combining seeds like alfalfa, broccoli, and radish not only enhances the nutrient profile but also adds diverse flavors and textures.
However, I recommend sticking to seeds with similar sprouting times to ensure they grow uniformly.
Experimenting with combinations can be fun and rewarding, but I’ve found balance is key for the best results.
Conclusion
In conclusion, sprouting rye can be a rewarding endeavor when approached with care and precision. By selecting high-quality seeds, properly preparing your equipment, and maintaining ideal conditions, you can achieve consistent results. Remember, the key to success lies in the details—soaking, rinsing, and monitoring your sprouts are all crucial steps. With these tips, I’m confident you’ll enjoy a perfect batch of sprouted rye every time, enhancing both your meals and your nutritional intake.