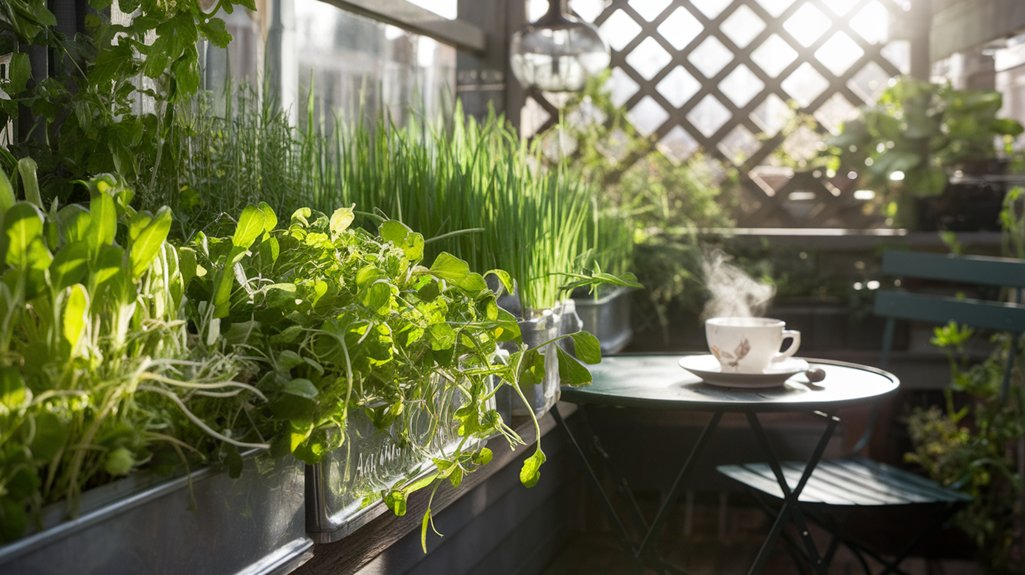
Transform Your Balcony Into a Lush Microgreens Haven
Transforming my balcony into a lush microgreens haven is a fulfilling journey. I started by choosing easy-to-grow varieties like radish and basil. I gathered essential supplies, including shallow trays and organic seeds. Following a simple planting guide, I ensured my microgreens got plenty of sunlight and moisture. Regular harvesting keeps my garden thriving and productive. With proper care, my balcony bursts with vibrant flavors and nutrients. There’s so much more to discover about crafting your own green oasis.
Key Takeaways
- Choose a sunny spot on your balcony that receives 4-6 hours of sunlight daily for optimal microgreen growth.
- Use shallow trays filled with nutrient-rich potting mix or coconut coir to cultivate your microgreens effectively.
- Select quick-growing and popular varieties like radish, basil, and pea shoots for easy and diverse harvests.
- Regularly water your microgreens to keep the soil moist, and mist lightly to avoid overwatering.
- Rotate different seed varieties to promote biodiversity and prevent soil depletion, ensuring a continuous supply of fresh greens.
Understanding Microgreens: What They Are and Why They Matter
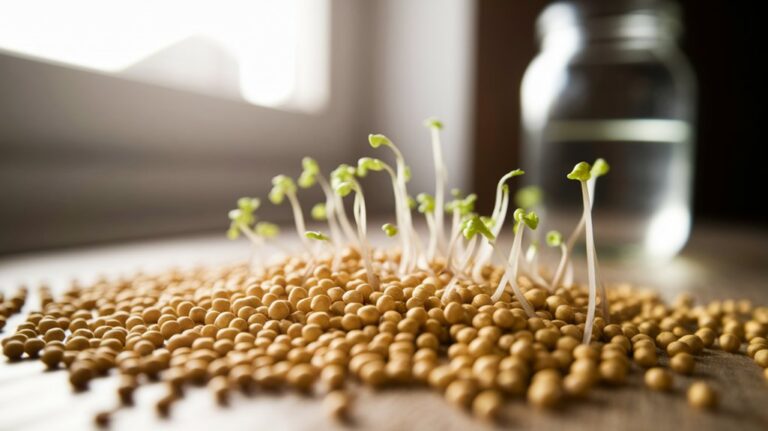
Microgreens, those vibrant little greens that pack a nutritional punch, have captured my interest for good reason. They’re essentially young seedlings of edible vegetables and herbs, harvested just after the first true leaves appear.
What fascinates me is their concentrated nutrient profile; many varieties can contain up to 40 times the vitamins and minerals found in their mature counterparts. These tiny powerhouses offer a diverse range of flavors, textures, and colors, making them not only a nutritional boon but also a culinary delight.
From kale to radish, each microgreen brings its own unique benefits. Growing them is straightforward, requiring minimal space and effort.
I’m convinced that incorporating microgreens into my diet can elevate both my meals and overall health.
Choosing the Right Microgreens for Your Balcony Garden
When selecting microgreens for my balcony garden, I focus on popular varieties that thrive in limited space.
I consider each type’s growth requirements and care needs to ensure a successful harvest. Understanding these factors not only enhances my gardening experience but also maximizes the flavors and nutrients I can enjoy.
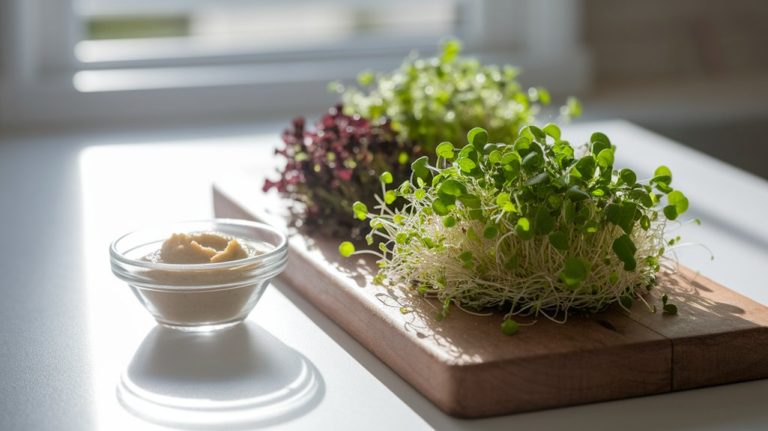
Popular Microgreens Varieties
Choosing the right microgreens for your balcony garden can transform your culinary experience and enhance your overall gardening success. With so many varieties available, it’s essential to pick those that suit your taste and growing conditions. Here’s a quick overview of some popular options:
| Microgreen | Flavor Profile |
|---|---|
| Basil | Sweet, aromatic |
| Radish | Peppery, zesty |
| Pea Shoots | Sweet, fresh |
| Sunflower | Nutty, crunchy |
I’ve found that these varieties not only thrive in small spaces but also add vibrant flavors and nutrients to my meals. Experimenting with different microgreens can lead to exciting culinary discoveries, and I can’t wait for you to embark on this flavorful journey!
Growth Requirements and Care
While I’ve enjoyed cultivating various microgreens on my balcony, understanding their specific growth requirements and care is crucial for maximizing yield and flavor. Each microgreen variety has unique needs; for instance, basil thrives in bright light, while arugula prefers cooler temperatures.
I always ensure my microgreens receive at least 4-6 hours of sunlight daily and maintain consistent moisture without waterlogging. Using high-quality soil is vital; I opt for a peat-based mix enriched with nutrients.
I also pay attention to air circulation to prevent mold and pests. By choosing the right microgreens and fostering optimal conditions, I’ve transformed my balcony into a vibrant, flavorful oasis.
It’s rewarding to see these tiny greens flourish, enhancing both my meals and gardening experience.
Essential Supplies for Growing Microgreens
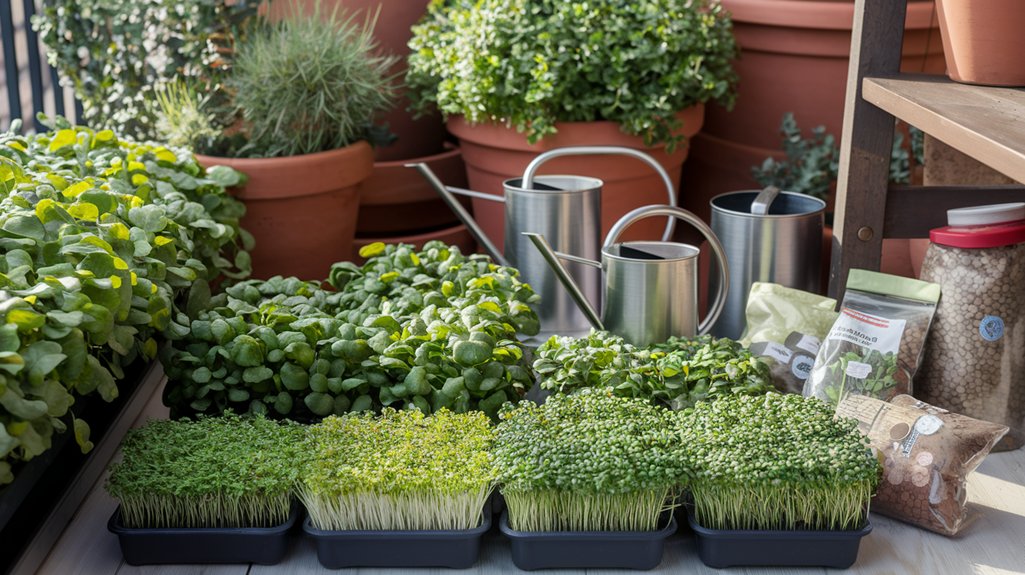
To successfully grow microgreens, I’ve found that selecting the right growing medium and seeds is crucial.
Whether I’m opting for soil, coconut coir, or a hydroponic setup, each choice impacts growth and flavor.
Let’s explore some essential tips for choosing the best supplies to ensure a thriving balcony garden.
Growing Medium Options
When it comes to growing microgreens, selecting the right growing medium is crucial for achieving healthy and vibrant plants. I’ve experimented with various options, and here’s what I’ve found.
Soil is a classic choice, providing essential nutrients, but make sure to use a light, well-draining mix.
Coconut coir is another fantastic alternative; it retains moisture while promoting excellent aeration.
If you’re looking for speed, consider using a seedling mat or hydroponic systems, which allow for rapid growth without soil.
Each medium has its unique benefits, so it’s worth trying a few to see what works best for you.
Ultimately, the right choice will set the foundation for your microgreens to thrive, enhancing your balcony garden experience.
Seed Selection Tips
Selecting the right seeds for your microgreens is vital for ensuring a bountiful harvest. I recommend choosing organic, non-GMO seeds, as they’re not only healthier but also yield robust flavors.
Look for varieties that grow quickly, like radish, arugula, and basil; these are perfect for beginners. Always check the seed packet for germination rates and recommended growing conditions to match your balcony environment.
I’ve found that mixing different seeds can enhance both taste and visual appeal, so don’t hesitate to experiment!
Lastly, buy from reputable suppliers to ensure quality and freshness. With the right seeds in hand, you’re one step closer to creating a vibrant, nutritious microgreens haven on your balcony!
Step-by-Step Guide to Planting and Caring for Microgreens
Growing microgreens on your balcony is an incredibly rewarding endeavor that can be accomplished in just a few simple steps.
First, choose your seeds based on flavor and nutrition; I often opt for radish, arugula, or basil. Next, select shallow trays with drainage holes and fill them with a nutrient-rich potting mix. Scatter the seeds evenly, then lightly press them into the soil. Water gently, ensuring not to wash them away.
Cover the trays with a damp cloth for the first few days to create a greenhouse effect. After germination, place them in a sunny spot, watering regularly to keep the soil moist but not soggy.
With just a bit of care, you’ll soon see vibrant greens thriving on your balcony!
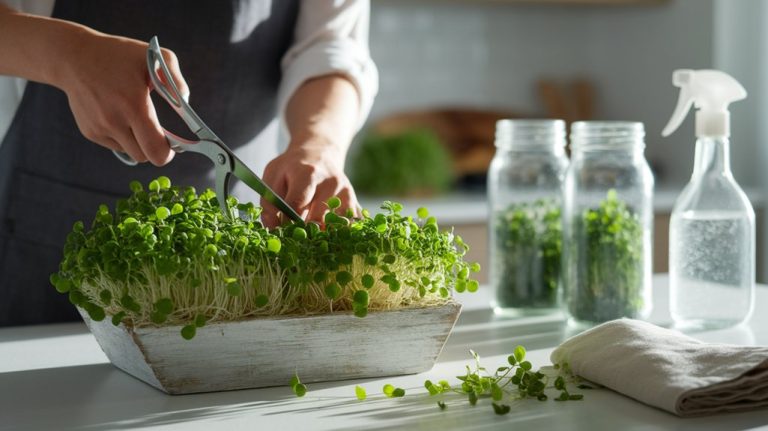
Harvesting and Using Your Homegrown Microgreens
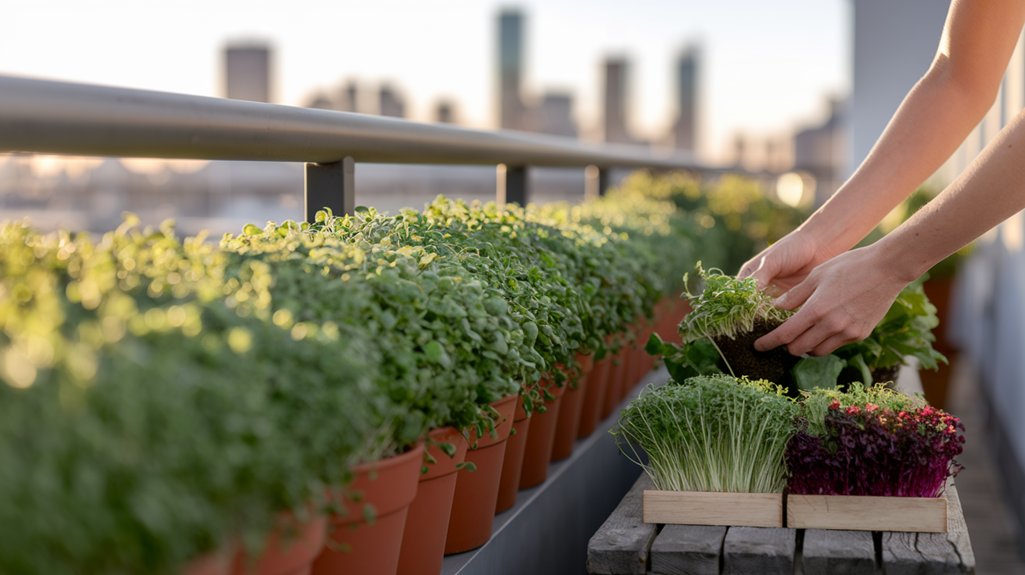
Harvesting your homegrown microgreens can be one of the most satisfying moments in your gardening experience. I usually wait until they’re about 1-3 inches tall, ensuring optimal flavor and nutrient density.
With clean, sharp scissors, I snip the greens just above the soil line, allowing the remaining roots to decompose and enrich the soil for future crops.
Once harvested, I immediately rinse them gently under cool water to remove any soil particles.
I love incorporating my microgreens into salads, sandwiches, and smoothie bowls, where their vibrant flavors elevate any dish. You can also experiment with different varieties to discover unique taste profiles.
Embrace this rewarding process, and enjoy the fresh, nutritious bounty you’ve cultivated right on your balcony!
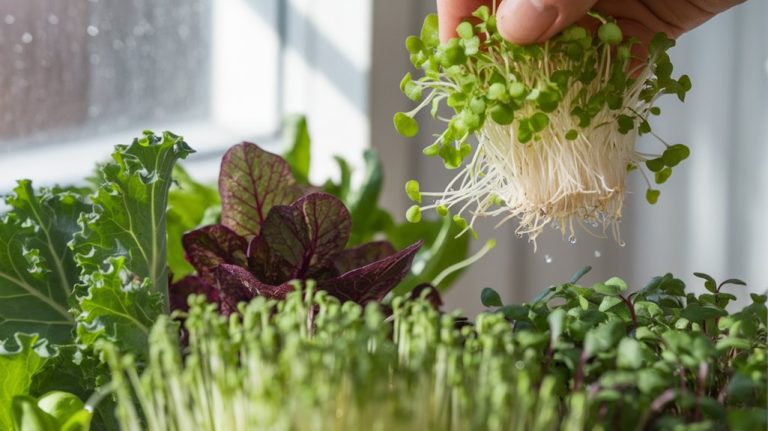
Tips for Maintaining a Thriving Balcony Microgreens Garden
After enjoying the vibrant flavors of my harvested microgreens, I find that maintaining a thriving balcony garden is just as rewarding.
To keep your microgreens healthy, ensure they receive 4-6 hours of sunlight daily. If natural light is limited, consider using grow lights to supplement.
Watering is crucial; I mist the soil lightly, keeping it moist but not soggy. Regularly check for pests, as even a small infestation can ruin your crops.
I also rotate seed varieties to prevent soil depletion and encourage biodiversity. Lastly, harvest frequently to stimulate new growth and enjoy the freshest produce possible.
With these simple tips, my balcony transforms into a lush microgreens haven that continually sustains my culinary adventures.
Frequently Asked Questions
Can I Grow Microgreens Indoors Without Natural Light?
Absolutely, you can grow microgreens indoors without natural light!
I’ve had great success using full-spectrum LED grow lights. They provide the right spectrum for photosynthesis, ensuring your microgreens thrive.
I usually set the lights on a timer for about 12-16 hours a day. Just make sure to keep the temperature and humidity levels optimal, and you’ll be amazed at how quickly your microgreens flourish.
Happy growing!
How Often Should I Water My Microgreens?
When it comes to watering microgreens, I usually check the soil moisture daily.
I’ve found that keeping the soil slightly moist is key—too much water can lead to mold, while too little can stunt growth.
I typically water them every 2-3 days, adjusting based on humidity and temperature.
Using a spray bottle works well for gentle hydration, ensuring the seedlings receive just what they need to thrive without drowning.
Are Microgreens Suitable for Pets?
Microgreens can be a great addition to your home, but I always check if they’re suitable for pets.
Most microgreens, like peas and sunflowers, are safe for cats and dogs. However, some varieties, like onion or garlic microgreens, can be toxic.
I recommend researching specific types before introducing them to your pets. It’s essential to ensure their safety while enjoying the benefits of growing these nutritious greens at home.
How Long Do Microgreens Take to Grow?
Microgreens typically take about 7 to 21 days to grow, depending on the variety.
I’ve found that factors like light, temperature, and moisture play crucial roles in their speed of growth. For example, faster-growing varieties like radish can sprout in just a week, while others like basil might take closer to two weeks.
It’s exciting to see them thrive, and I love watching their progress daily as they transform into vibrant greens!
Can I Reuse Soil for Multiple Microgreen Crops?
Absolutely, you can reuse soil for multiple microgreen crops, but it’s essential to refresh it first.
I always mix in some fresh compost or organic matter to replenish nutrients. After harvesting, I remove any leftover roots and debris, then aerate the soil.
This way, I ensure my next batch grows strong and healthy.
Just remember, if your soil shows signs of disease or pests, it’s best to start fresh to avoid issues.
Conclusion
Transforming your balcony into a lush microgreens haven is not just a rewarding hobby; it’s a step toward sustainable living. With the right knowledge and supplies, you can cultivate a variety of flavorful greens that enhance your meals and boost your health. By following the steps outlined, you’ll not only enjoy the satisfaction of growing your own food but also contribute to a greener planet. So grab your seeds and get started—your vibrant microgreens garden awaits!