How to Grow Clover Sprouting Seeds
Growing clover sprouting seeds is simple and rewarding! First, rinse and soak your seeds for 6-8 hours. Drain them and place them in a sprouting jar. Keep them in a cool, well-lit spot and rinse them daily. After about 7-14 days, when they reach 2-4 inches tall, it’s time to harvest by cutting just above the soil line. Store your fresh sprouts in the fridge and enjoy them in salads, sandwiches, or smoothies. You’ll find even more tips ahead!
Key Takeaways
- Choose the right clover variety (e.g., White, Red, Crimson) based on your growing conditions for optimal results.
- Rinse seeds under cold water, then soak them for 6-8 hours to initiate germination.
- Drain seeds thoroughly and give them a quick rinse before placing in a sprouting container.
- Harvest sprouts when they reach 2 to 4 inches tall, ideally 7 to 14 days after planting.
- Store harvested sprouts in a breathable container in the refrigerator and use within a week for maximum freshness.
Understanding Clover Sprouting Seeds

Clover sprouting seeds are a fantastic choice for anyone looking to add nutritious greens to their diet. These seeds are packed with vitamins, minerals, and antioxidants, making them a powerhouse for health.
I love how easy they’re to grow at home, requiring minimal equipment and space. You just need a jar, water, and some patience. They typically sprout within a few days, and you can enjoy them in salads, sandwiches, or smoothies.
Plus, they’ve a mild, slightly sweet flavor that complements various dishes. When you grow your own clover sprouts, you’re not only saving money but also ensuring freshness.
It’s a rewarding experience that adds a healthy touch to my meals.
Choosing the Right Clover Variety
When choosing the right clover variety, I consider the specific growing conditions I’ve available.
Different types of clover thrive in various environments, so it’s essential to match the variety with your soil type and climate.
Let’s explore the best options for your needs.
Types of Clover Varieties
Selecting the right clover variety can significantly impact your success in growing clover sprouting seeds. There are several types to consider, each with unique characteristics.
White clover is popular for its sweet flavor and high nutritional value, making it a favorite for salads.
Red clover, on the other hand, is known for its vibrant color and is packed with vitamins and minerals.
If you’re looking for a quicker growth rate, crimson clover might be your best bet.
For those interested in a more robust option, yellow clover offers great drought resistance.
I recommend evaluating your intended use and growing conditions to choose the variety that aligns best with your goals.
Happy planting!
Growing Conditions Requirements
Understanding the right growing conditions is essential for successfully cultivating clover sprouting seeds. The variety of clover you choose will greatly affect its growth, so I recommend considering factors like climate and soil type. Here’s a quick comparison of popular clover varieties to help you decide:
| Clover Variety | Ideal Conditions |
|---|---|
| White Clover | Cool, moist, well-drained soil |
| Red Clover | Well-drained, loamy soil |
| Crimson Clover | Warm, well-drained soil |
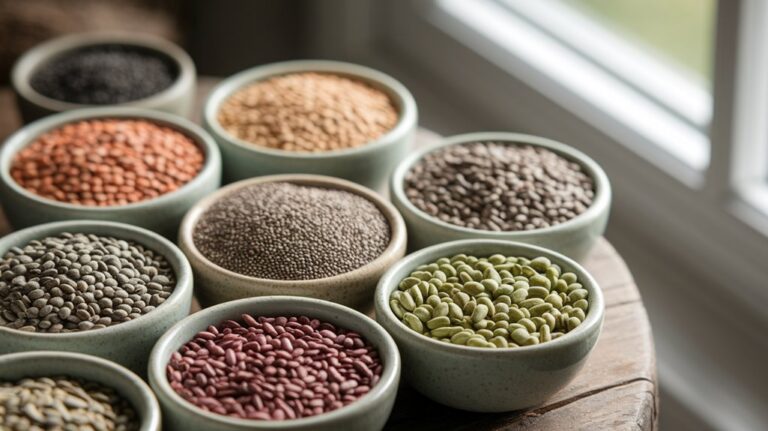
Gathering Your Supplies
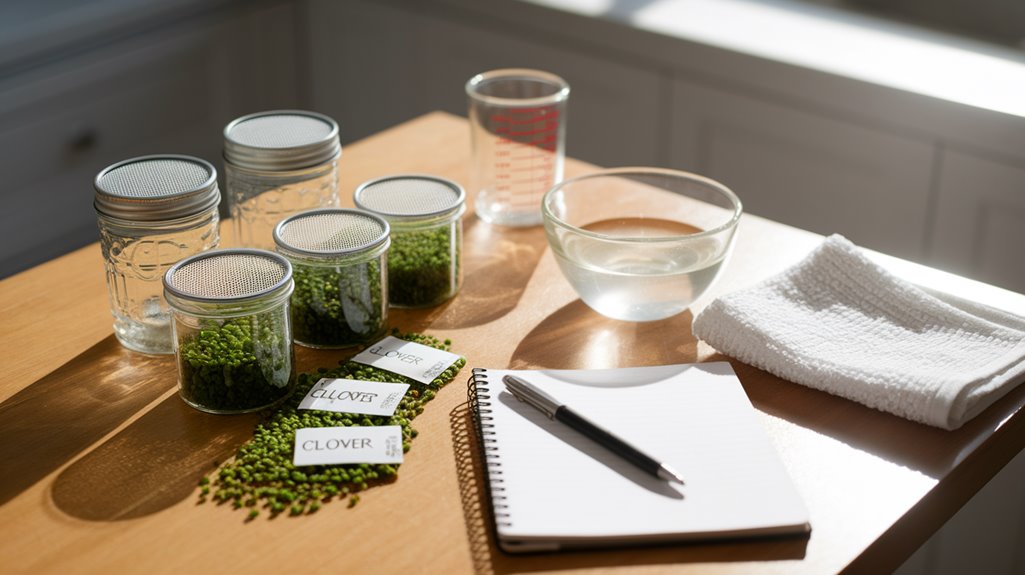
Gathering your supplies for growing clover sprouting seeds is essential for a successful start. First, you’ll need high-quality clover seeds. Look for organic varieties to ensure your sprouts are healthy.
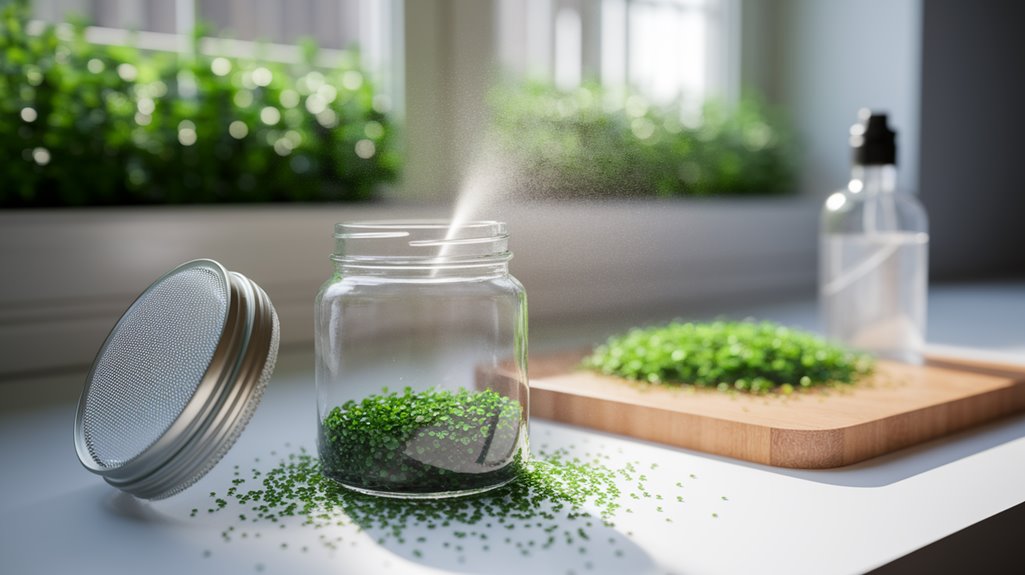
Next, grab a sprouting jar or a wide-mouth glass jar with a mesh lid for easy rinsing and draining. A clean cloth or rubber band can help secure the mesh lid if you don’t have one.
You’ll also want a bowl or tray to catch excess water. Finally, have fresh, filtered water on hand, as this is crucial for rinsing and soaking your seeds.
With these supplies ready, you’ll be well-prepared for the next steps in your clover sprouting journey. Happy sprouting!
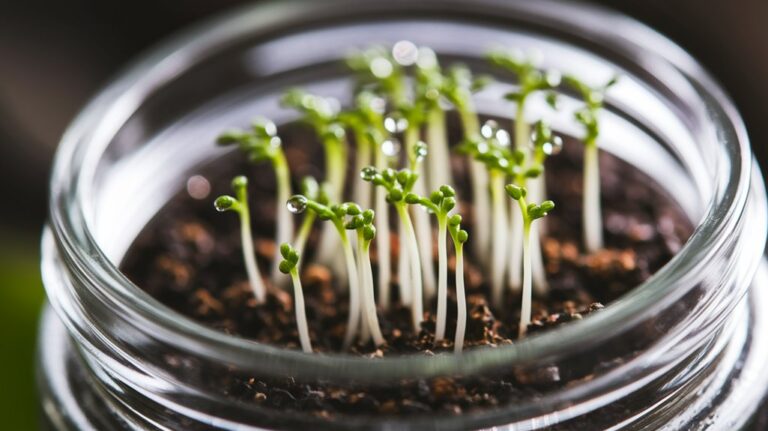
Preparing the Seeds for Sprouting
To prepare your clover seeds for sprouting, the first step is to give them a good rinse. I usually place the seeds in a fine-mesh strainer and run cold water over them for a minute or so. This removes any debris or dust that could hinder the germination process.
Next, I soak the seeds in water for about 6-8 hours. This helps to soften the seed coat and kickstarts the sprouting process. After soaking, be sure to drain the seeds thoroughly to avoid excess moisture, which can lead to mold.
Finally, I recommend giving them another quick rinse before placing them in your sprouting container. This simple preparation ensures your clover seeds are ready to grow healthy sprouts.
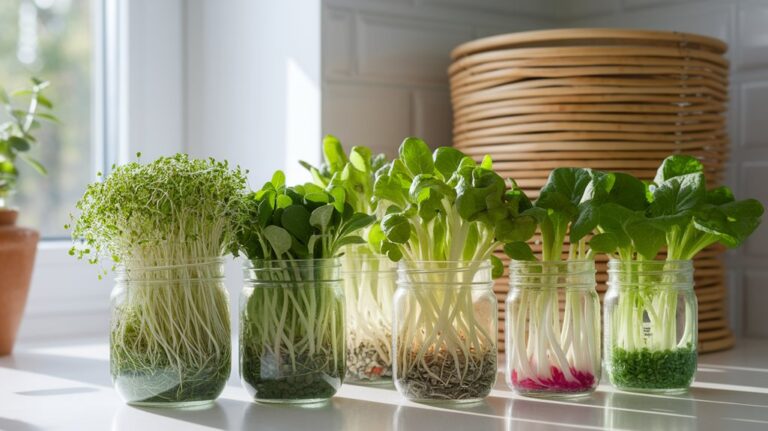
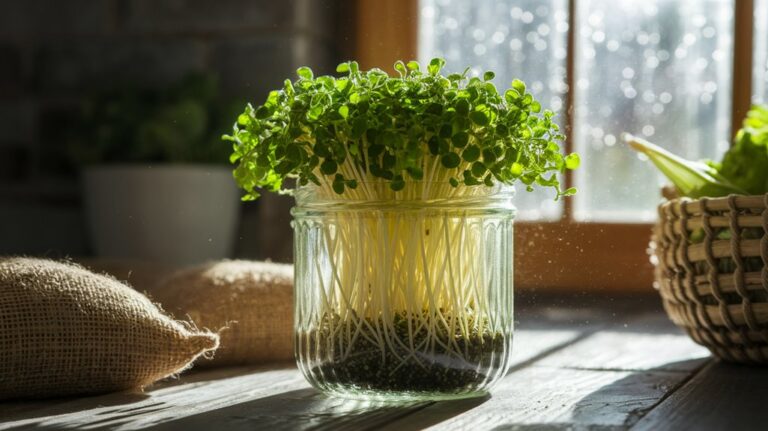
Setting Up Your Sprouting Environment
To successfully grow clover sprouting seeds, I need to create the right environment for them.
This means maintaining an ideal temperature range, controlling moisture levels, and providing adequate light.
Let’s explore how to set up these conditions effectively.
Ideal Temperature Range
While I set up my sprouting environment, I pay close attention to the ideal temperature range for growing clover seeds. Clover seeds thrive best in temperatures between 65°F and 75°F (18°C to 24°C). Keeping the temperature consistent helps ensure healthy growth and optimal sprouting rates. Here’s a quick reference table for your convenience:
| Temperature (°F) | Growth Stage | Notes |
|---|---|---|
| 60-65 | Slow Growth | May take longer to sprout |
| 65-75 | Optimal Growth | Ideal for seedlings |
| 75-80 | Fast Growth | Watch for overheating |
| 80+ | Stunted Growth | Risk of seed damage |
| Below 60 | Dormant | Seeds may not sprout |
Moisture Control Techniques
Maintaining the right moisture level is crucial for sprouting clover seeds effectively. I’ve found that soaking the seeds for about 6-8 hours before sprouting helps kickstart the germination process.
After soaking, drain the seeds and place them in a sprouting jar or container with a breathable lid. Rinse and drain the seeds twice a day to keep them moist but not waterlogged.
It’s essential to ensure proper air circulation while preventing excess moisture from pooling at the bottom. If you notice any signs of mold, reduce the rinsing frequency or adjust your setup.
A consistent moisture level will promote healthy growth, so keep an eye on the seeds to maintain the right balance throughout the sprouting process.
Light Requirements Needed
Since clover sprouts thrive in bright light, setting up the right environment is key to their growth. I’ve found that placing your sprouting container in a spot with plenty of natural sunlight works wonders. A south-facing window is ideal, as it provides the most light throughout the day.
If sunlight isn’t readily available, consider using fluorescent or LED grow lights. Position them about 6 to 12 inches above the sprouts and keep them on for 12 to 16 hours daily. This balance mimics natural conditions and promotes healthy growth.
Remember to rotate your container occasionally to ensure even exposure. By providing adequate light, you’ll set the stage for robust clover sprouts that are ready for harvest in just a few weeks!
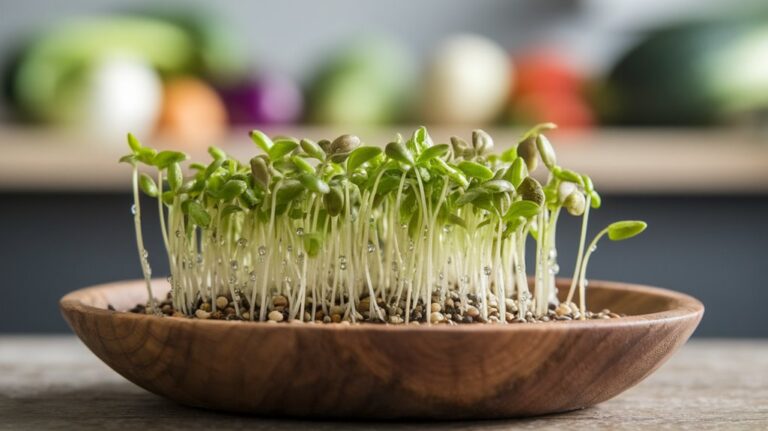
Watering and Maintaining Your Clover Sprouts
To ensure your clover sprouts thrive, regular watering and careful maintenance are essential. I usually check the moisture level daily. Clover sprouts prefer slightly moist soil, so I water them gently when the top inch feels dry.
Be careful not to overwater, as soggy soil can lead to mold and root rot. Additionally, I like to rotate my trays occasionally to ensure even light exposure. Keeping the sprouts in a well-ventilated area helps prevent any dampness-related issues.
If I notice any yellowing leaves, I adjust the watering schedule immediately. Lastly, I always remove any debris or dead sprouts to maintain cleanliness. By following these simple steps, I keep my clover sprouts healthy and vibrant!
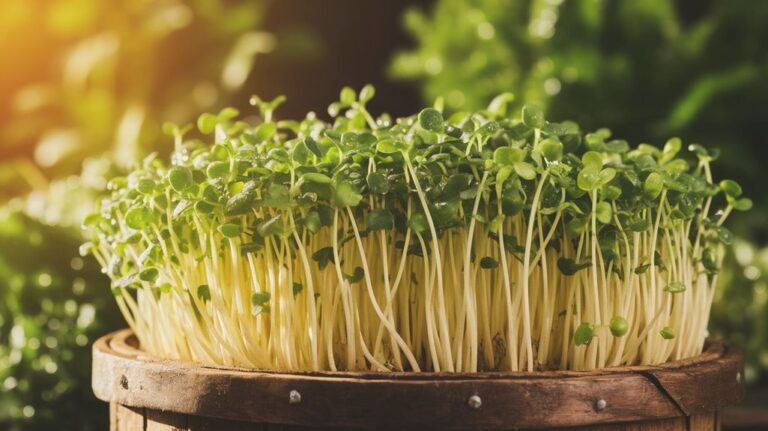
Harvesting Your Clover Sprouts
Now that your clover sprouts are ready, it’s time to think about harvesting them.
I’ve found that timing is crucial for the best flavor and nutrition, so I’ll share my tips on when and how to cut your sprouts.
Plus, I’ll cover some storage and usage ideas to keep your harvest fresh and tasty.
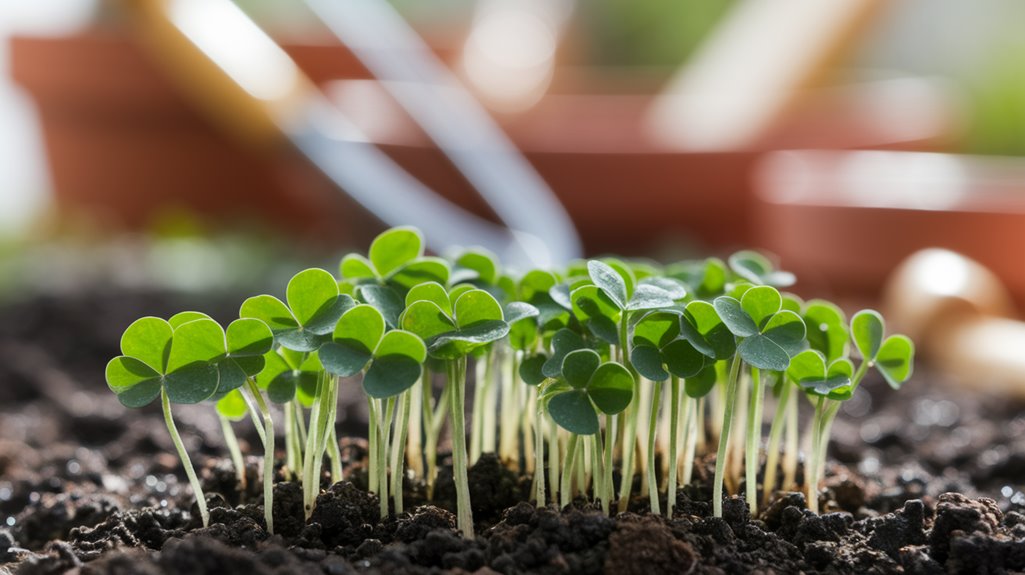
Ideal Harvest Timing
Harvesting clover sprouts at the right time is crucial for maximizing their flavor and nutritional benefits.
I find that the ideal time to harvest is when the sprouts are about 2 to 4 inches tall, usually around 7 to 14 days after planting. At this stage, they’re tender and packed with nutrients.
You’ll notice their vibrant green color and a fresh, mild taste, perfect for salads or sandwiches. If you wait too long, they can become tough and lose their delicate flavor.
I recommend checking them daily as they grow, so you can catch them at their peak. Trust me, harvesting at the right time makes all the difference in enjoying your clover sprouts!
Proper Cutting Techniques
While it might seem simple, using the right cutting techniques can significantly impact the quality of your clover sprouts when it’s time to harvest. I recommend using sharp scissors or a knife to ensure a clean cut, minimizing damage to the plant.
Make sure to cut just above the soil line, leaving the roots intact if you plan to grow them again. This helps prevent any spoilage and keeps the remaining sprouts healthy.
It’s best to harvest in the morning when the sprouts are crisp and full of moisture. Handle them gently to avoid bruising, and try to harvest only what you need to maintain freshness.
Following these techniques will ensure you enjoy the best flavor and texture from your clover sprouts.
Storage and Usage Tips
Once you’ve harvested your clover sprouts, it’s essential to store them properly to maintain their freshness and flavor.
I recommend following these tips:
- Place the sprouts in a breathable container, like a paper bag or a vented plastic container.
- Store them in the fridge to keep them crisp and vibrant.
- Use them within a week for the best taste and nutritional value.
- Rinse them lightly with water just before you’re ready to eat.
- Incorporate them into your meals to enjoy their nutty flavor.
Storing Your Fresh Clover Sprouts
Storing your fresh clover sprouts properly can make a significant difference in their longevity and flavor.
Once you’ve harvested your sprouts, I recommend rinsing them gently under cool water to remove any debris. After that, pat them dry with a clean kitchen towel.
To store them, place the dry sprouts in a breathable container, like a paper bag or a perforated plastic container. Avoid airtight containers, as they can trap moisture and lead to spoilage.
I usually keep mine in the fridge, where they can last up to a week. Just remember to check them daily for any signs of wilting or mold, and use them promptly for the best taste and freshness.
Enjoy your clover sprouts!
Culinary Uses for Clover Sprouts
Have you ever wondered how to elevate your meals with the unique flavor of clover sprouts?
I love incorporating these little gems into my dishes because they add a fresh, nutty taste and a delightful crunch.
Here are some of my favorite culinary uses for clover sprouts:
- Salads: Toss them into a green salad for a nutritious boost.
- Sandwiches: Layer them in sandwiches or wraps for extra texture.
- Smoothies: Blend them into smoothies for a nutrient-packed drink.
- Garnishes: Use them as a vibrant garnish on soups and entrees.
- Stir-fries: Add them to stir-fries during the last minute of cooking for a fresh finish.
These simple additions can really enhance your meals and impress your guests!
Troubleshooting Common Issues
While growing clover sprouting seeds can be a rewarding experience, you might encounter some common issues along the way.
One problem I often face is mold growth, especially in humid conditions. To prevent this, I ensure proper air circulation and avoid overwatering.
If you notice yellowing leaves, it could mean your sprouts are getting too much light or not enough nutrients. Adjusting their position or using a diluted fertilizer can help.
If your sprouts seem stunted, check the temperature; they thrive best around 60-75°F (15-24°C).
Lastly, if you experience slow germination, make sure you’re soaking the seeds adequately before planting.
Frequently Asked Questions
Conclusion
In summary, growing clover sprouting seeds is a rewarding and straightforward process that can enhance your meals with fresh, nutritious sprouts. By following the steps outlined, from choosing the right variety to harvesting and storing your sprouts, you’ll enjoy a bountiful yield. Don’t hesitate to experiment with different culinary uses, as clover sprouts can add a delightful crunch and subtle flavor to your dishes. Happy sprouting, and enjoy the fruits of your labor!