Common Mistakes When Growing Microgreens and How to Avoid Them
When I grow microgreens, I focus on avoiding common mistakes like choosing the wrong seeds and overlooking light requirements. I ensure my soil is high-quality and avoid overwatering, which can lead to root rot. Neglecting air circulation is another pitfall; I always use a fan to maintain airflow. Thinning seedlings promotes healthy growth, and I never skip soaking seeds beforehand. Learning more about these issues can really enhance the results of your microgreen cultivation.
Key Takeaways
- Choose high-quality, fresh seeds suitable for microgreens to ensure good germination and flavor.
- Use well-draining, sterile soil specifically designed for microgreens, avoiding garden soil to prevent pests and diseases.
- Provide 12 to 16 hours of light daily, using grow lights to avoid leggy growth and scorch from direct sunlight.
- Monitor soil moisture closely; water gently to maintain dampness without overwatering, which can lead to root rot.
- Ensure proper air circulation with fans or ventilation to prevent humidity buildup and mold growth in crowded trays.
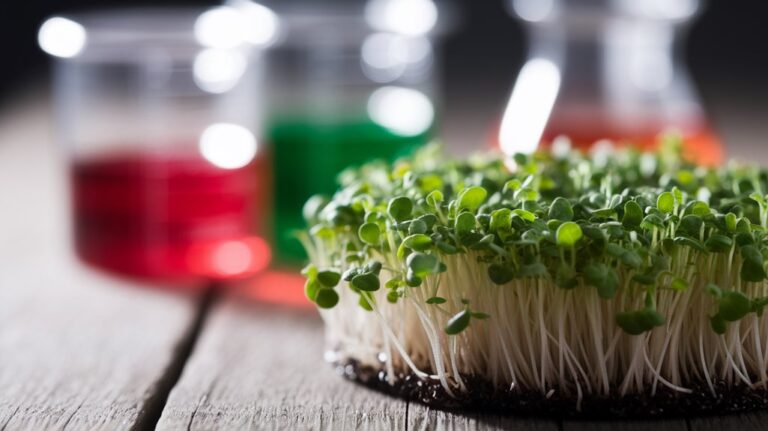
Choosing the Wrong Seeds
When I first started growing microgreens, I quickly realized that choosing the wrong seeds can lead to disappointing results. Specific varieties thrive better in microgreen production than others.
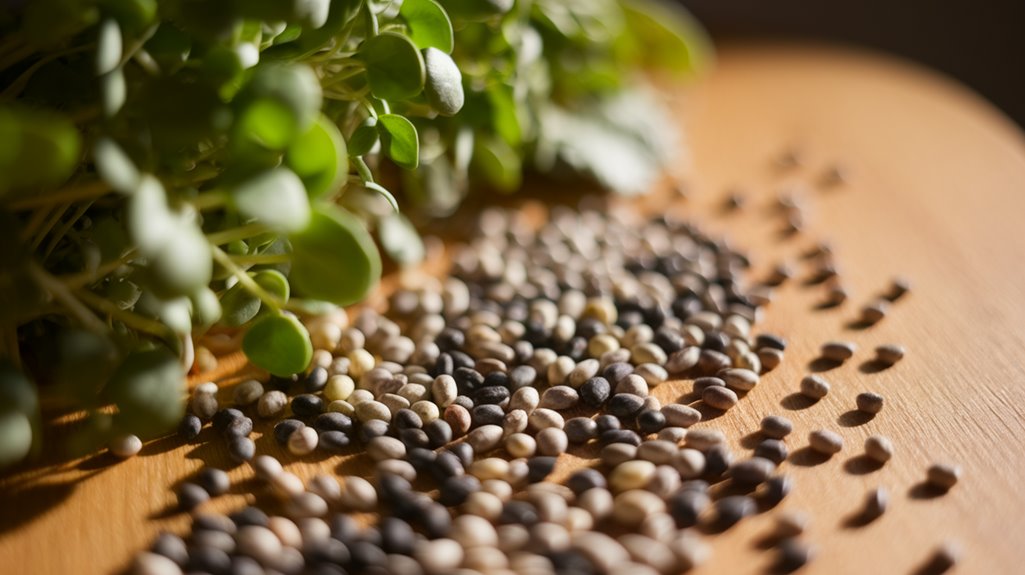
For instance, I found that basil, radish, and sunflower seeds produce robust crops, while others can be weak or slow to germinate. It’s crucial to select high-quality, organic seeds from reputable suppliers to ensure seed viability.
I also learned to check for seed freshness; old seeds often yield poor germination rates. Additionally, consider the flavor and texture of the microgreens, as some may not meet your culinary needs.
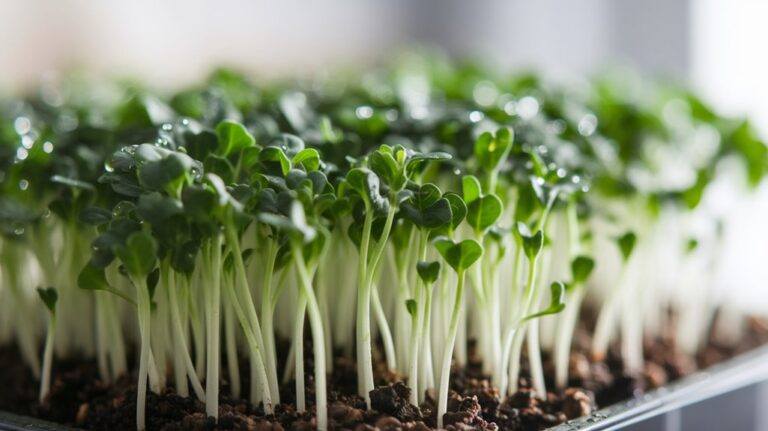
Ignoring Light Requirements
Selecting the right seeds is just the beginning of a successful microgreen growing experience; light requirements play a pivotal role in the process as well.
I’ve learned that microgreens need about 12 to 16 hours of light daily for optimal growth. Insufficient light can lead to leggy, weak plants, while too much direct sunlight can scorch delicate leaves.
I recommend using grow lights, especially if natural light is limited. Position them just a few inches above the seedlings to ensure they receive adequate intensity without burning.
It’s crucial to monitor the light exposure and adjust as necessary. By prioritizing light requirements, you’ll foster healthier microgreens and achieve a bountiful harvest, making your growing experience far more rewarding.
Overwatering or Underwatering
While I’ve found that water is essential for microgreens, striking the right balance between overwatering and underwatering can be tricky. Overwatering can lead to root rot, mold, and stunted growth, while underwatering can cause wilting and poor germination.
I’ve learned to monitor soil moisture closely; the top layer should feel damp but not soggy. I often use a spray bottle for gentle, even watering, ensuring the soil remains moist without becoming waterlogged.
It’s crucial to adjust your watering schedule based on environmental factors like humidity and temperature. Keeping a consistent routine helps, but I always stay adaptable, checking my microgreens regularly to ensure they’re thriving.
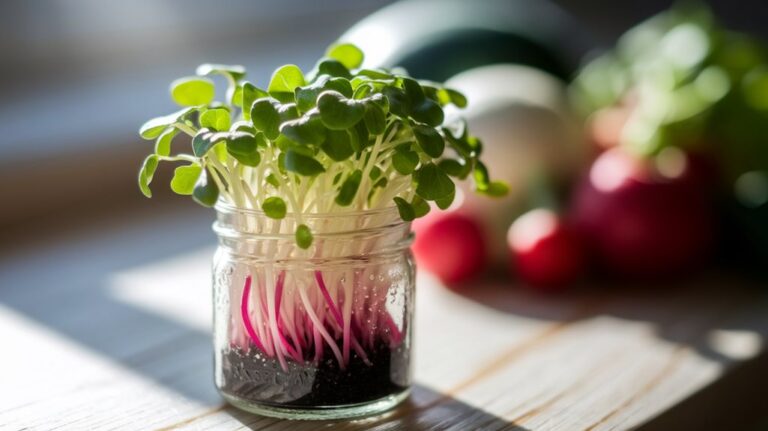
Using Poor Quality Soil
Choosing the right soil for microgreens can significantly impact their growth and health. I’ve learned that using poor quality soil often leads to stunted growth, disease, and nutrient deficiencies.
It’s crucial to select a well-draining, sterile medium rich in organic matter. I recommend avoiding garden soil, as it may contain pests and pathogens that can harm your microgreens.
Instead, consider using a seed-starting mix or a specialized microgreen soil blend. These options provide the right balance of aeration and moisture retention, promoting healthy root development.
Always check for consistency in texture and avoid any soil that feels too compacted. Investing in high-quality soil is an essential step toward achieving a lush and vibrant microgreen harvest.
Neglecting Air Circulation

If I’ve learned anything about growing microgreens, it’s that neglecting air circulation can lead to serious problems. Without adequate airflow, humidity levels can rise, creating an environment ripe for mold and mildew. This not only affects the health of your microgreens but can also ruin an entire crop.
I’ve found that using a small fan or ensuring good ventilation can make a significant difference. When placing your microgreens, avoid tight spaces where air can stagnate. Instead, opt for a setup that promotes airflow around your trays.
Regularly checking for signs of excess moisture or mold will help you catch issues early. Remember, a little attention to air circulation goes a long way in ensuring robust and healthy microgreens.
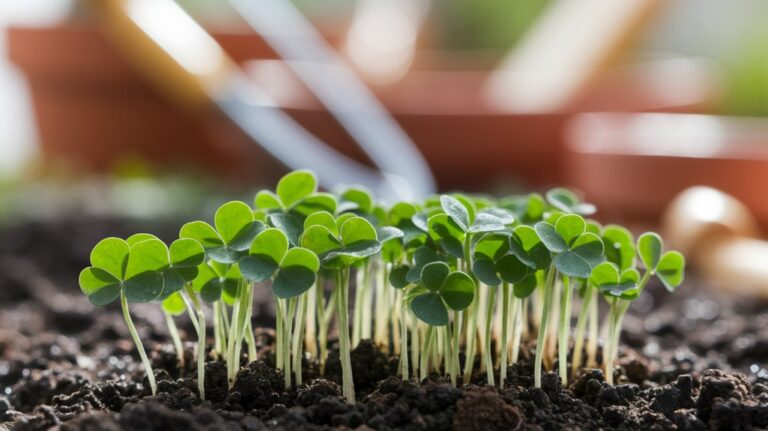
Not Harvesting at the Right Time
Timing is crucial when it comes to harvesting microgreens, as waiting too long can lead to a decline in flavor and nutrient density. I’ve learned that the ideal harvest window is typically between 7 to 21 days, depending on the variety.
For instance, mustard greens might be ready in just a week, while sunflowers may take closer to two weeks. When the first true leaves, or cotyledons, appear, it’s a sign that they’re ready.
I often use a sharp pair of scissors to cut them just above the soil line. If I wait too long, the greens can become leggy, lose their vibrant color, and develop a bitter taste.
Skipping the Soaking Process
When I grow microgreens, I always soak my seeds to enhance germination and nutrient absorption.
Typically, a soaking duration of 4 to 8 hours works best, but I keep an eye out for signs of over-soaking, like mushy seeds.
Neglecting this process can lead to poor growth and disappointing yields.
Importance of Soaking Seeds
Soaking seeds is a crucial step in the microgreens growing process, as it significantly enhances germination rates and promotes healthier growth. By skipping this step, I’ve noticed that seeds struggle to break their dormancy, leading to uneven growth and lower yields.
| Benefits of Soaking Seeds | Consequences of Skipping Soaking |
|---|---|
| Increases germination rates | Lower germination rates |
| Activates enzymes for growth | Delayed or uneven growth |
| Softens seed coats | Higher chance of disease |
| Reduces time to sprout | Increased risk of seed rot |
| Enhances nutrient absorption | Weak, underdeveloped microgreens |
Incorporating soaking into my routine has made a noticeable difference, and I encourage you to do the same for optimal results.
Recommended Soaking Duration
Although I’ve encountered various opinions on the ideal soaking duration for seeds, I’ve found that a general rule of thumb is to soak them for 6 to 12 hours.
This timeframe allows seeds to absorb enough moisture to initiate the germination process without risking damage. If you soak for less than 6 hours, the seeds mightn’t fully hydrate, leading to uneven germination.
Conversely, soaking for more than 12 hours can create excess moisture, increasing the risk of mold and rot. It’s crucial to monitor your seeds closely during this period, as different varieties may have unique needs.
Signs of Over-Soaking
Skipping the soaking process altogether can lead to issues, but over-soaking presents its own set of challenges.
When I first started growing microgreens, I noticed some telltale signs of over-soaking that I wish I’d recognized sooner. The seeds may swell excessively, leading to rot or fungal growth. You might also see a slimy texture developing on the surface of the soil, indicating too much moisture.
Additionally, if your seedlings appear yellow or stretched out, they’re likely struggling for oxygen. The roots can become waterlogged, stunting growth and promoting disease.
To avoid these pitfalls, I’ve learned to monitor moisture levels closely and drain excess water promptly after soaking, ensuring my microgreens thrive without drowning.
Failing to Clean Equipment Properly
Cleanliness is crucial in growing microgreens, and neglecting to properly clean your equipment can lead to serious issues.
I’ve learned that leftover residues and contaminants can introduce pests and diseases into your microgreens, compromising their health and safety.
To avoid these pitfalls, make sure to:
- Thoroughly wash trays and tools after each use to remove any organic matter.
- Use a diluted bleach solution or food-safe cleaner to sanitize equipment.
- Rinse everything well to eliminate any cleaning agent residue.
- Store equipment in a clean, dry area to prevent mold growth.
Overcrowding the Growing Tray
When growing microgreens, I’ve noticed that overcrowding the growing tray can lead to poor results.
Proper seed spacing is crucial for ensuring each plant has adequate room to thrive, while selecting the right tray size can significantly impact growth and yield.
Let’s explore how these factors influence your microgreen success.
Proper Seed Spacing
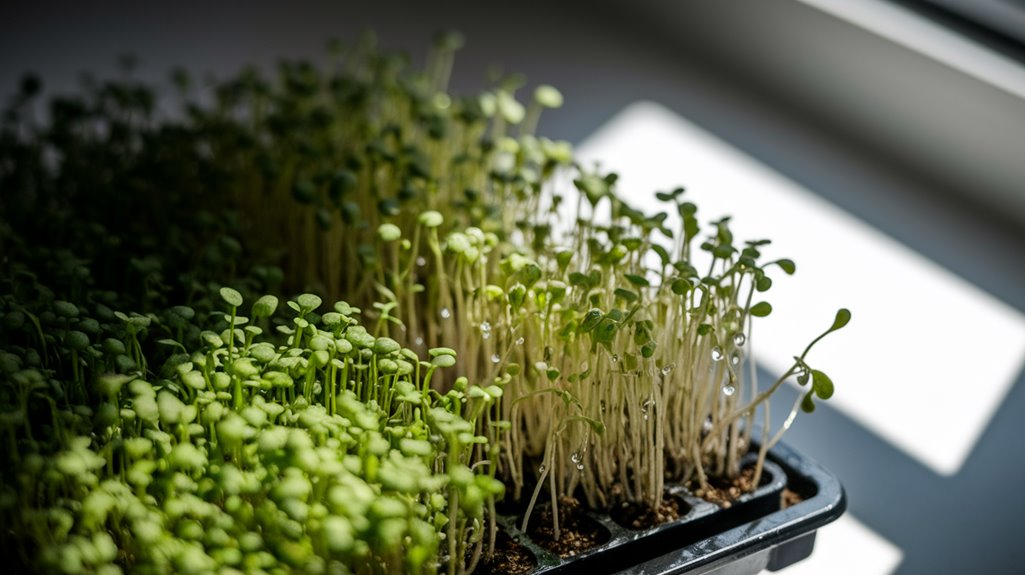
Proper seed spacing is crucial for successful microgreens cultivation. I’ve learned that overcrowding my growing trays leads to competition for resources, which stunts growth and affects flavor.
To avoid this, I always keep these tips in mind:
- Follow seed packet recommendations: Each variety has specific spacing needs.
- Use a light hand when sowing: Distribute seeds evenly to avoid clumping.
- Thin seedlings if necessary: Once they germinate, remove excess plants to allow room for growth.
- Monitor growth regularly: Adjust spacing based on how quickly your microgreens develop.
Tray Size Considerations
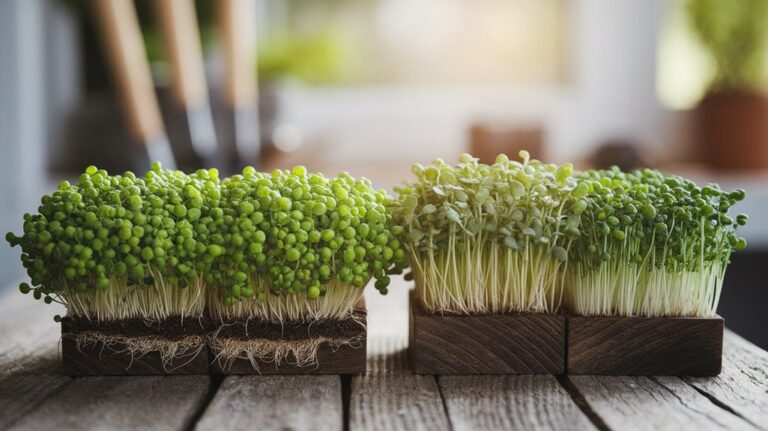
Choosing the right tray size is essential to prevent overcrowding when growing microgreens. If I use a tray that’s too small, the seedlings compete for resources, leading to stunted growth and poor yields.
Ideally, I select trays that provide adequate space for the specific microgreens I’m cultivating. For instance, a 10×20 inch tray typically accommodates a dense planting of smaller seeds, while larger seeds like sunflowers require more room.
I also ensure there’s enough depth for root development; shallow trays can restrict growth. Proper ventilation is crucial, too—overcrowded trays can trap moisture, promoting mold and disease.
Frequently Asked Questions
Conclusion
In conclusion, avoiding common mistakes when growing microgreens can significantly enhance your success rate. By selecting the right seeds, providing adequate light, and maintaining proper moisture levels, you’ll create an optimal environment for growth. Don’t overlook the importance of air circulation and timely harvesting, and ensure your equipment is clean and your trays aren’t overcrowded. With these considerations in mind, you’ll be well on your way to cultivating healthy, vibrant microgreens. Happy growing!