How to Grow Turnip Microgreens
To grow turnip microgreens, I start by choosing quality organic seeds and soaking them a few hours before planting. I prepare a lightweight, nutrient-rich soil mix with a pH between 6.0 and 7.0. After filling a shallow tray, I scatter and press the seeds into the soil, mist lightly, and cover them to create humidity. I keep them near a light source for 12-16 hours daily and maintain moisture. There’s much more to explore about the care and harvesting of these tasty greens!
Key Takeaways
- Select high-quality, organic turnip seeds like Purple Top or Tokyo Cross for better flavor and color.
- Use a lightweight, nutrient-rich growing medium with a pH level between 6.0 and 7.0.
- Scatter seeds evenly on the soil, lightly press them in, and mist with water before covering with another tray for humidity.
- Provide 12-16 hours of bright, indirect light daily, using grow lights if necessary, and maintain a temperature of 60-70°F (15-21°C).
- Keep soil consistently moist but not soggy, checking daily to prevent mold and ensure healthy growth.
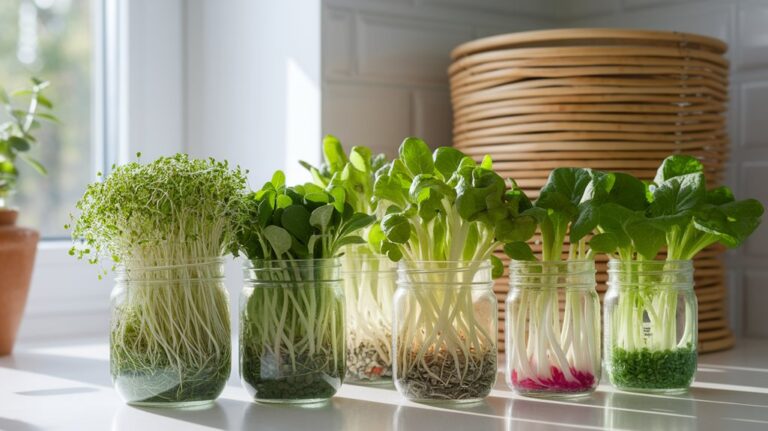
Choosing the Right Seeds
When it comes to growing turnip microgreens, selecting the right seeds is crucial for a successful harvest.
I always recommend looking for high-quality, organic seeds that are specifically labeled for microgreen cultivation. These seeds typically have a higher germination rate and better flavor.
You’ll want to choose varieties like Purple Top or Tokyo Cross, which offer distinct tastes and vibrant colors.
Make sure to buy from reputable suppliers to avoid any issues with contamination or low-quality seeds. Also, check the packaging for the harvest date; fresher seeds will yield better results.
Lastly, I find that soaking the seeds for a few hours before planting enhances germination, so don’t skip that step!
Happy growing!
Preparing Your Growing Medium
When I’m preparing the growing medium for my turnip microgreens, I always focus on selecting the right soil that promotes healthy growth.
I also use moisture retention techniques to keep the soil consistently damp without being waterlogged.
Lastly, sterilizing the medium beforehand ensures that any harmful pathogens are eliminated, giving my seeds the best start possible.
Selecting the Right Soil
Selecting the right soil for your turnip microgreens is crucial for their growth and overall health. I’ve found that the best soil should have specific qualities to ensure your microgreens thrive.
Here’s what I look for:
- Lightweight Texture: A mix that’s light promotes good drainage and airflow.
- Nutrient-Rich: Use a soil blend that’s packed with organic matter to fuel growth.
- pH Balanced: Aim for a pH level between 6.0 and 7.0, which is ideal for turnip microgreens.
- Sterile Medium: Choosing a sterile mix helps prevent diseases and pests that could hinder growth.
Moisture Retention Techniques
To ensure your turnip microgreens thrive, focusing on moisture retention in your growing medium is essential. I’ve found that using a combination of materials can significantly enhance moisture retention. Here’s a practical breakdown:
| Material | Moisture Retention Benefit |
|---|---|
| Coconut Coir | Retains moisture well without becoming soggy |
| Vermiculite | Helps aerate the soil, promoting drainage and moisture retention |
| Peat Moss | Excellent for holding moisture while providing structure |
Sterilization and Preparation Methods
Before I start planting turnip microgreens, I always make sure to properly sterilize and prepare my growing medium. This step ensures a healthy environment for my seeds and minimizes the risk of pests or diseases.
Here’s how I do it:
- Choose a medium: I prefer a quality soil or coconut coir that drains well.
- Moisten the medium: I lightly dampen it, ensuring it’s not too wet, which can lead to mold.
- Sterilize: I bake the medium at 180°F for about 30 minutes to kill any harmful pathogens.
- Cool and fill: After sterilization, I let it cool before filling my trays, ready for sowing.
With these steps, I create an optimal growing environment for my turnip microgreens!
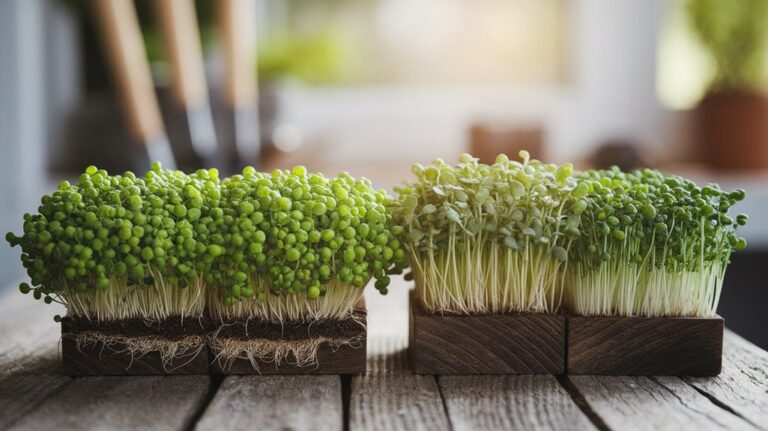
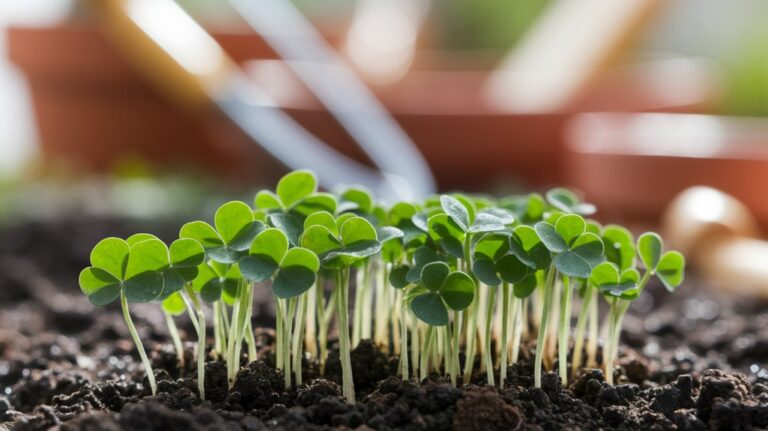
Planting Turnip Microgreens
When I plant turnip microgreens, I typically follow a simple yet effective process to ensure success. First, I fill a shallow tray with a quality growing medium, ensuring it’s evenly spread. Next, I scatter the seeds generously across the surface, aiming for even coverage. After that, I lightly press the seeds into the soil to improve contact.
Here’s a quick reference table for my planting process:
| Step | Action | Notes |
|---|---|---|
| 1 | Fill tray with soil | Use a shallow tray |
| 2 | Scatter seeds | Even coverage is key |
| 3 | Press seeds into soil | Ensure good contact |
| 4 | Mist lightly with water | Avoid over-saturation |
| 5 | Cover with another tray | Create humidity |
This method sets me up for a successful harvest!
Providing Proper Light and Water
When growing turnip microgreens, providing the right light and water is crucial for their success.
I recommend placing them in a spot where they can receive at least 12-16 hours of bright, indirect light each day to encourage healthy growth.
Additionally, using a gentle watering technique will ensure they stay moist without becoming waterlogged.
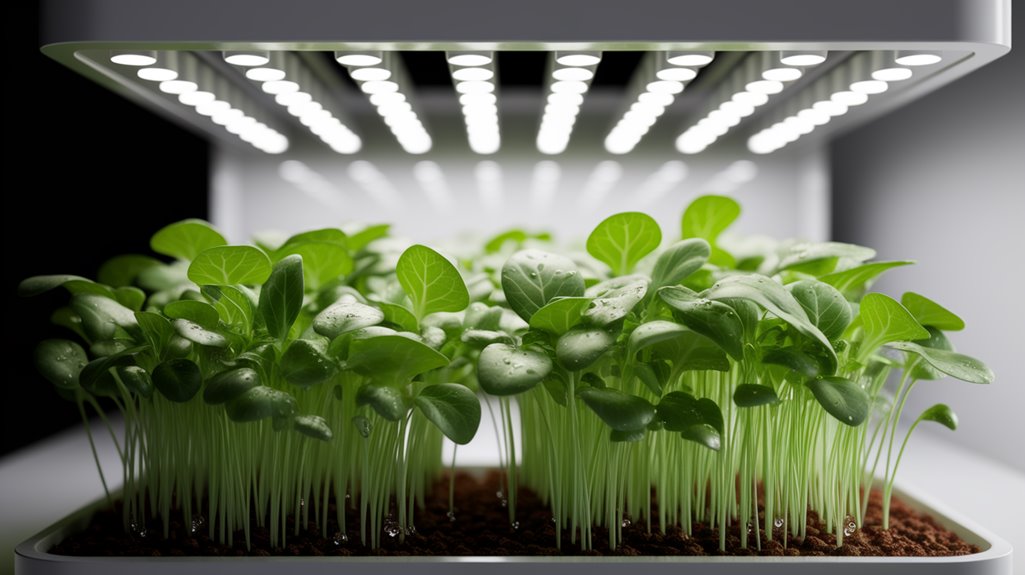
Ideal Light Conditions
To successfully cultivate turnip microgreens, I’ve found that providing the right light conditions is just as crucial as ensuring they get enough water.
Here are my go-to tips for optimal light:
- Bright Indirect Light: Aim for about 12-16 hours of bright, indirect light daily. Too much direct sunlight can scorch the delicate greens.
- Natural Light: Place your microgreens near a south-facing window if possible, where they can soak up natural light.
- Grow Lights: If natural light isn’t an option, consider using full-spectrum LED grow lights. Set them 6-12 inches above the plants.
- Light Schedule: Keep a consistent light schedule, using timers to maintain regularity.
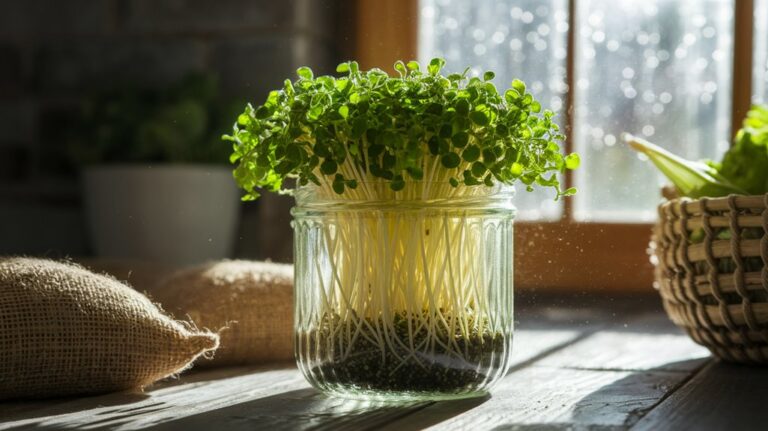
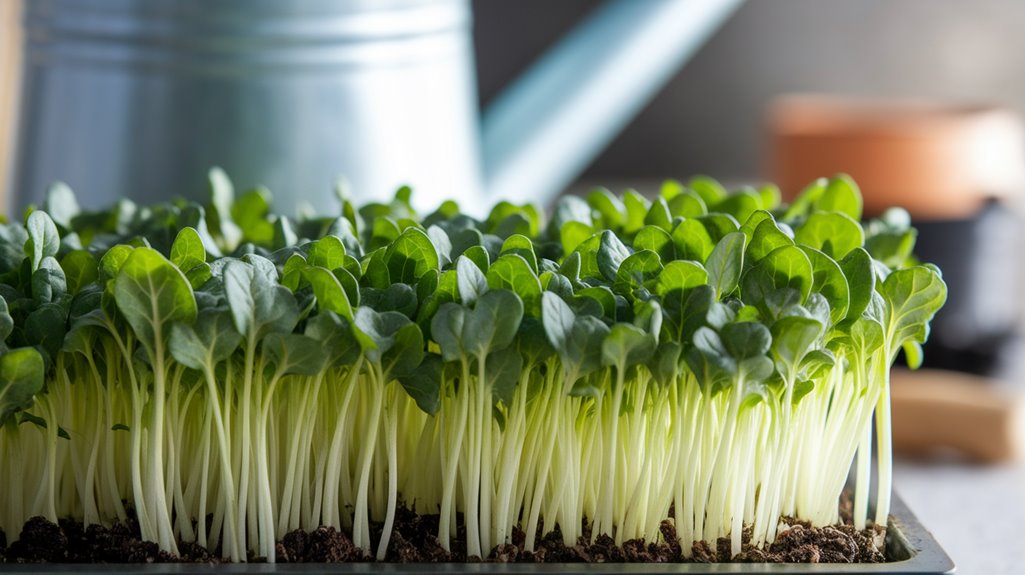
Watering Techniques Explained
After ensuring your turnip microgreens receive the right light, the next important aspect is mastering the art of watering.
I usually start by misting the soil lightly, ensuring it’s evenly moist but not soggy. Overwatering can lead to mold, so I check the top layer of soil; if it’s dry, it’s time to water.
I prefer using a spray bottle for gentle, even distribution, avoiding direct contact with the seeds. As the microgreens grow, I adjust my watering frequency—usually every couple of days—depending on the humidity and temperature.
It’s crucial to maintain consistent moisture without waterlogging. Remember, healthy microgreens thrive in well-hydrated, aerated soil, promoting strong root development and vibrant growth.
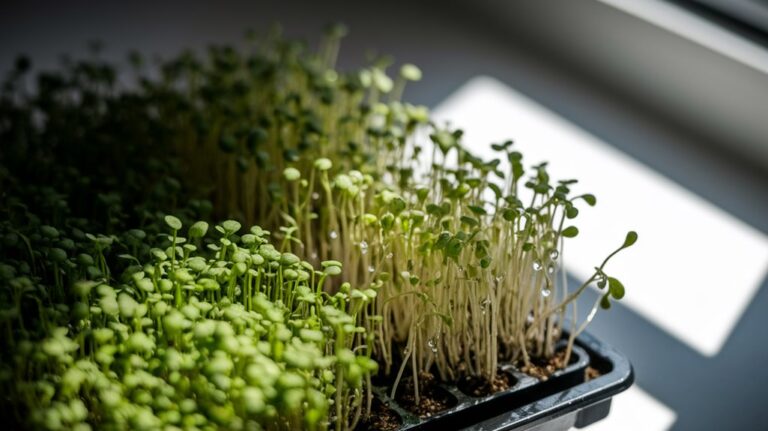
Caring for Your Microgreens
As you nurture your turnip microgreens, paying attention to their specific needs can make a significant difference in their growth and flavor.
Here are four essential care tips I follow:
- Light: Provide about 12-16 hours of bright, indirect light daily to encourage healthy growth.
- Temperature: Keep the temperature between 60-70°F (15-21°C) for optimal germination and growth.
- Air Circulation: Ensure good air circulation to prevent mold; I often use a small fan for this.
- Moisture: Maintain consistent moisture without overwatering, checking the soil daily to ensure it’s damp but not soggy.
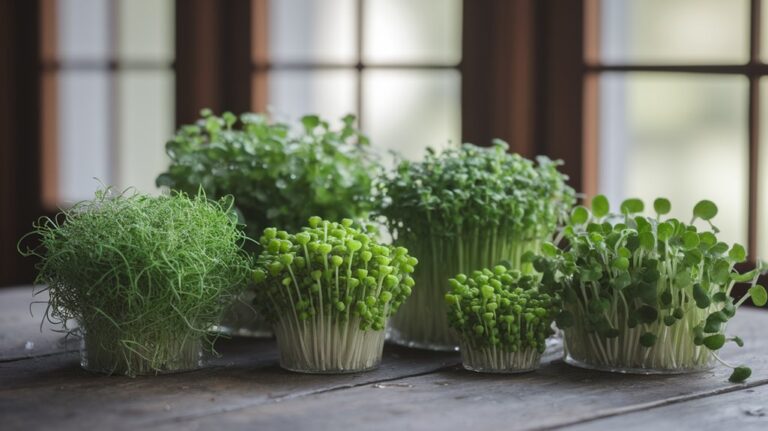
Harvesting and Using Turnip Microgreens
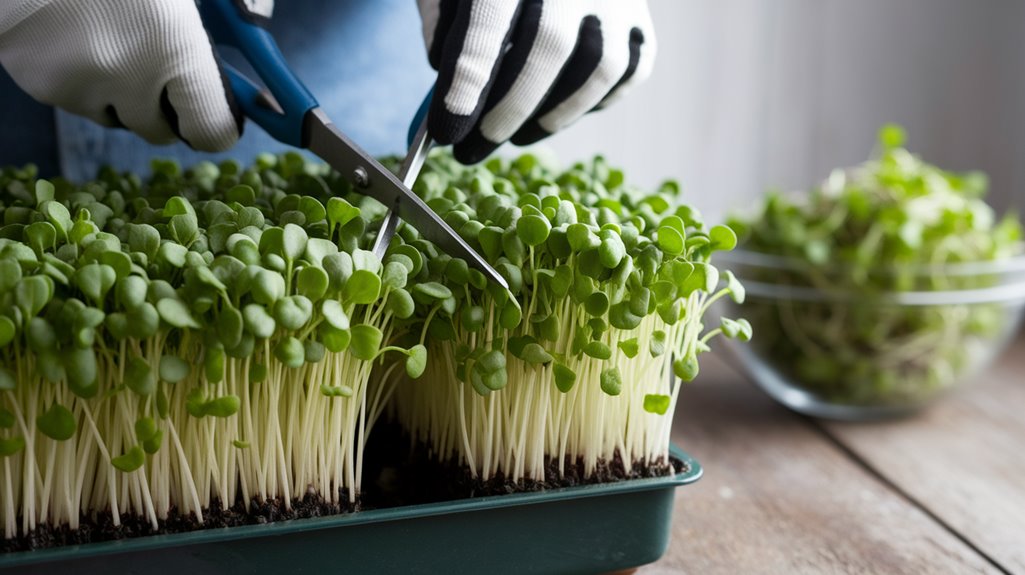
While I eagerly await the vibrant greens to reach their peak, knowing when and how to harvest my turnip microgreens is essential for maximizing their flavor and nutritional value. Typically, I harvest them when they’re about 1-2 inches tall, usually around 7-14 days after germination. I gently snip the greens just above the soil line using clean scissors.
Here’s a quick reference table to keep in mind:
| Harvest Time | Height | Flavor Profile |
|---|---|---|
| 7 days | 1 inch | Mild and sweet |
| 10 days | 1.5 inches | Peppery kick |
| 14 days | 2 inches | Robust and bold |
I love tossing them into salads or using them as a garnish on various dishes for extra flavor and nutrition!
Frequently Asked Questions
Conclusion
In conclusion, growing turnip microgreens is a rewarding and easy process that anyone can enjoy. By selecting quality seeds, preparing your medium properly, and providing the right light and water, you’ll find success in your indoor garden. With a little care, these nutritious greens will flourish, offering a burst of flavor to your meals. So, gather your materials and get started—your taste buds will thank you for the fresh addition to your culinary creations!