The Best Soil and Seeds for Growing Vibrant Microgreens
To grow vibrant microgreens, I recommend using a lightweight, well-draining soil like organic seed-starting mix or coconut coir. These options support healthy root development while avoiding heavy compaction. For seeds, opt for those specifically labeled for microgreens with a germination rate over 90%, preferably organic to steer clear of pesticides. Types like basil, radish, and kale thrive in this environment. With the right choices, you’re on your way to a thriving mini-garden. There’s a lot more to explore!
Key Takeaways
- Use a lightweight, well-draining organic potting soil or seed-starting mix to promote healthy root development in microgreens.
- Select seeds specifically labeled for microgreens with a germination rate of at least 90% for optimal growth.
- Organic seeds are preferred to avoid pesticides and enhance the quality of your microgreens.
- Maintain a slightly acidic to neutral soil pH (around 6.0 to 7.0) for ideal growing conditions.
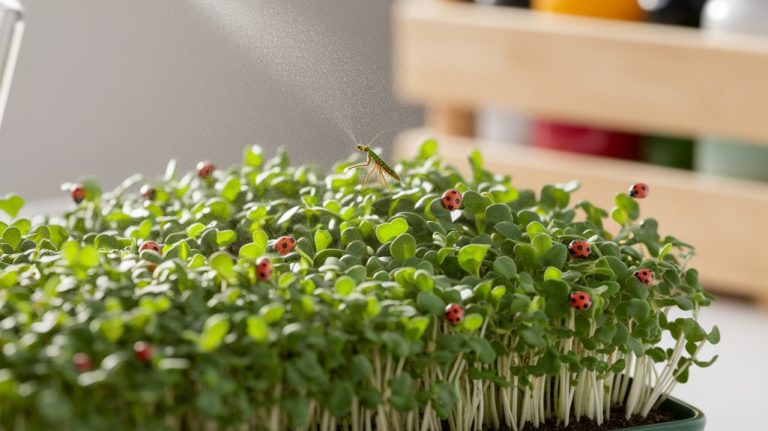
- Regularly inspect and maintain moisture levels to ensure vibrant and healthy microgreens throughout their growth cycle.
Understanding Microgreens: What They Are and Why They Matter
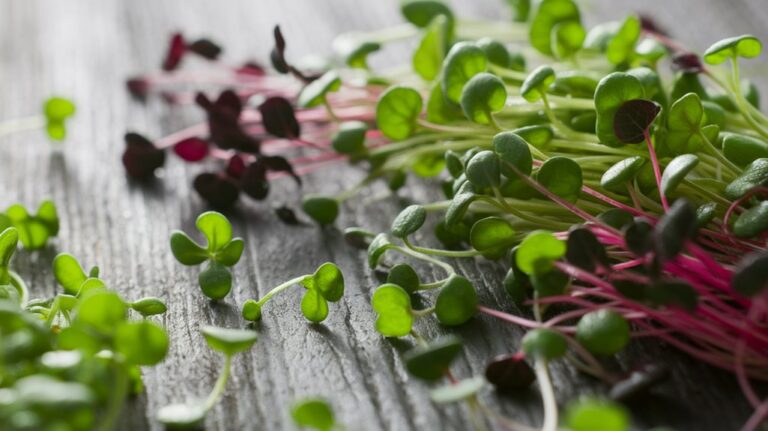
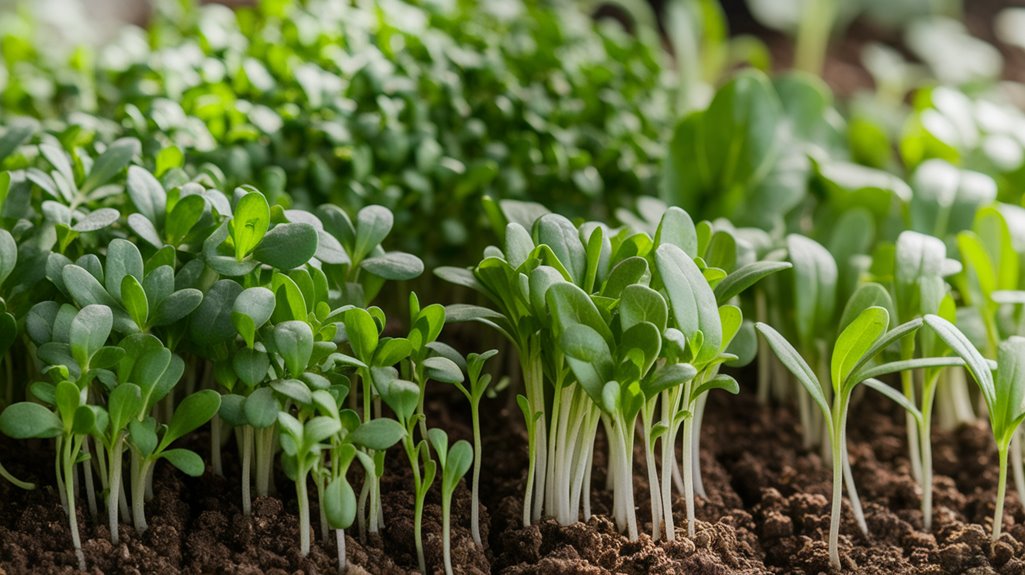
Microgreens represent a vibrant and nutrient-dense category of young plants, typically harvested just after the first true leaves develop. These tiny greens pack a flavorful punch and come in various types, including basil, radish, and kale.
I find their growth cycle fascinating; they can mature in as little as 7 to 21 days. This rapid growth makes them ideal for home gardeners and commercial growers alike.
Microgreens thrive in a variety of environments, requiring minimal space and resources, which is especially appealing in urban settings. The taste and texture add depth to dishes, enhancing culinary experiences.
Essential Nutrients for Microgreens
To cultivate vibrant and healthy microgreens, understanding their nutrient needs is pivotal. These tiny plants thrive on essential nutrients such as nitrogen, phosphorus, and potassium. Nitrogen promotes leafy growth, which is crucial for the overall health of microgreens.
Phosphorus supports root development, ensuring that plants can absorb other nutrients effectively. Potassium enhances disease resistance and contributes to flavor enhancement.
Additionally, micronutrients like calcium, magnesium, and iron are necessary for optimum growth. Calcium strengthens cell walls, while magnesium plays a vital role in photosynthesis.
Iron is essential for chlorophyll production, giving microgreens their vibrant color. By ensuring these nutrients are present in your growing medium, you’ll set the foundation for thriving microgreens that aren’t only nutritious but also visually appealing.
Choosing the Right Soil for Microgreens
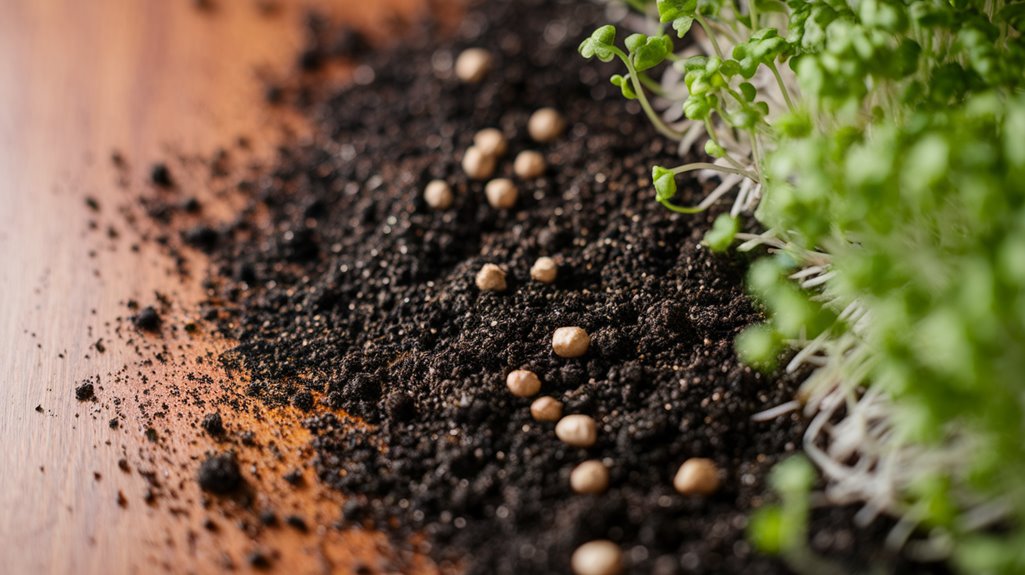
When selecting soil for microgreens, it’s crucial to consider the specific requirements of these delicate plants. I’ve found that a lightweight, well-draining medium is essential for promoting healthy root development.
Organic potting soil works well, but I often prefer a seed-starting mix because it’s finer and retains moisture better. It’s important to avoid heavy garden soil, as it can lead to compaction and hinder growth.
Additionally, look for soil that’s free of fertilizers, as microgreens have unique nutrient needs that can be disrupted by additives. I also recommend checking the pH level; a slightly acidic to neutral pH (around 6.0 to 7.0) is ideal.
Popular Soil Mixes for Microgreens
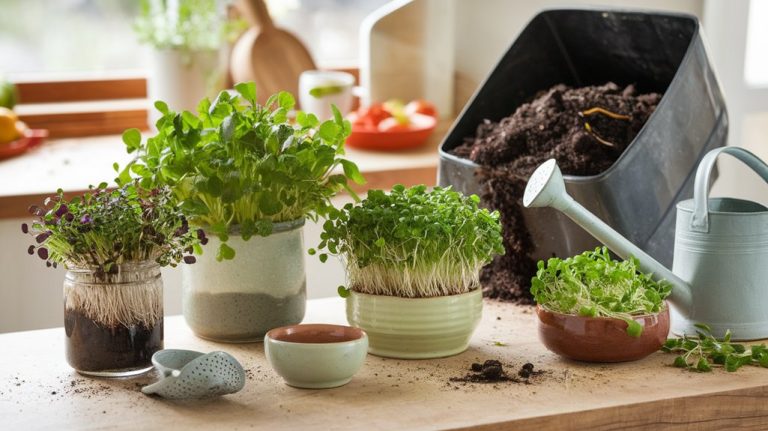
When it comes to selecting soil for microgreens, I’ve found that popular mixes like organic seed starting mix, coconut coir, and peat moss alternatives each offer distinct advantages.
Organic seed starting mixes provide essential nutrients, while coconut coir is praised for its moisture retention and aeration properties.
Exploring these options can help you determine the best fit for your microgreen growing needs.
Organic Seed Starting Mix
While many factors influence the success of microgreens, choosing the right organic seed starting mix is crucial for optimal growth. I’ve found that a quality organic mix typically contains peat moss, compost, and perlite. This combination provides excellent drainage and aeration, which are vital for root development.
When selecting a mix, look for one that’s free from synthetic fertilizers and pesticides. Organic options not only promote healthier plants but also ensure that the microgreens are safe to consume.
I recommend checking the pH level as well; a range between 6.0 and 7.0 is ideal. Ultimately, the right organic seed starting mix sets the foundation for vibrant and flavorful microgreens, making it a critical choice in your growing journey.
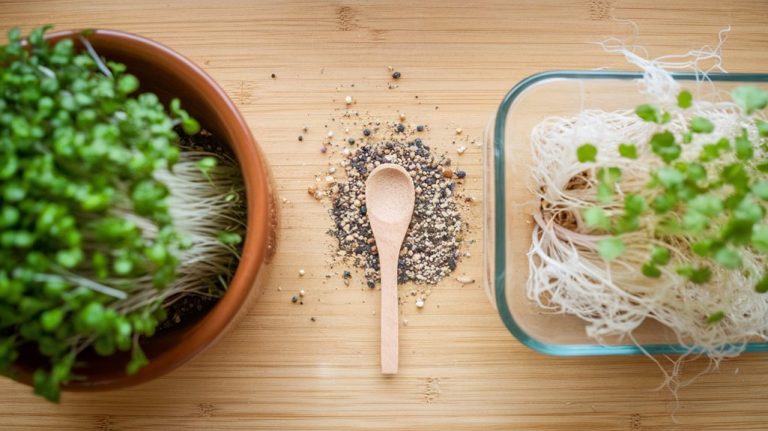
Coconut Coir Benefits
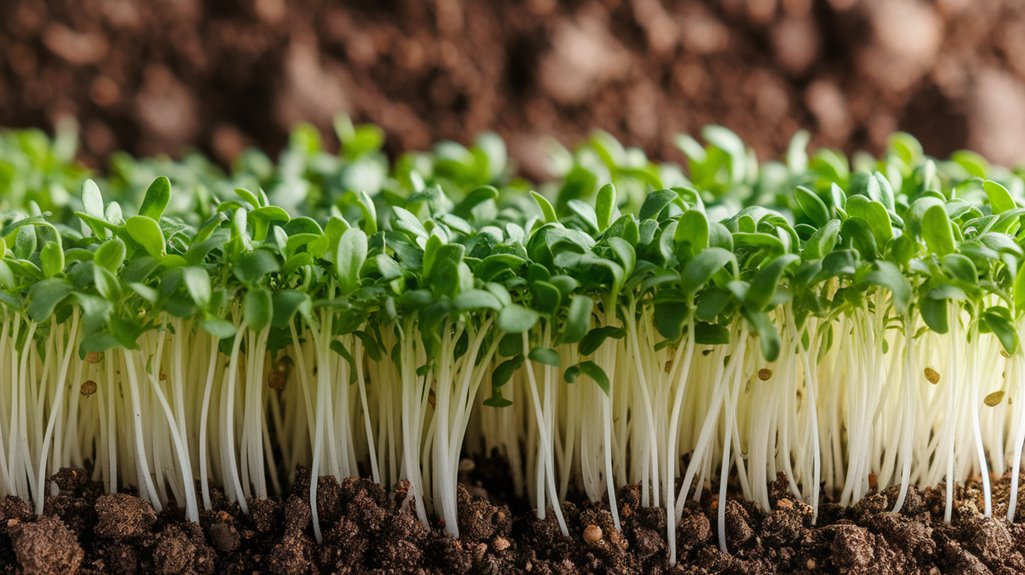
Coconut coir has emerged as a popular alternative to traditional soil mixes for growing microgreens, and for good reason. This natural fiber, derived from coconut husks, offers excellent aeration and drainage, ensuring that roots receive adequate oxygen and moisture.
I’ve found that coir retains water well without becoming waterlogged, which helps prevent root rot—a common issue in microgreen cultivation. Additionally, its neutral pH promotes healthy seed germination and growth.
Unlike peat moss, coir is a sustainable option, as it’s a byproduct of the coconut industry. It’s also free from harmful pathogens, reducing the risk of disease in your microgreens.
Peat Moss Alternatives
As I’ve explored various options for growing microgreens, I’ve found several peat moss alternatives that not only support plant health but also promote sustainability.
One notable option is coconut coir, which retains moisture well and provides excellent aeration.
Another fantastic alternative is compost, rich in nutrients and beneficial microorganisms, ensuring your microgreens thrive.
Additionally, vermiculite offers good drainage and aeration, making it suitable for seed germination.
I also appreciate using a blend of these materials, as it can optimize the growing medium’s texture and nutrient content.
Lastly, consider using biodegradable seed-starting mixes made from renewable resources.
These alternatives not only enhance growth but also align with environmentally responsible practices, making them perfect choices for conscious growers.
Selecting the Best Seeds for Microgreens
How do you choose the best seeds for microgreens? I focus on factors like germination rates, flavor, and nutritional content.
First, I look for seeds specifically labeled for microgreens, as these varieties are often bred for quick growth and higher yields.
Then, I check the germination rates—aim for at least 90% to ensure a healthy crop.
I also consider flavor profiles; some seeds offer a mild taste, while others pack a punch.
Nutritional value is another key factor—certain seeds are richer in vitamins and minerals, enhancing the health benefits.
Lastly, I prefer organic seeds to avoid pesticides and chemicals.
Top Microgreen Varieties to Grow
After selecting the best seeds for microgreens, the next step is to choose which varieties to grow.
I’ve discovered that certain microgreens not only thrive but also offer unique flavors and nutritional benefits. Here are my top four picks:
- Sunflower – Their nutty flavor and crunchy texture make them a favorite for salads and sandwiches.
- Pea Shoots – These are sweet and tender, adding a delightful freshness to any dish.
- Radish – With a peppery kick, radish microgreens can spice up your meals effortlessly.
- Basil – This aromatic variety brings a burst of flavor, perfect for garnishing Italian dishes.
Each of these varieties has its own distinctive taste and growth characteristics, making them ideal choices for any microgreen enthusiast.
Tips for Successful Microgreen Cultivation
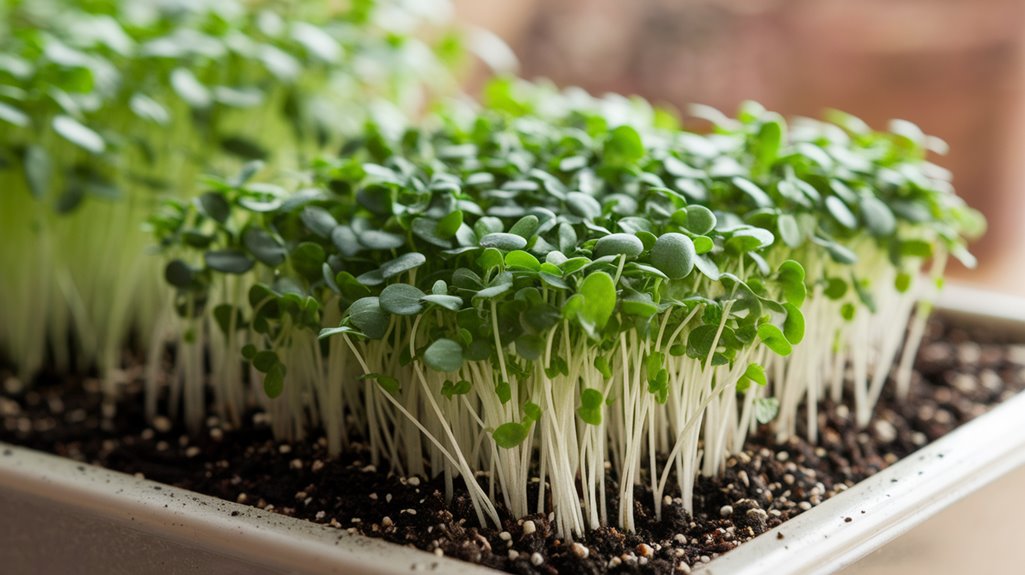
While cultivating microgreens can seem straightforward, several key factors can significantly enhance your success.
First, I always ensure my seeds are fresh and high-quality; this directly impacts germination rates.
Next, I pay close attention to moisture levels. Over or under-watering can lead to poor growth, so I keep the soil consistently damp but not soggy.
Light is another critical factor; I use fluorescent or LED grow lights to provide adequate illumination, especially during the initial growth phase.
Additionally, I recommend maintaining a temperature between 65°F and 75°F for optimal growth.
Lastly, I stagger planting times to enjoy a continuous harvest.
These strategies have consistently yielded vibrant, healthy microgreens in my experience.
Harvesting and Storing Your Microgreens
When it comes to harvesting your microgreens, I’ve found that timing and technique are crucial to maximizing flavor and nutrition.
Proper storage methods can significantly extend their shelf life, ensuring you enjoy their benefits longer.
Let’s explore the best practices for harvesting and storing these vibrant greens effectively.
Optimal Harvesting Techniques
Harvesting microgreens at the right time can significantly enhance their flavor and nutritional value. I’ve found that knowing the optimal harvesting techniques makes all the difference.
Here’s what I recommend:
- Timing: Harvest when the first true leaves appear, usually 7-21 days after germination.
- Tools: Use sharp scissors or a knife for a clean cut, minimizing damage to the remaining plants.
- Technique: Cut just above the soil line, ensuring you leave the roots intact for potential regrowth.
- Condition: Harvest in the morning when the plants are well-hydrated for maximum crispness and flavor.
Proper Storage Methods
Properly storing your microgreens after harvesting is essential to maintaining their freshness and nutritional value. I’ve found that using airtight containers helps keep moisture at bay, preventing spoilage. Ideally, I place a damp paper towel in the container, which helps maintain humidity without making the greens soggy. Here’s a quick reference table I use for different types of microgreens:
| Microgreen Type | Storage Temperature | Best Container |
|---|---|---|
| Arugula | 35-40°F | Airtight plastic bag |
| Radish | 32-35°F | Glass jar |
| Sunflower | 40-45°F | Plastic clamshell |
Following these guidelines ensures that your microgreens remain vibrant and flavorful until you’re ready to enjoy them in your meals.
Shelf Life Considerations
Understanding the shelf life of microgreens is crucial for maximizing their flavor and nutritional benefits.
I’ve found that proper harvesting and storage techniques can make a significant difference. Here are four key considerations to keep in mind:
- Harvest Timing: Aim to harvest your microgreens just before they reach full maturity for optimal taste.
- Storage Conditions: Store them in a cool, dark place, ideally in a breathable container to prevent moisture buildup.
- Consumption Timeline: Plan to consume microgreens within 5-14 days post-harvest for the best quality.
- Visual Inspection: Regularly check for wilting or discoloration, which indicates they’re past their prime.
Frequently Asked Questions
Conclusion
In conclusion, growing vibrant microgreens requires careful consideration of soil, seeds, and cultivation techniques. By selecting the right soil mix and high-quality seeds, you set the foundation for a successful harvest. Remember to pay attention to nutrients and environmental conditions, as these factors greatly influence growth. With the right approach, you can enjoy a bountiful supply of fresh microgreens that not only enhance your meals but also contribute to your overall well-being. Happy growing!