From Kitchen to Table: Harvesting and Using Microgreens
Microgreens are a vibrant, nutrient-packed addition to my kitchen that elevates dishes from ordinary to extraordinary. I love how easy they are to grow indoors in just a couple of weeks, saving me money and providing year-round freshness. When I harvest them, the colorful bursts of flavor transform my salads and sandwiches. To keep them fresh, I store them in breathable containers in the fridge. If you stick with me, you’ll discover even more creative ways to use these little greens!
Key Takeaways
- Microgreens can be harvested when they reach 2-3 inches in height, using sharp scissors for a clean cut above the soil line.
- Rinse harvested microgreens gently under cool water, patting them dry to avoid excess moisture before storage.
- Store microgreens in breathable containers in the fridge’s crisper drawer to maintain freshness and prevent spoilage.
- Incorporate microgreens into salads, sandwiches, and smoothies for added flavor and nutrition, experimenting with different varieties.
- Use microgreens as a garnish for soups and main dishes to enhance visual appeal and elevate meal presentations.
Understanding Microgreens: What They Are and Why They Matter
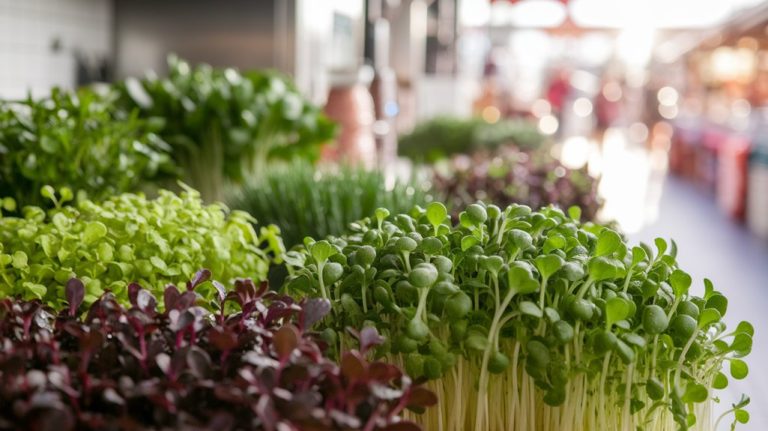
Microgreens are tiny, vibrant seedlings that pack a powerful nutritional punch. I love how these little greens come in a variety of flavors and colors, making them not just nutritious but visually appealing too.
Ranging from arugula to radish, their taste can elevate any dish. What truly fascinates me is their short growth cycle; most microgreens are ready to harvest within two weeks, making them perfect for home gardeners and chefs alike.
They represent the essence of plant life, symbolizing freshness and vitality. Plus, they’re easy to grow indoors or outdoors, even in small spaces.
Understanding microgreens helps me appreciate their role in enhancing both my meals and my health, making them an essential part of my culinary adventures.
The Benefits of Growing Your Own Microgreens
Growing my own microgreens has transformed the way I think about nutrition and gardening. Not only do these tiny greens pack a powerful nutritional punch, but they’re also a cost-effective way to enjoy fresh flavors right from my kitchen.
Plus, I love how easy they’re to cultivate indoors, making it simple to have fresh greens year-round.
Nutritional Value Boost
While many mightn’t realize it, cultivating your own microgreens can significantly enhance your meals’ nutritional profile. These tiny greens pack a powerful punch, often containing up to 40 times more vitamins and minerals than their mature counterparts.
When I harvest my microgreens, I feel a rush of excitement knowing I’m adding concentrated nutrients to my dishes—think vitamin C from broccoli sprouts or antioxidants from red cabbage. Not only do they boost my meals, but they also elevate flavors with their vibrant tastes.
Incorporating microgreens into salads, sandwiches, or smoothies transforms everyday foods into nutrient-rich powerhouses. So, if you’re looking to elevate your health game, growing microgreens is a delicious and rewarding choice!
Cost-Effective Gardening Option
Investing in your own microgreens can be a game-changer for both your health and your wallet.
Growing these tiny powerhouses at home not only saves you money but also ensures you have fresh greens on hand.
Here’s why it’s cost-effective:
- Low Initial Investment: Just a few seed packets and trays can set you up.
- Quick Harvest Cycle: You can enjoy your greens in as little as 7-14 days, maximizing your yield.
- Minimal Space Required: You don’t need a sprawling garden; a small countertop works perfectly.
- Reduced Grocery Bills: You’ll cut back on buying pricey organic greens.
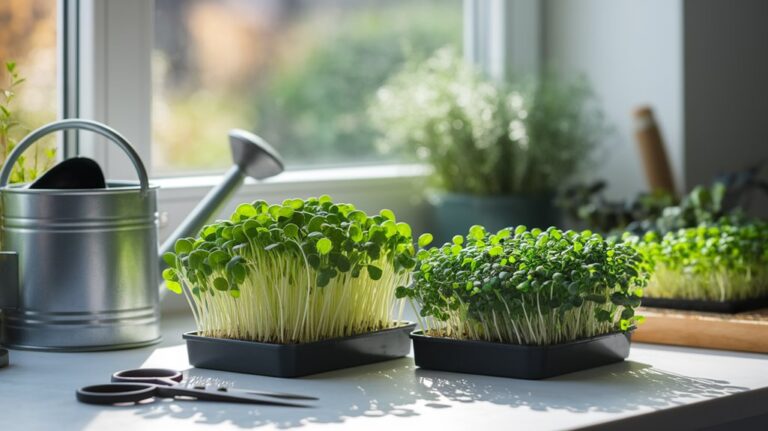
Easy Indoor Cultivation
Cultivating microgreens indoors opens up a world of benefits that can enhance both your meals and your well-being.
I love the convenience of growing fresh greens right in my kitchen. It’s incredibly satisfying to snip a handful of vibrant sprouts to add a burst of flavor to my dishes. Not only do they pack a nutritional punch, but they also thrive in small spaces and need minimal equipment.
With just a sunny windowsill and a few containers, I can grow a variety of microgreens year-round. Plus, the joy of nurturing these tiny plants is unmatched. I find it calming and fulfilling, transforming my home into a miniature garden that continually rewards me with fresh, delicious greens.
Choosing the Right Microgreens for Your Kitchen
When I think about adding microgreens to my kitchen, I consider not just their flavor and nutritional value, but also how well they fit into my cooking style.
I love experimenting with different varieties, and here are my top picks for enhancing my dishes:
- Basil Microgreens – Their sweet, aromatic flavor elevates sauces and salads.
- Radish Microgreens – They add a peppery kick that’s perfect for sandwiches and tacos.
- Pea Shoots – These tender greens offer a fresh, sweet crunch, ideal for stir-fries.
- Sunflower Microgreens – Their nutty taste adds depth to wraps and bowls.
Choosing the right microgreens can transform everyday meals into delightful culinary experiences.
I can’t wait to share my favorites with you!
Step-by-Step Guide to Harvesting Microgreens
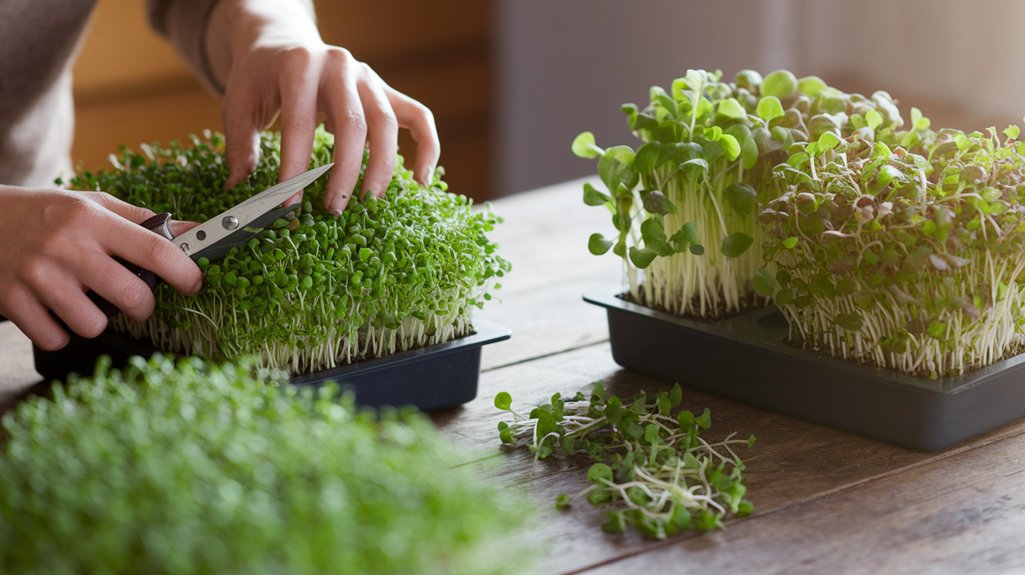
Although harvesting microgreens might seem daunting at first, it’s actually a straightforward process that can be quite rewarding.
First, I gather my sharp scissors and a clean container. I check the microgreens, ensuring they’re about two to three inches tall and vibrant.
Then, I gently grasp a handful of greens and cut them just above the soil line. I make sure not to damage any surrounding plants.
After harvesting, I place them in my container and rinse them under cool water to remove any soil.
Finally, I pat them dry with a paper towel. Within minutes, I’ve fresh microgreens ready for my kitchen, feeling accomplished and excited to use them in my next dish.
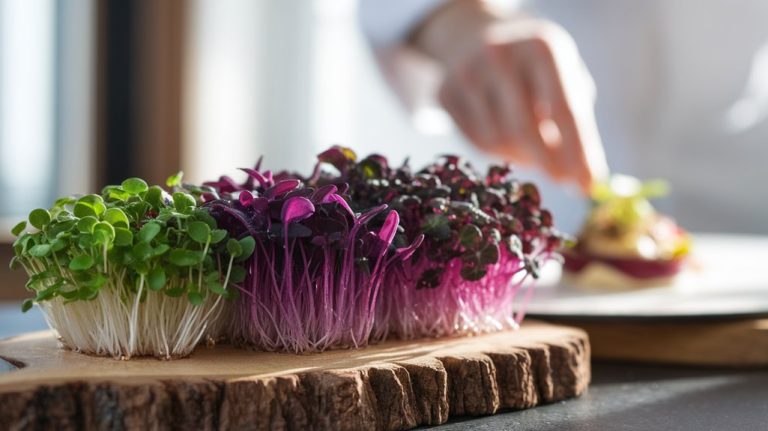
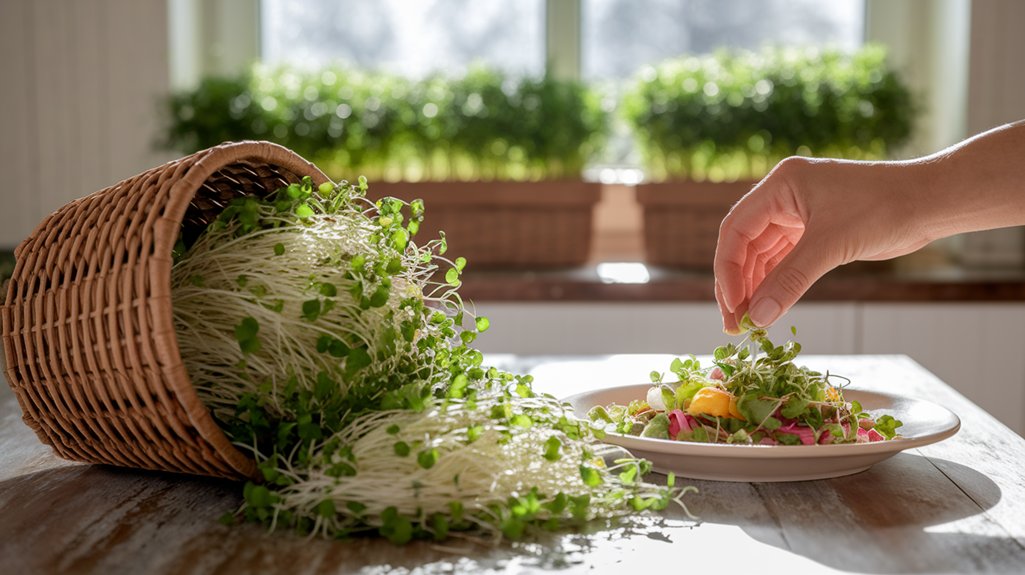
Creative Ways to Use Microgreens in Your Cooking
After harvesting my microgreens, I’m always eager to incorporate them into my meals. Their vibrant colors and fresh flavors elevate any dish.
Here are some creative ways I’ve found to use them:
- Salads: I sprinkle microgreens on top for a crunchy texture and a burst of flavor.
- Sandwiches: Adding them to wraps or sandwiches gives a delightful crunch and nutrition boost.
- Garnish: I often use microgreens as a stunning garnish for soups and entrees, adding visual appeal and taste.
- Smoothies: Blending them into smoothies provides a nutritious kick without overwhelming the flavor.
These little greens not only enhance my dishes but also make my meals visually stunning.
Give them a try; you won’t be disappointed!
Tips for Storing and Keeping Your Microgreens Fresh
To keep your microgreens fresh and vibrant, I’ve found that using the right storage containers is essential.
Maintaining an ideal temperature range can also make a big difference in their longevity.
Plus, knowing their shelf life helps me enjoy these nutritious greens at their best!
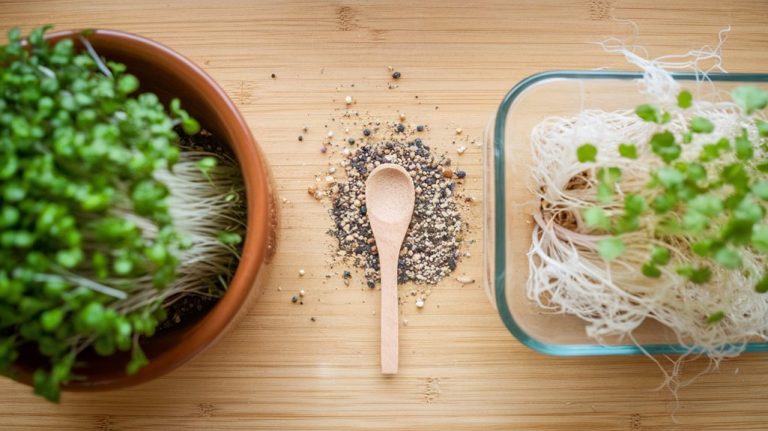
Proper Storage Containers
When it comes to keeping my microgreens fresh, the right storage containers make all the difference. I’ve learned that choosing the right container helps maintain their flavor and crispness.
Here are my top four tips for selecting containers:
- Ventilated Containers: Look for containers with holes or breathable materials to prevent moisture buildup.
- Glass Jars: They’re great for short-term storage, keeping microgreens visible and fresh.
- Plastic Clamshells: These are handy for their convenience and seal; just ensure they’re not too tight.
- Reusable Produce Bags: These allow for airflow while being soft enough to protect delicate greens.
With the right storage, my microgreens stay vibrant and ready for my next culinary adventure!
Ideal Temperature Range
Storing microgreens isn’t just about choosing the right containers; the temperature plays a significant role in keeping them fresh and flavorful.
I’ve found that the ideal temperature range for microgreens is between 32°F and 41°F (0°C to 5°C). At these cooler temperatures, they retain their vibrant colors and crisp textures. If it gets too warm, they can wilt quickly, losing that delightful crunch we all love.
I recommend keeping them in the fridge, ideally in the crisper drawer, where the humidity is higher. Just be sure to keep them wrapped in a damp paper towel and sealed in a container to maintain moisture.
Trust me, keeping an eye on the temperature makes all the difference in enjoying those fresh, nutrient-packed bites!
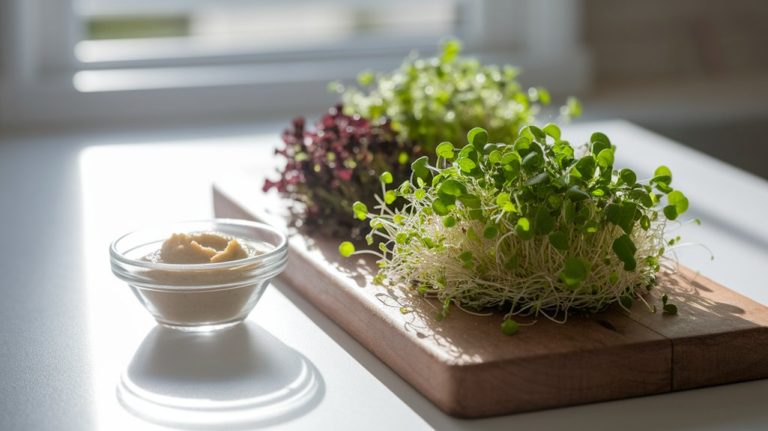
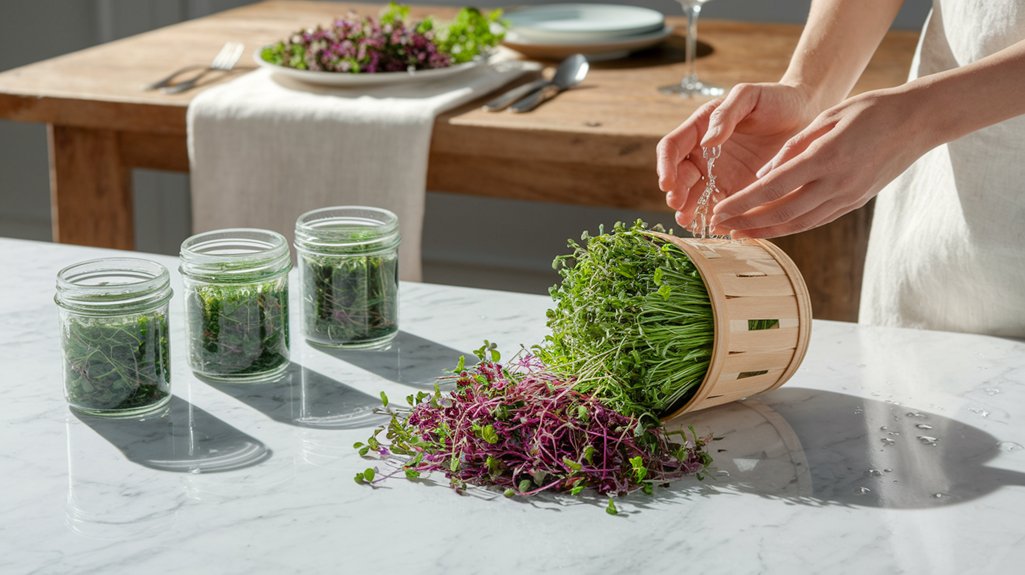
Shelf Life Tips
Microgreens are delicate treasures that deserve proper care to maximize their shelf life. After harvesting, I’ve found a few simple steps really help keep them fresh and vibrant longer. Here’s what I do:
- Rinse gently: I lightly rinse my microgreens with cool water to remove any dirt, then pat them dry with a paper towel.
- Store in a container: I place them in a breathable container, like a perforated plastic bag or a container with a lid slightly ajar.
- Keep refrigerated: I store them in the fridge’s crisper drawer, which maintains the right humidity.
- Use quickly: I try to enjoy my microgreens within a week for the best flavor and nutrition.
Following these tips ensures I savor every bite!
Frequently Asked Questions
How Long Do Microgreens Take to Grow Before Harvesting?
When I grow microgreens, I usually wait about 7 to 14 days before harvesting them.
It’s amazing how quickly they sprout! I keep an eye on them daily, watching for those vibrant leaves to unfurl.
Once they reach about 1 to 3 inches tall, I know they’re ready. The anticipation of seeing them thrive makes the wait worthwhile, and nothing beats the fresh flavor they add to my meals!
Can I Grow Microgreens Indoors Without Natural Light?
Absolutely, you can grow microgreens indoors without natural light! I’ve done it myself using grow lights.
It’s essential to choose the right light spectrum, ideally full-spectrum LED lights, to mimic sunlight. I usually set my lights on a timer for about 12-16 hours a day, ensuring my greens get enough energy to thrive.
The results are impressive, and I’m always excited to see how quickly they sprout and flourish!
What Tools Do I Need for Growing Microgreens at Home?
To grow microgreens at home, I gather a few essential tools.
I use shallow trays for planting, quality potting soil, and a spray bottle for watering. A light source, like grow lights, is crucial if I don’t have natural sunlight.
I also keep scissors handy for harvesting.
With these tools, I ensure my microgreens thrive, providing fresh flavors right from my kitchen.
It’s a rewarding and tasty adventure!
Are Microgreens Safe for Pets to Consume?
I’ve often wondered if microgreens are safe for my pets, and I found that most are indeed safe in moderation.
Varieties like peas and sunflower are generally pet-friendly, but some, like onion or garlic microgreens, can be harmful.
It’s always a good idea to introduce new foods slowly and observe how your pet reacts.
When in doubt, I consult my vet to ensure I’m making the best choices for my furry friends.
How Do I Prevent Mold When Growing Microgreens?
When I grow microgreens, preventing mold is crucial. I always start with clean containers and quality seeds.
Keeping the growing medium moist but not soggy helps too. I place my trays in a well-ventilated area to encourage air circulation, which I find makes a big difference.
Additionally, I use a fan occasionally to keep the air moving. With these steps, I’ve successfully avoided mold and enjoyed healthy, vibrant microgreens!
Conclusion
As I savor the vibrant flavors of my freshly harvested microgreens, I can’t help but appreciate how they’ve transformed my meals. Growing these tiny, nutrient-packed greens has not only added color to my dishes, but it’s also given me a deeper connection to my food. I encourage you to dive into the world of microgreens—experiment, taste, and discover new culinary possibilities. The journey from garden to table is truly rewarding, and your palate will thank you!