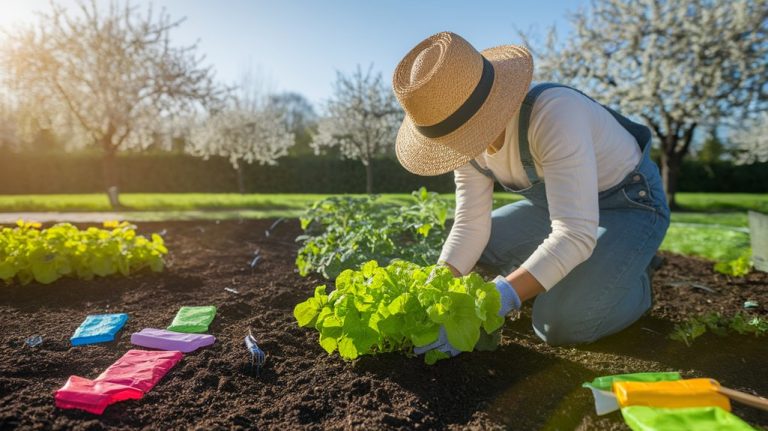
Garden on a Budget: Cost-Effective Ways to Grow Sprouts
Growing sprouts on a budget is easy and rewarding! I recommend starting with quick-germinating seeds like alfalfa or broccoli, which are packed with nutrients. All you need is a glass jar, cheesecloth, and a spray bottle for maintenance. Rinse your seeds, soak them, and keep them in a dark spot, rinsing them twice daily. Once they’re ready, toss them into salads or sandwiches for a fresh boost. Stick around to discover even more tips and tricks!
Key Takeaways
- Choose fast-germinating and nutrient-rich seed varieties like alfalfa or broccoli for quicker results and better health benefits.
- Purchase seeds in bulk or from local farmers to save money and ensure quality, focusing on organic or non-GMO options.
- Utilize affordable tools like glass jars, cheesecloth, and spray bottles, which can be found for $2 – $5 each.
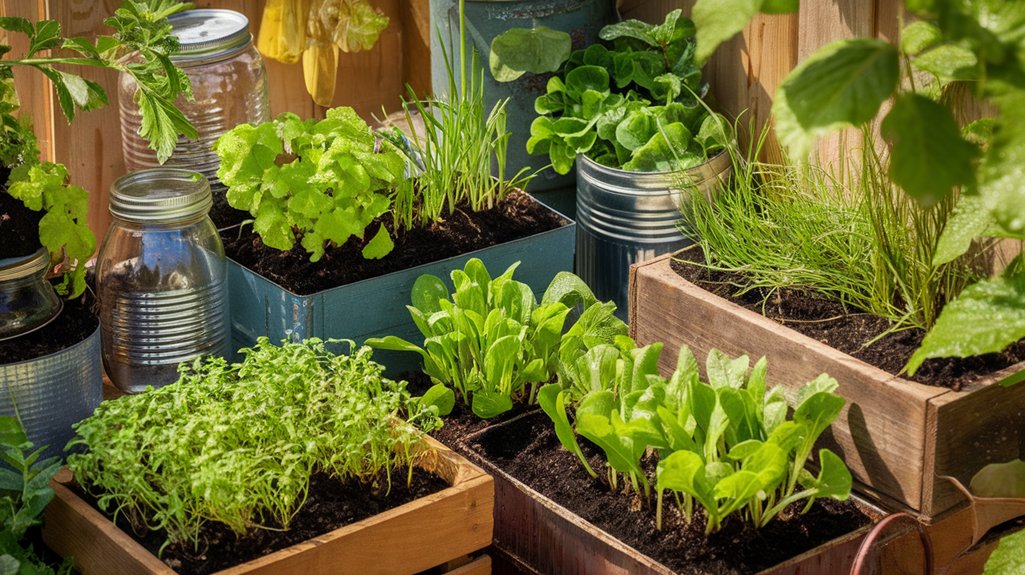
- Maintain minimal costs by reusing materials and ensuring proper ventilation to prevent mold, reducing waste and increasing sprout yield.
- Incorporate sprouts into meals creatively, enhancing nutrition without needing to buy expensive ingredients.
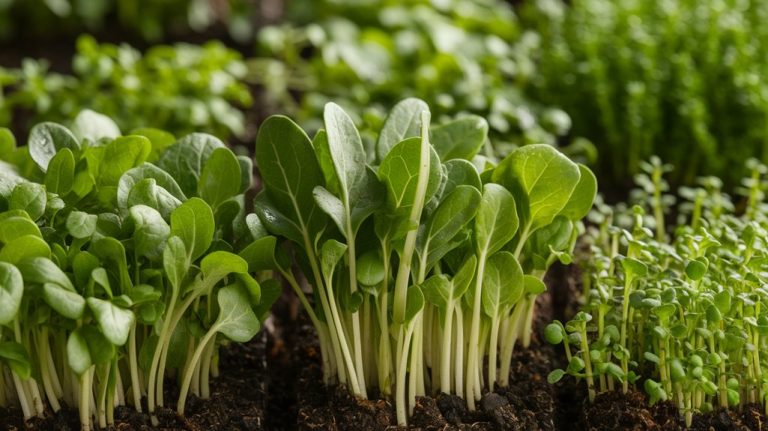
Choosing the Right Seeds for Sprouting
When I’m selecting seeds for sprouting, I often consider the space I’ve available and the types of plants I want to grow.
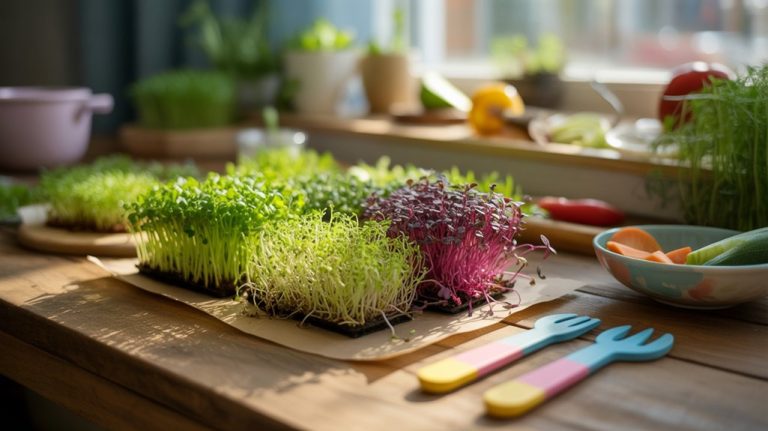
It’s crucial to choose varieties that thrive in small areas and have quick germination times. I usually opt for seeds like alfalfa, radish, or broccoli, which sprout rapidly and offer a high yield.
I also think about the nutritional benefits; for instance, broccoli sprouts are packed with antioxidants.
Checking the seed quality is essential, so I always look for organic or non-GMO options when possible.
Lastly, I keep my budget in mind, often buying in bulk or from local farmers to save money without sacrificing quality.
This approach ensures a fruitful and satisfying sprouting experience.
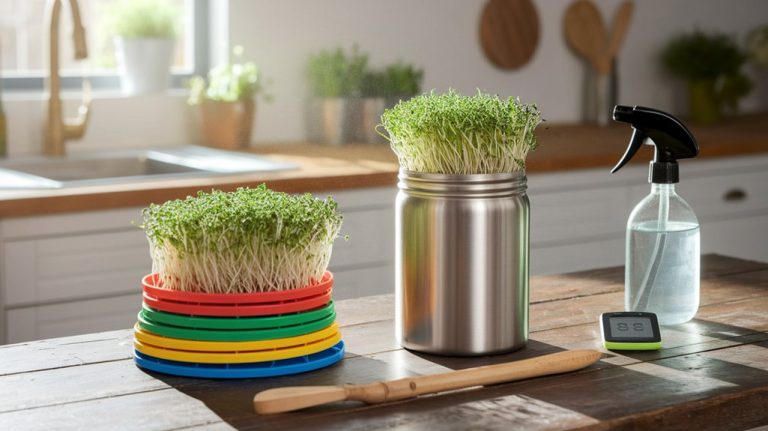
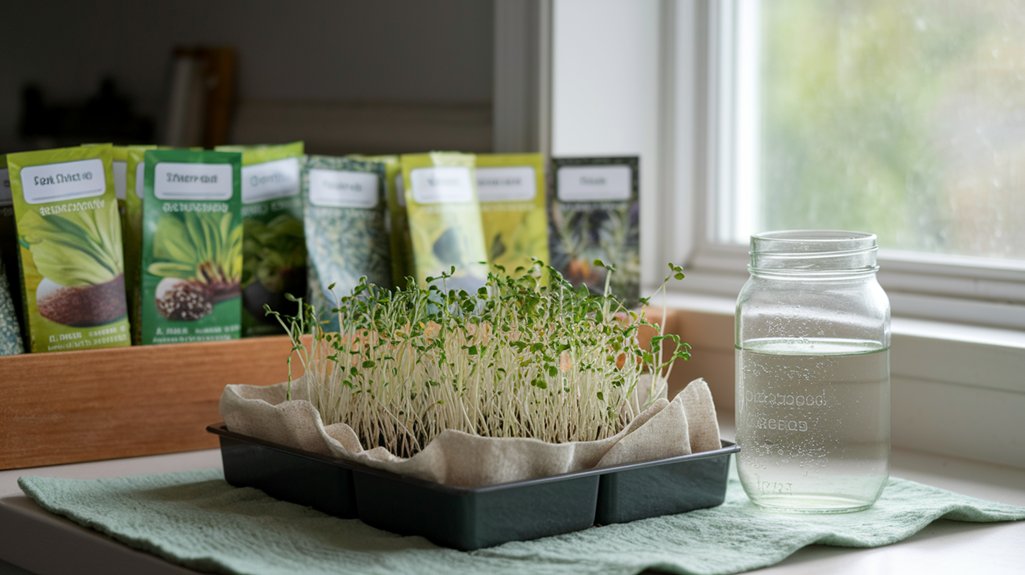
Essential Tools and Materials You Need
To create a thriving garden on a budget, I’ve found that having the right tools and materials is essential. Here’s a handy list to get you started:
| Tool/Material | Purpose | Estimated Cost |
|---|---|---|
| Glass jar | Sprouting seeds | $2 – $5 |
| Cheesecloth | Covering for air flow | $1 – $3 |
| Spray bottle | Misting for moisture | $1 – $4 |
| Small container | Holding harvested sprouts | $1 – $3 |
| Light source | Providing adequate light | $10 – $30 |
These items are practical and cost-effective, ensuring you can grow your sprouts without breaking the bank. With these essentials in hand, you’re ready to embark on your sprouting journey!
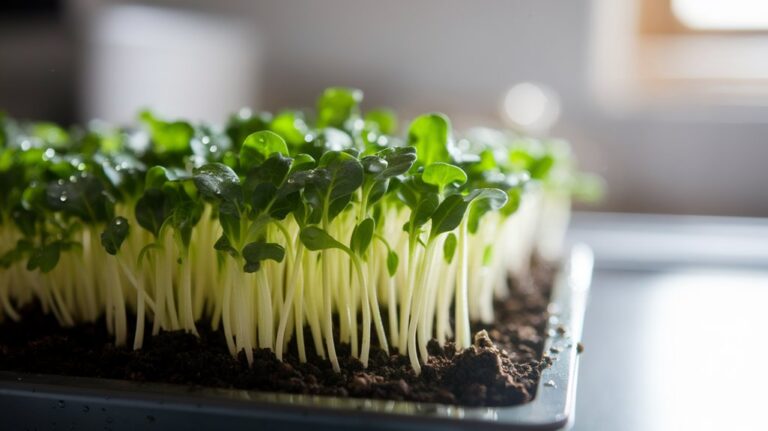
Step-by-Step Guide to Growing Sprouts
Growing sprouts at home is a rewarding experience that only takes a few simple steps.
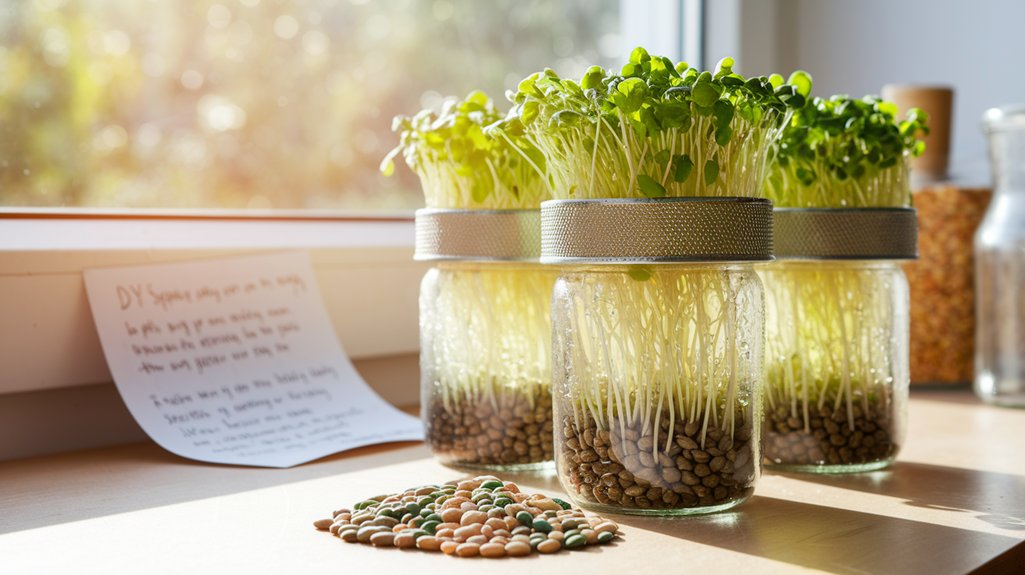
First, I start by choosing my seeds—alfalfa, broccoli, or mung beans work great. Next, I rinse about two tablespoons of seeds under cool water and place them in a jar. I cover the jar with a breathable cloth secured with a rubber band.
Then, I add enough water to soak the seeds overnight. The next day, I drain the water and rinse the seeds again. I keep the jar in a dark, well-ventilated area, rinsing them twice daily.
Within just a few days, I see tiny sprouts emerging! Once they reach about an inch long, I enjoy adding them to salads or sandwiches.
Tips for Maintaining Your Sprouts
Although maintaining your sprouts requires a bit of attention, it’s quite simple once you get the hang of it.
First, rinse your sprouts twice daily with fresh water to keep them clean and hydrated. Use a fine mesh strainer for easy rinsing and draining.
Next, ensure they’re in a well-ventilated area; this prevents mold growth. I often place mine in a spot with indirect sunlight.
Watch the moisture levels; you want them damp but not soaking wet. If they seem too dry, mist them lightly with water.
Lastly, give them a gentle shake to promote even growth and prevent clumping.
With these tips, you’ll have thriving sprouts ready for harvest in no time!
Incorporating Sprouts Into Your Meals

When I think about adding freshness to my meals, sprouts come to mind as a versatile and nutritious ingredient. They’re perfect for tossing into salads, where their crunch adds texture and flavor.
I love adding a handful of alfalfa or broccoli sprouts to my sandwiches for a nutrient boost. Stir-frying is another great option; just toss them in during the last minute of cooking to maintain their crispness.
If I’m feeling adventurous, I’ll blend sprouts into smoothies for an extra kick. They also shine as a topping for soups or grain bowls, enhancing both presentation and taste.
With their quick growth and affordability, incorporating sprouts into my meals is both budget-friendly and delicious.
Frequently Asked Questions
How Long Do Sprouts Take to Grow?
When I grow sprouts, I usually see them ready in about 5 to 7 days, depending on the type.
I soak the seeds overnight, then rinse them twice daily. Within a couple of days, tiny shoots start to appear, and by the end of the week, they’re perfect for munching.
I love the freshness they add to meals! It’s a quick and rewarding process that anyone can try.
Can I Sprout Seeds From My Kitchen?
Absolutely! I often sprout seeds right from my kitchen.
All you need are some seeds, a jar, and water. I rinse the seeds, soak them overnight, and then drain the water.
I keep the jar in a warm spot, rinsing the seeds twice daily. In just a few days, I get fresh sprouts that I can add to salads or sandwiches.
It’s a simple, rewarding process that anyone can try!
What Are the Best Conditions for Sprouting?
I’ve found that the best conditions for sprouting seeds involve a few key factors.
First, I always keep the seeds moist but not soaked; too much water can lead to rot.
Next, I ensure they’ve warm temperatures, ideally around 70°F to 80°F, which helps them germinate.
Lastly, I provide indirect light once they start sprouting, as this encourages healthy growth.
These steps have really improved my sprouting success!
Are There Any Health Risks With Sprouts?
Yes, there can be health risks with sprouts.
I’ve learned that raw sprouts, like alfalfa or bean sprouts, may harbor harmful bacteria such as Salmonella or E. coli. To minimize risks, I always choose fresh, organic seeds and ensure I rinse them thoroughly.
I also prefer cooking sprouts when possible, as heat kills most pathogens. It’s crucial to stay informed and cautious, especially if you’re serving them to vulnerable individuals, like young children or the elderly.
Can I Reuse Sprouting Equipment?
Absolutely, you can reuse your sprouting equipment!
I always make sure to clean it thoroughly after each use to prevent any bacterial growth. A simple soak in hot, soapy water followed by a rinse usually does the trick.
If you’re using jars, I inspect them for cracks or chips. Keeping everything sanitized helps ensure my next batch of sprouts is healthy and safe.
Reusing equipment not only saves money but also reduces waste!
Conclusion
Growing sprouts on a budget is not only feasible but also rewarding. By selecting the right seeds, using simple tools, and following easy steps, you can enjoy fresh, nutritious sprouts without breaking the bank. Plus, incorporating them into your meals adds a delightful crunch and a nutritional boost. I hope you feel inspired to start your own sprouting adventure—it’s a fun and economical way to enhance your diet! Happy sprouting!