How to Grow Radish Microgreens in Just 10 Days: A Step-by-Step Guide
To grow radish microgreens in just 10 days, I start by gathering supplies like a shallow tray, quality seed starting mix, and radish seeds. I prepare the soil, then evenly sow the seeds, pressing them gently and covering with a thin layer of mix. After keeping the soil damp and in a well-lit area, I wait for germination. In about a week, I can harvest the seedlings just above the soil line for fresh, zesty greens. You’ll discover more essential tips soon!
Key Takeaways
- Choose a shallow container with drainage holes and a quality seed starting mix for optimal growing conditions.
- Evenly distribute radish seeds on moistened soil, pressing them in lightly and covering with a thin layer of growing medium.
- Keep the soil consistently damp using a spray bottle and cover with a humidity dome for moisture retention.
- Provide adequate light from fluorescent or LED grow lights to prevent leggy growth and yellowing leaves.
- Harvest microgreens when they reach 1 to 3 inches tall, using sharp scissors just above the soil line for optimal freshness.
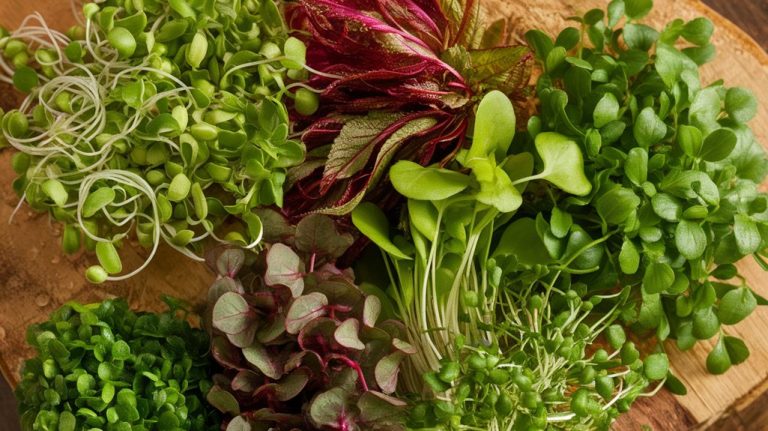
Why Choose Radish Microgreens?
When it comes to choosing microgreens, radish microgreens stand out for their exceptional flavor and rapid growth. They’re packed with nutrients, providing a robust source of vitamins A, C, E, and K, along with essential minerals like calcium and iron.
What I love most is that they germinate within just 3 to 5 days and are ready to harvest in about 10 days, making them ideal for impatient gardeners. The peppery taste adds a delightful kick to salads and sandwiches, enhancing any dish.
Additionally, radish microgreens are versatile; you can grow them in various mediums, including soil or hydroponically. Their adaptability and ease of growth make them a perfect choice for both beginners and experienced growers alike.
Supplies You’ll Need
To successfully grow radish microgreens, having the right supplies makes all the difference. First, you’ll need a shallow container or tray with drainage holes, ideally about 10 inches long.
Next, grab a quality seed starting mix, which ensures proper moisture retention and aeration. I recommend purchasing radish seeds specifically labeled for microgreens; they germinate quickly and offer a robust flavor.
A spray bottle for misting will help maintain moisture without over-saturating the soil. Additionally, consider using a light source, such as fluorescent or LED grow lights, to provide adequate light during growth.
Lastly, don’t forget about a clear lid or plastic wrap to create a humid environment initially. With these supplies, you’re well on your way to growing vibrant radish microgreens!
Preparing the Soil
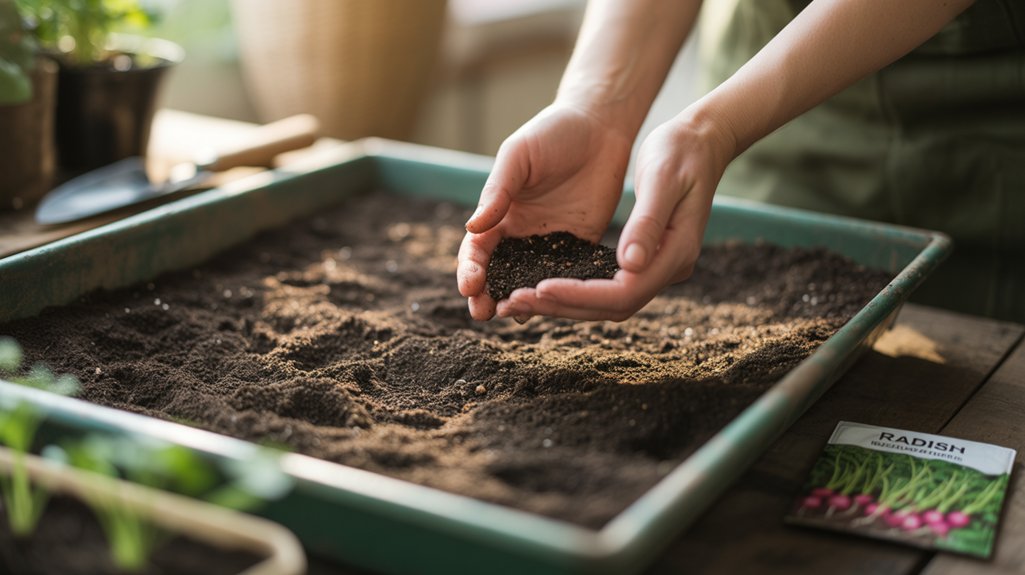
When I prepare the soil for radish microgreens, I focus on selecting the right growing medium to ensure optimal growth.
It’s crucial to monitor the soil pH, as it significantly affects nutrient availability and plant health.
Additionally, I’ll share some key tips on fertilization to enhance the microgreens’ flavor and vitality.
Choosing the Right Medium
Choosing the right medium for radish microgreens is crucial for successful growth, and I recommend using a well-balanced soil mix. A high-quality, organic potting mix works wonders, as it retains moisture while ensuring proper drainage.
Look for a blend that includes peat moss, vermiculite, and perlite; this combination provides the aeration and nutrients your microgreens need.
Before planting, I like to moisten the soil slightly, making it easier for the seeds to germinate. Avoid using garden soil, as it may contain pests or diseases that could hinder growth.
Additionally, ensure the medium is free from chemical fertilizers, which can be too harsh for delicate microgreens. With the right medium, you’ll set a solid foundation for vibrant radish microgreens.
Soil Ph Importance
Although many gardeners overlook soil pH, it plays a critical role in the successful growth of radish microgreens.
Radishes thrive in slightly acidic to neutral soil, ideally with a pH range of 6.0 to 7.0. When the pH is within this range, nutrients become more available to the plants, promoting robust growth and vibrant flavors.
To measure the pH, I use a simple pH meter or soil test kit. If necessary, I amend the soil with lime to raise the pH or sulfur to lower it. Regularly checking the pH helps me maintain optimal conditions.
Ultimately, understanding and adjusting soil pH lays the foundation for a healthy crop of radish microgreens, ensuring a successful harvest in just ten days.
Fertilization Tips Overview
Maintaining optimal soil pH is just the first step in preparing to grow radish microgreens; fertilization plays a key role in ensuring they receive the nutrients they need for vigorous growth.
I recommend using a balanced, water-soluble fertilizer with an N-P-K ratio of 10-10-10 or similar. Before planting, mix the fertilizer into the soil at about half the recommended strength to avoid burning the young roots.
After sowing your seeds, you can apply a diluted solution of the same fertilizer once the seedlings develop their first true leaves.
Keeping an eye on moisture levels is crucial, as over-fertilizing can lead to nutrient runoff. Regularly monitoring your microgreens allows you to adjust fertilization based on their specific needs.
Sowing the Seeds
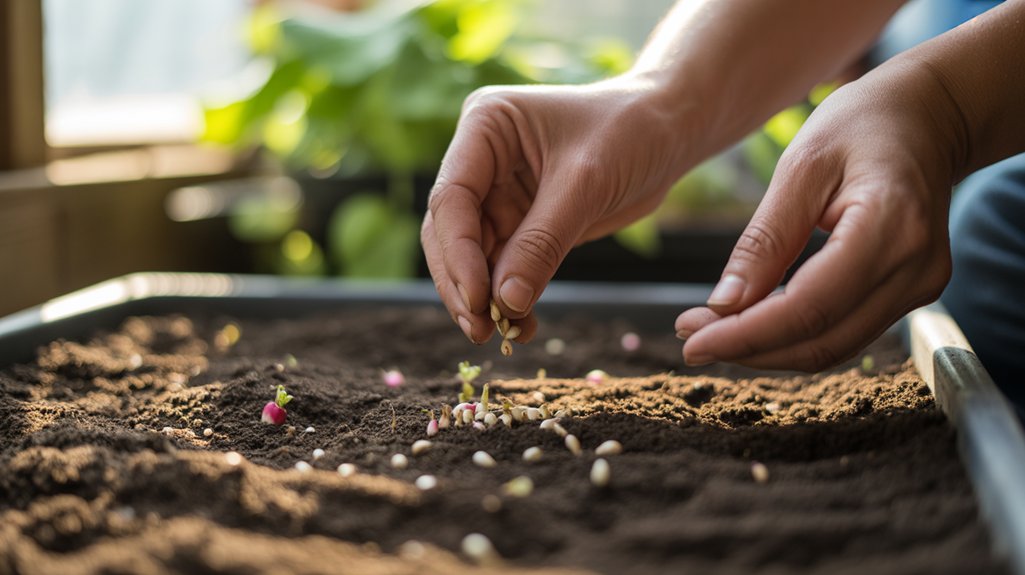
Once you’ve prepared your growing medium and selected your containers, it’s time to dive into sowing the seeds.
I start by evenly distributing radish seeds across the surface of the moist growing medium. For optimal growth, I aim for a density of about 10-15 seeds per square inch. This spacing ensures adequate airflow and light penetration.
After scattering the seeds, I gently press them into the soil using a flat surface, ensuring good seed-to-soil contact. Next, I cover the seeds with a thin layer of growing medium, about 1/4 inch deep—this prevents light from inhibiting germination.
Lastly, I label my containers with the sowing date to keep track of progress. With everything set, I’m ready for the next steps!
Watering and Caring for Your Seeds
As I begin the process of watering and caring for my radish microgreen seeds, I focus on providing a balanced environment that promotes healthy growth.
Proper watering is crucial, and I follow these steps:
- Moisture Level: I ensure the soil is consistently damp but not soggy. Overwatering can lead to mold growth, while underwatering can hinder germination.
- Watering Method: I use a spray bottle to mist the soil gently, preventing soil disturbance and ensuring even moisture distribution.
- Humidity Maintenance: Covering the seeds with a humidity dome or plastic wrap helps retain moisture and warmth. I remove it daily for airflow, preventing excess moisture buildup.
The Germination Process
When starting the germination process for radish microgreens, I find that selecting high-quality seeds is crucial for success.
It’s also important to create ideal growing conditions, including the right temperature and light exposure, to encourage robust growth.
Lastly, I’ll explain effective watering techniques to ensure that your seeds receive the moisture they need to sprout.
Seed Selection Tips
Selecting the right seeds is crucial for a successful radish microgreens crop, and understanding the germination process can significantly enhance your results. Here are some tips to guide you in choosing the best seeds:
- Opt for high-quality seeds: Choose organic or non-GMO options to ensure healthy growth and avoid contaminants.
- Check the germination rate: Look for seeds with a high germination percentage, typically above 90%, to maximize your yield.
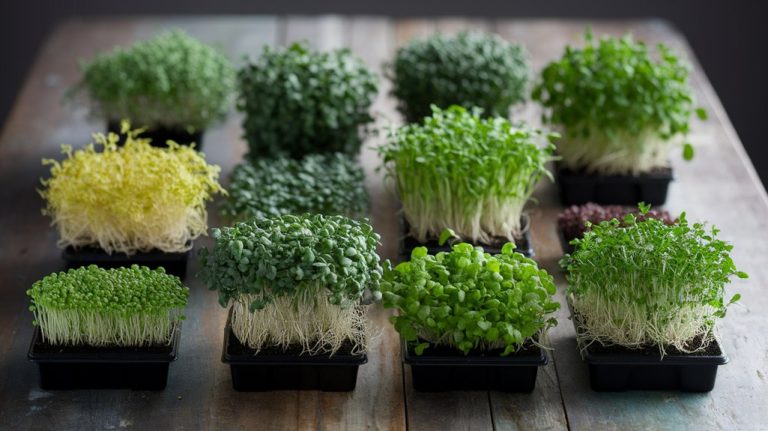
- Consider seed variety: Different radish varieties can offer unique flavors and textures; explore options like Daikon or French Breakfast for diversity.
Ideal Growing Conditions
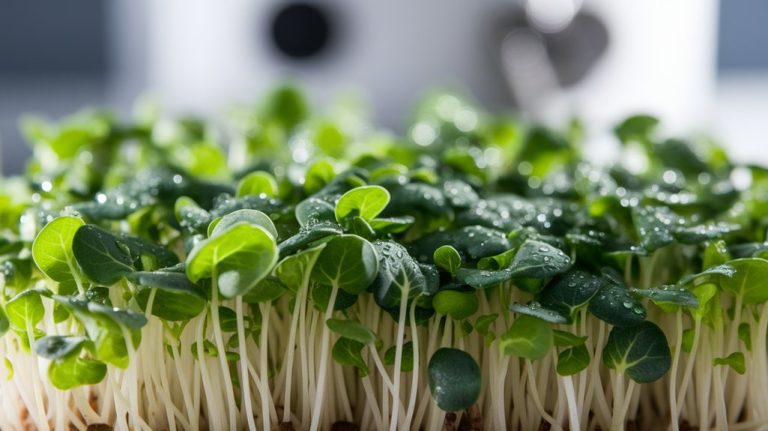
Growing radish microgreens requires more than just selecting the right seeds; it also hinges on providing the ideal conditions for germination. To achieve optimal growth, I ensure the temperature remains between 65°F and 75°F. This range promotes rapid seed sprouting and healthy development.
I also focus on humidity, keeping the environment moist but not soggy, as excess moisture can lead to mold. Using a shallow tray with good drainage is essential; it allows air circulation and prevents waterlogging. I cover the seeds with a thin layer of soil for light protection while they germinate, usually taking about 3 to 5 days.
Once germination starts, I provide adequate light, which is crucial for robust growth and vibrant colors.
Watering Techniques Explained
Mastering the right watering techniques is crucial during the germination process of radish microgreens. I’ve found that effective watering promotes healthy growth and prevents mold.
Here are three key techniques I use:
- Mist Instead of Soak: Initially, I gently mist the seeds to keep the soil moist without waterlogging. This ensures good seed-to-soil contact without drowning them.
- Check Soil Moisture: I regularly check the soil’s top layer. If it feels dry, I mist again. It’s essential to maintain consistent moisture.
- Use a Humidity Dome: I cover my trays with a humidity dome for the first few days. This traps moisture, creating a micro-environment that’s ideal for germination.
These techniques have consistently yielded robust radish microgreens in just ten days!
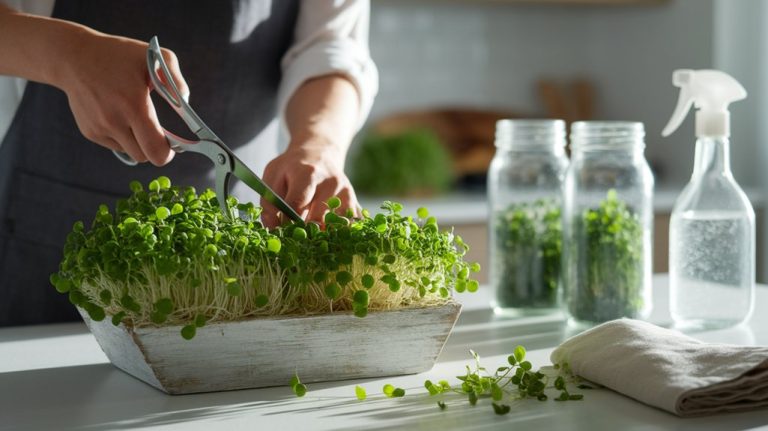
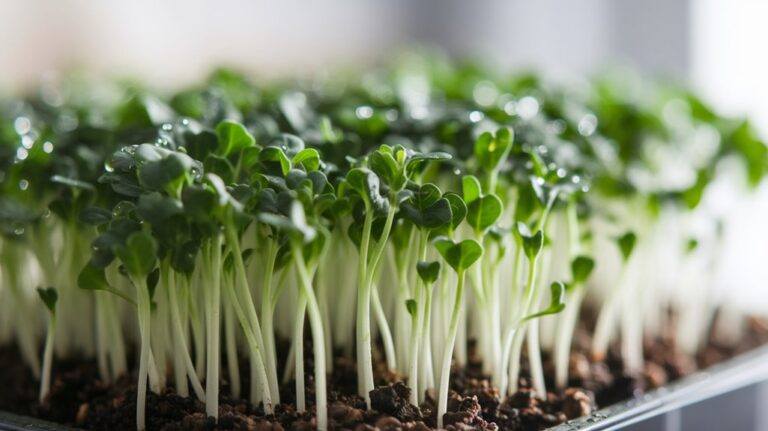
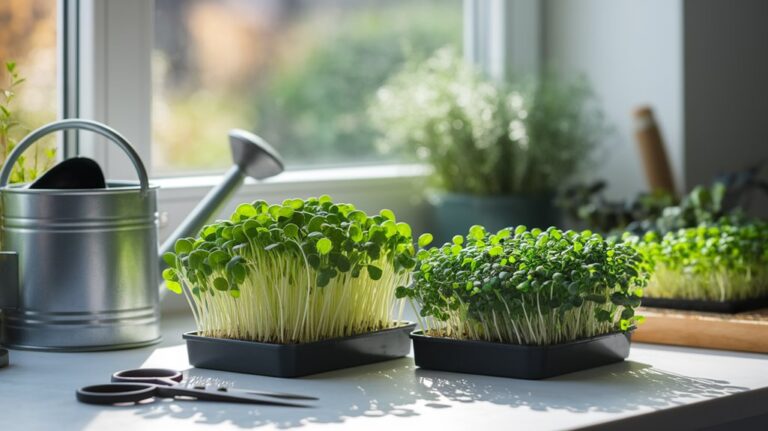
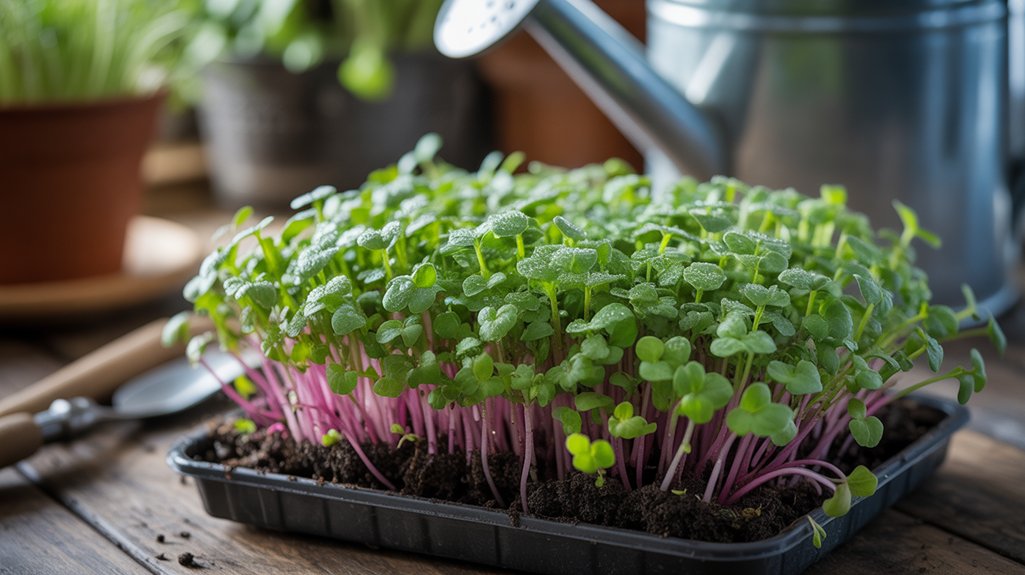
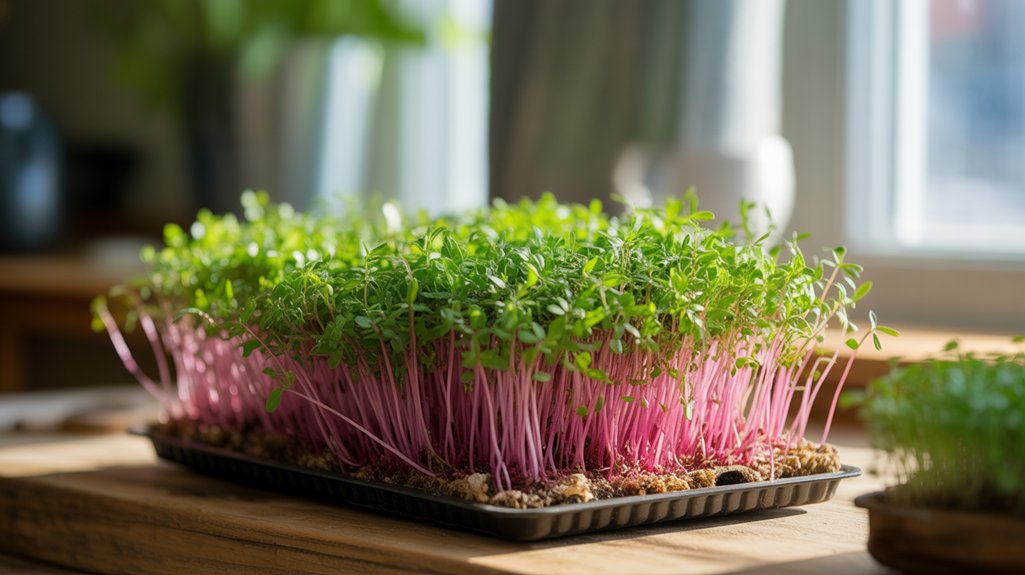
Harvesting Your Microgreens
As I prepare to harvest my radish microgreens, I find it crucial to time the process just right for optimal flavor and texture. Typically, I wait around 7 to 10 days after germination, when the seedlings are about 1 to 3 inches tall and have developed their first true leaves.
Using a sharp pair of scissors, I cut the microgreens just above the soil line, ensuring a clean cut to minimize damage. I take care to harvest only what I need, allowing the remaining greens to continue growing if desired.
After harvesting, I gently rinse them under cold water to remove any soil or debris, ensuring a fresh taste for my dishes. Timing and technique are key to enhancing their peppery flavor.
Storing and Using Radish Microgreens
Once I’ve harvested my radish microgreens, proper storage is essential to maintain their freshness and flavor.
I usually follow these steps to keep them in optimal condition:
- Rinse and Dry: Gently rinse the microgreens in cold water to remove any soil or debris, then lay them flat on a paper towel to dry completely.
- Use Airtight Containers: Store the dried microgreens in airtight containers or resealable bags to minimize exposure to air, which can cause wilting.
- Refrigerate: Place the containers in the refrigerator, where they can last up to a week. This cold environment helps retain their crispness and vibrant taste.
Using radish microgreens, I love adding them to salads, sandwiches, and smoothies for a zesty kick!
Troubleshooting Common Issues
While growing radish microgreens can be an enjoyable experience, it’s common to encounter a few issues along the way. One of the most frequent problems is inconsistent germination. To tackle this, ensure your seeds are fresh and soak them for a few hours before planting.
If you notice yellowing leaves, it’s likely due to insufficient light; consider moving them to a brighter location or supplementing with grow lights. Additionally, mold can develop in overly moist conditions. To prevent this, maintain good air circulation and avoid overwatering.
Lastly, if the microgreens are leggy, they might be stretching for light; adjust their placement to ensure they get adequate brightness. With these tips, you’ll be well on your way to thriving radish microgreens!
Frequently Asked Questions
Can I Grow Radish Microgreens Indoors?
Absolutely, you can grow radish microgreens indoors!
I’ve done it myself, and it’s straightforward. You’ll need a shallow tray, quality soil, and radish seeds.
Just plant the seeds, keep the soil moist, and place the tray in a sunny spot or under grow lights.
In about 5 to 10 days, you’ll have fresh microgreens ready to harvest.
It’s a fun and rewarding way to enjoy fresh greens year-round!
How Much Light Do Radish Microgreens Need?
Radish microgreens need around 12 to 16 hours of light daily for optimal growth.
I use a grow light or place them near a sunny window, ensuring they receive adequate brightness without direct scorching.
If you notice them stretching toward the light, it’s a sign they’re not getting enough.
I’ve found that consistent, even light helps them develop their vibrant color and robust flavor, essential for a successful microgreen harvest.
Are Radish Microgreens Safe for Pets?
Yes, radish microgreens are generally safe for pets. I’ve researched and found that they’re non-toxic to both cats and dogs.
However, moderation is key; too much of any new food can upset their digestive systems. Always ensure your pet doesn’t have any allergies to cruciferous vegetables.
If you’re introducing radish microgreens, do it gradually and monitor for any adverse reactions. It’s best to consult your vet if you’re unsure.
Can I Use Old Seeds for Growing?
You can use old seeds for growing, but their viability decreases over time.
I’ve had mixed results with seeds that are a year or older. To test them, I soak a few in water for a day and then place them on a damp paper towel. If most sprout within a week, they’re still good to use.
Just remember, fresh seeds often yield better, more robust crops. So, it’s worth investing in new ones.
What Is the Best Temperature for Germination?
The best temperature for germination is between 65°F to 75°F (18°C to 24°C).
I’ve found that maintaining this range helps ensure optimal growth and speedy germination.
If it gets too cold, the seeds may take longer to sprout, and if it’s too hot, they might fail altogether.
I recommend using a seedling heat mat if your environment is cooler, as it provides consistent warmth for healthy germination.
Conclusion
In just ten days, you can enjoy the vibrant flavors and nutritional benefits of radish microgreens. By following this step-by-step guide, I’ve shown you how to effectively prepare, sow, and care for your seeds to ensure a successful harvest. Remember to monitor for any common issues and adjust your care routine as needed. With a little patience and attention, you’ll have a fresh, homegrown addition to your meals that’s both delicious and healthy. Happy growing!