How to Sprout Peas
To sprout peas, I start by choosing plump, organic varieties like ‘Alaska’ or ‘Sugar Ann.’ I rinse them, then soak them in water for 8-12 hours. After draining, I rinse them every 8-12 hours while keeping them in a warm, dark spot. In about 5-7 days, I see sprouts growing to 2-3 inches tall, which I can then harvest. By following these steps, you’ll ensure a rich, nutritious addition to your meals that I’ll unpack further.
Key Takeaways
- Select organic, untreated green pea varieties like ‘Alaska’ or ‘Sugar Ann’ for optimal flavor and germination rates.
- Soak rinsed peas for 8-12 hours, then drain and rinse every 8-12 hours for healthy sprout growth.
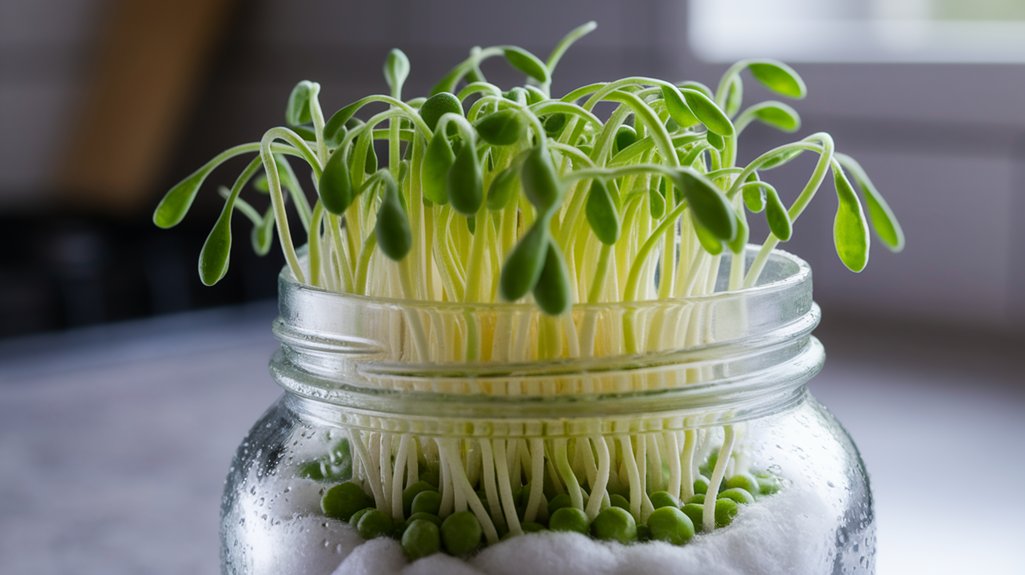
- Use a clean glass jar with a mesh lid for air circulation and place it in a warm, dark area.
- Harvest sprouts when they reach 2-3 inches, using clean scissors to cut above the soil line.
- Store harvested sprouts in a breathable container in the fridge, consuming within five to seven days for best quality.
Choosing the Right Peas for Sprouting
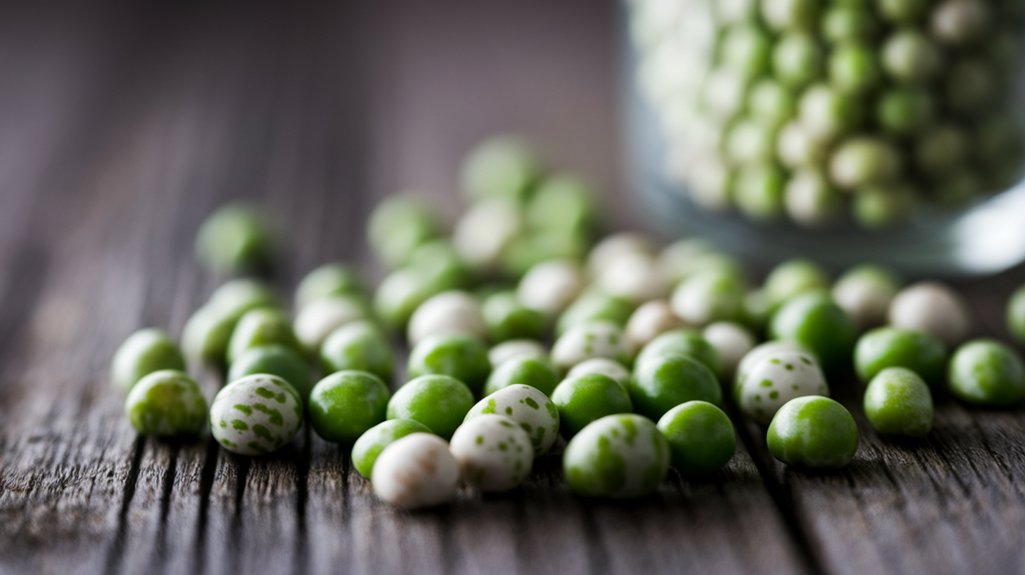
When I choose peas for sprouting, I focus on specific varieties that thrive in this process. I prefer green peas, particularly the ‘Alaska’ and ‘Sugar Ann’ varieties, known for their high germination rates and sweet flavor.
These peas aren’t only nutrient-dense but also have a shorter sprouting time, typically around 5 to 7 days.
I always ensure that the seeds are organic and untreated, as chemicals can hinder germination and affect taste.
Additionally, I check for the seed’s size and shape; plump, smooth seeds generally sprout better than shriveled ones.
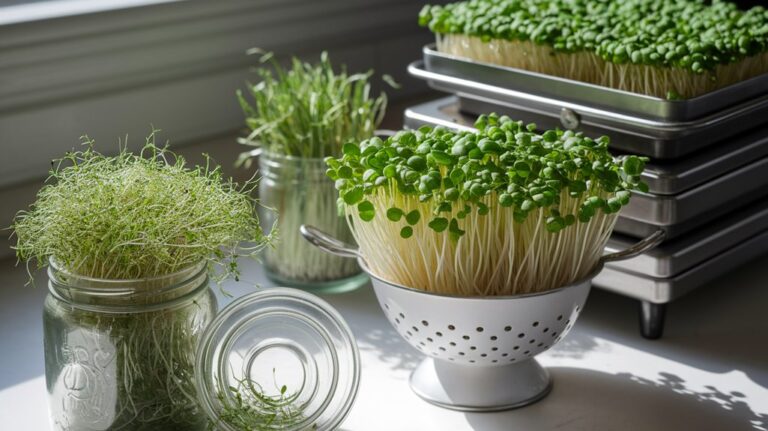
Preparing Your Sprouting Equipment
After selecting the right peas for sprouting, the next step involves preparing your sprouting equipment.
First, I gather a clean glass jar or a dedicated sprouter, which allows for proper air circulation. I prefer a jar with a mesh lid or cheesecloth secured with a rubber band to ensure drainage while preventing pests.
Next, I sanitize all equipment using a solution of water and vinegar to eliminate any harmful bacteria. Once sanitized, I rinse everything thoroughly to remove any residues.
If using a sprouter, I check for any obstructed drainage holes, ensuring they’re clear.
Finally, I’ve my setup ready, confirming that it’s in a warm, dark place, providing the ideal environment for the peas to sprout effectively.
Soaking the Peas
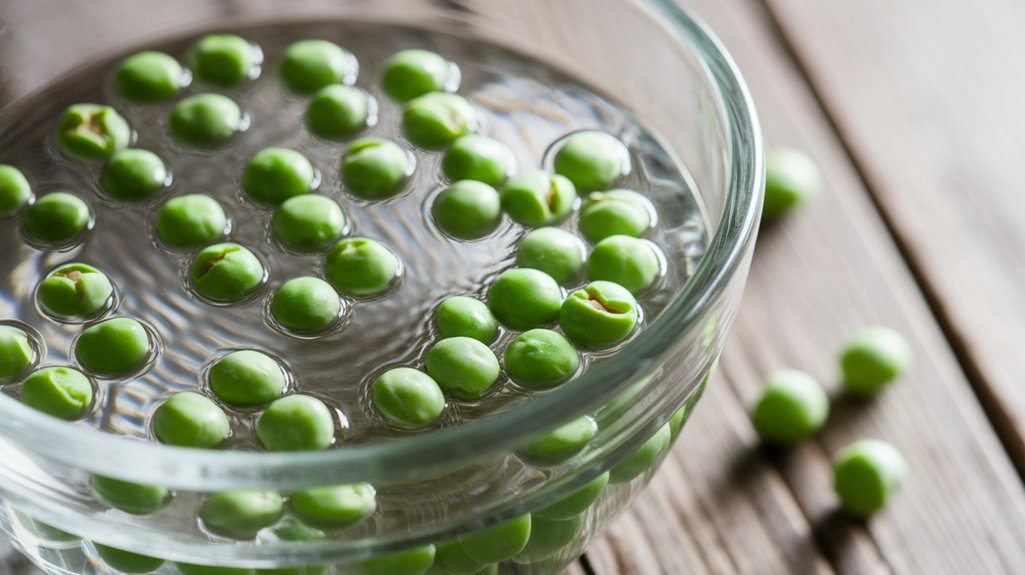
Soaking the peas is a crucial step in the sprouting process, as it initiates hydration and activates the germination process. I usually soak the peas for about 8-12 hours, ensuring they absorb enough water to swell. This not only kick-starts the germination but also helps to reduce anti-nutrients that can inhibit growth.
Here’s a table summarizing the soaking process:
| Step | Duration | Purpose |
|---|---|---|
| Initial Rinse | 2-3 minutes | Remove debris and dirt |
| Soaking | 8-12 hours | Hydrate and activate germination |
| Drain | 1 minute | Remove excess water |
| Rest | 2-3 hours | Allow for further hydration |
| Ready to Sprout | – | Prepare for draining and rinsing |
Following these steps will enhance your sprouting success!
Draining and Rinsing
Once I’ve soaked the peas, it’s crucial to drain them properly to prevent mold and ensure healthy sprouting.
I recommend rinsing the peas thoroughly under cool, running water to remove any residual starch and impurities.
Timing this process right is key; I find that rinsing every 8 to 12 hours yields the best results for robust sprouts.
Importance of Draining
When it comes to sprouting peas, understanding the importance of draining and rinsing is crucial for achieving healthy sprouts. Proper draining prevents excess moisture that can lead to mold and bacterial growth, which can ruin your sprouts.
After soaking, I always ensure that I thoroughly drain the peas. This step is vital because stagnant water creates an environment where harmful pathogens thrive.
Additionally, adequate drainage promotes air circulation, which is essential for sprout development. Without it, the peas may become waterlogged, hindering their growth and overall quality.
Rinsing Techniques Explained
Rinsing peas properly is a critical step in the sprouting process that significantly impacts their growth and safety. I usually follow a routine that ensures they remain clean and hydrated. Here’s how I do it:
| Step | Description |
|---|---|
| 1. Drain | Remove excess water from soaked peas. |
| 2. Rinse | Use cool, clean water to rinse peas thoroughly. |
| 3. Swirl | Gently swirl peas to loosen debris and dirt. |
| 4. Drain Again | Let excess water drain completely to prevent rot. |
| 5. Repeat | Rinse 2-3 times daily for optimal sprouting. |
Following these techniques, I ensure my peas are well-prepared for sprouting, minimizing any risks of mold or contamination.
Timing for Best Results
To achieve the best results in sprouting peas, it’s essential to pay close attention to the timing of both draining and rinsing. I’ve found that properly timing these steps can significantly impact the quality of your sprouts.
Here’s what I recommend:
- Rinse every 8-12 hours to keep the peas moist and prevent mold.
- Drain thoroughly to avoid waterlogged seeds, which can hinder sprouting.
- Monitor the temperature; warmer conditions speed up growth but can also increase spoilage risk.
- Be patient; the best sprouts take around 3-5 days to develop fully.
Following this schedule ensures that your peas sprout evenly, leading to vibrant, nutritious results.
Trust me, a little precision goes a long way in sprouting success!
Setting Up for Sprouting
When I set up for sprouting peas, I focus on selecting high-quality seeds that are specifically meant for sprouting.
I also gather essential equipment like a sprouting jar, mesh lid, and water for optimal results.
Finally, ensuring the right growing conditions, such as temperature and light, is crucial for successful sprouting.
Choosing the Right Seeds
Selecting the right seeds is crucial for a successful sprouting experience. I always choose high-quality, organic seeds to ensure healthy growth and maximum flavor.
Here’s what I look for when selecting my pea seeds:
- Organic Certification: I prefer seeds that are certified organic, free from pesticides and chemicals.
- Freshness: I check the packaging date; fresher seeds yield better germination rates.
- Variety: I consider different types of peas, such as snap, snow, or garden peas, based on my culinary preferences.
- Source: I buy from reputable suppliers to avoid issues with seed quality or contamination.
Necessary Equipment and Supplies
Gathering the right equipment and supplies is essential for sprouting peas effectively. Here’s what you’ll need:
| Equipment | Purpose |
|---|---|
| Mason jar | Holds the seeds during sprouting |
| Cheesecloth | Covers the jar for ventilation |
| Rubber band | Secures the cheesecloth on the jar |
| Watering can | Provides gentle watering |
With these items, I can ensure optimal conditions for germination. The mason jar allows for easy monitoring, while the cheesecloth prevents debris from entering but still enables air circulation. A rubber band is handy for securing the cloth, and a watering can helps me control moisture levels without flooding the seeds. Having these supplies ready makes the sprouting process smoother and more successful.
Ideal Growing Conditions
Creating the right environment for sprouting peas is crucial for successful germination. I’ve found that ensuring optimal conditions leads to vibrant, healthy sprouts.
Here are the key factors to consider:
- Temperature: Aim for a consistent range of 65-75°F (18-24°C) for quick sprouting.
- Moisture: Keep the peas evenly moist, but avoid waterlogging to prevent rot.
- Light: While sprouting doesn’t require direct sunlight, a well-lit area helps in the later stages.
- Air Circulation: Good airflow prevents mold and ensures a healthy environment for growth.
Maintaining Moisture and Temperature
While sprouting peas, it’s crucial to maintain the right moisture and temperature levels to ensure successful germination.
I keep my peas in a dark, warm spot, ideally between 65°F and 75°F, as this range promotes optimal sprouting. I monitor moisture closely; the peas should remain damp but not waterlogged.
I use a fine mist spray bottle to lightly moisten them several times a day. If I notice any excess water pooling, I drain it immediately to prevent mold growth.
Additionally, covering the peas with a damp cloth helps retain humidity while allowing for air circulation. Regular checks help me adjust conditions, ensuring my sprouts thrive without becoming too dry or overly saturated.
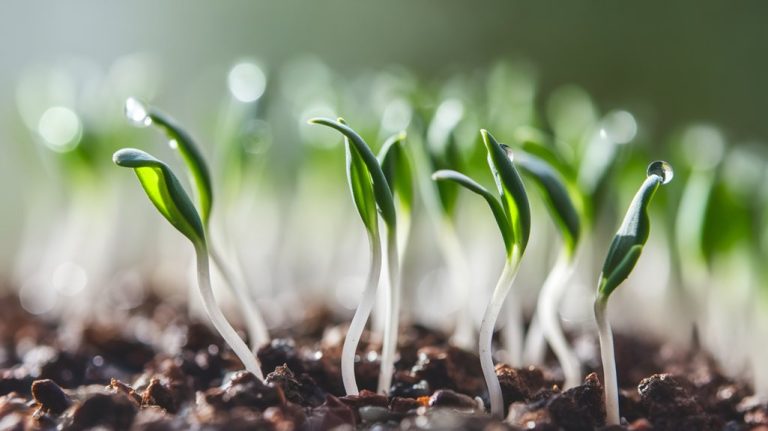
Harvesting Your Sprouts
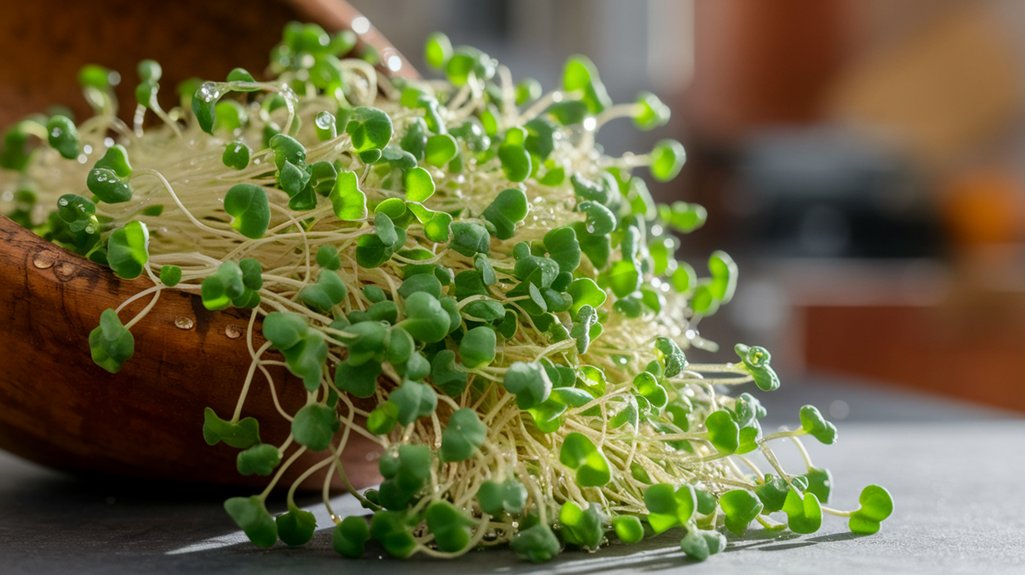
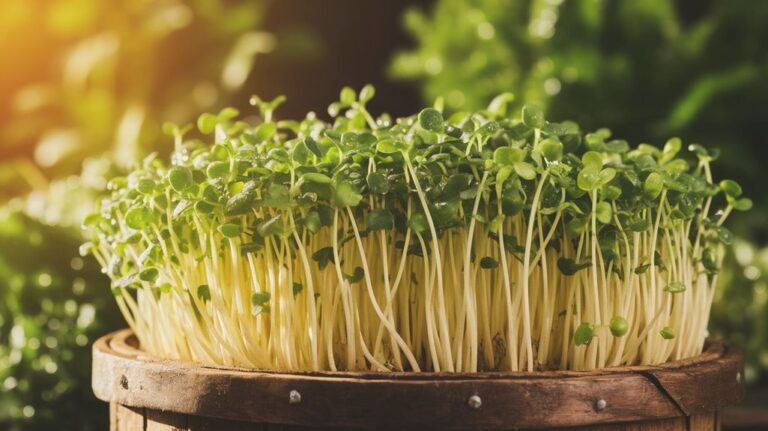
Once your pea sprouts have reached a height of about 2 to 3 inches, it’s time to harvest them for the best flavor and nutritional value.
I find this moment exciting, as fresh sprouts bring a burst of life to my meals. Here’s how I do it:
- Use clean scissors to cut the sprouts just above the soil line.
- Harvest in the morning for peak freshness and flavor.
- Rinse the sprouts gently to remove any debris.
- Enjoy them immediately for optimal taste, or add them to salads and sandwiches.
Be careful not to over-harvest, as leaving some sprouts will allow for continued growth.
The joy of eating your homegrown sprouts is unparalleled, bringing both satisfaction and nourishment to your table!
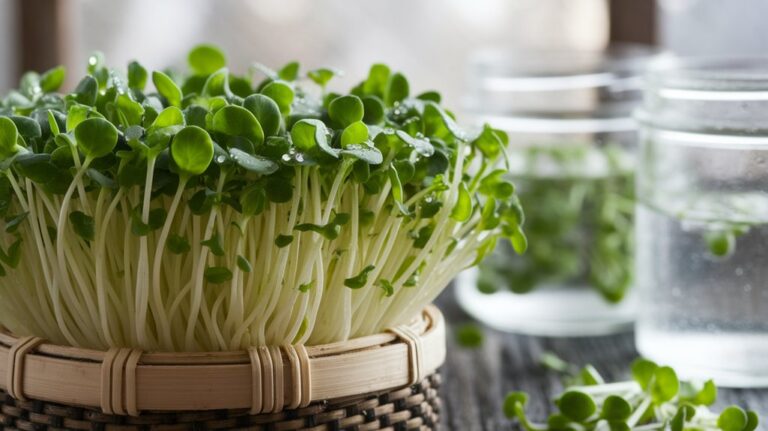
Storing Sprouted Peas
Properly storing sprouted peas is crucial for maintaining their freshness and nutritional benefits.
After harvesting, I rinse the sprouts gently under cool water, ensuring no debris remains. I then spin them in a salad spinner to remove excess moisture.
Once dried, I place the sprouts in a breathable container, like a glass jar or a perforated plastic bag, to prevent mold growth. I store them in the refrigerator, ideally at temperatures between 34°F and 40°F.
It’s best to consume them within five to seven days for optimal flavor and nutrition. If I notice any signs of spoilage, such as a slimy texture or off smell, I discard them immediately to avoid contamination of the remaining sprouts.
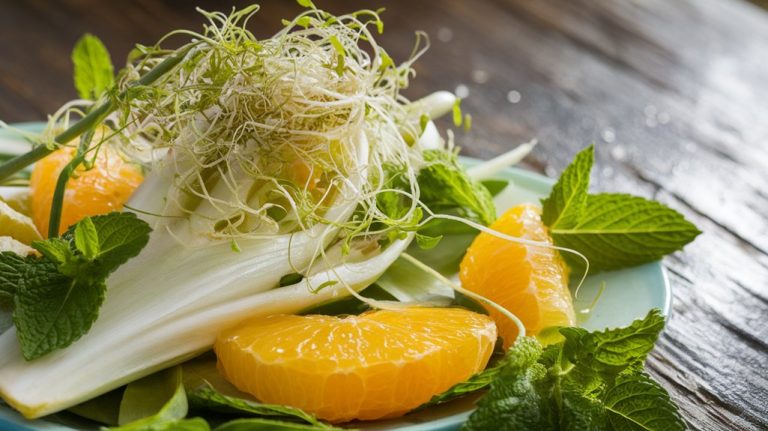
Incorporating Sprouted Peas Into Your Meals
After ensuring my sprouted peas are fresh and properly stored, I love to incorporate them into a variety of meals for added flavor and nutrition. Their crunchy texture and slightly sweet taste elevate dishes while packing a nutritional punch.
Here’s how I usually use them:
- Salads: I toss them into green salads for a delightful crunch.
- Stir-fries: They add vibrant color and nutrients when quickly sautéed with other vegetables.
- Sandwiches: I layer sprouted peas in wraps or sandwiches for an unexpected twist.
- Soups: They can enhance the flavor profile of soups, adding freshness and depth.
Not only do they boost meals, but they also provide essential vitamins and minerals. I can’t recommend them enough!
Frequently Asked Questions
Conclusion
In conclusion, sprouting peas is a rewarding process that enhances both nutrition and flavor. By carefully selecting the right peas and following the steps of soaking, draining, and maintaining optimal conditions, you can achieve healthy sprouts in just a few days. Once harvested, these vibrant sprouts can be easily incorporated into various meals, adding a delightful crunch and a boost of nutrients. With a bit of practice, you’ll enjoy fresh sprouted peas right from your kitchen.