How to Sprout Red Kale
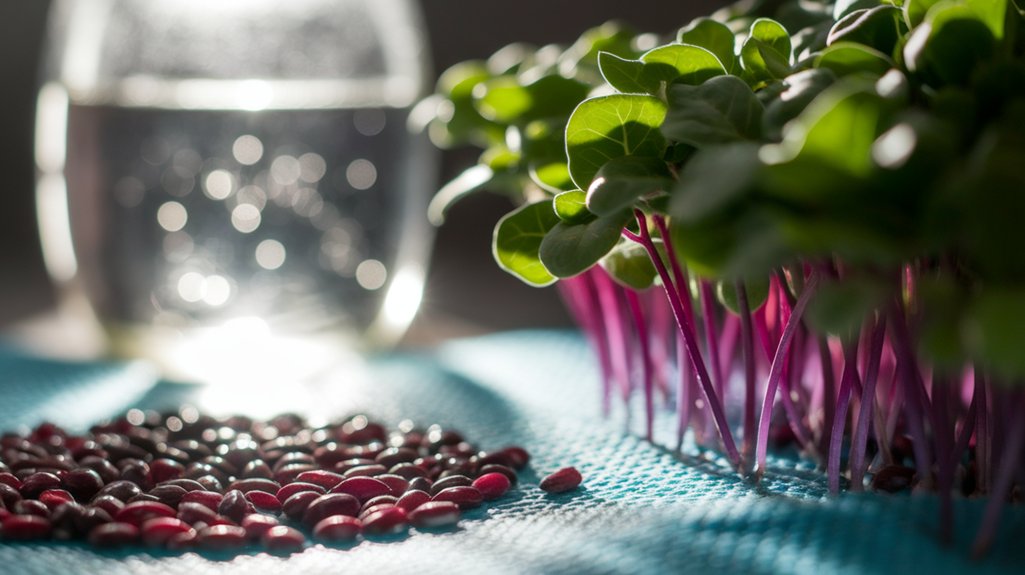
To sprout red kale, I start by selecting organic, non-GMO seeds with a high germination rate. I soak two tablespoons of seeds for 6-8 hours, then drain and place them in a sprouting jar. Keeping them in a warm, dark area for 3-5 days, I rinse them twice daily. Once they sprout, I move them to bright, indirect sunlight. I also make sure to maintain moisture and airflow. There’s even more to learn for the best results!
Key Takeaways
- Select organic, non-GMO red kale seeds with a germination rate of at least 85% and check for freshness and damage.
- Soak two tablespoons of seeds in water for 6-8 hours to start the germination process.
- Drain seeds and place them in a sprouting jar, keeping them in a warm, dark area for 3-5 days while rinsing twice daily.
- Once sprouts emerge, move them to a bright location with indirect sunlight and maintain consistent moisture.
- Incorporate red kale sprouts into salads, wraps, or sautéed dishes to enjoy their nutritional benefits.
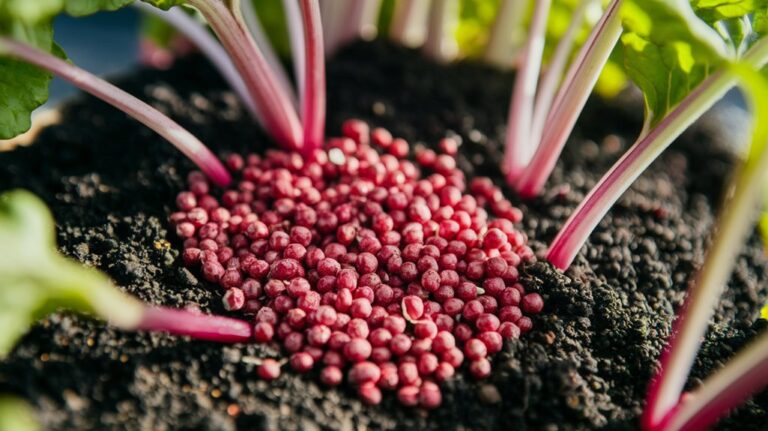
Selecting Quality Seeds for Sprouting Red Kale
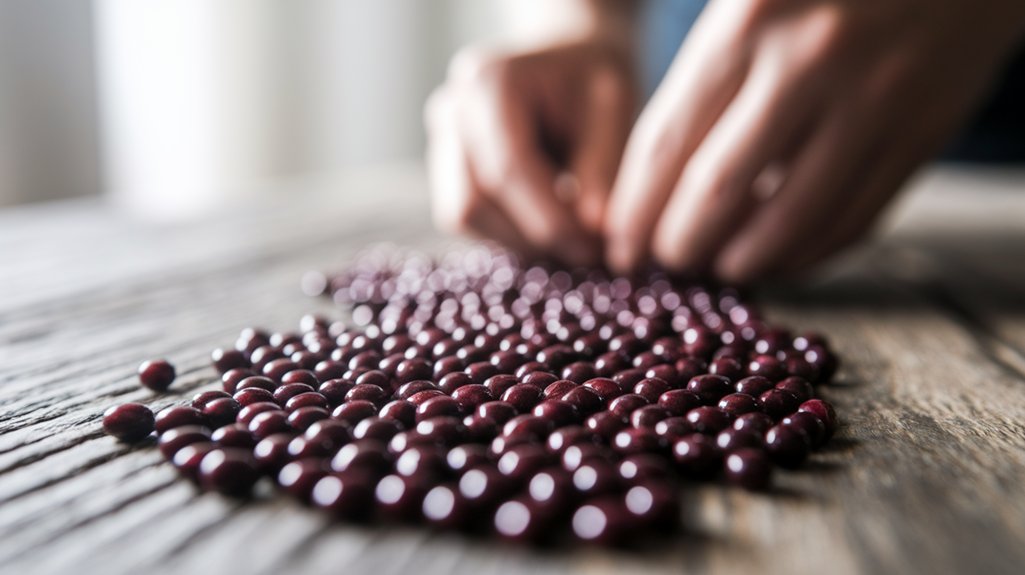
When I select seeds for sprouting red kale, I prioritize quality to ensure healthy growth and robust flavor. I look for organic, non-GMO seeds from reputable suppliers, as these often yield the best results.
Checking the germination rate on the seed packet is crucial; I aim for a minimum of 85% for optimal sprouting. Additionally, I consider the seed’s age, avoiding those that are more than a year old, as older seeds may have reduced viability.
I also inspect for any signs of damage or pests, ensuring the seeds are intact and free from contaminants. Lastly, I choose varieties known for their vibrant color and taste, as this enhances both aesthetics and culinary enjoyment in my dishes.
Preparing the Sprouting Environment
To successfully sprout red kale, I ensure the environment is optimal for germination and growth by focusing on several key factors. First, I maintain a consistent temperature between 65°F and 75°F. Second, I provide adequate moisture without oversaturation, as too much water can lead to mold. Lastly, I ensure good air circulation to prevent stagnation.
Here’s a quick overview of the necessary conditions:
| Factor | Requirement |
|---|---|
| Temperature | 65°F – 75°F |
| Moisture | Keep soil damp, not soggy |
| Air Circulation | Ensure good airflow |
Step-by-Step Sprouting Process
Starting the sprouting process for red kale involves several precise steps that I follow closely to ensure successful germination.
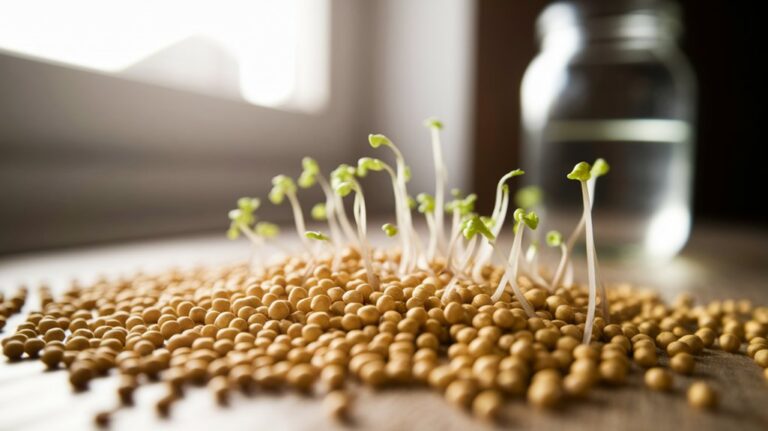
First, I measure out about two tablespoons of red kale seeds and rinse them under cool water. Next, I soak the seeds in water for 6-8 hours to initiate the germination process.
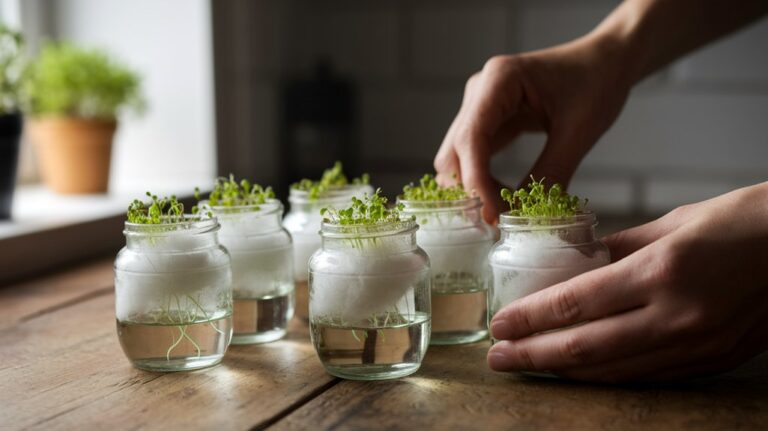
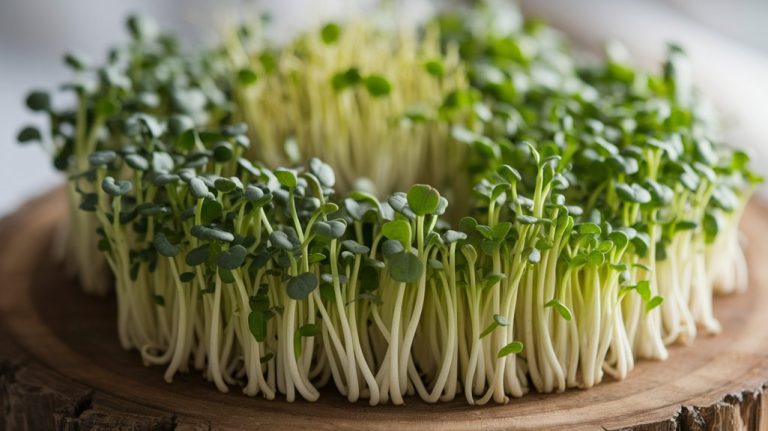
After soaking, I drain the seeds and place them in a sprouting jar or tray lined with a breathable cloth. I keep the seeds in a dark, warm area for 3-5 days, rinsing them with water twice daily to maintain moisture.
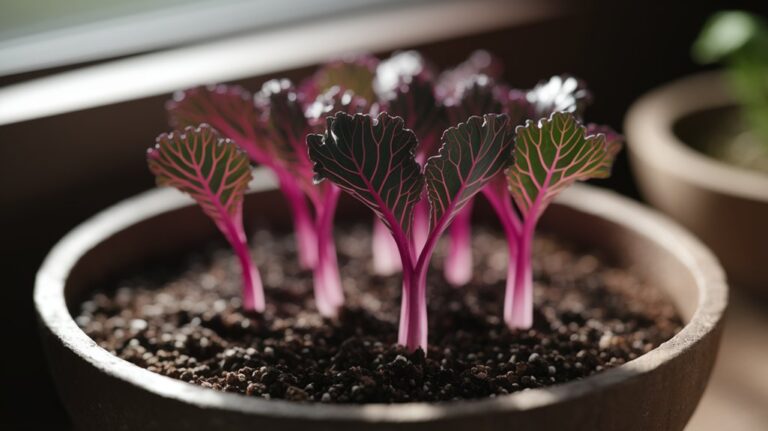
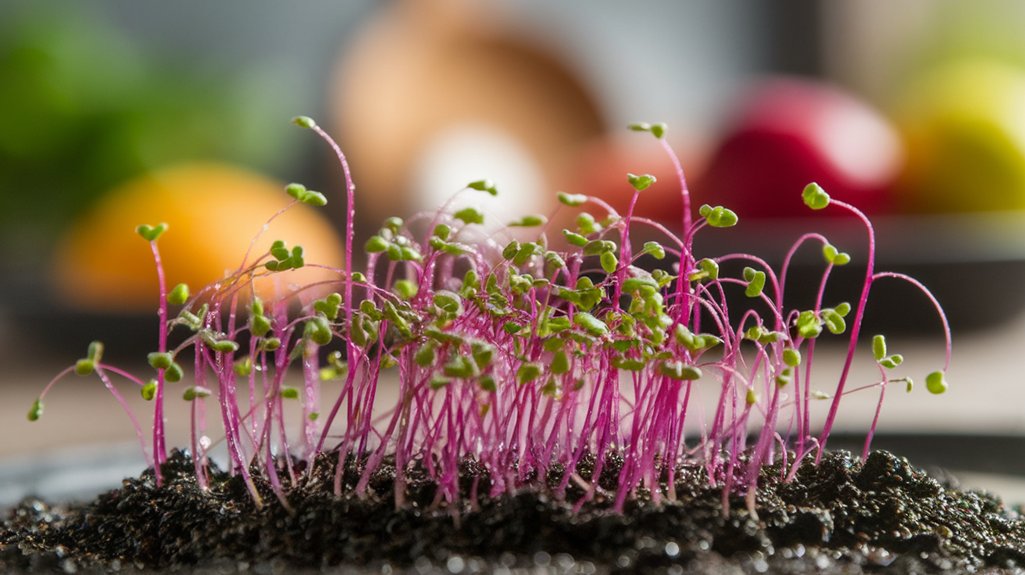
Once I see tiny sprouts emerging, I move them to a brighter location, ensuring they get indirect sunlight. This careful process sets the foundation for healthy, vibrant red kale sprouts.
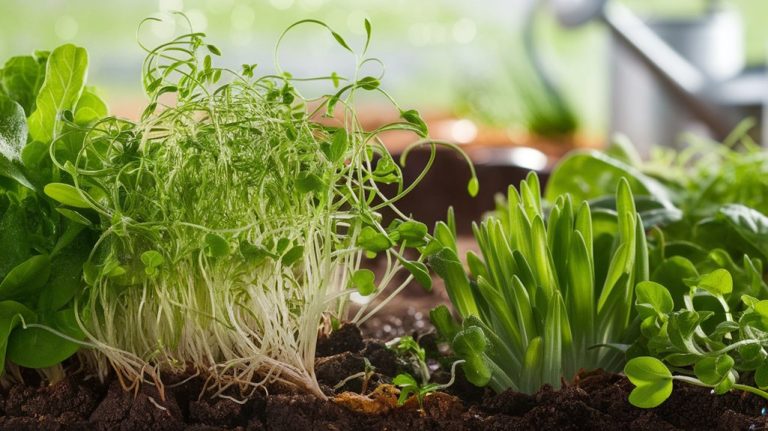
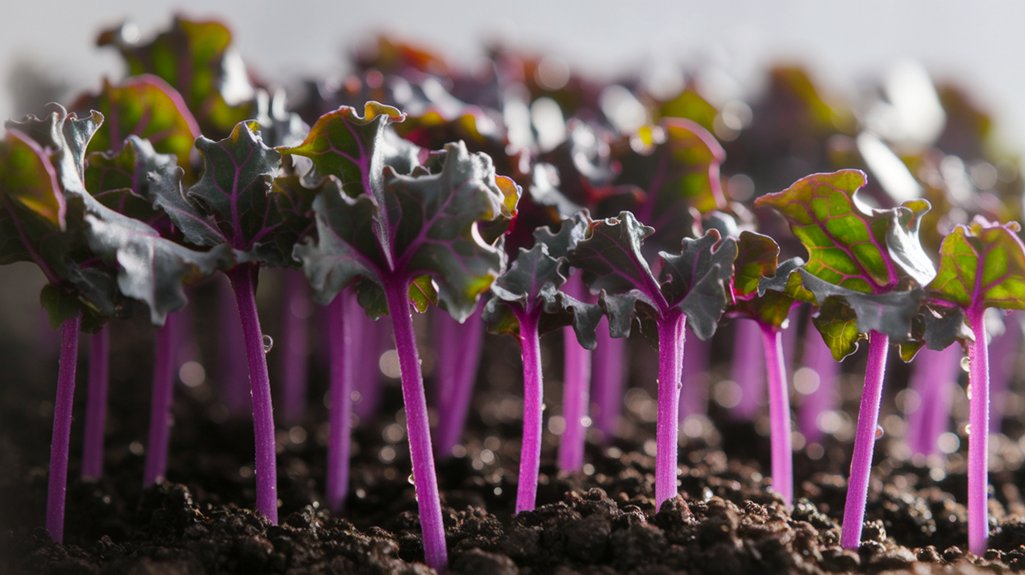
Caring for Your Red Kale Sprouts
Although sprouting red kale is a rewarding endeavor, proper care is essential to ensure the sprouts thrive.
I’ve found that maintaining the right environment significantly impacts their growth. Here are key aspects I focus on:
- Light: Provide bright, indirect sunlight for about 12 hours daily.
- Water: Keep the soil consistently moist but not waterlogged; misting works well.
- Temperature: Maintain a temperature between 60°F and 70°F (15°C to 21°C) for optimal growth.
- Air Circulation: Ensure good airflow to prevent mold and promote healthy growth.
Incorporating Red Kale Sprouts Into Your Meals
After nurturing your red kale sprouts with the right care, it’s time to enjoy the fruits of your labor in the kitchen.
I love incorporating these nutrient-packed sprouts into a variety of dishes. First, I toss them into salads for a crunchy texture and a peppery flavor. They’re also great in wraps, paired with hummus or avocado for a healthy snack.
When I’m in the mood for something warm, I sauté them lightly with garlic and olive oil, enhancing their taste while retaining their vibrant color.
I even sprinkle them over soups or grain bowls for an added nutritional boost.
Frequently Asked Questions
Conclusion
In conclusion, sprouting red kale is a rewarding endeavor that enhances both your meals and your nutrition. By selecting quality seeds, preparing the right environment, and following the step-by-step process, you can enjoy fresh, vibrant sprouts in just a few days. With proper care, your sprouts will flourish, providing a rich source of vitamins and minerals. So, don’t hesitate to incorporate these nutritious greens into your dishes for a delicious and healthful boost!