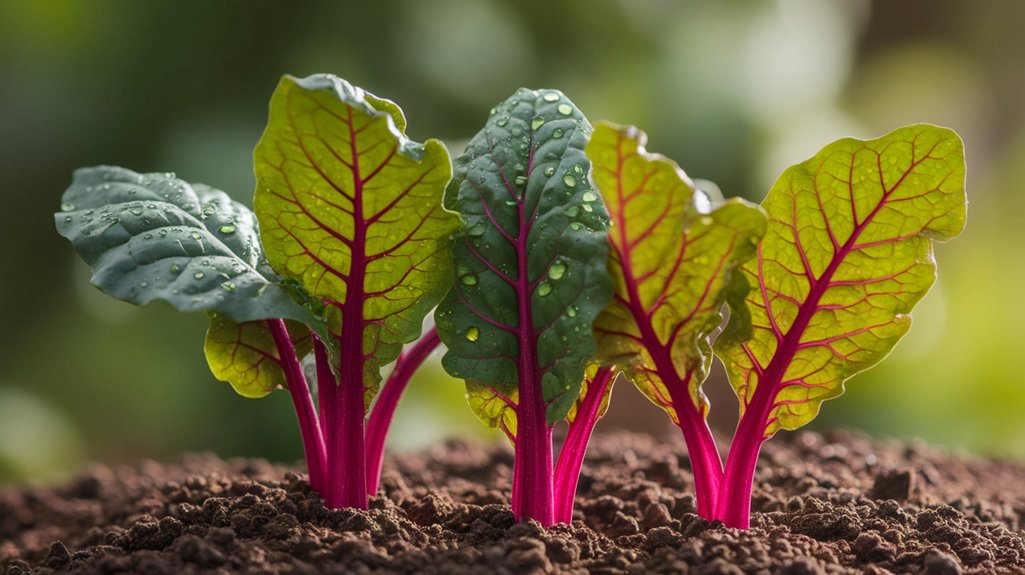
How to Sprout Red Swiss Chard
To sprout red Swiss chard, I start by selecting vigorous heirloom seeds. Next, I prepare well-draining soil with a pH between 6.0 and 7.0, adding organic matter for nutrients. Once that’s set, I plant the seeds about half an inch deep and 12 inches apart. I maintain consistent moisture, watering lightly daily until seedlings emerge. Ensuring they receive at least six hours of sunlight daily is crucial. If you’re curious about care and harvesting, I’ll guide you through that next.
Key Takeaways
- Select vibrant, robust Red Swiss Chard seeds, ensuring they are fresh for better germination and flavor.
- Prepare well-draining soil with a pH of 6.0 to 7.0, incorporating organic matter for nutrient enhancement.
- Plant seeds about half an inch deep and space them 12 inches apart for optimal growth and air circulation.
- Maintain consistent moisture during germination, watering lightly daily until seedlings emerge, then adjust to every 2-3 days.
- Provide full sun exposure, ensuring at least six to eight hours of direct sunlight daily for healthy growth.
Selecting the Right Seeds
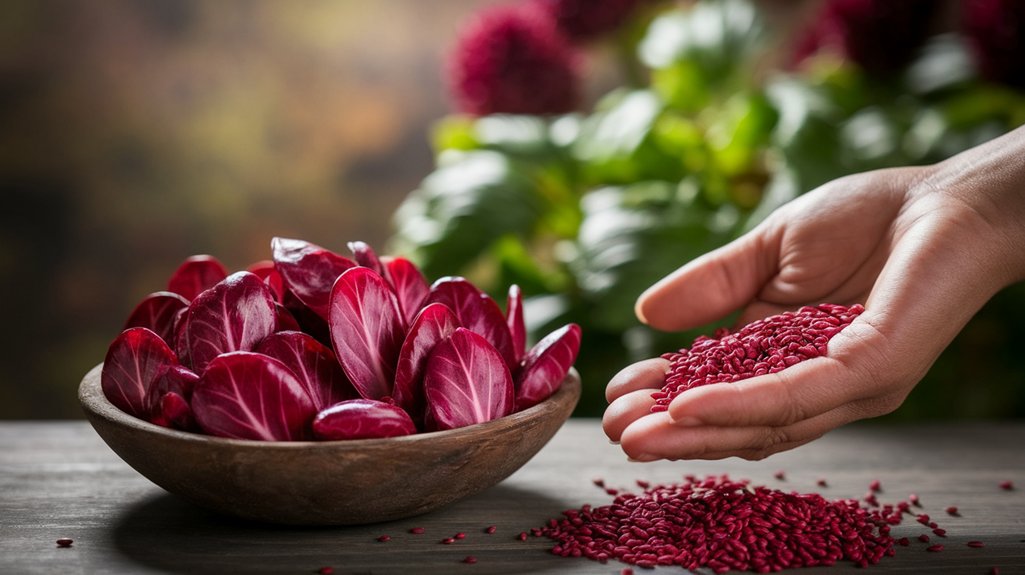
When it comes to sprouting red Swiss chard, the foundation lies in selecting the right seeds. I recommend choosing a variety known for its vibrant color and robust growth.
Look for heirloom or organic seeds, as they often provide better flavor and disease resistance. Pay attention to the seed packet for information on germination rates and days to maturity; these details can help you plan your planting schedule effectively.
I’ve found that fresh seeds yield better results, so avoid old stock. Additionally, consider the seed size; larger seeds can be easier to handle and plant accurately.
Once you’ve selected quality seeds, you’ll set yourself up for a successful sprouting experience with your red Swiss chard!
Preparing the Soil
Before planting red Swiss chard seeds, it’s essential to prepare the soil properly to ensure optimal growth. I start by selecting a well-draining area with full sun exposure, as Swiss chard thrives in these conditions.
Next, I test the soil pH, aiming for a range of 6.0 to 7.0, to create an ideal environment. If the pH is too low, I’ll amend it with lime; if it’s too high, sulfur can help lower it.
I then incorporate organic matter, like compost, to enhance nutrient content and improve soil structure. Tilling the soil to a depth of about 12 inches allows roots to penetrate easily.
Finally, I rake the surface smooth, ensuring a level seedbed for the next steps.
Planting the Seeds
When I plant red Swiss chard seeds, I always start by selecting high-quality seeds to ensure robust growth.
Next, I pay close attention to achieving ideal soil conditions, as chard thrives in well-draining, nutrient-rich soil.
Finally, I plant the seeds at the proper depth of about half an inch, giving them the best chance to sprout successfully.
Selecting Quality Seeds
Choosing quality seeds is crucial for successfully sprouting red Swiss chard. When I select seeds, I look for those that are certified organic and non-GMO to ensure I’m starting with the best genetic material.
I check the packaging for the germination rate; ideally, it should be above 80%. I also pay attention to the harvest date—fresher seeds tend to have higher viability.
It’s wise to avoid seeds that show signs of damage, discoloration, or mold, which can indicate poor storage conditions.
Finally, I prefer reputable brands known for their quality and consistency. By taking these steps, I set a solid foundation for my red Swiss chard sprouts, ensuring they’re healthy and robust right from the start.
Ideal Soil Conditions
To achieve successful sprouting of red Swiss chard, I focus on creating the ideal soil conditions that promote healthy growth.
First, I ensure the soil is well-draining, as red Swiss chard prefers loamy or sandy soil with good aeration. I aim for a pH level between 6.0 and 7.0, which allows for optimal nutrient uptake.
To enrich the soil, I mix in organic matter like well-rotted compost or aged manure, improving both its fertility and structure. Additionally, I keep the soil consistently moist but not soggy, as this helps prevent diseases.
I also avoid compacting the soil, allowing roots to spread easily. With these conditions in place, I’m set for successful sprouting of my red Swiss chard.
Proper Planting Depth
With the ideal soil conditions established, I turn my attention to the proper planting depth for red Swiss chard seeds. These seeds should be planted about ½ inch deep to ensure optimal growth. If you plant them too shallow, they’ll dry out, and if too deep, they may struggle to emerge. I recommend spacing the seeds around 12 inches apart to allow for proper air circulation.
Here’s a quick reference table for planting depth:
| Seed Type | Planting Depth | Spacing |
|---|---|---|
| Red Swiss Chard | ½ inch | 12 inches apart |
| Other Varieties | ¼ – 1 inch | 10 – 12 inches apart |
| Direct Sown Seeds | ½ – 1 inch | 12 inches apart |
| Transplants | ½ – 1 inch | 12 inches apart |
Watering and Caring for Your Chard
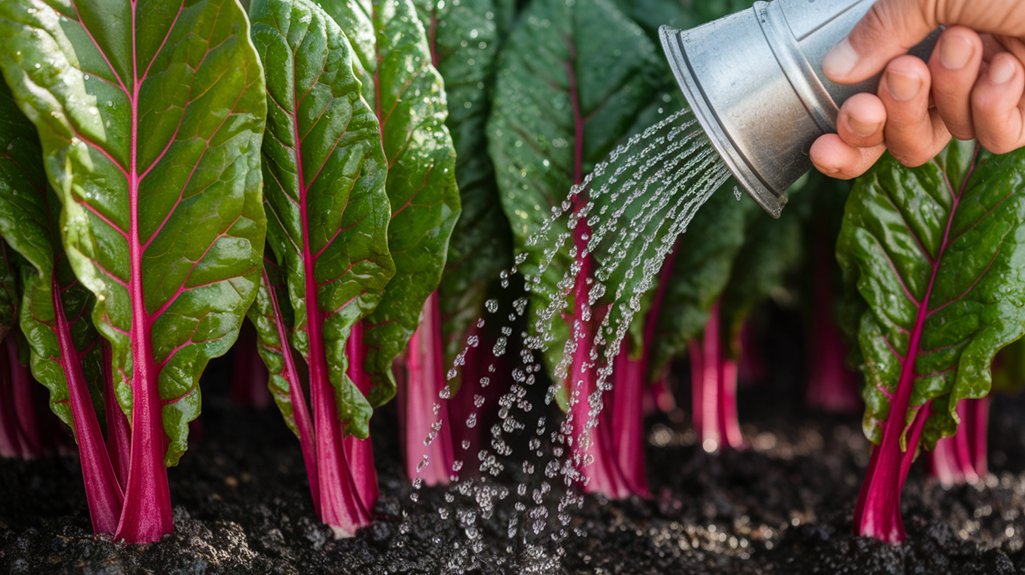
To ensure my red Swiss chard thrives, I focus on an optimal watering schedule that keeps the soil consistently moist but not waterlogged.
I regularly check the soil moisture, allowing it to dry slightly between waterings to promote healthy root development.
Optimal Watering Schedule
While sprouting red Swiss chard, maintaining an optimal watering schedule is crucial for its growth and health.
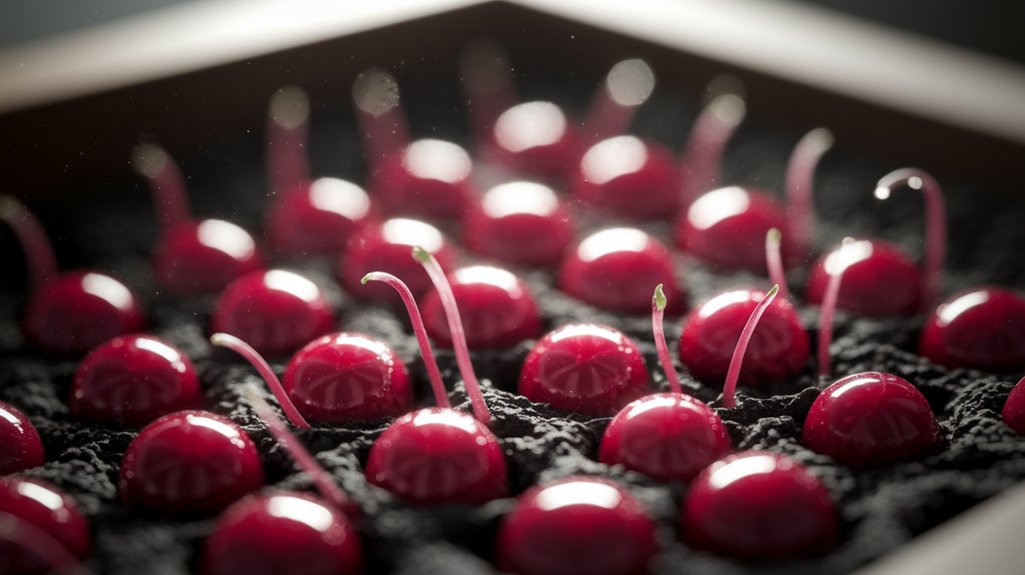
I’ve found that consistent moisture is key, especially during the germination phase. Initially, I water the seeds lightly every day, ensuring the soil remains damp but not soggy.
Once the seedlings emerge, I adjust my schedule to every 2-3 days, depending on weather conditions. If it’s particularly hot, I increase the frequency.
I always check the top inch of soil; if it feels dry, I water them. It’s essential to avoid water stress, as it can stunt growth.
Ultimately, my goal is to create a balanced environment that supports robust, healthy plants, ready for harvesting.
Soil Moisture Management
Managing soil moisture is essential for the health of your red Swiss chard, especially during its early growth stages. I recommend keeping the soil consistently moist but not waterlogged.
To achieve this, I check the top inch of soil regularly; if it feels dry, it’s time to water. Use a drip irrigation system or a gentle spray to avoid disturbing the delicate seedlings. During hotter months, I water more frequently, aiming for about 1 inch of water per week.
Additionally, adding a layer of mulch can help retain moisture and regulate soil temperature. As your chard matures, I adjust watering based on rainfall and soil conditions, ensuring the plants have the hydration they need without drowning their roots.
Managing Light and Temperature
As I’ve discovered through my own gardening experience, providing the right light and temperature conditions is crucial for sprouting red Swiss chard successfully.
Ideally, these plants thrive in full sun, receiving at least six to eight hours of direct sunlight daily. If you’re sprouting indoors, a grow light can effectively supplement natural light.
Temperature also plays a vital role; Swiss chard prefers a range of 60°F to 75°F. If temperatures drop below 50°F, germination can be delayed or hindered.
I recommend using a heat mat if you’re starting seeds in cooler conditions. Monitoring these factors closely will ensure your Swiss chard sprouts robustly and healthily, setting the stage for a successful growing season.
Harvesting Your Swiss Chard
Harvesting your Swiss chard at the right time is essential for enjoying its vibrant flavors and nutritional benefits. I typically wait until the leaves reach about 6 to 8 inches in height. Using a sharp knife or scissors, I cut the outer leaves, leaving the inner ones to continue growing. This method ensures I have a steady supply throughout the season. It’s important to harvest in the morning when the leaves are crisp and full of moisture. Here’s a quick guide:
| Leaf Size | Harvest Time | Flavor Profile |
|---|---|---|
| 4-6 inches | 30-40 days post-sowing | Mild and tender |
| 6-8 inches | 40-50 days post-sowing | Robust and sweet |
| 8+ inches | 50+ days post-sowing | Slightly bitter |
Storing and Using Your Fresh Chard
Once you’ve harvested your Swiss chard, it’s crucial to store it properly to maintain its freshness and nutritional value.
I typically rinse the leaves under cold water to remove any dirt, then gently pat them dry with a clean kitchen towel.
To store, I place the chard in a perforated plastic bag or wrap it in a damp paper towel, ensuring it’s in the crisper drawer of my refrigerator. This helps retain moisture while preventing rot.
When using fresh chard, I often sauté it with garlic and olive oil or add it to salads for a nutrient boost.
Frequently Asked Questions
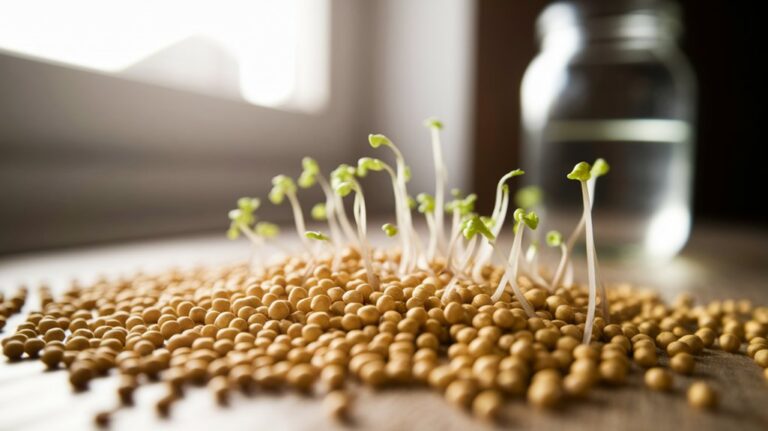
How Long Does It Take for Red Swiss Chard to Sprout?
When I’m growing red Swiss chard, I usually find that it takes about 7 to 14 days for the seeds to sprout, depending on the conditions.
I keep the soil consistently moist and maintain a temperature around 65 to 75°F for optimal germination.
If I ensure good drainage and provide enough light, I can expect those vibrant seedlings to emerge within that timeframe, giving me a promising start to my gardening project.
Can I Grow Red Swiss Chard Indoors?
Absolutely, you can grow red Swiss chard indoors! I’ve done it myself, and it thrives well in containers.
Just ensure you provide ample sunlight—ideally, at least 6 hours a day. Use a nutrient-rich potting mix and keep the soil consistently moist but not soggy.
I recommend using grow lights if natural light is insufficient. With proper care, you’ll enjoy fresh chard right from your windowsill in no time!
What Pests Are Common With Red Swiss Chard?
When I grow red Swiss chard, I often encounter a few common pests.
Aphids, which suck sap from the leaves, are frequent visitors. I’ve also seen leaf miners, whose larvae create unsightly tunnels in the foliage.
Additionally, slugs and snails love to munch on the tender leaves.
To manage these pests, I regularly inspect my plants, maintain good garden hygiene, and sometimes use organic treatments to keep them at bay.
Is Red Swiss Chard Frost-Tolerant?
Yes, red Swiss chard is indeed frost-tolerant.
I’ve found that it can survive light frosts and even thrive in cooler temperatures, making it a great choice for early spring or fall gardens.
When temperatures drop, the leaves may get sweeter, enhancing their flavor.
However, I’ve noticed that prolonged exposure to hard freezes can damage the plant, so I always keep an eye on the weather to protect my crops if necessary.
Can I Save Seeds From My Red Swiss Chard?
Yes, you can save seeds from your red Swiss chard!
I’ve done it myself, and it’s quite straightforward. Allow the plants to flower and go to seed, then wait for the seed heads to dry on the stalks.
Once they’re dry, I simply cut them off and store them in a paper bag.
Make sure to label them with the date, and keep them in a cool, dark place for future planting.
Conclusion
In conclusion, sprouting red Swiss chard is a rewarding experience that requires careful attention to detail. By selecting quality seeds, preparing your soil properly, and providing the right conditions for growth, you can enjoy a bountiful harvest. Remember to water consistently and manage light and temperature for optimal results. Once ready, harvesting and storing your chard allows you to savor its fresh flavor in a variety of dishes. With these steps, you’ll cultivate healthy and vibrant chard in no time.