How to Sprout Turnip
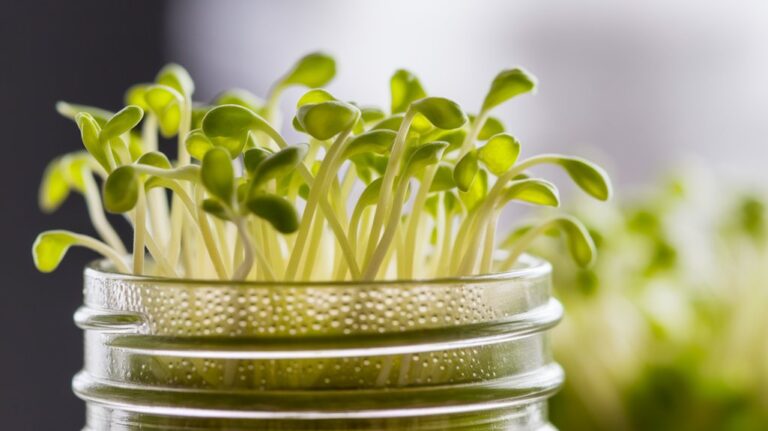
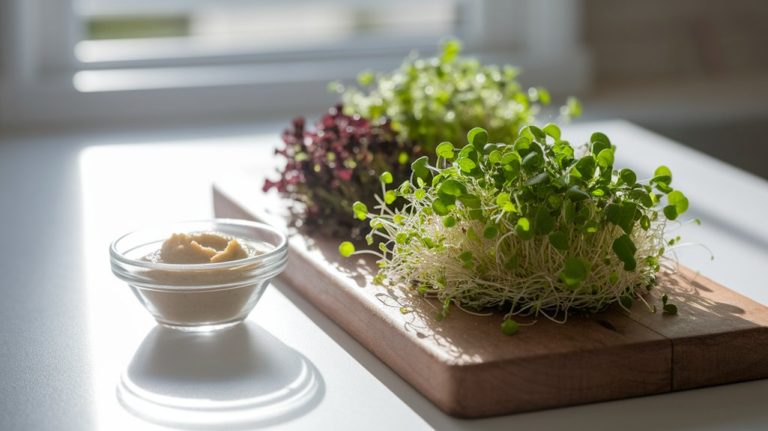
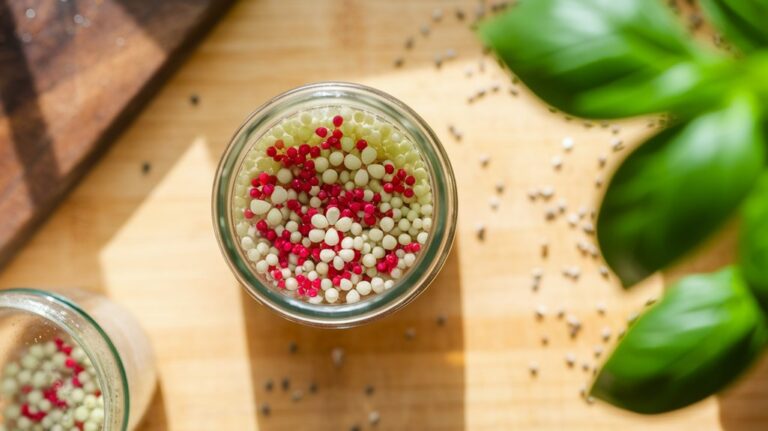
To sprout turnip seeds, I soak them for a few hours to kickstart germination. Then, I place the seeds in a sprouting jar, keeping them warm, dark, and well-ventilated. I rinse them daily to prevent mold and ensure good drainage. Within a week, they start to sprout. Once they reach the desired length, I enjoy them in salads or sandwiches. Want to know more about caring for your sprouts and harvesting? Keep exploring!
Key Takeaways
- Soak turnip seeds in water for several hours before planting to enhance germination.
- Place soaked seeds in a sprouting jar or tray in a warm, dark area.
- Rinse seeds daily to prevent mold and ensure proper drainage.
- Monitor temperature and provide adequate airflow to promote healthy sprout growth.
- Harvest sprouts when they reach the desired length for culinary use.
Understanding Turnip Seeds
When I first started sprouting turnip seeds, I was amazed by how simple the process can be. Understanding turnip seeds is essential for success.
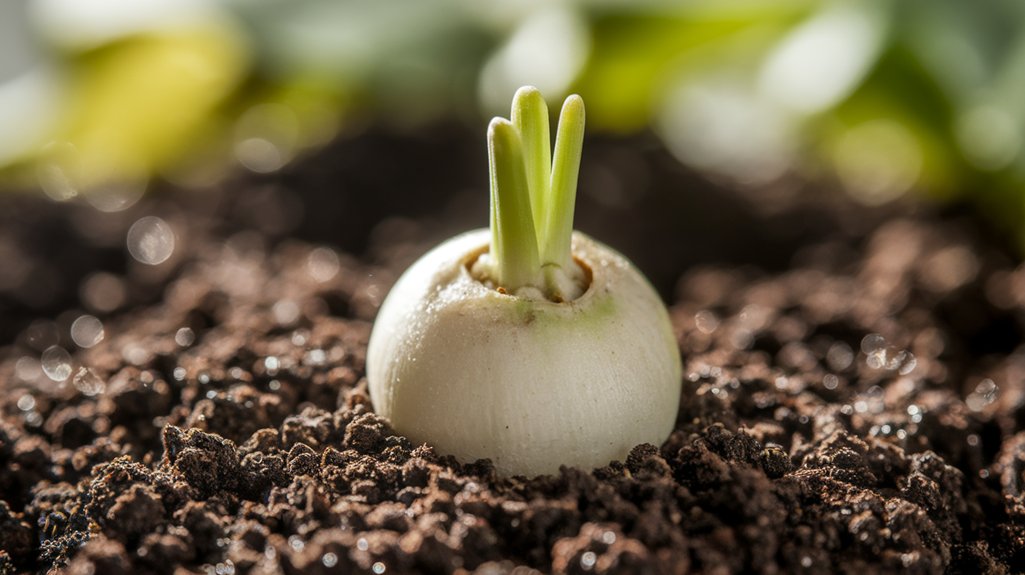
These seeds are tiny, round, and usually brown or black, with a hard outer coating that requires proper moisture for germination. I learned that the ideal temperature for sprouting is around 65 to 75°F (18 to 24°C). It takes about 5 to 10 days for the seeds to sprout, depending on conditions.
I found soaking the seeds for a few hours before planting enhances germination. Turnips are cool-season crops, meaning they thrive in spring or fall.
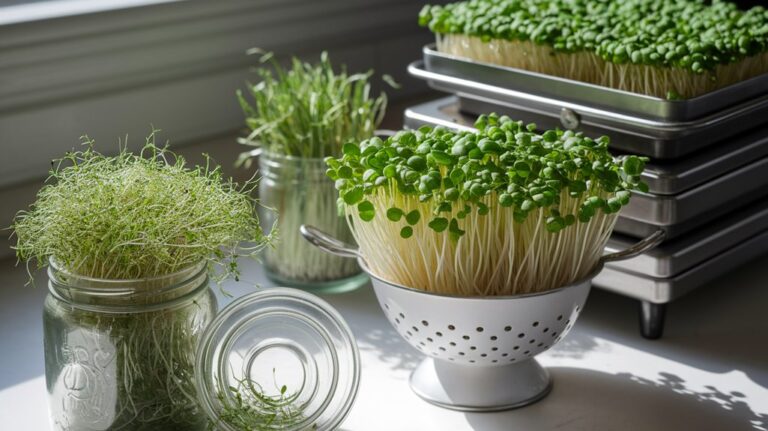
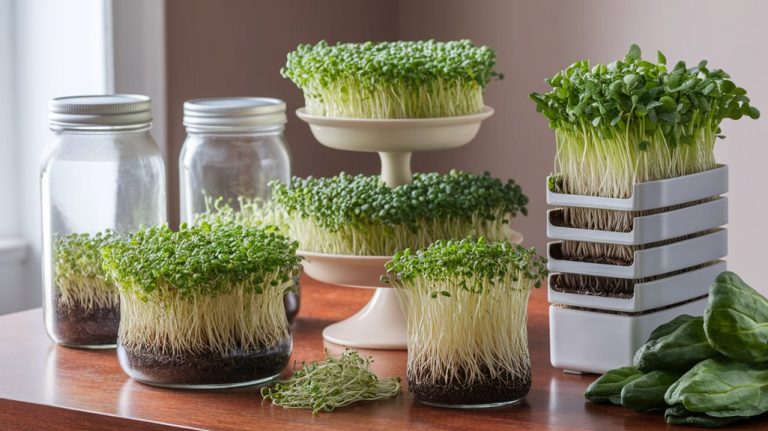
Choosing the Right Container
After grasping the basics of turnip seeds, the next step is to select the right container for sprouting.
Choosing the appropriate container can significantly impact the growth of your seeds. Here are a few options I’ve found effective:
- Seed trays: They’re perfect for starting multiple seeds at once and have good drainage.
- Peat pots: These are biodegradable and allow for easy transplanting without disturbing the roots.
- Plastic containers: If you’re reusing them, just ensure they’ve drainage holes to prevent waterlogging.
Make sure your container is clean and suitable for the seeds’ needs.
By carefully selecting a container, you set the stage for a successful sprouting process.
Happy planting!
Preparing the Soil

To successfully sprout turnips, preparing the soil is crucial for optimal seed growth. First, I choose a well-draining soil mix, ideally rich in organic matter. I often blend in compost to enhance fertility and ensure the soil remains loose and aerated.
Before planting, I’ll test the soil pH; turnips prefer a slightly acidic to neutral range of 6.0 to 7.0. If needed, I add amendments like lime or sulfur to adjust the pH.
It’s also important to remove any weeds or debris, as they can compete with your turnips for nutrients. Finally, I gently rake the soil to create a smooth, even surface. This preparation sets the stage for healthy, robust turnip seedlings.
Planting the Turnip Seeds
Planting turnip seeds is a straightforward process that sets the foundation for a successful crop.
I find it essential to choose the right time and method for planting. Here’s how I do it:
- Select a sunny spot: Turnips thrive in full sun, so I pick an area that gets at least six hours of sunlight daily.
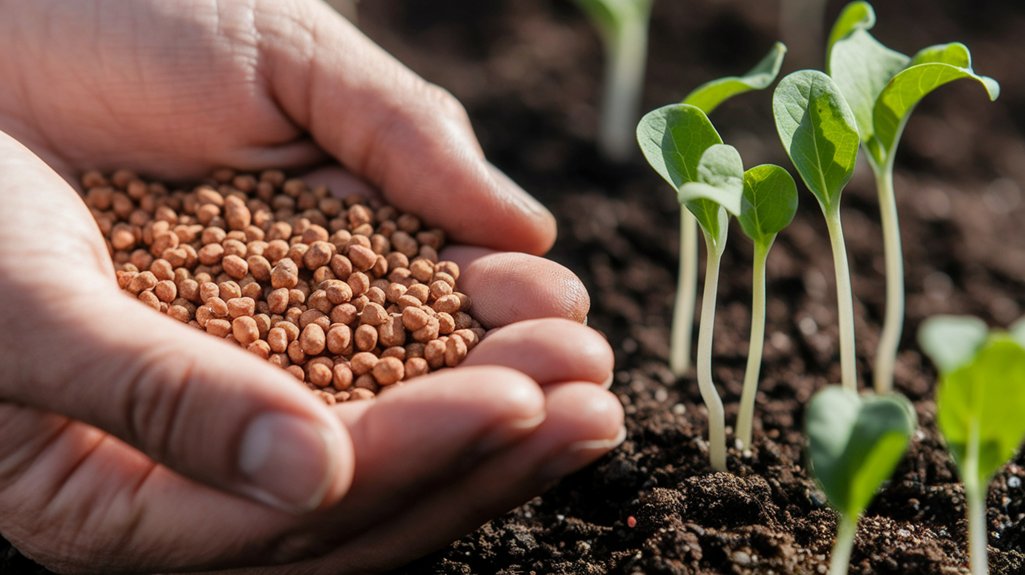
- Sow seeds: I plant the seeds about half an inch deep and spaced a couple of inches apart to allow for growth.
- Cover lightly: After sowing, I gently cover the seeds with soil and pat it down to ensure good contact.
This method ensures that my turnips have the best chance to sprout and grow into healthy plants.
Happy planting!
Watering and Care
When it comes to watering turnips, I’ve found that maintaining a consistent schedule is key.
It’s crucial to keep the soil evenly moist, but not waterlogged, to encourage healthy growth.
Let’s explore how to manage soil moisture effectively for the best results.
Optimal Watering Schedule
Although I’m eager to see my turnips thrive, I know that establishing the right watering schedule is crucial for their growth.
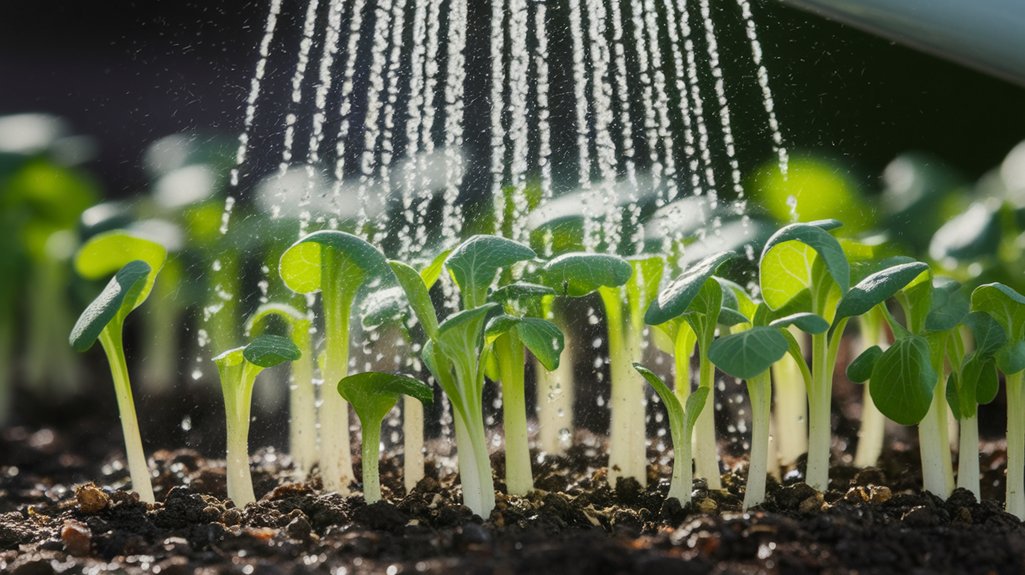
I’ve found that consistent, even moisture helps the seeds germinate and the plants develop properly. Here’s what I follow for an optimal watering schedule:
- Water regularly: I aim to water my turnips every 3-4 days, adjusting based on rainfall.
- Check the weather: If it’s particularly hot or windy, I increase watering frequency to keep the soil moist.
- Time of day: I prefer watering in the morning, allowing any excess moisture to evaporate and reducing the risk of disease.
Soil Moisture Management
To ensure my turnips flourish, managing soil moisture effectively is essential. I start by checking the soil’s moisture level regularly; it should feel like a damp sponge.
If it’s too dry, I water them deeply to encourage root growth. However, I avoid overwatering, as soggy soil can lead to rot. I’ve found that mulching around the plants helps retain moisture while suppressing weeds.
During dry spells, I set a consistent watering schedule, aiming for about an inch of water per week. I also pay attention to the weather; if rain’s in the forecast, I adjust my watering accordingly.
Monitoring Growth
Monitoring the growth of your turnip sprouts is crucial for ensuring they develop healthily. I often check on them daily, observing how they change.
Here are a few key aspects I focus on:
- Leaf Development: I look for vibrant, green leaves, which indicate healthy growth.
- Height: I measure the sprouts to track their progress and ensure they’re growing steadily.
- Soil Condition: I examine the soil to ensure it remains moist, as dry soil can stunt growth.
Harvesting Sprouted Turnips
When it comes to harvesting sprouted turnips, timing is crucial for the best flavor and texture.
I’ll share tips on how to identify when your turnips are mature and the most effective techniques and tools to use for a successful harvest.
Let’s get ready to enjoy the fruits of your labor!
Optimal Harvest Timing
As I observe my sprouted turnips, I know that timing is crucial for achieving the best flavor and texture.
I’ve learned to keep an eye on a few key indicators when deciding when to harvest:
- Size: Turnips should reach about the size of a golf ball for optimal taste.
- Color: A vibrant purple or white skin indicates they’re ready, while dull colors suggest they need more time.
- Firmness: Gently squeeze the turnips; they should feel firm and not soft.
Identifying Mature Turnips
To ensure I harvest my turnips at their peak, I always look for specific signs of maturity. First, I check the size; mature turnips typically reach about two to three inches in diameter.
A quick dig around the base helps me see their color, which should be vibrant and uniform. I also observe the greens; healthy, green leaves indicate that the turnips are still growing well. If the leaves start to yellow, it’s a sign they’re ready for harvest.
Additionally, I gently press the soil around them—firmness suggests they’ve reached maturity. Timing is crucial, so I try to harvest before they become too large or woody, ensuring that every turnip is tender and delicious.
Harvesting Techniques and Tools
Harvesting sprouted turnips requires the right techniques and tools to ensure a successful yield. When I’m ready to harvest, I make sure I’ve everything I need on hand.
Here are the essentials:
- Garden fork or spade: This helps loosen the soil around the turnips without damaging them.
- Gloves: Protecting my hands is key, especially when dealing with dirt and potential thorns.
- Basket or container: It’s crucial to have something to collect the harvest in, keeping them safe and intact.
I gently lift the turnips from the ground, taking care not to bruise them.
After harvesting, I rinse them under cool water to remove any soil.
With the right approach, my turnips are ready for the kitchen!
Enjoying Your Turnip Greens
Turnip greens are a delicious and nutritious addition to any meal, and I often find myself searching for new ways to enjoy them. One of my favorite methods is sautéing them with garlic and olive oil; it enhances their natural flavors beautifully.
I also love tossing them into soups or stews for added texture and nutrients. If I’m in the mood for something lighter, I’ll chop them up for a fresh salad, pairing them with citrus vinaigrette.
Another great option is to steam the greens and sprinkle them with a bit of lemon juice and salt.
No matter how I prepare them, turnip greens always bring a delightful crunch and a burst of flavor to my dishes, making them a staple in my kitchen.
Frequently Asked Questions
Conclusion
Now that you know how to sprout turnips, it’s time to enjoy the fruits of your labor. By choosing the right seeds, preparing your soil, and caring for your plants, you’ll soon see your turnips thrive. Don’t forget to savor those delicious greens along the way! With a little patience and attention, you’ll be rewarded with a bountiful harvest that adds flavor to your meals and satisfaction to your gardening journey. Happy planting!