How to Sprout Yellow Pea
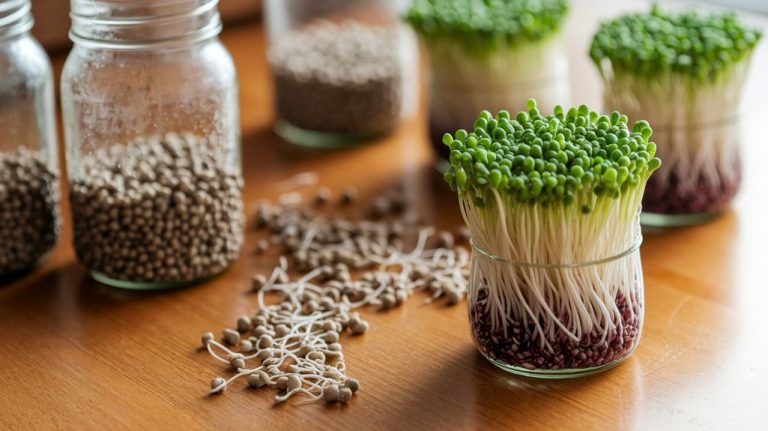
To sprout yellow peas, I start by selecting high-quality, organic seeds and rinse them thoroughly. Next, I soak these peas in cool water for 8 to 12 hours, changing the water halfway. After draining, I place the peas in a warm area with indirect light, rinsing them every 8-12 hours to keep them moist. Once they sprout, I can harvest them using scissors or a knife. There’s plenty to explore about incorporating these nutritious sprouts into meals!
Key Takeaways
- Select high-quality, organic yellow peas labeled for sprouting, avoiding damaged or split seeds for optimal growth.
- Soak the peas in cool water for 8 to 12 hours, changing the water halfway through for freshness.
- Rinse soaked peas thoroughly and drain excess moisture using a fine mesh strainer or colander.
- Maintain a temperature of around 70°F (21°C) with bright, indirect light and moderate humidity for best sprouting conditions.
- Harvest sprouts using scissors or a knife, rinse them well, and store in an airtight container in the refrigerator for 3 to 5 days.
Choosing the Right Yellow Peas
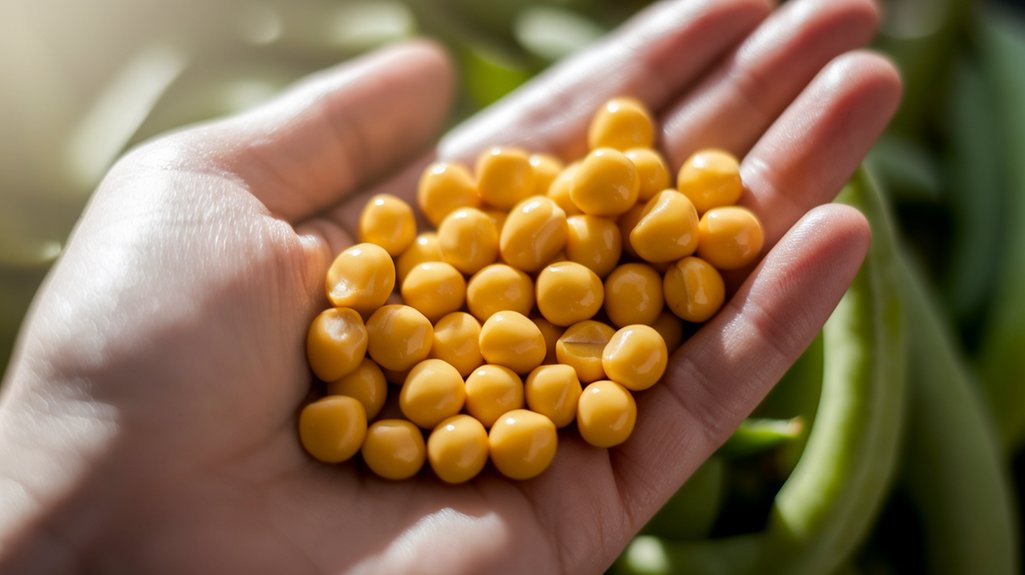
When I set out to sprout yellow peas, I always start by choosing the right variety. It’s crucial to select high-quality, organic seeds, as they tend to have a higher germination rate and better flavor.
I prefer the smooth, round yellow peas, specifically the ones labeled for sprouting. They’re less likely to harbor disease and provide consistent results. I avoid split or damaged seeds, as these can affect the overall growth and taste.
Additionally, I check for any signs of mold or discoloration, which can indicate poor quality. By taking the time to choose the right variety, I’m setting myself up for a successful sprouting experience, ensuring vibrant, nutritious sprouts that can enhance my meals.
Preparing the Seeds for Sprouting
How do I prepare yellow peas for sprouting?
First, I gather high-quality yellow peas, ensuring they’re free from any damage or debris.
Next, I rinse the peas thoroughly under cool running water to remove any dust or impurities. This step is crucial, as clean seeds promote healthy sprouting.
Once rinsed, I check for any discolored or shriveled peas, discarding those that don’t meet quality standards.
After that, I let the peas dry briefly on a clean towel. This helps prevent mold during the sprouting process.
Finally, I store the prepared yellow peas in a breathable container until I’m ready to soak them.
This preparation sets the stage for successful sprouting, ensuring vibrant, nutritious shoots.
Soaking the Peas
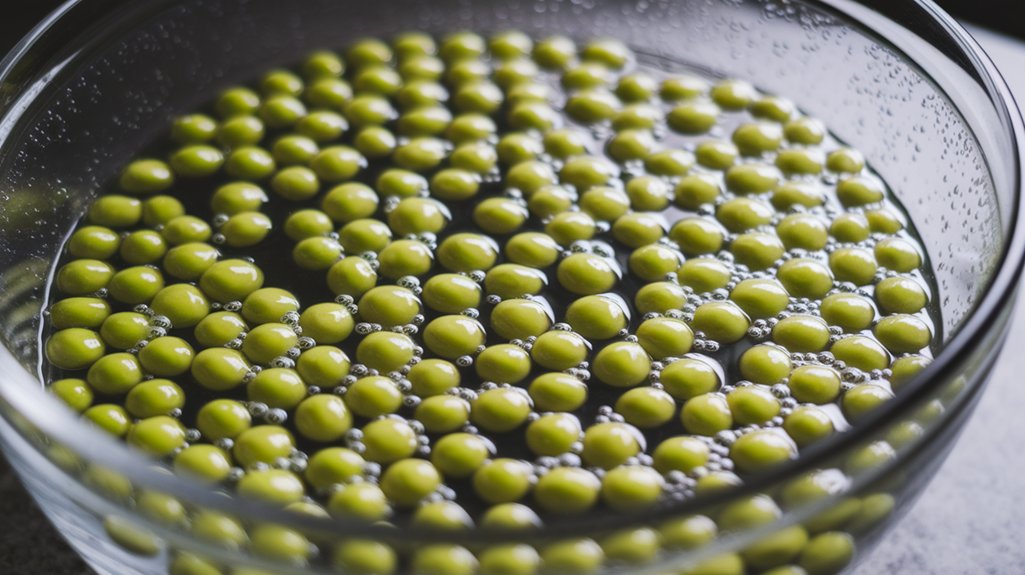
Soaking the peas is a crucial step in the sprouting process, and I recommend aiming for a duration of about 8 to 12 hours.
Using cool water—around 60 to 70°F—can make a significant difference in activating the seeds without compromising their viability.
Let’s explore how these factors influence the sprouting success of yellow peas.
Ideal Soaking Duration
To achieve optimal sprouting, I’ve found that soaking yellow peas for about 8 to 12 hours works best. This duration allows the peas to absorb enough water, activating the enzymes necessary for germination. If soaked for too long, they can become mushy, which isn’t ideal for sprouting. On the flip side, soaking for less than 8 hours may not provide sufficient hydration.
Here’s a quick reference table for soaking durations:
| Soaking Duration | Effects | Recommendation |
|---|---|---|
| 6 hours | Insufficient hydration | Not recommended |
| 8-12 hours | Optimal for sprouting | Best practice |
| 14+ hours | Risk of mushiness and rot | Avoid if possible |
Water Temperature Tips
When it comes to soaking yellow peas, the water temperature plays a crucial role in the germination process.
I’ve found that using lukewarm water—around 70°F to 80°F (21°C to 27°C)—can significantly enhance the soaking experience. This temperature range encourages faster absorption and activates enzymes that promote sprouting.
If the water’s too cold, the peas may take longer to soak and germinate, while excessively hot water can damage the seeds.
I usually let the peas soak for about 8 to 12 hours, and I change the water halfway through to keep it fresh.
Draining and Rinsing the Peas
Now that we’ve soaked our yellow peas, it’s crucial to properly drain and rinse them to ensure optimal sprouting.
I’ll explain effective techniques for draining and highlight how frequently you should rinse the peas to keep them healthy and free from mold.
Let’s get into the details to maximize your sprouting success!
Importance of Rinsing
Rinsing yellow peas is crucial for ensuring they sprout successfully and remain free from contaminants. By rinsing, I remove dust, debris, and any potential mold that could hinder growth. It also helps to hydrate the peas, prepping them for optimal sprouting.
Here’s a quick overview of the rinsing benefits:
| Benefit | Description |
|---|---|
| Removes Contaminants | Cleans off dust and bacteria |
| Promotes Hydration | Prepares peas for effective sprouting |
| Enhances Germination Rate | Increases the likelihood of successful sprouts |
Incorporating rinsing into my routine not only improves the quality of my sprouts but also makes the process more enjoyable. So, don’t skip this essential step!
Draining Techniques Explained
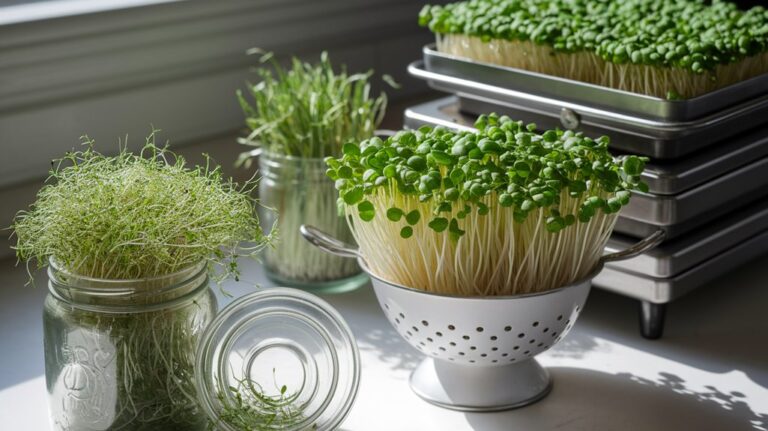
After rinsing, the next important step is effectively draining the yellow peas to promote healthy sprouting.
I usually start by placing the rinsed peas in a fine mesh strainer or colander, allowing gravity to do its work. It’s crucial to let them sit for about 10-15 minutes; this helps remove excess moisture that can lead to mold.
To ensure thorough drainage, I gently shake the strainer a couple of times, redistributing the peas for even moisture loss. If I’m sprouting in a jar, I’ll tilt it at an angle, allowing any remaining water to escape.
Proper drainage is essential, as soggy peas won’t sprout effectively. Once drained, I can move on to the next steps in my sprouting journey.
Frequency of Rinsing
Maintaining a consistent rinsing schedule is key to successful sprouting of yellow peas. I’ve found that rinsing them properly prevents mold and keeps them hydrated for optimal growth.
Here’s how I manage the rinsing process:
- Rinse Frequency: Rinse your peas every 8-12 hours, ensuring they stay moist but not waterlogged.
- Duration: Each rinsing session should last about 1-2 minutes to wash away any debris.
- Draining: After rinsing, drain the excess water thoroughly to prevent sogginess.
- Temperature: Use cool, filtered water to avoid shocking the peas and to promote healthy sprouting.
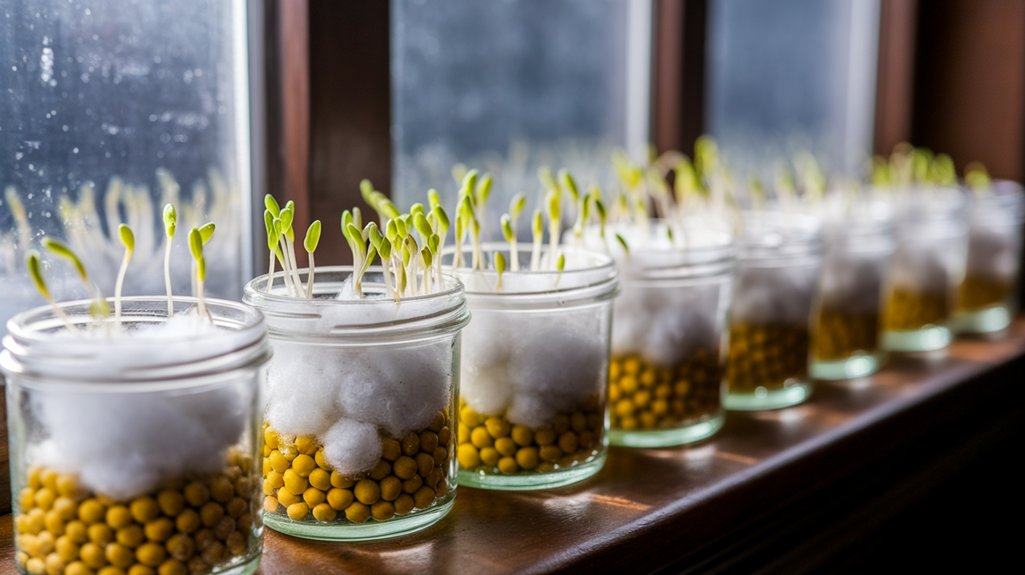
Creating the Ideal Sprouting Environment
Creating the perfect environment for sprouting yellow peas is crucial for successful growth. To ensure your peas thrive, consider factors like light, temperature, and moisture. I typically aim for a consistent temperature around 70°F (21°C) and moderate humidity. Proper light exposure encourages healthy sprouts, so a bright, indirect light source works best.
Here’s a quick reference table to help you visualize the ideal conditions:
| Factor | Ideal Condition | Notes |
|---|---|---|
| Temperature | 70°F (21°C) | Consistent warmth |
| Light | Bright, indirect light | Avoid direct sunlight |
| Humidity | Moderate | Keep moist, not soggy |
| Airflow | Good circulation | Prevent mold growth |
Monitoring the Growth
As I monitor the growth of my yellow peas, I pay close attention to their development stages, which can be both fascinating and rewarding.
Each stage offers insights into their health and readiness. Here are four key aspects I focus on:
- Germination Rate: I check how quickly seeds sprout, indicating the viability of my peas.
- Root Development: I observe the roots for robustness; healthy roots signal a thriving plant.
- Leaf Growth: I note the emergence of leaves; they’re crucial for photosynthesis.
- Moisture Levels: I ensure the sprouts stay moist but not soggy, as too much water can lead to rot.
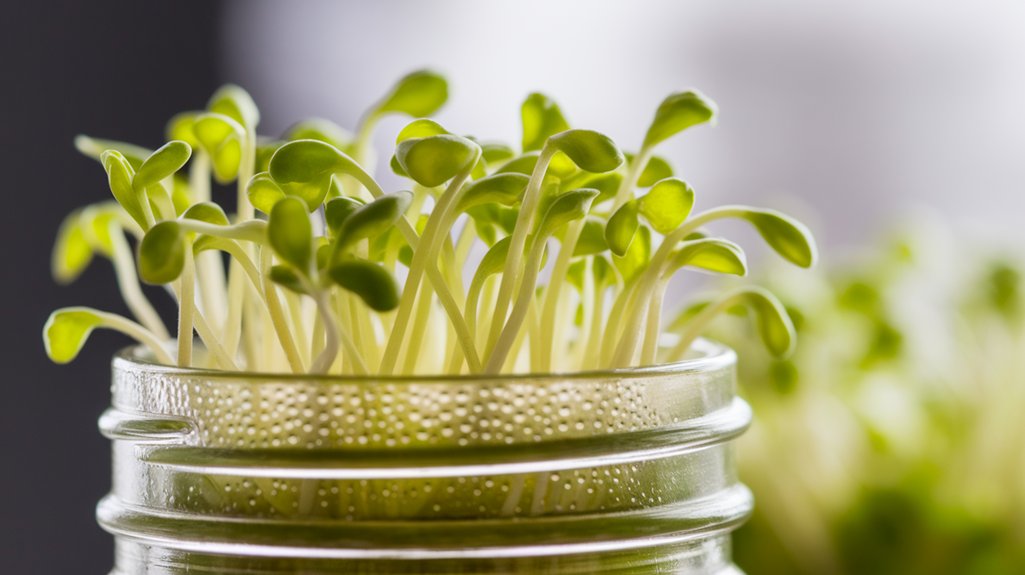
Harvesting Your Sprouts
Once my yellow pea sprouts have reached the right size and health, it’s time to think about harvesting. I usually wait until they’re about 4 to 6 inches tall and have vibrant green leaves. To harvest, I gently pull the sprouts from the soil, being careful not to damage their delicate roots. I find that using scissors is a great alternative, as it minimizes stress on the plants. After harvesting, I rinse the sprouts thoroughly to remove any soil or debris.
Here’s a useful table to help guide my harvesting process:
| Harvesting Method | Best For | Notes |
|---|---|---|
| Hand-Pulling | Small Batches | Gentle to avoid root damage |
| Scissors | Larger Batches | Quick and efficient |
| Knife | Bulk Harvests | Careful not to bruise |
Storing Sprouted Yellow Peas
To keep my sprouted yellow peas fresh and nutritious, I focus on proper storage techniques right after harvesting.
First, I gently rinse the sprouts under cool water to remove any debris. Then, I dry them thoroughly using a clean kitchen towel or a salad spinner; excess moisture can lead to spoilage.
Next, I store the sprouts in an airtight container, ensuring they’re not packed too tightly to allow airflow. Lastly, I keep the container in the refrigerator, where they can last for about 3 to 5 days.
Here’s a quick recap of my storage steps:
- Rinse sprouts under cool water.
- Dry thoroughly with a towel or spinner.
- Place in an airtight container.
- Refrigerate for optimal freshness.
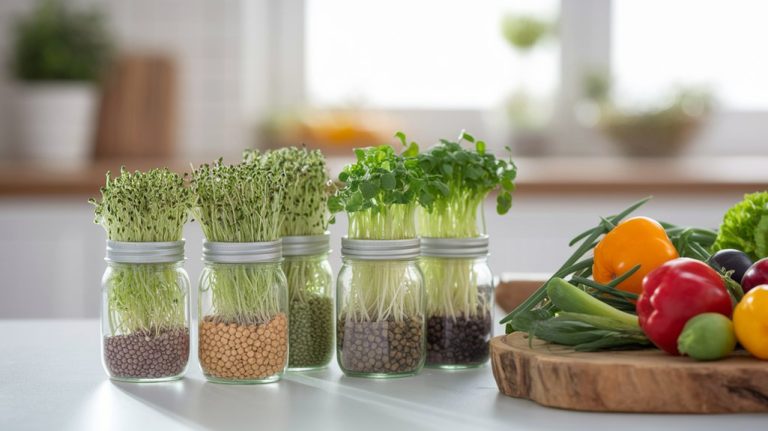
Incorporating Sprouted Peas Into Your Meals
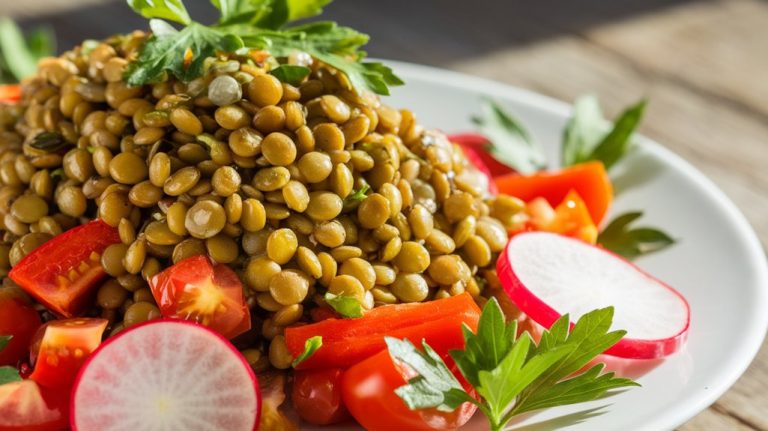
After ensuring your sprouted yellow peas are fresh and properly stored, it’s time to get creative in the kitchen. I love incorporating these nutritious gems into various meals. They add a delightful crunch and a boost of protein. Here are some delicious ideas:
| Meal Idea | Description |
|---|---|
| Salads | Toss sprouted peas into your greens for texture. |
| Stir-fries | Add them to your vegetable mix for extra protein. |
| Soups | Blend into soups for added thickness and nutrients. |
| Smoothies | Blend in for a protein-packed drink. |
| Wraps and Sandwiches | Use them as a filling or topping for added crunch. |
Experimenting with sprouted peas not only enhances flavor but also enriches your meals with vital nutrients!
Frequently Asked Questions
Conclusion
In conclusion, sprouting yellow peas is a rewarding and straightforward process that enhances both flavor and nutrition. By carefully selecting your seeds, providing the right environment, and monitoring their growth, you can enjoy fresh, crunchy sprouts in no time. Whether you toss them in salads, blend them into smoothies, or use them in stir-fries, these sprouts will elevate your meals. So, grab your yellow peas and get sprouting—your taste buds will thank you!