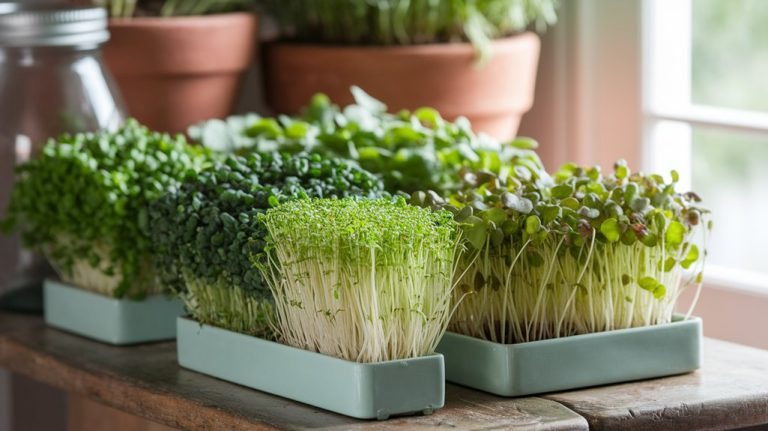
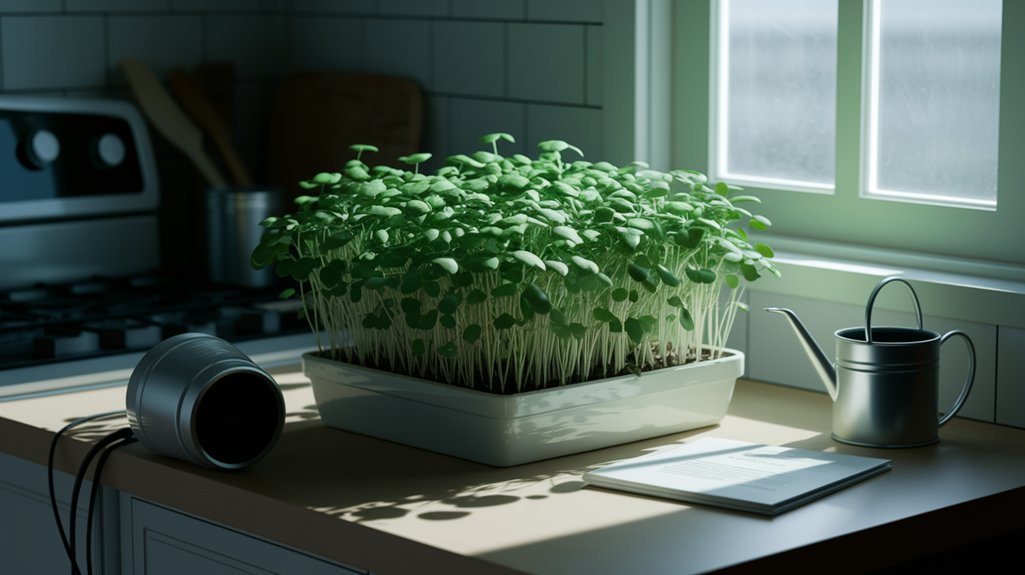
12 Microgreen Mistakes Beginners Make (and Quick Fixes)
I’ve noticed that many beginners make common mistakes while growing microgreens, like skipping soil quality checks or overwatering. Both can lead to poor growth and disease. Not using proper light or seed quality can result in leggy, weak plants. It’s also crucial to space seedlings adequately and provide air circulation. Plus, forgetting to rinse microgreens can compromise flavor. Each mistake has a quick fix, and I’ll help you uncover these solutions for a thriving microgreen garden.
Key Takeaways
- Neglecting Soil Quality: Use a sterile, seed-starting mix to ensure proper drainage and essential nutrients for healthy microgreen growth.
- Improper Watering: Monitor soil moisture closely; avoid overwatering to prevent root rot and underwatering to prevent wilting.
- Inadequate Light Exposure: Provide 12-16 hours of full-spectrum light daily to prevent leggy seedlings and encourage robust growth.
- Overcrowding Seedlings: Space seedlings appropriately to promote air circulation and nutrient access, thinning them once true leaves develop.
- Ignoring Harvest Timing: Harvest microgreens within 7 to 21 days post-germination for optimal flavor and nutrition, checking for mature leaves and vibrant color.
Skipping Soil Quality Checks
When I first started growing microgreens, I often overlooked the importance of soil quality checks, thinking any soil mix would suffice.
However, I quickly learned that the right soil can make or break my microgreen crop. Quality soil provides essential nutrients and ensures proper drainage and aeration. I began checking for organic matter content, pH levels, and the presence of pathogens.
Using a sterile, seed-starting mix became my go-to strategy, as it’s designed specifically for germination and growth. I also discovered that avoiding heavy soils helped prevent compaction, allowing roots to thrive.
Investing time in soil quality checks not only improved my yields but also enhanced the flavor and nutritional value of my microgreens. It’s a small step with big rewards.
Overwatering or Underwatering
Although I was eager to nurture my microgreens, I quickly found that striking the right balance with watering is crucial for their success. Overwatering can lead to root rot, while underwatering causes wilting. I’ve learned to observe the soil’s moisture levels closely. Here’s a quick comparison to help:
| Issue | Solution |
|---|---|
| Overwatering | Reduce frequency, check drainage |
| Underwatering | Increase frequency, mist lightly |
| Yellowing Leaves | Adjust watering technique |
| Wilting | Water immediately |
| Mold Growth | Improve air circulation |
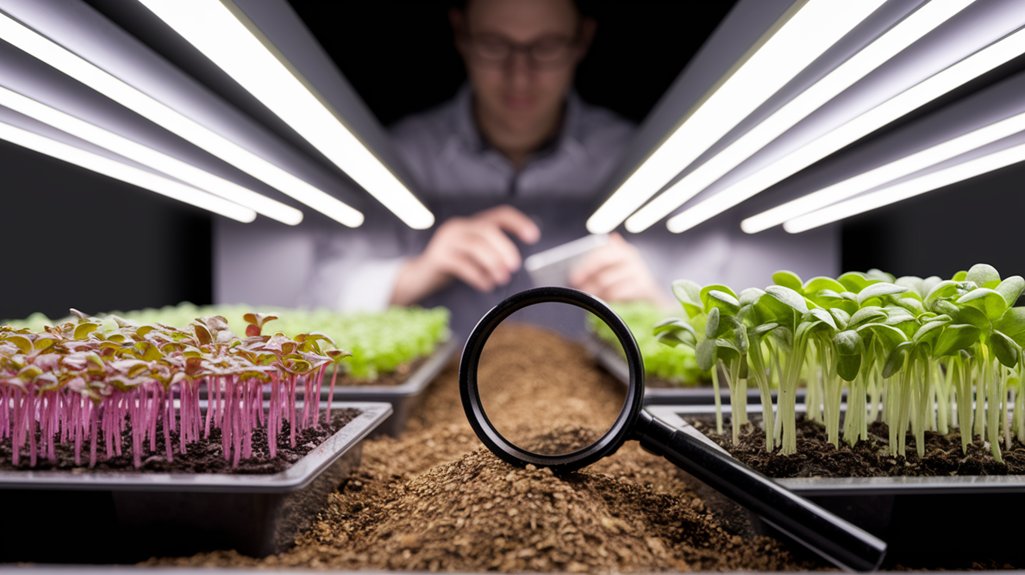
Neglecting Light Requirements
While I was excited to watch my microgreens thrive, I quickly realized that neglecting their light requirements can hinder their growth significantly.
Microgreens need ample light—preferably 12-16 hours a day—to grow strong and vibrant. When I first started, I underestimated the importance of a proper light source, relying solely on indirect sunlight. As a result, my seedlings became leggy and weak, stretching desperately toward the light.
I learned that using full-spectrum grow lights provided a consistent and adequate light source, ensuring even growth. Additionally, I discovered that rotating my trays helped prevent uneven exposure.
Using Old or Poor-Quality Seeds
When I start a microgreen project, I always check the seed viability first; using old or poor-quality seeds can lead to disappointing results.
It’s crucial to choose trusted suppliers who provide fresh seeds with a clear germination rate, ensuring a successful crop.
Seed Viability Importance
Using old or poor-quality seeds can significantly impact the success of your microgreen growing efforts.
I’ve learned that seed viability is crucial; if the seeds are too old, they may not germinate at all, leaving you with bare trays. Poor-quality seeds can also lead to weak growth or inconsistent sprouting, which ultimately affects your yield.
To ensure the best results, I always check the seed packet for the expiration date and look for indicators of quality, such as uniform size and absence of mold or damage.
Choosing Trusted Suppliers
One of the most critical steps in cultivating successful microgreens is selecting trusted suppliers for your seeds. I’ve learned the hard way that using old or poor-quality seeds can lead to low germination rates and disappointing yields. Here’s a quick comparison to help you choose wisely:
| Quality Seeds | Poor-Quality Seeds |
|---|---|
| High germination rates | Low germination rates |
| Disease-resistant | Prone to disease |
| Fresh and viable | Stale or expired |
| Trusted suppliers | Unknown origins |
Always check the supplier’s reputation and review customer feedback. Investing in quality seeds ultimately saves time and effort, ensuring a thriving microgreen garden. Don’t overlook this crucial aspect; it can make all the difference!
Failing to Provide Proper Air Circulation
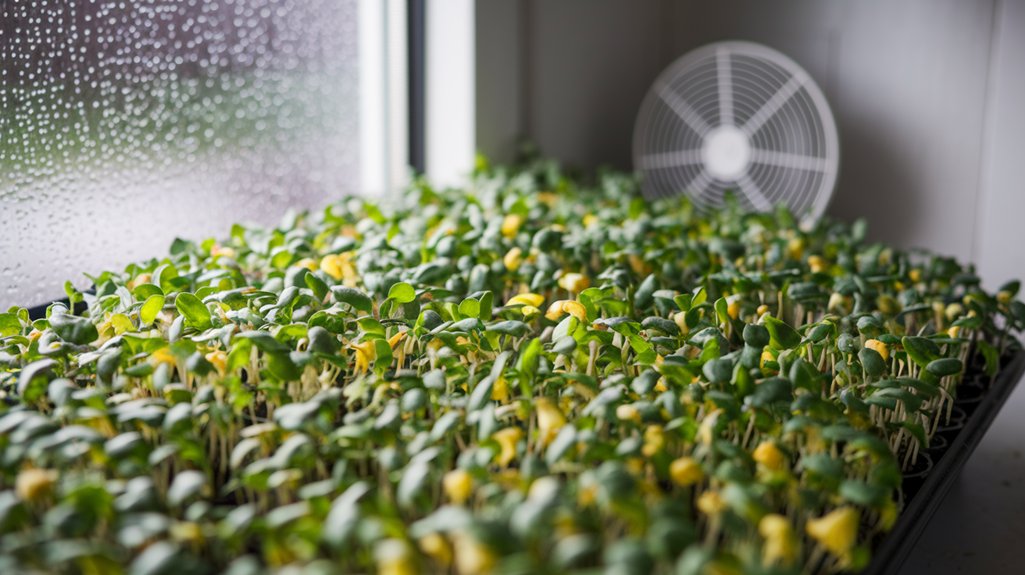
Although it might seem trivial, failing to provide proper air circulation can significantly impact the health of your microgreens.
When I first started growing them, I underestimated the importance of airflow. Without it, moisture can build up, creating a perfect environment for mold and mildew. I’ve learned that stagnant air not only stunts growth but can also lead to weak, leggy plants.
To combat this, I recommend placing a small fan near your growing area. A gentle breeze helps strengthen the stems and reduces humidity levels.
Additionally, spacing your trays or containers allows for better airflow between them. By prioritizing air circulation, you’ll notice healthier, more robust microgreens that are less prone to disease and better equipped for harvesting.
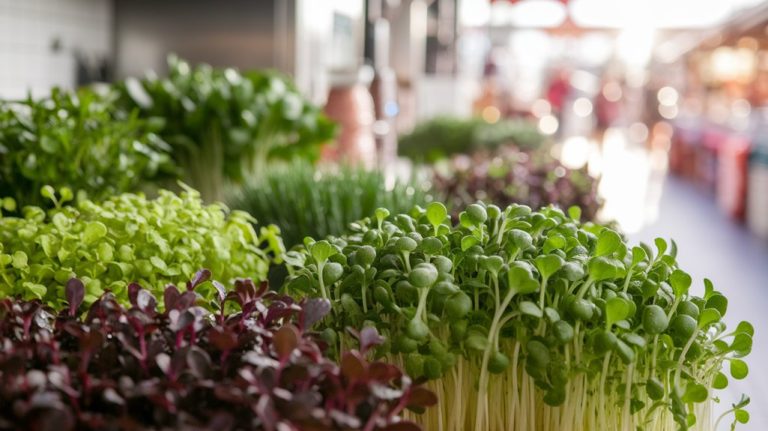
Not Harvesting at the Right Time
When it comes to harvesting microgreens, timing is crucial for achieving optimal flavor and nutrition.
I’ve learned that the ideal harvesting window typically falls between 7 to 21 days after germination, depending on the variety.
Recognizing signs of maturity, like fully developed leaves and vibrant color, helps ensure I’m picking them at their peak.
Ideal Harvesting Window
The ideal harvesting window for microgreens can significantly impact both flavor and nutrient density, yet many growers miss this critical timing. I’ve learned that timing varies by species, generally between 7 to 21 days post-sowing.
If you harvest too early, the microgreens might lack robust flavor and essential nutrients; too late, and they can become bitter or overly fibrous.
I recommend keeping a close eye on growth and maintaining a consistent light schedule, as this influences their development.
Regularly checking for the right leaf size and vibrant color can guide your timing.
Signs of Maturity
Recognizing the signs of maturity in microgreens is essential for successful harvesting. I’ve learned that timing is everything; harvesting too early means missing out on flavor and nutrients, while waiting too long can result in bitter greens.
Look for a few key indicators: the first true leaves, known as cotyledons, should be fully developed, and the plants should stand upright, signaling they’ve reached their optimal height.
Color is another tell; vibrant greens indicate health and readiness, while yellowing can signal stress.
Also, I’ve noticed that the stems become more robust as they mature. By keeping an eye on these signs, you can ensure that your microgreens are harvested at their peak, delivering the best flavor and nutritional value.
Ignoring Pests and Diseases
While it might be tempting to overlook the signs of pests and diseases in your microgreens, doing so can lead to significant setbacks in both growth and yield.
I’ve learned the hard way that vigilance is key. Here are some common indicators to watch for:
- Wilting or yellowing leaves
- Tiny holes or spots on foliage
- Fuzzy mold or mildew growth
- Sticky residue on leaves (indicative of pests)
- Unusual discoloration or stunted growth
Addressing these issues promptly can save your crop.
I recommend inspecting your microgreens daily and maintaining a clean growing environment. Early detection and treatment can make all the difference in achieving a healthy, abundant harvest.
Don’t let pests and diseases ruin your hard work!
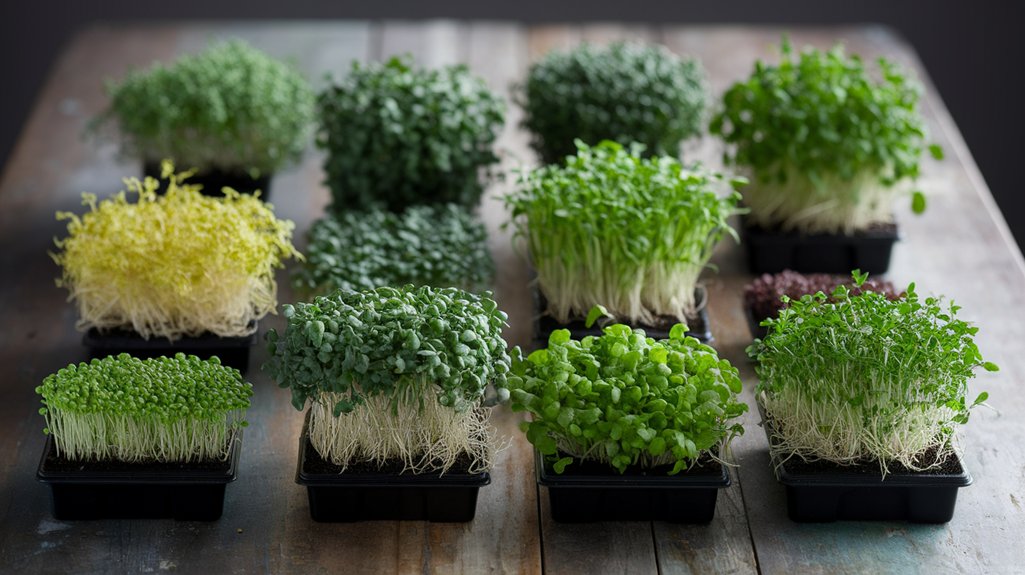
Overcrowding Seedlings
When I plant microgreens, I often find that optimal plant spacing is crucial for their healthy growth.
Overcrowding seedlings can lead to competition for nutrients, resulting in weaker plants.
Thinning seedlings effectively not only improves air circulation but also allows each plant to thrive, maximizing my harvest.
Optimal Plant Spacing
Achieving optimal plant spacing is crucial for the success of your microgreens, as overcrowding seedlings can lead to stunted growth and increased susceptibility to disease.
I’ve learned that spacing not only allows for better air circulation but also ensures that each plant gets adequate light and nutrients.
Here are some key points to consider for optimal spacing:
- Seed Variety: Different microgreens have varying spacing requirements.
- Container Size: The dimensions of your growing tray can dictate how many seeds you can plant.
- Light Access: Ensure each seedling has enough space to receive light without competition.
- Watering Needs: Overcrowded plants may struggle to absorb moisture evenly.
- Harvesting Ease: Proper spacing makes it easier to harvest without damaging neighboring plants.
Adjusting your spacing can make a significant difference!
Thinning Seedlings Effectively
Overcrowding seedlings can undermine the efforts you’ve put into planting microgreens, making thinning a necessary step in the growing process. When seedlings are too close together, they compete for nutrients, light, and space, resulting in weak, leggy growth.
To thin effectively, wait until your seedlings have developed their first true leaves. Gently grasp the base of the seedlings and pull out the weaker ones, ensuring you don’t disturb the roots of those you want to keep. Aim for at least 1-2 inches between remaining plants. This not only promotes healthier growth but also maximizes your yield.
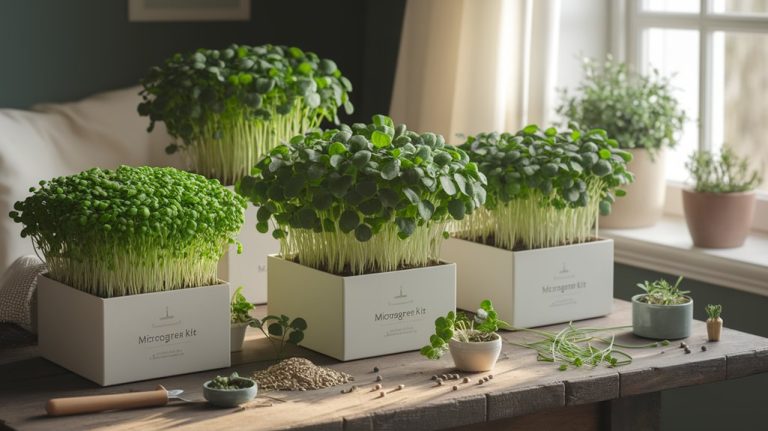
Using Inappropriate Containers
One common mistake I see novice growers make is using inappropriate containers for their microgreens.
Choosing the right container is crucial for healthy growth. If you pick the wrong one, you might hinder drainage, airflow, or light exposure.
Here are some key considerations:
- Drainage: Ensure your container has holes to prevent waterlogging.
- Material: Use food-safe containers; plastic or clay pots work well.
- Size: Select a container that allows sufficient space for root development.
- Depth: Opt for a depth of at least 2-3 inches for most microgreens.
- Light: Transparent containers can help with light penetration, essential for photosynthesis.
Being mindful of these factors can lead to a more successful microgreen harvest!
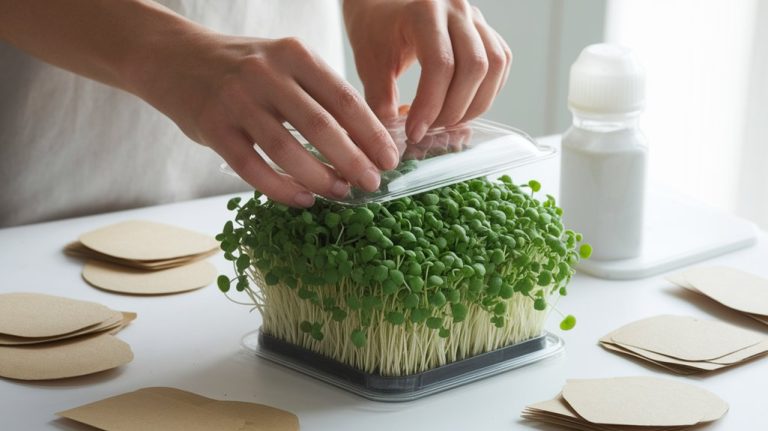
Forgetting to Rinse Microgreens
While it might seem like a minor step, forgetting to rinse microgreens can significantly impact their quality and taste. When I skip this crucial task, I often notice a gritty texture and a less vibrant flavor.
Microgreens can harbor soil particles and pathogens, which aren’t just unpleasant; they can also pose health risks. Rinsing them thoroughly under cool running water helps remove these unwanted contaminants and enhances their crispness.
I’ve found that a gentle pat dry with a paper towel or salad spinner can help maintain their structure. This simple practice not only elevates the taste but also ensures a cleaner eating experience.
Next time, don’t overlook this step; your palate will thank you for the extra effort!
Not Timing Your Planting Schedule
If you don’t carefully time your planting schedule, you might end up with microgreens that either outgrow their containers or lack the flavor and texture you desire. I learned this the hard way.
To avoid these pitfalls, consider these key points:
- Know the germination time: Different seeds have varying germination periods.
- Stagger your planting: This allows for a continuous harvest without overwhelming your space.
- Monitor growth rates: Watch your microgreens closely; some may mature faster than others.
- Plan for harvest: Determine the best time to cut microgreens for optimal taste and tenderness.
- Adjust for seasons: Light and temperature can affect growth speed, so adapt your schedule accordingly.
Disregarding Nutritional Needs
When I first started growing microgreens, I underestimated their nutritional needs, which ultimately affected their growth and flavor. I didn’t realize that just like any plant, microgreens require essential nutrients to thrive.
I often overlooked the importance of using high-quality soil or nutrient solutions, thinking water alone would suffice. Without adequate nitrogen, phosphorus, and potassium, my microgreens became leggy and bland.
I learned that providing a balanced nutrient mix not only boosts their growth but also enhances their taste. Additionally, I discovered that regular feeding is crucial, especially during their rapid growth phase.
Now, I make sure to monitor their nutrient intake closely, ensuring vibrant, flavorful crops that I can enjoy in my meals.
Frequently Asked Questions
How Often Should I Check Soil Moisture for Microgreens?
I check the soil moisture for my microgreens daily, especially in the early stages.
It’s crucial to keep the soil consistently moist but not soggy. I use my finger to feel the soil’s surface; if it’s dry to the touch, it’s time to water.
Monitoring moisture helps prevent issues like damping-off and ensures healthy growth.
As they mature, I adjust my checks to every couple of days, depending on the environment.
What Temperature Is Ideal for Growing Microgreens?
When I grow microgreens, I find that the ideal temperature ranges between 60°F to 75°F (15°C to 24°C).
This range promotes healthy germination and growth. If it gets too hot or cold, my microgreens can become leggy or slow to sprout.
I always try to maintain consistent temperatures, using heating mats or fans if necessary, to create the perfect environment for robust microgreens that thrive and taste great.
Can I Grow Microgreens Indoors Without Natural Light?
Absolutely, you can grow microgreens indoors without natural light!
I’ve done it using LED grow lights, which provide the spectrum plants need for photosynthesis. I set my lights on a timer for about 12-16 hours a day, ensuring my microgreens thrive.
It’s essential to position the lights close to the plants to maximize their growth.
With the right setup, I’ve enjoyed a bountiful harvest of vibrant, nutrient-rich microgreens all year round!
How Do I Know When Microgreens Are Ready to Harvest?
I usually know my microgreens are ready to harvest when they reach about 2 to 4 inches tall and develop their first true leaves, called cotyledons.
I check for vibrant colors and sturdy stems, indicating healthy growth. Typically, this process takes about 7 to 14 days, depending on the variety.
I make sure to use clean scissors to snip them just above the soil line for the best flavor and freshness.
What Nutrients Do Microgreens Need for Optimal Growth?
When it comes to growing microgreens, I’ve found that they thrive on a nutrient-rich environment.
They need a balanced mix of nitrogen, phosphorus, and potassium, as well as essential micronutrients like calcium and magnesium.
Using a quality potting mix or a hydroponic nutrient solution ensures they get what they need.
Regularly checking pH levels also helps maintain nutrient availability.
Conclusion
In my journey with microgreens, I’ve learned that avoiding these common mistakes can make all the difference in your success. By paying attention to soil quality, watering practices, and light needs, you’ll create an environment where your microgreens can thrive. Don’t overlook the importance of seed quality and air circulation, either. With these quick fixes in mind, you can enjoy a bountiful harvest that’s not only nutritious but delicious, elevating your gardening experience.