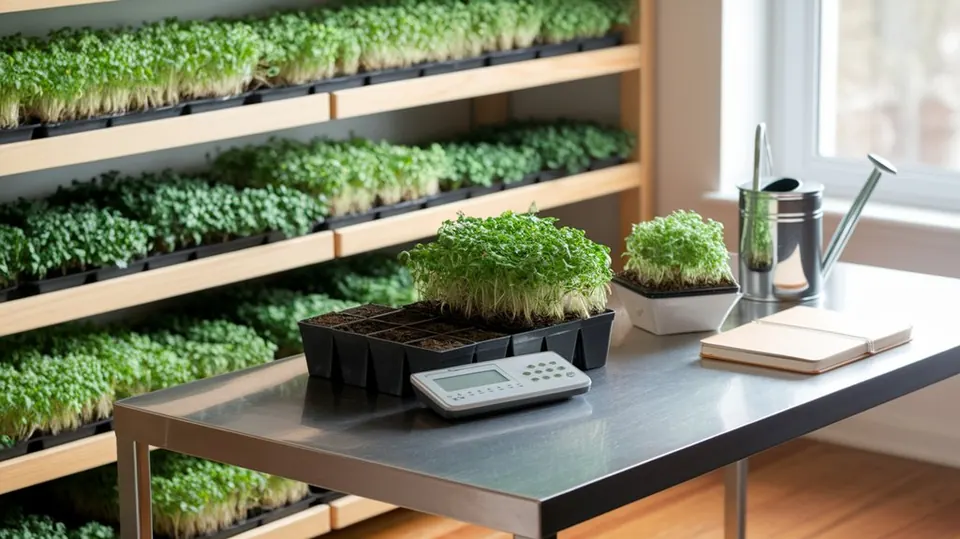
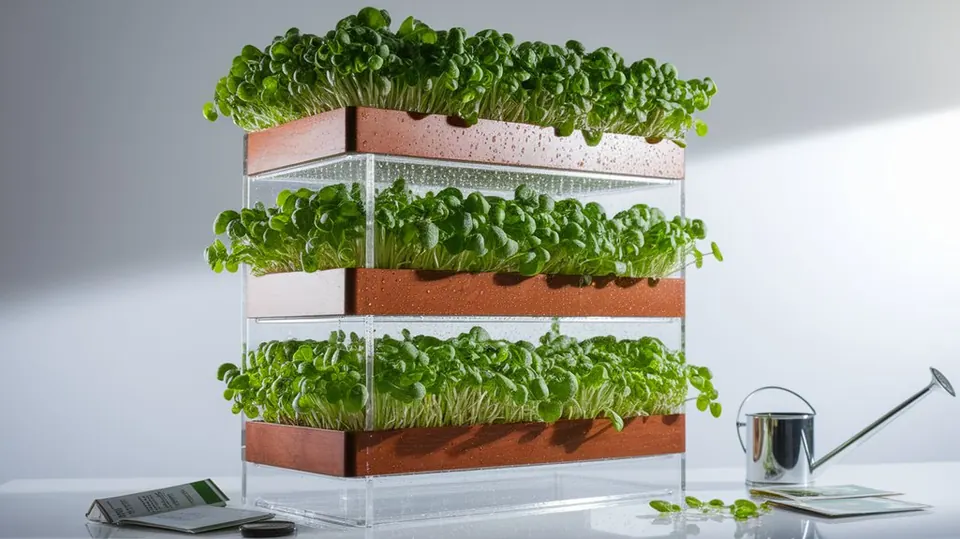
Short answer: for a vertical microgreens rack, use a wire shelving unit with shelves 12 to 18 inches apart. Hang one LED shop light under each shelf, 2 to 6 inches above the trays. Plug the lights into a power strip on a timer set for 12 to 16 hours. Add a small fan for airflow and a waterproof liner on each shelf.
What you need
| Item | Notes |
|---|---|
| Wire shelving unit | About 48 × 18 inches per shelf, 4 or 5 levels |
| LED shop lights | One or two per shelf, 4 ft (120 cm), 5000–6500K |
| Zip ties or S-hooks + chain | To hang the lights so you can adjust height |
| Power strip + timer | One timer can run all the lights |
| Small clip-on fan | For airflow |
| Shelf liners or boot trays | To catch drips |
| 10 × 20 trays | Holed + solid pairs |
How to build a vertical microgreens rack
- Day1
Assemble the shelf
Build the wire unit with shelves 12 to 18 inches apart. Leave the bottom shelf a few inches off the floor.
- Day2
Hang the lights
Hang an LED light under each shelf using chains or zip ties. Lights shine down onto the shelf below.
- Day3
Set the timer
Plug the lights into a power strip on a timer. Set it for 12 to 16 hours on.
- Day4
Add liners
Lay a waterproof liner or boot tray on each shelf to catch drips.
- Day5
Add airflow
Clip a small fan to the side so air moves gently across the trays.
- Day6
Load the trays
Keep blackout trays on the top or bottom shelf. Move them under the lights once uncovered.
Vertical microgreens tips
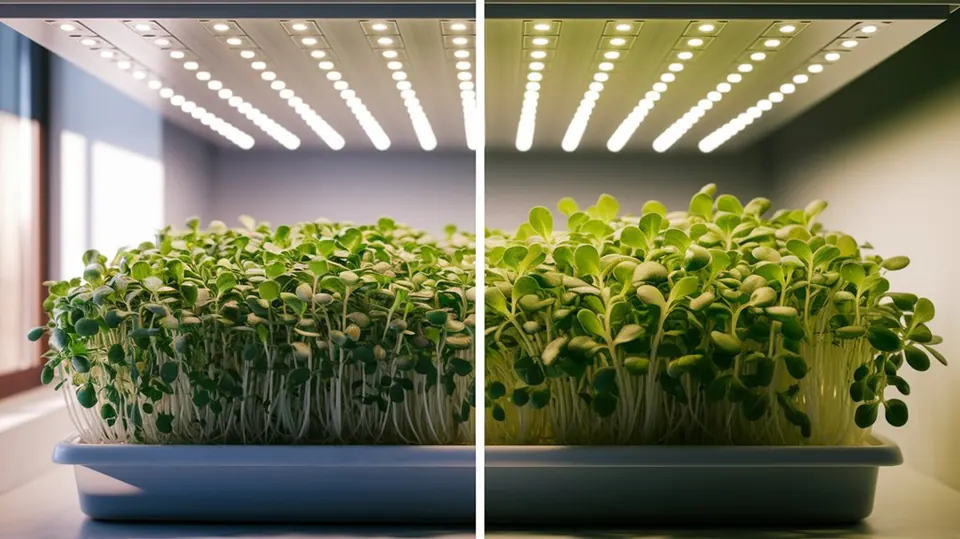
- Light height: start lights 2 to 6 inches above the greens and adjust. Bleached leaves mean too close. Tall, pale stems mean too far. See microgreens grow light.
- Rotation: sow a few trays every few days so each shelf is at a different stage.
- Water safety: keep all plugs and power strips above the water line and away from drips.
- Cleaning: wipe shelves and trays between crops.
How many trays it holds
A 48-inch wire shelf holds about four 10 × 20 trays per level. A four-level rack holds about 12 to 16 trays, enough for a family or the start of a small microgreens business.
Smaller options
No room for a full rack? Try a two-shelf unit on a counter, or a single light over one tray in a window. See microgreens in small spaces.
Best crops for a vertical microgreens rack
Fast crops make the most of your shelves: radish, broccoli, pea shoots and sunflower. Slow herbs take up a shelf for three weeks or more.
Safety note: always follow the light and power strip makers' instructions, and keep water away from electrical parts.
Frequently asked questions
How many trays fit on a vertical microgreens rack?
A standard 48 × 18 inch wire shelf holds about four 10 × 20 inch trays per level. A four-shelf unit can hold about 12 to 16 trays.
How much space should be between shelves?
About 12 to 18 inches (30 to 45 cm). That leaves room for the tray, the greens and a light hung 2 to 6 inches above them.
Do I need a fan for a microgreens rack?
Yes. Stacked trays trap humid air, which leads to mold. A small clip-on fan on low keeps air moving.
Is a vertical rack worth it for home growers?
If you want more than one or two trays at a time, yes. It's also the base setup for anyone thinking about selling microgreens.

Written by Michael
A passionate sprouting professional sharing practical tips for growing sprouts and microgreens at home. More about Michael