Pea Shoot Microgreens: How to Grow Them and Why They’re Worth It
What are pea shoot microgreens?
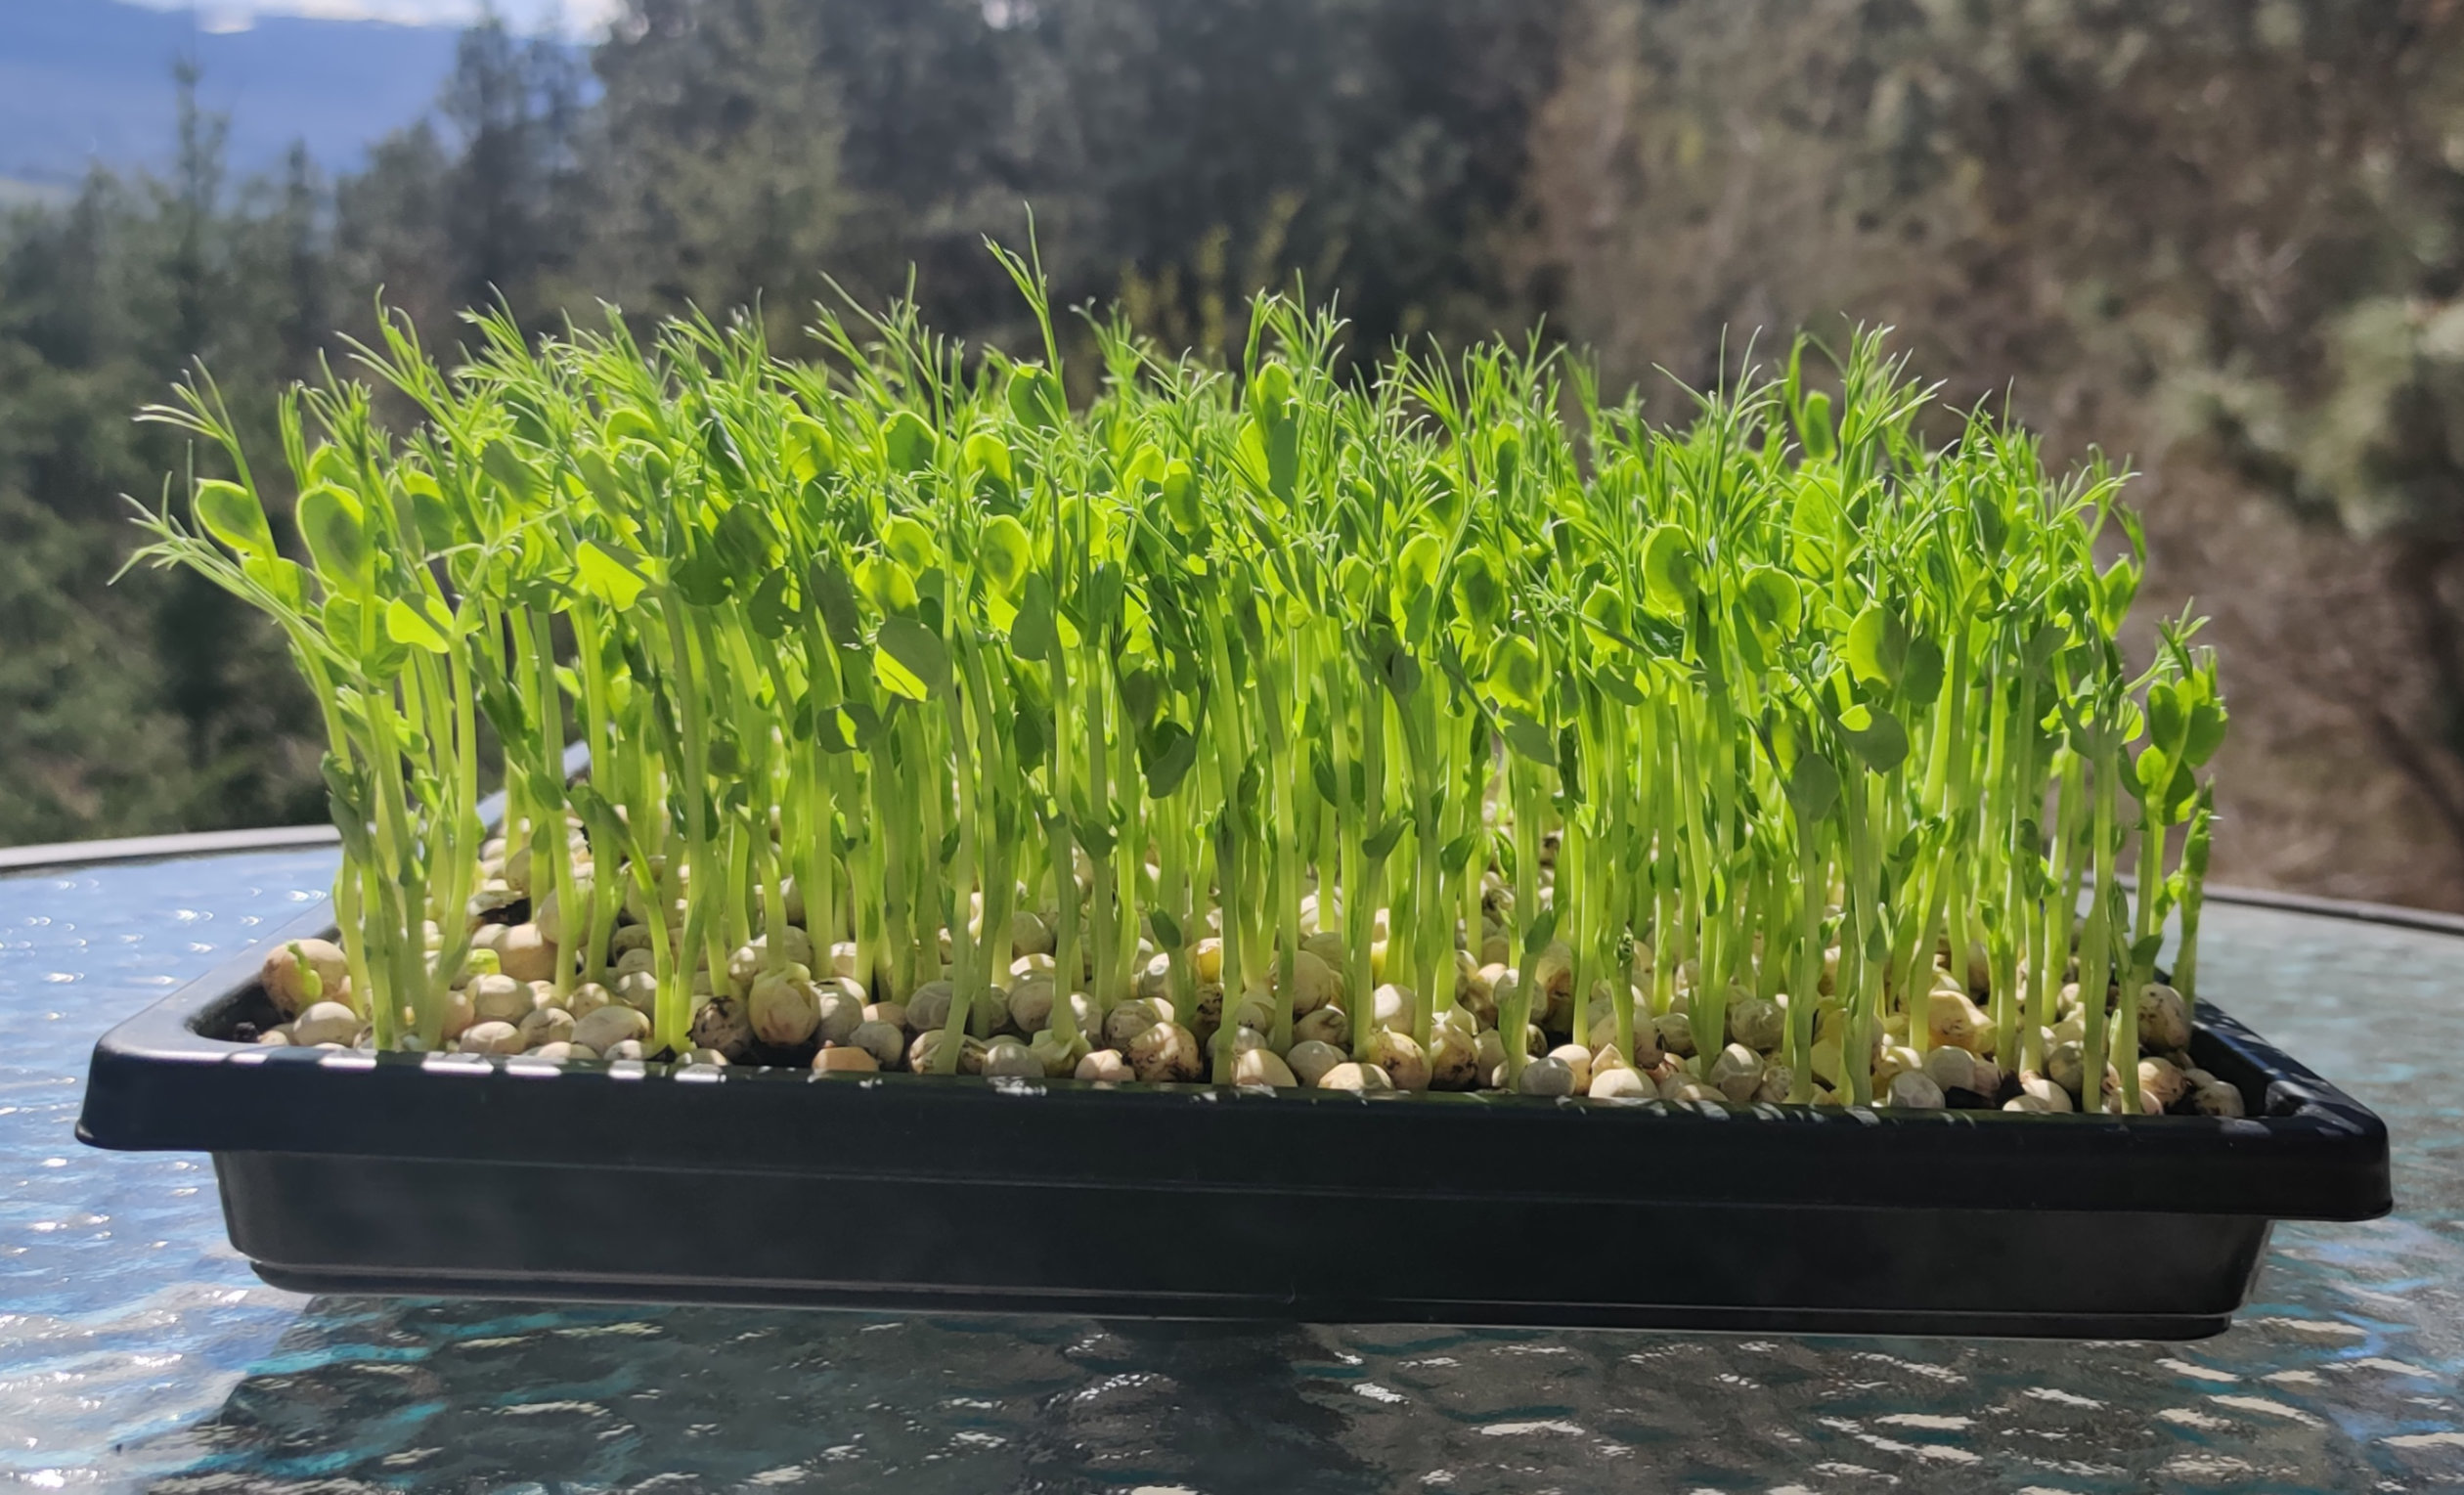
Pea shoot microgreens are the young seedlings of garden peas, harvested around 10 to 14 days after germination when the shoots are 8 to 15 cm tall and the first curling tendrils have appeared. They taste remarkably like fresh peas straight from the pod – sweet, mild, and green, and deliver a strong nutritional profile including around 76% of your daily vitamin C per 100g, significant vitamin A from beta-carotene, and more dietary fibre and protein than most other microgreens.
Most microgreens have a learning curve. Radish is peppery and sharp. Broccoli is earthy. Sunflower has a bold, nutty intensity. Some of these take getting used to.
Pea shoots need no getting used to.
They taste the way a handful of fresh garden peas tastes – sweet, clean, and immediately recognizable. They are the microgreen for people who are not sure they like microgreens. They are also the one variety that disappears fastest from the tray, because you can eat a large handful raw without adding anything to it and genuinely enjoy the experience.
This guide covers everything: what makes them nutritionally worth growing, how to grow them well, and the best ways to eat them.
Why pea shoots stand apart nutritionally
There is a pattern in microgreen nutrition: most varieties excel in one or two specific nutrients — broccoli for sulforaphane, sunflower for complete protein and vitamin E, red cabbage for vitamin K.
Pea shoot microgreens are more broadly stacked.
Vitamin C. A 100g serving of pea shoot microgreens provides around 66 to 76% of your recommended daily vitamin C intake, depending on variety and growing conditions. That is more than many citrus foods and far more than most people associate with a leafy green. Vitamin C is water-soluble, heat-sensitive, and requires regular replenishment – pea shoots deliver it in a form you can eat raw, straight from the tray.
Vitamin A (from beta-carotene).
Pea shoots are a meaningful source of beta-carotene, which the body converts to vitamin A. One 100g serving provides around 43% of your daily recommended vitamin A. Beta-carotene also gives pea shoots their role as an eye-health food, alongside lutein and zeaxanthin — the carotenoids that accumulate in the macula of the eye and are specifically studied for protecting against age-related macular degeneration.
Protein.
At approximately 4g per 100g, pea shoot microgreens are one of the higher-protein microgreens. This is not surprising – peas are a legume, and legumes carry more protein than most plant families. The microgreen stage retains that protein in a highly digestible, raw-ready form.
Dietary fibre.
At around 2.6g per 100g, pea shoots deliver more dietary fibre than almost any other microgreen variety. For a food you are eating raw and in small portions, this is a notable contribution to the 25 to 38g daily fibre target that most people do not meet.
Folate. Like mung bean sprouts, pea shoots are rich in folate — the B vitamin essential for cell division, DNA synthesis, and healthy foetal development. Folate is consistently under-consumed, and plant-based sources are particularly valuable.
| Nutrient | Pea shoot microgreens per 100g | Notes |
|---|---|---|
| Vitamin C | ~35–40 mg (66–76% RDA) | Higher than many citrus foods per gram |
| Vitamin A (beta-carotene) | ~2,593 µg RAE (~43% RDA) | Eye health; convert from beta-carotene |
| Protein | ~4g | High for a microgreen; legume advantage |
| Dietary fibre | ~2.6g | Among the highest of all microgreen varieties |
| Folate (B9) | Good source | Cell division, pregnancy, heart health |
| Lutein + zeaxanthin | Present | Macular protection, eye health |
| Iron | Present | Better absorbed alongside the vitamin C in the same food |
| Potassium | Present | Heart and muscle function |
Sources: Home Microgreens (pea shoots nutrition); Microgreens World (pea microgreens nutrition); USDA nutritional research on microgreens.
One combination worth noting: the iron in pea shoots is non-haem iron (the plant form). Non-haem iron absorbs significantly better when eaten alongside vitamin C — and pea shoots contain both. You do not need to pair them with another food to get that benefit. The combination is already there.
The flavour case (why these are the gateway microgreen)
Most microgreen advice starts with nutrition. With pea shoots, flavour deserves equal billing – because the taste is genuinely surprising.
Pea shoots taste like the sweetest, freshest peas you have eaten, in concentrated form. There is no bitterness, no grassiness, no sharpness. The flavour is mild enough for children who refuse other greens, and interesting enough that people who already eat well reach for them by the handful.
This matters for a practical reason: the most nutritious food is the one you actually eat regularly. Pea shoots are easy to eat raw in large quantities, which means the vitamin C, beta-carotene, and folate get into your meals on a daily basis rather than appearing occasionally in a health-motivated effort.
They are also one of very few microgreens that hold up reasonably well to brief cooking — the flavour intensifies slightly rather than disappearing, in the same way that a quickly blanched pea is still recognisably a pea.
What you need to grow pea shoot microgreens
Seeds:
Whole dried field peas or snow peas sold specifically for sprouting or microgreen growing. Do not use treated garden seeds (often coated in fungicide) or split peas. A 500g bag goes a long way – pea seeds are large so coverage per tray is lower than with small-seeded varieties, but yield per tray is high.
Tray:
A standard 10×20 growing tray works well. Pea shoots have strong roots and benefit from a growing medium of at least 2 to 3 cm deep — shallow trays can tip as the roots anchor into them.
Growing medium:
Pea shoots grow well in potting soil, compost, or coco coir. They are one of the varieties where a deeper, nutrient-holding medium is genuinely beneficial — their roots are vigorous and they grow for longer than fast-turnover varieties like radish.
Humidity dome or cover:
A second tray or dome for the blackout and germination phase.
Spray bottle and bottom watering tray:
For the growing phase.
That is the full list. No grow lights are required if you have a reasonably bright windowsill — though a grow light will speed things up noticeably in winter.
Step-by-step: how to grow pea shoot microgreens
Day 0 – Soak
Measure out enough pea seeds to cover your tray in a dense single layer. Pea seeds are large, so this is more by volume than with small seeds — roughly 150 to 250g of dry peas for a standard 10×20 tray.
Rinse the dry seeds and soak in cool water for 8 to 12 hours. Overnight works well. Their thick outer coat resists water without soaking, and un-soaked seeds germinate unevenly and slowly. Do not soak much past 12 hours — extended soaking in still water can cause the seeds to begin to break down.
Day 1 – Plant
After soaking, drain and rinse the seeds. Fill your tray with moist growing medium to about 2 to 3 cm depth and level it gently.
Scatter the soaked peas evenly across the surface in a dense single layer — touching but not piling on top of each other. Press them gently into the growing medium so they make good contact.
Mist the seeds lightly, then cover the tray with a humidity dome or an inverted second tray. Add a small weight on top — a book, a heavy pot, anything flat. This gentle downward pressure does two things: it pushes the seeds into firm contact with the growing medium, and it gives the seedlings something to push against as they germinate, developing stronger, thicker stems as a result. Leave the weight on for three to four days.
Place in a warm spot (18 to 24°C) out of direct light.
Days 2 to 4 – Germination under cover
Check daily for moisture. The seeds should stay damp but not waterlogged. Mist lightly if needed – the cover traps humidity so you may not need to water at all during this phase.
By day 2 or 3, you should see the seeds cracking open and pale white roots emerging. By day 4, shoots will be visible and pressing up against the cover.
Day 4 or 5 – Move to light
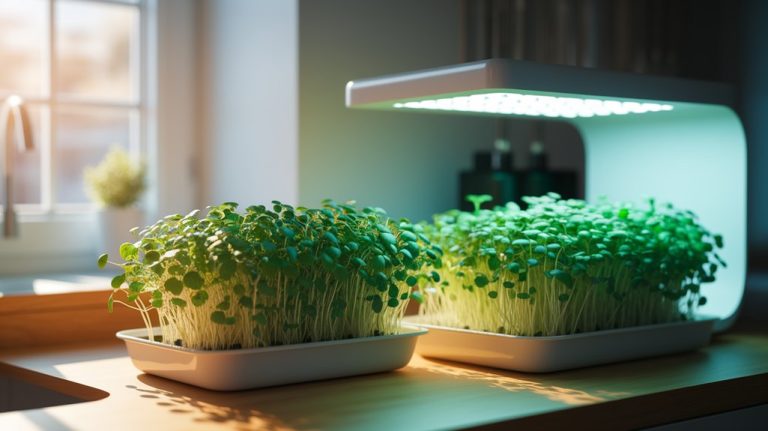
Remove the weight and cover once the shoots are clearly pressing upward – usually day 4 to 5. Move the tray into your brightest available spot: a south-facing windowsill, a spot with 4 to 6 hours of direct or bright indirect light, or under a grow light set to 12 to 16 hours per day.
Begin bottom watering: pour a small amount of water into the base tray so the growing medium draws up moisture from below. This keeps the leaf canopy dry and dramatically reduces the risk of mould. Check daily and add water when the medium feels dry an inch below the surface.
Days 5 to 14 – Growth phase
Pea shoots grow visibly from this point. They are vigorous and fast, and watching them straighten and unfurl is one of the more satisfying things in home growing.
Aim for good airflow around the tray – a spot that is not sealed against a wall or tucked in a corner. Pea shoots are relatively tolerant of imperfect conditions but benefit from moving air.
Day-by-day growing reference:
| Day | What you should see |
|---|---|
| Day 0 | Dry seeds soaking, beginning to absorb water |
| Day 1 | Seeds swollen; planted in tray, covered, weighted |
| Day 2–3 | Root tails visible; pale shoots beginning under cover |
| Day 4–5 | Shoots pushing up; cover removed, move to light |
| Day 6–8 | Shoots straightening, pale yellow-green turning darker |
| Day 9–11 | Shoots 8–12 cm tall, leaves unfurling, first tendrils curling |
| Day 10–14 | Ready to harvest – 10–15 cm tall, sweet fresh smell, first true tendrils |
Harvest
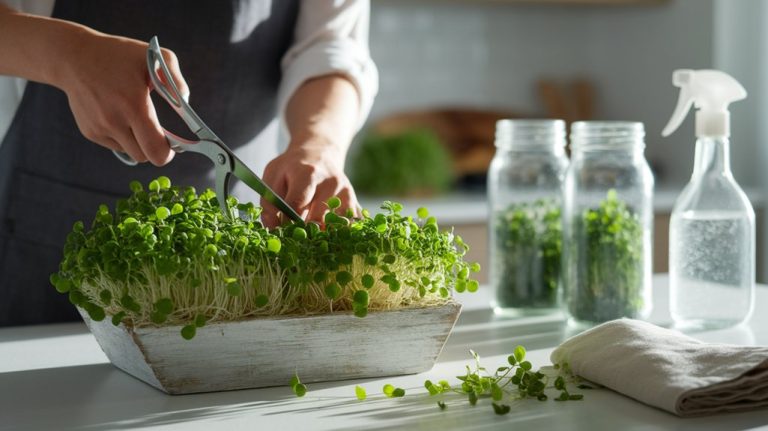
Harvest when shoots are 10 to 15 cm tall and the first curling tendrils have appeared. The tendrils are a reliable harvest signal – they mark the point before the shoot puts energy into flowering rather than leaf growth.
Cut just above the growing medium with clean scissors. Rinse gently and use immediately, or store loosely in an airtight container in the refrigerator for 3 to 5 days.
Unlike fast-turnover varieties that are done at day 7, pea shoots can also be left to grow a few more days without much quality loss, they are forgiving at the harvest window.
Signs they are ready – and when something has gone wrong
Ready:
- Shoots standing 10 to 15 cm, upright and firm
- First curling tendrils visible
- Clean, sweet pea smell
- Leaves fully unfurled and bright green
Something to check:
- Yellowing leaves – usually a light issue. Move to a brighter spot or increase grow light hours.
- Leggy, pale stems – not enough light during the growth phase. The weighted blackout period is correct; the issue is after the cover comes off.
- Mould on the growing medium surface – typically caused by overwatering from above or poor airflow. Switch to bottom watering only and improve air circulation around the tray.
- Uneven germination – usually from an uneven seed soak or uneven seed-to-medium contact. Press seeds gently into the medium at planting and ensure the weight is distributed across the whole tray.
How to eat pea shoot microgreens
The versatility of pea shoots is one of their genuine advantages over more specialised microgreens.
Raw – where nutrition and flavour are both at their peak:
- Eaten straight from the tray as a snack (genuinely enjoyable – not a health exercise)
- Large handful in a salad – they provide enough volume and structure to anchor a salad rather than just garnishing one
- Layered in sandwiches and wraps – they add sweetness and crunch without overpowering
- On scrambled eggs or an omelette – one of the best pairings, the sweetness contrasts the richness
- Alongside smashed avocado on toast
- Added to grain bowls: quinoa, farro, brown rice – the tendril texture adds something other microgreens don’t
Briefly cooked – where they hold up better than most:
- Stir-fries: add in the last 60 to 90 seconds, as you would with spinach
- Soups and broths: add at the table rather than cooking through – they wilt pleasantly into a hot broth
- Pasta and risotto: stir in off the heat at the very end, the residual warmth is enough
- Fried rice: tossed in at the very last moment before serving
A note on heat: vitamin C and folate both degrade under sustained heat. For maximum nutritional value, eat them raw. But pea shoots tolerate brief heat better than most microgreens without completely losing their flavour or texture — which makes them genuinely useful in the kitchen rather than purely a garnish.
Where pea shoots fit in your home growing rotation
If you are growing multiple varieties, pea shoots fill a specific role: they are the high-volume, sweet-flavoured, genuinely versatile variety that gets eaten fastest and in the largest quantities.
Where broccoli sprouts are a targeted daily health addition (small amounts, specific benefit), and sunflower microgreens are a protein and vitamin E focus, pea shoots are the everyday workhorse — the thing you put in everything and that runs out first.
A balanced home rotation that works well:
- Radish or broccoli microgreens – fast (7 to 10 days), specific nutritional role, small daily dose
- Pea shoots – slower (10 to 14 days), high volume, eaten freely in everything
- Sunflower microgreens – the protein and complete amino acid option, nutty and substantial
Each tray takes a different amount of time to harvest, which means staggering them naturally creates a rotation – start pea shoots a few days before the fast varieties, and you will have something ready to harvest most weeks.
Start your first pea tray this week
If you have grown one batch of a fast-turning variety and want to add something more substantial to your routine, pea shoots are the natural next step. The soak is the only extra step compared to small-seeded microgreens. The rest is the same process you already know.
The first harvest – a tray full of tall, sweet, tendrilled shoots that smell like a garden — is one of the most satisfying in home growing.
⟶ New to microgreens altogether? The step-by-step guide to growing microgreens at home covers the essentials before your first tray.
⟶ Want to grow without soil? The soilless microgreens guide covers coco coir and jute mat methods — pea shoots work particularly well on coco coir mats with a deeper base.
⟶ Ready to explore more varieties? The seed library has notes on the pea varieties recommended for microgreen growing and where to source them.
⟶ Want to compare the nutrition across varieties? See the microgreens vs. spinach and kale comparison for an honest look at where different greens stand in the research.