How to Grow Microgreens Without Soil (No Mess, No Fuss)
Can you grow microgreens without soil?
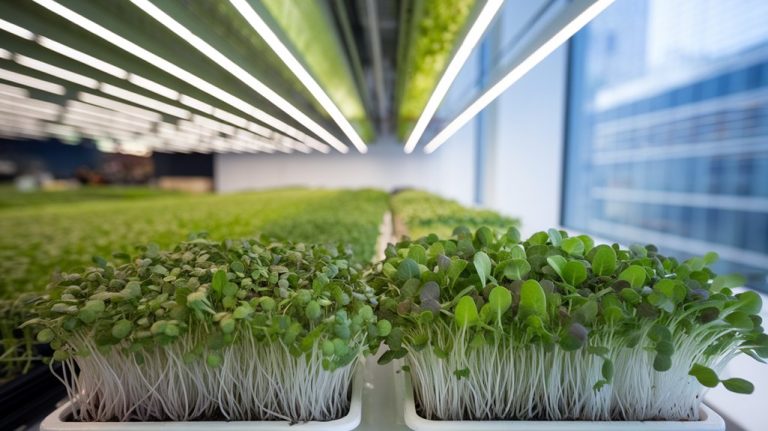
Yes — and for many home growers, soilless is actually the better choice. Microgreens do not need soil to thrive. They feed on the energy stored inside the seed itself, so all they need from their growing medium is moisture and something to anchor their roots. A coco coir mat, a jute mat, or even a damp paper towel does exactly that — cleanly, cheaply, and with less fuss than a tray of compost.
If you have been putting off growing microgreens because soil feels messy, or because you live somewhere that makes it impractical — a flat with no outside space, a tidy kitchen, a shared balcony — this post is for you.
Soilless growing strips the process right down. No bags of compost to haul home. No dirt on the counter. No soil-borne pathogens to worry about. Just seeds, a growing mat, water, and light.
Here is everything you need to know to get your first soilless tray going this week.
Why soilless growing works for microgreens
Most plants need soil for two reasons: to anchor their roots, and to draw up nutrients as they grow.
Microgreens only need the first one.
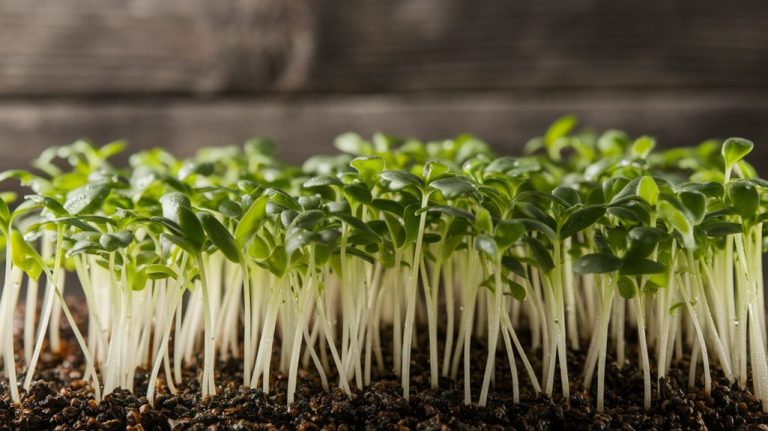
Because you harvest them so young — usually within 7 to 14 days — they have not yet exhausted the nutrients packed inside the seed. That stored energy is what powers germination and those first few weeks of growth. The growing medium is really just a platform: it holds moisture, gives the roots something to grip, and keeps the seedlings upright until you are ready to harvest.
That is why a thin mat of natural fibre does the job just as well as a tray of soil — and often better, because it is lighter, cleaner, and easier to manage indoors.
The three soilless methods compared
| Method | Cost per tray | Mess level | Water retention | Best for |
|---|---|---|---|---|
| Coco coir mat | Low–medium | Very low | Excellent | Most varieties, beginners |
| Jute (burlap) mat | Very low | Minimal | Moderate | Brassicas, arugula, radish |
| Paper towel | Free | None | Low | Tiny batches, absolute beginners |
All three work. The right choice depends on how often you plan to grow, which varieties you want to try, and how much you want to spend upfront. Read on for the step-by-step guide for each.
Method 1: Coco coir grow mat
What it is: A compressed coconut fibre mat — the same material as coco coir potting mix, but formed into a flat pad that sits neatly in a standard growing tray.
Why it works well: Coco coir holds water exceptionally well and releases it slowly, which means less risk of drying out between waterings. It gives roots a dense, even surface to grip, and it is fully compostable when you are done (check that your mat has no rubber backing, which slows decomposition).
What you need:
- A standard 10×20 growing tray (with a solid base and a mesh or vented tray on top)
- A coco coir grow mat cut to fit
- A humidity dome (or a second tray to cover)
- Seeds for microgreens
- A spray bottle
Step by step:
- Soak the mat in clean water for a few minutes until it is fully saturated, then drain off any excess. It should feel damp throughout, not dripping.
- Lay the mat flat in your tray. If your tray has a mesh insert, place the mat on top of it — this improves drainage and airflow under the mat.
- Scatter your seeds evenly across the surface. For most varieties, you want seeds touching but not piling on top of each other. Check the seed packet for the recommended density.
- Mist the seeds lightly with a spray bottle to settle them against the mat.
- Cover with your humidity dome or an inverted tray. Place in a warm, dark spot (a cupboard works well) for the first 2 to 3 days. This blackout period encourages the seeds to push down strong roots before reaching for light.
- Once you see the first shoots pressing against the dome — usually around day 3 — remove the cover and move the tray into good indirect light or under a grow light.
- Water from below: add a small amount of water to the solid base tray each day so the mat can draw up moisture from underneath. This keeps the leaf surface dry and reduces the risk of mould.
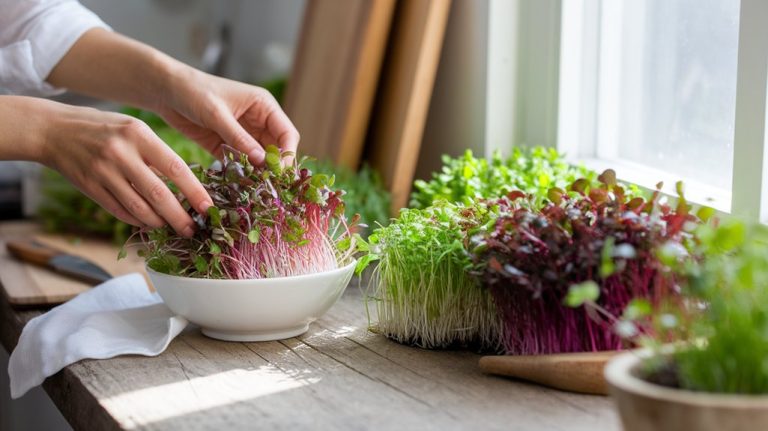
- Harvest when the first true leaves appear, typically between day 7 and day 14 depending on the variety. Cut just above the mat with clean scissors.
Method 2: Jute (burlap) mat
What it is: A woven mat made from jute fibre — the same natural material as burlap sacking. Very affordable, fully biodegradable, and compostable after use.
Why it works well: Jute is lightweight, sterile, and provides a firm, even surface for seeds to root into. Research from Colorado State University found that jute and hemp mats produced the highest harvest weights among grow mat options while using less water overall. It does dry out a little faster than coco coir, so it needs slightly more attention — but for anyone who checks their trays regularly, that is not a problem.
What you need:
- A growing tray
- A jute mat
- A humidity dome
- Seeds
- A spray bottle
Step by step:
- Soak the jute mat in water for a minute or two and squeeze out the excess. It should feel evenly damp, not waterlogged.
- Lay it flat in the tray. Unlike coco coir, jute sits very flat and thin — that is normal.
- Spread seeds evenly across the surface and mist lightly.
- Cover and keep in a warm, dark spot for 2 to 3 days for the blackout germination phase.
- Once shoots appear, move into light.
- Check moisture twice a day. Because jute dries out faster than coco coir, you may need to bottom-water more frequently or mist the mat directly if the edges are looking dry.
- Harvest between day 7 and day 12 for most varieties. Jute’s flat surface makes for clean, easy cutting.
A tip on jute: if you notice dry patches or uneven germination in your first batch, it is usually because the mat dried unevenly. Soaking it for a full minute before planting — and pressing it flat before adding seeds — helps prevent this.
Method 3: Paper towel
What it is: The zero-cost, zero-commitment starting point. A few layers of plain paper towel (unscented, no dyes) in a shallow container.
Why it works: For small batches and fast-growing varieties like radish or broccoli, paper towel works surprisingly well as a soilless base. It is free, requires no sourcing, and means you can test whether you enjoy microgreens growing before investing in anything.
What you need:
- A shallow container or plate with a rim (a glass dish or food container works fine)
- 2 to 3 layers of paper towel
- Seeds (radish or broccoli work best for this method)
- A spray bottle
Step by step:
- Fold 2 to 3 layers of paper towel to fit your container and dampen thoroughly with water. Drain off any pooling water.
- Spread seeds evenly across the damp paper towel. They will stick naturally as they absorb moisture.
- Cover with a second piece of damp paper towel, then cover the whole container with a plate or food wrap to trap humidity.
- Keep in a warm spot for 2 to 3 days. Check daily and re-mist if the paper towel is drying out — this method requires more frequent attention than mats.
- Once shoots appear, uncover and move to a bright spot.
- Mist once or twice a day to keep the towel moist. Be careful not to overwater — soggy paper towel is the main failure point with this method.
- Harvest between day 6 and day 10. You will likely harvest roots and paper towel together — rinse the microgreens well before eating.
Honest note: paper towel is a good starting experiment, not a long-term method. It dries unevenly, roots can tangle into the fibres, and yields are smaller than mat-grown microgreens. Once you are hooked, upgrading to a jute or coco coir mat makes the whole process easier.
Which method should you choose?
Start with coco coir if: you want the most forgiving, beginner-friendly option with excellent water retention and minimal daily checking. It is the closest thing to growing in soil, just cleaner.
Start with jute if: you want the most sustainable, biodegradable option and you are comfortable checking your tray at least twice a day. It performs very well for brassicas (broccoli, kale, radish, arugula) specifically.
Start with paper towel if: you just want to see whether this is for you before spending anything. Grow a tiny batch of radish, harvest it in a week, and decide from there.
Soilless vs. soil: when does each make sense?
Soilless growing is not always better — it is just different. Here is a quick guide to help you decide.
Choose soilless when:
- You are growing indoors on a counter, windowsill, or balcony where mess matters
- You want faster setup and easier cleanup between batches
- You are growing fast-turning varieties like radish, broccoli, kale, or arugula
- You want to avoid any risk of soil-borne pathogens in your food
Choose soil or compost when:
- You are growing larger, slow-maturing varieties like sunflower or pea shoots that benefit from the extra nutrients and support a deeper growing medium provides
- You already have good compost on hand and do not mind the extra step
- You are growing on a balcony or in a greenhouse where soil handling is not an issue
Many growers end up doing both: a mat tray on the kitchen counter for quick-turnover varieties, and a soil tray outside for sunflower or pea shoots.
Best microgreens varieties for soilless growing
| Variety | Days to harvest | Soak seeds first? | Difficulty | Flavour |
|---|---|---|---|---|
| Radish | 7–10 | No | Very easy | Peppery, bright |
| Broccoli | 7–10 | No | Very easy | Mild, slightly earthy |
| Kale | 8–12 | No | Easy | Mild, slightly bitter |
| Arugula | 7–10 | No | Easy | Peppery, nutty |
| Pea shoots | 10–14 | Yes, 8–12 hrs | Easy | Sweet, fresh |
| Sunflower | 10–14 | Yes, 8–12 hrs | Moderate | Nutty, rich |
| Mustard | 7–10 | No | Very easy | Spicy, bold |
A note on soaking: varieties with a hard outer shell — sunflower and pea shoots in particular — benefit from an 8 to 12 hour soak in water before planting. This softens the coat and speeds up germination. Small seeds like radish and broccoli do not need soaking and can go straight onto the mat.
What about light and temperature?
The same rules apply whether you are growing in soil or soilless.
During blackout (days 1–3): warmth is more important than light. Aim for 18–22°C (65–72°F). A kitchen cupboard, the top of the fridge, or any warm indoor spot works well.
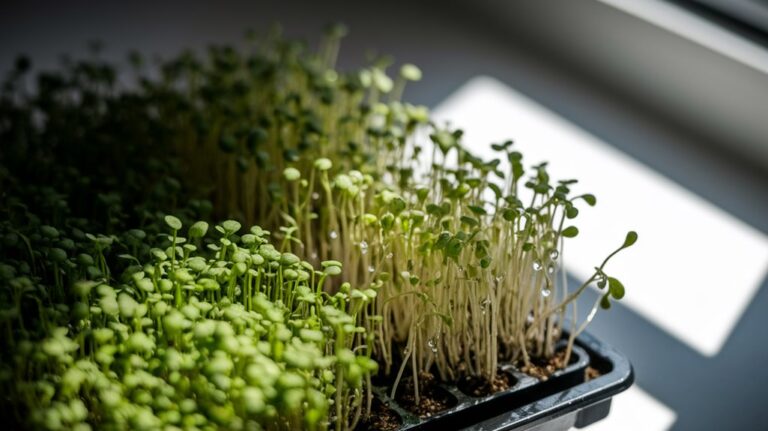
Once uncovered: move to a position with at least 4 to 6 hours of bright indirect light per day. A south-facing windowsill works in the warmer months. In winter, or if your space lacks natural light, a simple LED grow light on a timer is worth the small investment — it makes a noticeable difference to stem length and colour.
Direct midday sun can be too intense and may cause wilting. Bright but indirect is the sweet spot.
Your first soilless tray: a one-week checklist
| Day | What to do |
|---|---|
| Day 0 | Soak mat, scatter seeds, cover, place in warm dark spot |
| Day 1–2 | Check moisture — re-mist if needed, keep covered |
| Day 3 | Shoots visible? Move to light, remove cover |
| Day 4–6 | Bottom-water daily, check for even growth |
| Day 7 | First varieties (radish, broccoli) may be ready to taste |
| Day 8–14 | Harvest when leaves are fully open and vibrant |
Ready to grow your first soilless tray?
The method is simpler than it sounds — and once you have the first harvest in a jar in your fridge, the second tray practically sets itself up.
If you are not sure which seeds to start with, the seed library has everything you need, including notes on which varieties are most forgiving for new growers.
⟶ Browse the seed library and pick your first variety — radish or broccoli are the easiest starting points for soilless growing.
⟶ Want the full growing guide before you start? The step-by-step guide to growing microgreens at home covers everything from setup to harvest in detail.
⟶ Curious how soilless microgreens compare to store-bought? See why growing your own always wins on freshness and nutrition.