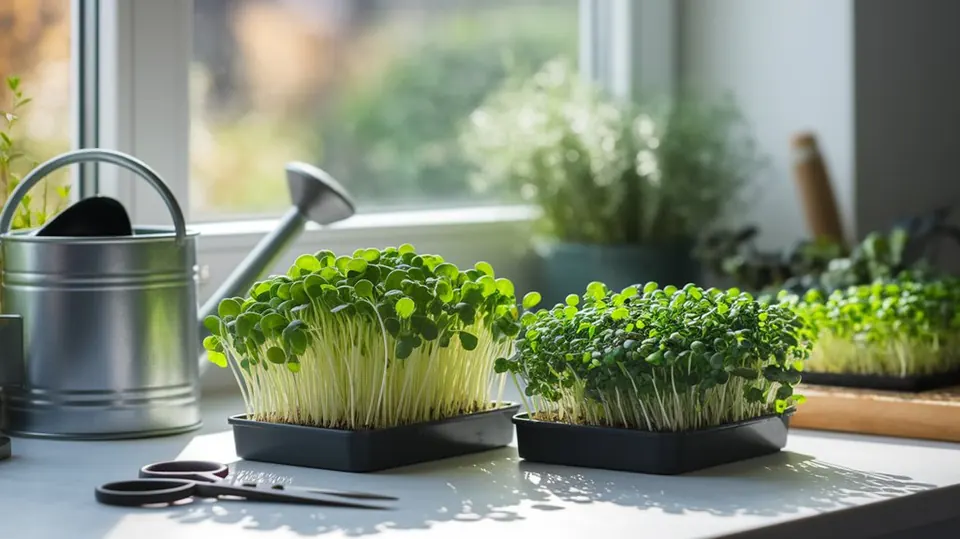
What you'll need
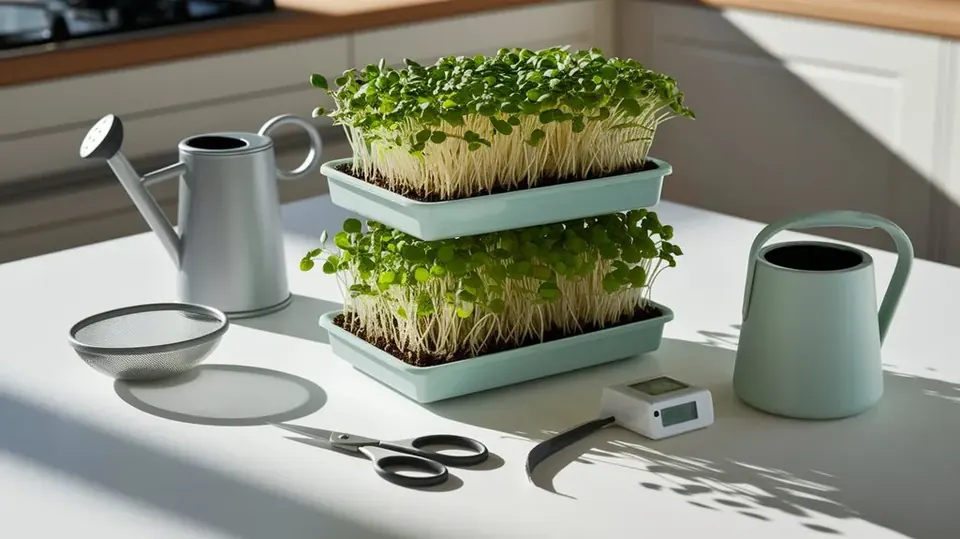
- Two 10 × 20 inch (1020) trays: one with holes, one without
- Potting mix, coco coir or a grow mat
- Microgreen seed
- A spray bottle and sharp scissors
- A sunny window or an LED shop light
Short answer: fill a 10 × 20 inch tray with 1 inch of moist potting mix. Sprinkle seed thickly over the top, or spread soaked seed for big seeds like peas and sunflower. Mist it, cover it with a second tray and keep it dark for 2 to 4 days. Then uncover it, give it bright light and water it from below once a day. Cut above the soil at 7 to 21 days.
What are microgreens?
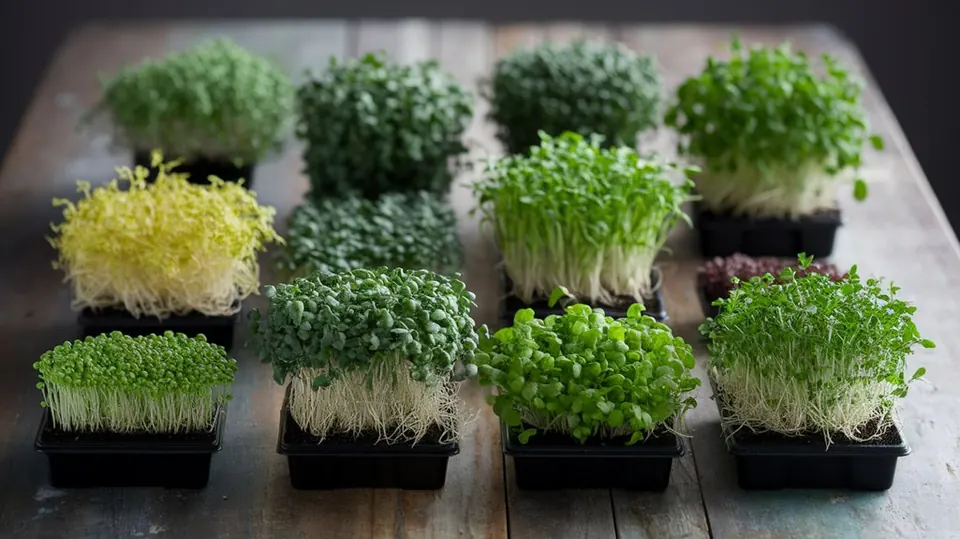
Microgreens are young vegetable and herb plants, cut when their first leaves have opened and they're 1 to 3 inches (2.5 to 8 cm) tall. They grow on soil or a mat with light, and you eat the stems and leaves, not the roots. They taste like gentler versions of the grown plants: peppery radish, sweet pea, nutty sunflower.
For the bigger picture, including how they differ from sprouts and what the nutrition research says, see the microgreens hub.
How to grow microgreens: what you need
- Trays. Two shallow trays per crop: a tray with drainage holes to grow in, and a solid tray underneath to hold water. The standard size is 10 × 20 inches, called a "1020." Half-size 10 × 10 trays (a "1010") are handy for small batches. See 1010 vs 1020 trays.
- Growing medium. A fine potting mix or seed-starting mix is the most forgiving. Coco coir and hemp grow mats are cleaner options. See soil vs coco coir vs hemp mats.
- Seed. Buy seed sold for sprouting or microgreens, which isn't treated with fungicide. See our guide to microgreen seeds.
- Light. A bright window, or an inexpensive LED shop light. See do microgreens need grow lights?
- A spray bottle, a cover and sharp scissors. A third tray or a flat board makes a good cover.
Step 1: Choose your first crop
Start with something fast and forgiving:
| Crop | Seed per 1020 tray | Soak | Ready in | Taste |
|---|---|---|---|---|
| Radish | 25–35 g | Optional, 4–8 h | 8–12 days | Hot, peppery |
| Broccoli | 13–28 g | No | 7–12 days | Mild, peppery |
| Kale | 10–20 g | No | 10–14 days | Mild, sweet |
| Sunflower | 150–250 g | 4–8 h | 8–10 days | Nutty, crunchy |
| Pea shoots | 200–275 g | 6–8 h | 8–10 days | Sweet, fresh pea |
| Mustard | 10–15 g | No | 8–12 days | Hot, wasabi-like |
| Arugula | 10–12 g | No | 8–12 days | Peppery, nutty |
| Basil | 8–15 g | No | 12–21 days | Sweet basil |
Seeding rates in published charts vary widely, so use these as starting points and adjust.1 The microgreens seeding chart covers every crop we list. For more beginner picks, see the easiest and fastest microgreens.
Step 2: Prepare the tray
Fill the tray with holes with about 1 inch (2.5 cm) of growing mix. Level it gently and press it flat with your hand or another tray. A flat surface gives an even crop.
Water the mix until it's damp all the way through, like a wrung-out sponge, but not dripping. Set the tray inside the solid tray.
If you're using a grow mat, soak it until it's evenly wet and lay it in the tray.
Step 3: Soak (big seeds only)
Big seeds like peas, sunflower, beet, buckwheat and wheat grow more evenly after a soak in cool water for 4 to 12 hours. Small seeds like radish, broccoli, kale and mustard usually go in dry. Gel-forming seeds, such as basil, chia, cress and arugula, must not be soaked, because they turn into a sticky clump.
Step 4: Sow thickly
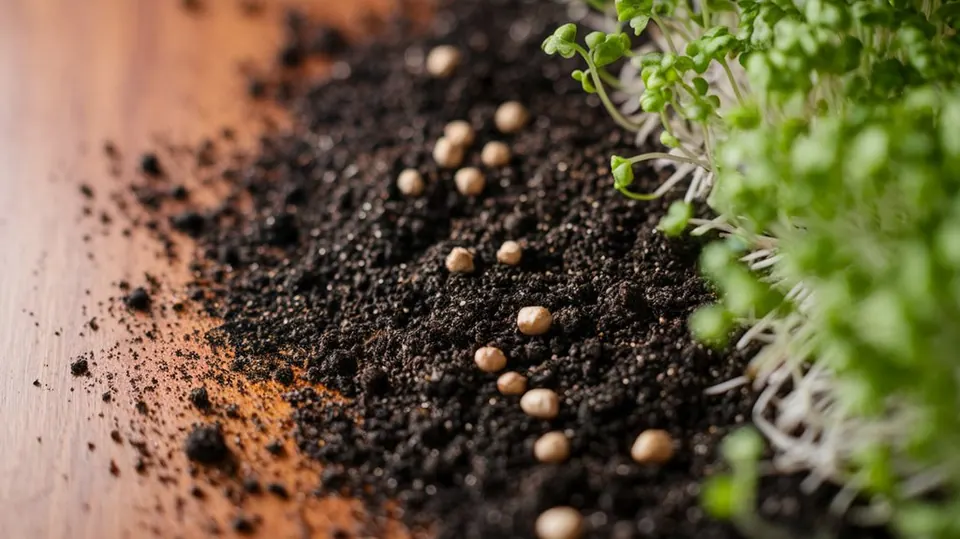
Sprinkle the seed evenly over the whole surface. Microgreens are sown far more thickly than garden seeds: the seeds should be close together, almost touching, but in a single layer.
- Small seeds: shake them from a small cup or a spice shaker for an even spread.
- Big soaked seeds: spread them by hand in one layer.
Press the seed gently into the surface so it touches the damp mix. Mist the top well.
Step 5: Blackout for 2 to 4 days
Cover the tray to keep it dark and humid. Put a second tray upside down on top, or a flat board. For big seeds like peas and sunflower, add a light weight such as a bag of rice. This "blackout" step does two things: the weight pushes roots into the mix, and the darkness makes the stems stretch a little taller, which makes cutting easier.
Mist once or twice a day under the cover so the seeds never dry out. Check for mold each time.
Root hairs aren't mold. On day 2 or 3 you'll see fine white fuzz around the young roots. These are root hairs, and they're normal. Mist them: if the fuzz collapses, it's root hairs. Mold is gray or colored, grows in patches and smells musty.
Step 6: Light and water
When the seedlings push up the cover, usually after 2 to 4 days, take it off and give them light.
- Window: a bright, south-facing window (north-facing in the Southern Hemisphere) works well from spring to autumn. Turn the tray daily so the shoots grow straight.
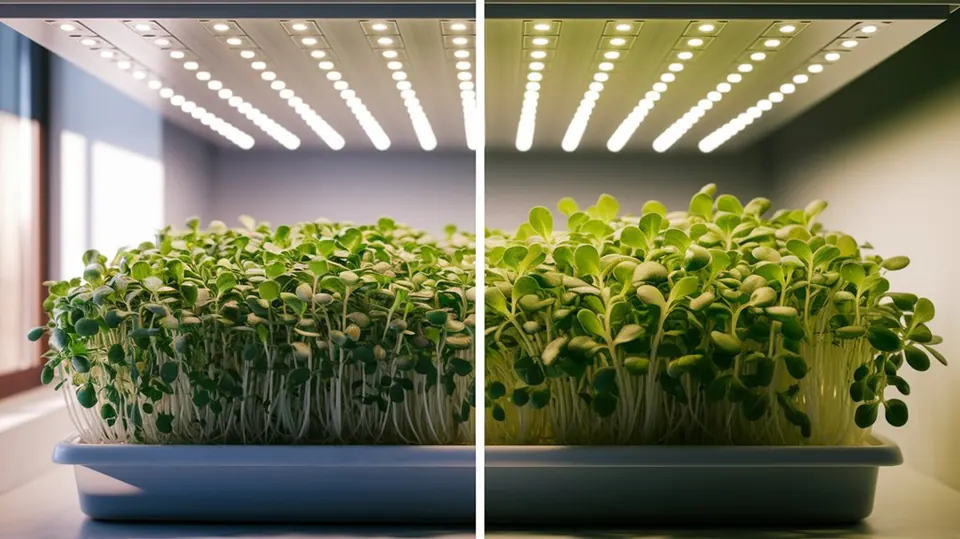
- Grow light: an LED shop light 2 to 4 inches (5 to 10 cm) above the tray, on for 12 to 16 hours a day, works year-round.
From now on, water from below. Pour about 1 cup of water into the solid tray, let the roots soak it up for 10 to 15 minutes, then tip out what's left. Watering from below keeps the leaves dry, which helps prevent mold. Most trays need watering once a day.
Step 7: Harvest
Most microgreens are ready when the seed leaves are fully open, and sometimes when the first true leaf starts to appear. That's 7 to 21 days depending on the crop.
Hold a handful of greens and cut them with sharp scissors about ½ inch (1 cm) above the soil. Cut only what you'll eat in the next few days. Uncut microgreens keep growing for a day or two after they peak.
Most microgreens don't regrow. When the tray is finished, compost the roots and mix, wash the tray and start again. See how to harvest microgreens.
How to grow microgreens: a sample tray, day by day
Here's what a tray of radish microgreens looks like:
- Day0
Sow
Fill a tray with 1 inch of damp mix, sprinkle 25 to 35 g of radish seed evenly, press it in and mist.
- Day0–3
Blackout
Cover with a second tray. Mist once or twice a day. Root hairs appear around day 2.
- Day3
Uncover
When the seedlings lift the cover, remove it and move the tray into light.
- Day3–9
Light and water from below
Give bright light and water from below once a day. The stems turn pink and the leaves green.
- Day8–12
Harvest
Cut above the soil once the seed leaves are open. Store the greens dry in the fridge.
Storing microgreens
Cut microgreens keep 5 to 7 days in the fridge if they're dry. Store them in a container lined with a paper towel and rinse them just before eating. Wet microgreens rot fast. More tips in how to store microgreens.
Common problems and fixes
| Problem | Likely cause | Fix |
|---|---|---|
| Patchy germination | Uneven sowing, old seed, or seed dried out | Sow evenly, use fresh seed, mist during blackout |
| Mold on the soil or seeds | Too wet, sown too thick, still air | Water from below, sow a little thinner, run a small fan |
| Tall, floppy, pale greens | Not enough light | Move closer to a window or lower the light |
| Short, stunted greens | Too little water or too cold | Water from below daily. Keep them at 65 to 75°F (18 to 24°C) |
| Seed hulls stuck on leaves | No weight during blackout | Weight big seeds for the first few days. Mist the tops |
| Greens falling over at the base | Damping off from wet, warm, still conditions | Add airflow and better drainage. Start a new tray |
See 12 microgreen mistakes and microgreen pests and mold for more.
Keeping a steady supply
One tray goes a long way for one or two people. For a constant supply, sow a new small tray every 3 to 4 days. Mix fast crops like radish with slower ones like pea shoots so something is always ready. A 10 × 10 tray is a good size for a household.
Food safety
Microgreens are cut above the roots and grown with light and air, so they're usually seen as a lower risk than jar sprouts, which are eaten whole. They still grow in warm, damp conditions. Use clean trays, buy seed sold for sprouting or microgreens, water from below and wash your harvest before eating.
Next steps
- Pick your next crop from the Seed Library.
- Learn which crops to try next in types of microgreens.
- Put your harvest to work with our microgreens recipes.
- Want something faster? Try growing sprouts in a jar.
Frequently asked questions
How long do microgreens take to grow?
Most microgreens are ready in 7 to 14 days. Radish, broccoli and mustard are among the fastest, at about 8 to 12 days. Herbs like basil, cilantro and parsley are slow, taking 14 to 28 days.
Do microgreens need soil?
No. Microgreens grow well on hemp or jute mats and coco coir, and some grow hydroponically on water alone. Soil, such as a fine potting mix, is the most forgiving choice for beginners and gives the biggest harvests.
How much seed do I need per tray?
It depends on the seed. A 10 × 20 inch tray takes about 10 to 30 g of small seeds like broccoli, radish or kale, and 150 to 300 g of big seeds like peas and sunflower. See our seeding chart for each crop.
Do microgreens need a grow light?
Not always. A bright, south-facing window works in spring and summer. In winter or a dim room, an LED shop light about 2 to 4 inches above the tray, on for 12 to 16 hours a day, gives sturdier, greener plants.
How often should I water microgreens?
Usually once a day. Before they sprout, keep them moist by misting. After the blackout, water from below by pouring water into the solid tray underneath and letting the roots soak it up for 10 to 15 minutes.
Can you regrow microgreens after cutting?
Most microgreens don't regrow. The seedling has used the energy in its seed. Pea shoots can give a smaller second cut if you leave a leaf node. Most growers compost the roots and soil and start a new tray.
What's the easiest microgreen to grow?
Radish is the easiest for most beginners. It's fast, sprouts reliably and rarely fails. Broccoli, sunflower and pea shoots are also very beginner-friendly.

Written by Michael
A passionate sprouting professional sharing practical tips for growing sprouts and microgreens at home. More about Michael
Sources
- CropKing. Microgreen Seed Density Charts (seeding rates per 10 × 20 inch tray). Link