Why Are My Sprouts Slimy, Smelly, or Not Growing? (And How to Fix It)
Slimy, smelly, or stalled sprouts are almost always caused by one of four things: too much water sitting without draining, not enough rinsing, air that is too warm, or seeds that are past their best. In most cases, the fix is quick — and what looks like a serious problem (white fuzz, a faint smell) often turns out to be completely normal.
This guide walks through every common sprout problem, helps you identify what you are actually seeing, and gives you a clear fix for each one.
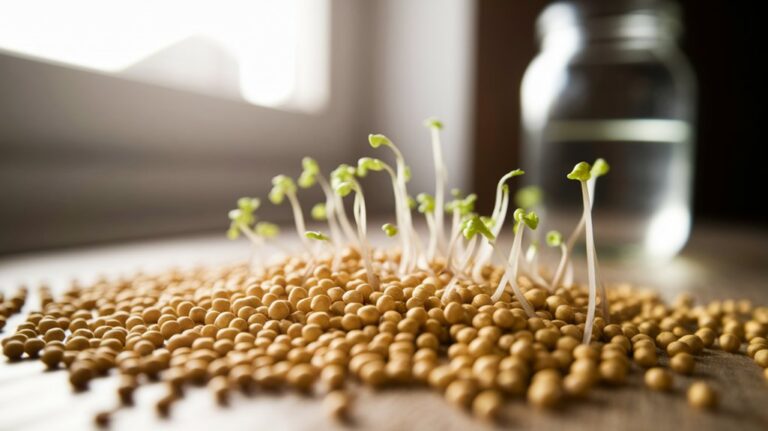
Growing your own sprouts is one of the most rewarding things you can do in a kitchen — a jar on the counter, a handful of seeds, and in five days you have something genuinely nutritious to eat.
But when something looks off, it is easy to panic. Is that white fuzz mold? Are these sprouts ruined? Should I throw the whole batch?
Nine times out of ten, the answer is no. Let us work through it together.
First: Is That White Fuzz Actually Mold?
This is the question every new sprouter asks, usually around day two or three when a fine white haze appears around the roots. Before you do anything else, check these two things.
Spray it with water. Root hairs — which are completely normal, healthy, and not mold — will practically disappear when wet. They are fine, silky filaments that cling to the root and carry moisture up to the seed. Mold will not disappear when sprayed. It will gather water droplets and stay put.
Smell it. Root hairs have no smell at all. Real mold has a damp, musty smell that is hard to miss once you know what you are looking for.
Look at where it is growing. Root hairs grow in a uniform pattern directly from the root, evenly spaced and pointing outward. Mold grows in all directions, like a cobweb, and can appear on the seed, the jar wall, or the growing medium — not just the root tip.
If the fuzz disappears when wet, smells like nothing, and grows only from the roots: it is root hairs. You are fine. Keep going.
If it stays wet, smells musty, and is spreading across the seeds or jar: that is mold, and you will find the fix a little further down.
Problem 1: Slimy Sprouts
What it looks like: The sprouts feel slippery or gel-like when you handle them, or there is a slimy film on the sides of the jar.
What causes it: Sliminess almost always comes from water sitting too long without draining. It can also happen when the room is too warm — warmth plus moisture is the perfect environment for bacterial growth, which produces that slick coating.
How to fix it:
Rinse with cold water right now, drain thoroughly, and tilt the jar at a 45-degree angle so any remaining water runs out and air can circulate freely. Move the jar somewhere cooler — a spot away from direct sunlight or heat sources.
Going forward, soak your seeds for no more than 8 hours before the first rinse (larger seeds like chickpeas up to 12), and rinse at least twice a day. After each rinse, drain completely. Never let water pool at the bottom of the jar.
If the sliminess is mild and the sprouts smell fine, they are usually still safe to eat after a thorough rinse. If the smell is bad or the texture has turned genuinely unpleasant, start a fresh batch.
Problem 2: Sprouts That Smell Bad
What it looks like: A sour, sulphurous, or generally unpleasant smell — somewhere between old water and a compost bin.
What causes it: A bad smell is usually a sign that bacteria are building up. This happens when sprouts are not rinsed often enough, when drainage is poor, when the room is too warm, or when too many seeds were packed into one jar (overcrowding traps heat and moisture).
How to fix it:
Rinse immediately with plenty of cold water and drain completely. Increase your rinsing to three times a day if you have been doing twice. Check that your jar is draining fully — it should be tilted, not sitting upright with water pooling at the base.
A mild, slightly earthy smell after a rinse is normal. The smell should clear almost immediately once the sprouts are drained and aired. If a strong smell persists after a thorough rinse, the batch has likely gone off and it is safer to start again.
One often-overlooked cause: the jar itself. Bacteria can linger in a jar that was not cleaned properly between batches. Before you start your next round, wash the jar with hot soapy water, rinse well, and let it air dry completely.
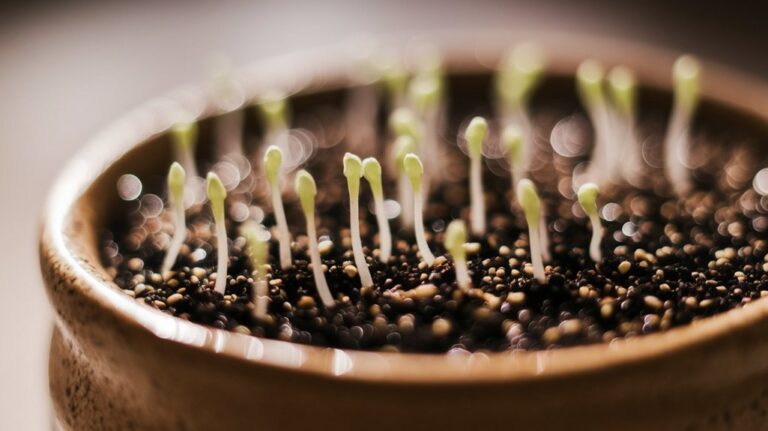
Problem 3: Seeds That Are Not Sprouting
What it looks like: Day three or four, and nothing much is happening. The seeds have swollen but no visible shoot has appeared.
What causes it: The most common culprits are old seeds past their germination window, water that is too cold, or not enough initial soaking before the first rinse.
How to fix it:
First, check your seeds. Sprouting seeds do not last forever — most have a germination window of one to three years when stored correctly in a cool, dry place. If your seeds are old or have been stored somewhere warm or damp, they may simply not have the energy to germinate. Fresh seeds from a reputable seed library are always worth the investment.
Second, check the temperature. Most seeds sprout best between 18°C and 24°C (65°F to 75°F). If your kitchen is particularly cold — especially in winter — move the jar somewhere slightly warmer. The top of the refrigerator (not inside it) works well, as does a spot near (but not directly on) a heat source.
Third, make sure the initial soak was long enough. Most seeds need 6 to 8 hours submerged in water before the first rinse. A shorter soak means the seed may not have absorbed enough water to trigger germination.
If none of these apply, try a quick germination test before committing a full jar: place ten seeds between two damp paper towels, fold them over, and check after 48 hours. If fewer than six have sprouted, your seeds are likely past their best.
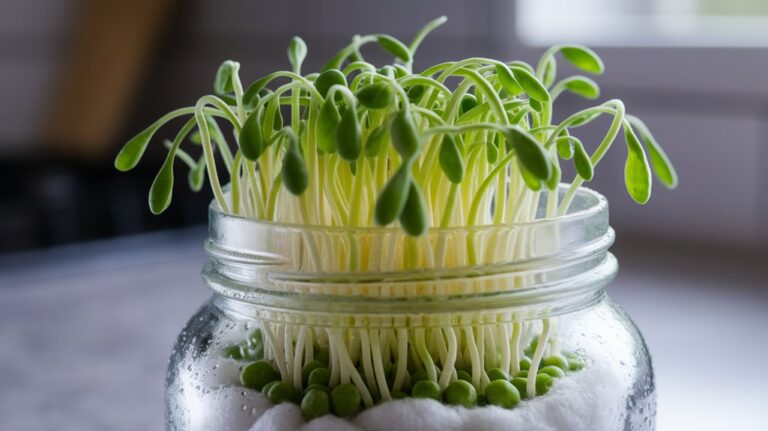
Problem 4: Sprouts Drying Out
What it looks like: The sprouts look wilted, feel papery or dry at the tips, and are not growing as fast as you would expect.
What causes it: Not enough rinsing, too much air circulation, or a location that is too warm and dry — a sunny windowsill in summer is a common culprit.
How to fix it:
Rinse more frequently and make sure you are using enough water each time — a good rinse means running water through the jar until the water runs clear, not a quick splash. After draining, keep the jar in a spot with indirect light and reasonable humidity.
Moving your jar away from direct sunlight and air vents usually solves this within a day.
Problem 5: Real Mold (When You Actually Have It)
What it looks like: Fuzzy patches that are grey, green, black, or pink in colour. A persistent musty smell. Growth that does not disappear when wet and is spreading beyond the root tips.
What causes it: Real mold needs warmth, moisture, and poor airflow to take hold. It can come from contaminated seeds, a jar that was not properly cleaned, or conditions that were consistently too warm and wet.
How to fix it:
Discard the batch. Rinsing mold off and continuing is not worth the risk — the spores are already through the batch by the time you can see surface growth.
Before starting again: sanitise your jar and sprouting lid with hot water and a small amount of white vinegar or diluted hydrogen peroxide, rinse thoroughly, and dry completely. Source fresh seeds if you suspect your current batch may be contaminated.
Then adjust your conditions: rinse twice daily with cold water, drain fully each time, keep the jar tilted, and find a cooler spot with better airflow. Most people who get repeated mold find the fix is simply moving the jar away from a warm corner of the kitchen.
Prevention Checklist: How to Sprout Without Problems Every Time
| Step | What to do |
|---|---|
| Jar prep | Wash and dry thoroughly between batches |
| Seed soak | 6–8 hours for small seeds, up to 12 for large legumes |
| Rinse frequency | At least twice a day; three times in warm weather |
| Water temperature | Use cold or room-temperature water — never warm |
| Drainage | Tilt the jar at 45° after every rinse |
| Location | Indirect light, good airflow, 18–24°C (65–75°F) |
| Seeds per jar | Fill no more than one-quarter of the jar with dry seeds |
| White fuzz test | Spray with water — root hairs vanish, mold does not |
| Smell check | A faint earthy smell is fine; musty or sour means trouble |
When to Start Over (And When to Keep Going)
Keep going if:
- The white fuzz disappears when sprayed with water
- The smell clears immediately after rinsing
- The sliminess is mild and the sprouts otherwise look healthy
Start a fresh batch if:
- The smell is strong and does not clear after a thorough rinse
- You see coloured mold (grey, green, black, or pink)
- The sprouts have gone mushy throughout, not just slimy on the surface
Starting over is not a failure — it is just part of learning. Most sprouters hit at least one bad batch before they find their rhythm. Once you do, the process becomes almost automatic.
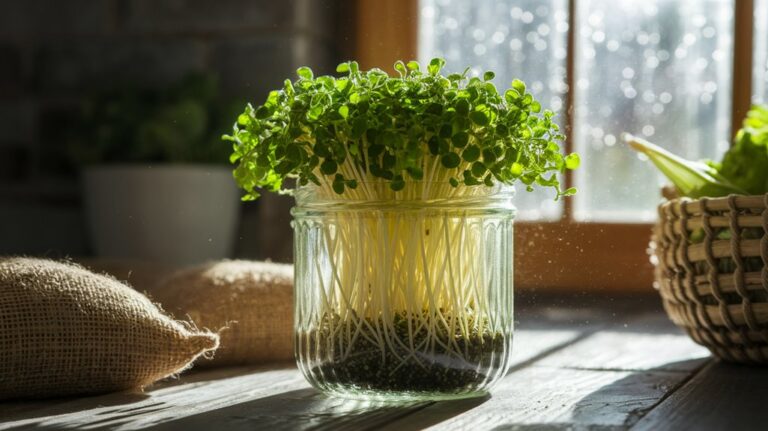
Ready to Grow a Batch That Goes Right?
If you are troubleshooting a current batch, the checklist above should get you back on track quickly.
If you are just starting out, the place to begin is with a step-by-step guide that walks you through soaking, rinsing, and harvesting before any of these problems can get a foothold.
⟶ Start with the step-by-step guide to growing sprouts at home — it covers equipment, timing, and the exact rinsing method that prevents most of these issues before they start.
⟶ Not sure which seeds to use? The seed library covers the easiest varieties for beginners, including which ones are the most forgiving if your conditions are not quite perfect yet.