How to Sprout Spelt
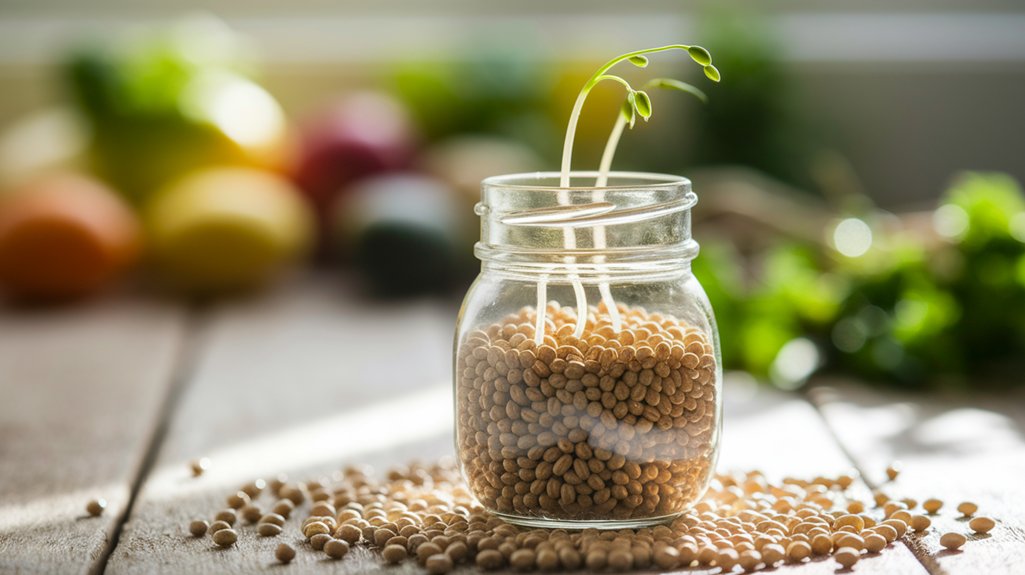
To sprout spelt, I rinse organic whole grain spelt and soak it in water for 8 to 12 hours. After draining, I place the grains in a sprouting jar or tray, covering them with a breathable cloth. I keep the jar in a warm spot and rinse the grains every 8-12 hours. Once the sprouts reach the desired length, I harvest them by cutting just above the roots. There’s much more to explore about sprouted spelt’s uses and benefits!
Key Takeaways
- Choose organic whole grain spelt for maximum nutrients and rinse thoroughly to remove dust and impurities.
- Soak the spelt in water for 8 to 12 hours to initiate the sprouting process.
- After soaking, drain the water and place the grains in a jar or sprouting tray covered with a breathable cloth.
- Rinse the grains every 8-12 hours while maintaining a temperature of 68°F to 75°F for optimal sprouting.
- Harvest the sprouts when they reach the desired length, rinsing them under cool water before usage.
What Is Spelt and Its Nutritional Benefits
As I delve into the world of grains, I find spelt to be a fascinating option due to its rich history and impressive nutritional profile.
Spelt, an ancient grain, is a distant cousin of modern wheat, boasting a nutty flavor and chewy texture. It’s packed with nutrients like protein, fiber, and essential vitamins such as B vitamins and iron.
What’s more, spelt contains a unique combination of gluten that’s often easier to digest for those with mild sensitivities. Its high fiber content aids digestion and helps maintain a healthy weight.
Incorporating spelt into your diet can enhance your meals while providing a wholesome boost. With its versatility, spelt can be used in various recipes, making it an excellent addition to any kitchen.
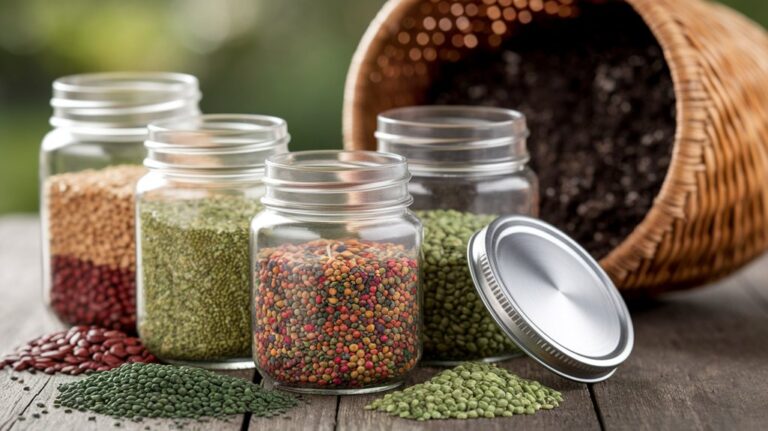
Choosing the Right Spelt for Sprouting
When choosing spelt for sprouting, I always recommend looking for organic options to avoid pesticides that could hinder the sprouting process.
It’s also important to select whole grain spelt, as this form retains the nutrients necessary for successful sprouting.
Organic vs. Conventional Spelt
Choosing between organic and conventional spelt can feel overwhelming, but understanding the differences will help you make an informed decision for sprouting.
Organic spelt is grown without synthetic pesticides or fertilizers, which means it’s generally considered healthier and better for the environment. When I choose organic, I feel good knowing I’m supporting sustainable farming practices.
On the other hand, conventional spelt may come at a lower price point and can be easier to find in some areas. However, it could potentially contain pesticide residues.
If you’re concerned about chemicals and prioritize environmental sustainability, organic is the way to go. Ultimately, the choice depends on your values, budget, and what you feel comfortable consuming.
Whole Grain Selection
Selecting the right whole grain spelt is crucial for successful sprouting. When I choose spelt, I always look for whole grains that are fresh and free from any signs of mold or damage.
Organic spelt is my go-to, as it’s less likely to contain pesticides and chemicals. I also prefer spelt that’s non-GMO, ensuring it’s as natural as possible.
I pay attention to the harvest date; fresher grains tend to sprout better. Look for grains with a hard, intact outer shell—this indicates quality.
When you’ve got the right spelt, remember to rinse it thoroughly before soaking. This helps remove any impurities, setting the stage for vibrant sprouts.
Making these informed choices will lead to a successful sprouting experience!
Preparing Spelt for Sprouting
Preparing spelt for sprouting is a straightforward process that sets the stage for healthy, nutritious sprouts.
First, I make sure to choose high-quality spelt grains, free from any contaminants. Next, I rinse the grains thoroughly under cold water to remove any dust or impurities.
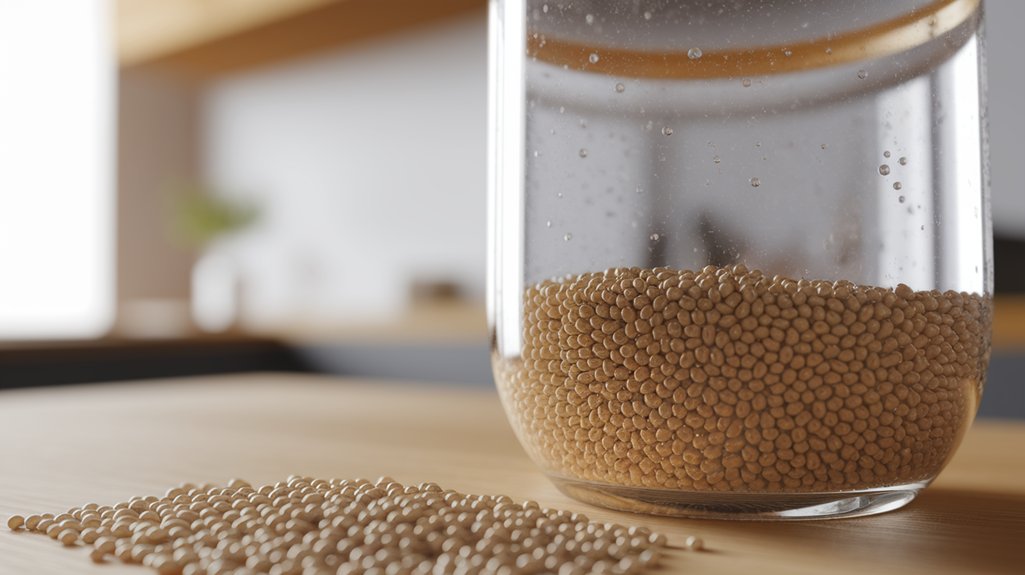
After rinsing, I soak the spelt in water for about 8 to 12 hours, allowing it to absorb moisture and swell. It’s crucial not to exceed the soaking time, as this can affect sprouting.
Once soaked, I drain the water and place the spelt in a jar or sprouting tray. I cover it with a breathable cloth to keep it ventilated.
Now I’m ready to start the sprouting process, ensuring my spelt is primed for growth!
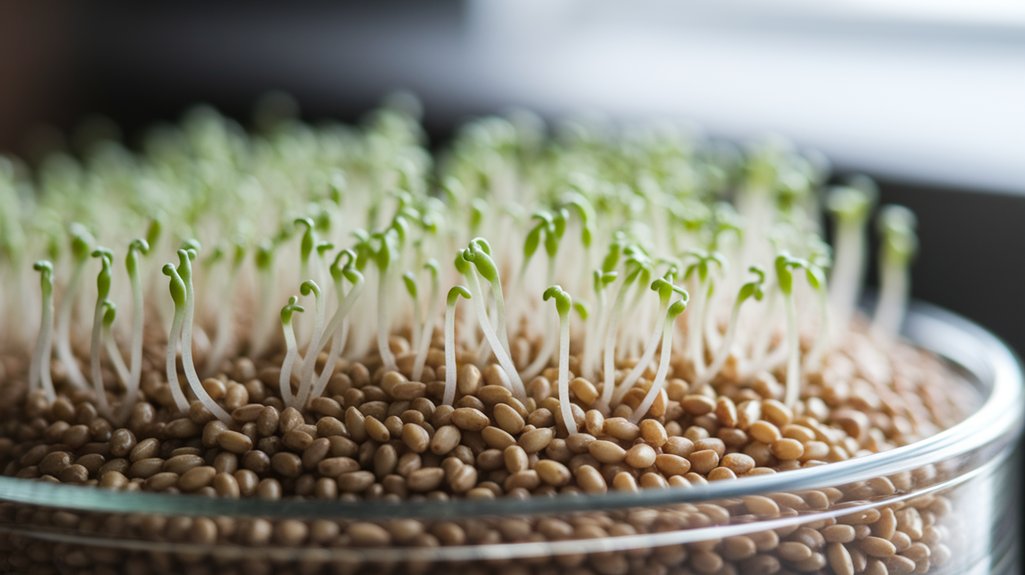
The Sprouting Process
Now that we’ve prepared our spelt, let’s move on to the sprouting process.
I’ll share tips on selecting quality grains, effective soaking and rinsing techniques, and the ideal conditions for sprouting.
These steps are crucial for ensuring healthy sprouts and maximizing their nutritional benefits.
Selecting Quality Spelt Grains
When I choose spelt grains for sprouting, I look for high-quality seeds that are whole, unprocessed, and free from any damage or mold.
It’s important to check the packaging for the harvest date, as fresher grains tend to sprout better. I also prefer organic spelt, as it’s less likely to have been treated with chemicals.
A visual inspection is key; I sift through the grains to ensure there are no discolored or shriveled seeds.
If possible, I buy from a reputable source or local farmers’ markets, where I can ask questions about their growing practices.
Soaking and Rinsing Techniques
To successfully sprout spelt, I start with a simple soaking and rinsing technique that’s essential for activating the seeds. First, I rinse the spelt grains under cool running water to remove any debris. Then, I soak them in a bowl of filtered water for about 8 hours. After soaking, I drain the water and rinse the grains again to ensure they’re clean. This process kickstarts the germination.
Here’s a quick overview of the steps:
| Step | Action | Duration |
|---|---|---|
| Rinse | Cool running water | 2 minutes |
| Soak | Filtered water | 8 hours |
| Rinse again | Cool running water | 2 minutes |
Following these techniques ensures my spelt is ready for sprouting!
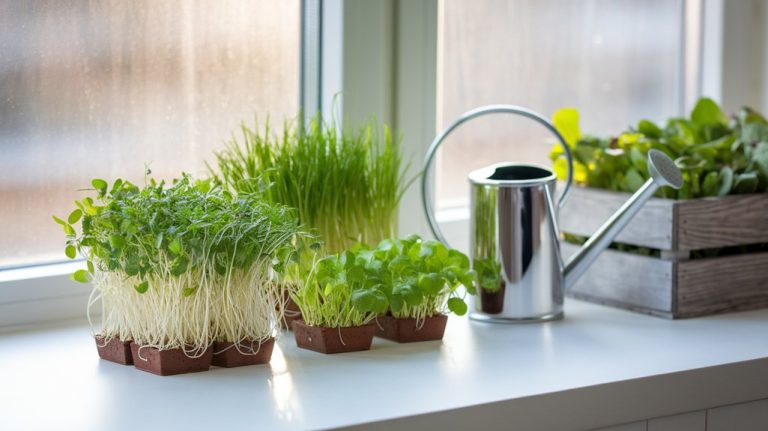
Ideal Sprouting Conditions
After rinsing and soaking the spelt, it’s time to create the ideal conditions for sprouting. Ensuring the right environment is crucial for successful sprouting. Here’s what I focus on:
- Temperature: Keep the spelt at a warm room temperature, ideally between 68°F and 75°F (20°C to 24°C). This warmth encourages germination.
- Moisture: Rinse the spelt every 8-12 hours to maintain moisture. They need to stay damp but not waterlogged, as excess water can lead to mold.
- Airflow: Use a sprouting jar or a breathable cloth to allow airflow. This prevents stagnation and promotes healthy growth.
How to Rinse and Drain Spelt
Rinsing and draining spelt is a crucial step in the sprouting process that ensures you start with clean grains.
First, I place the spelt in a fine-mesh sieve or colander. I rinse it thoroughly under cool running water, giving it a gentle shake to remove any debris. This helps wash away dust and impurities.
Next, I let the water drain completely, ensuring no excess moisture remains, which can lead to mold during sprouting. I often tap the sieve lightly to help the water escape.
Once drained, I transfer the spelt to a sprouting jar or container. This simple rinsing and draining process sets the stage for healthy sprouts, so don’t skip it!
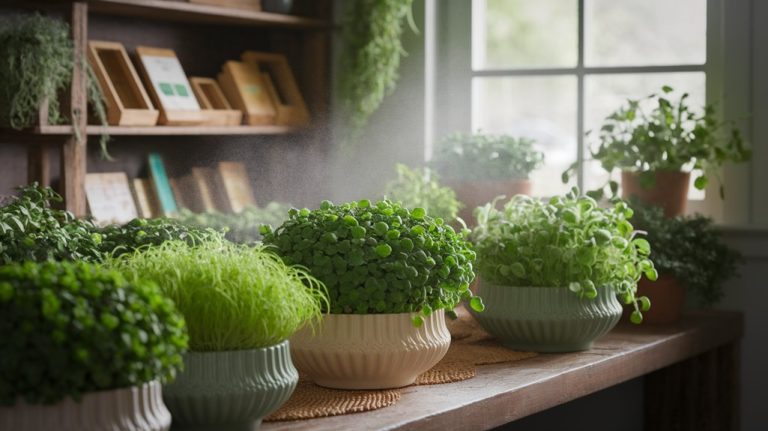
Monitoring Sprout Growth
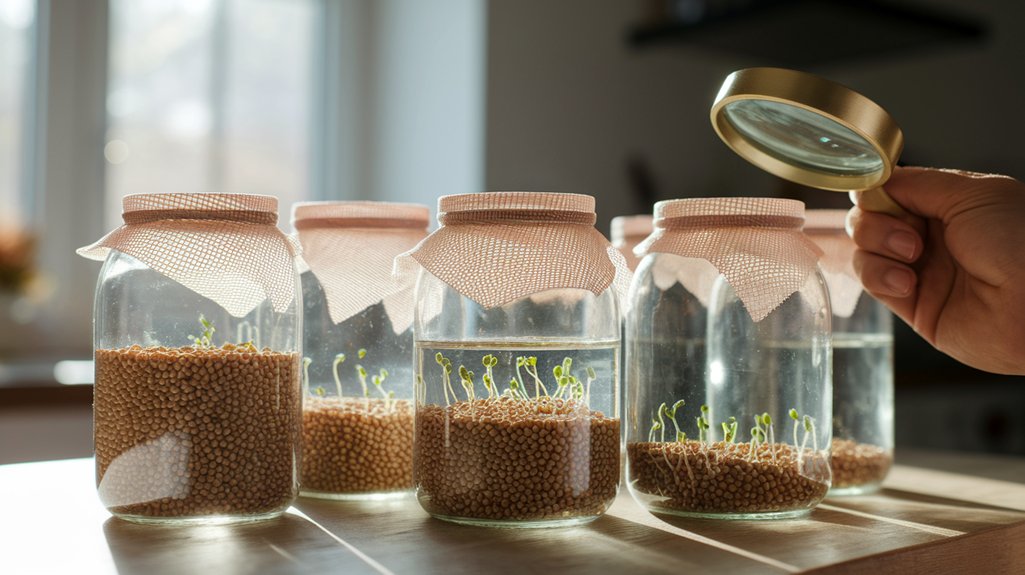
As I watch the spelt begin to sprout, it’s essential to monitor its growth closely to ensure healthy development.
Keeping an eye on these little sprouts helps me catch any issues early on. Here are three key things I focus on:
- Moisture Levels: I check that the sprouts remain damp but not waterlogged. Too much moisture can lead to mold, while too little can hinder growth.
- Temperature: I maintain a warm environment, ideally between 65-75°F (18-24°C), to encourage optimal sprouting.
- Light Exposure: I provide indirect light, as too much direct sunlight can dry out the sprouts or overheat them.
Harvesting Your Sprouted Spelt
When I see that my spelt sprouts have reached the desired length, it’s time to harvest them. I gently rinse the sprouts under cool water to remove any debris or residue.
Using a clean pair of scissors, I cut the sprouts just above the roots, ensuring I don’t damage them. It’s crucial to do this in the morning or early afternoon when they’re at their freshest.
After cutting, I spread the sprouts out on a clean towel to air dry for a bit. Once they’re dry, I store them in a breathable container.
Storing Sprouted Spelt
After harvesting my sprouted spelt, storing them properly is key to maintaining their freshness and nutritional value.
I’ve found that following a few simple steps can make a big difference in how long they last.
- Use Airtight Containers: I store my sprouted spelt in airtight glass jars to prevent moisture and keep out pests.
- Refrigerate or Freeze: For longer storage, I keep them in the fridge for up to a week or freeze them for several months. Just make sure they’re completely dry before freezing.
- Label and Date: I always label my containers with the date to keep track of freshness, ensuring I use them in a timely manner.
Creative Ways to Use Sprouted Spelt
Discovering creative ways to use sprouted spelt has transformed my cooking and meal prep. Here are some of my favorite methods that you might find helpful:
| Use Case | Description |
|---|---|
| Sprouted Spelt Salad | Toss with greens and vinaigrette. |
| Breakfast Porridge | Cook with almond milk and fruit. |
| Healthy Breads | Substitute in your favorite recipes. |
| Stir-Fry Addition | Add to veggie stir-fries for crunch. |
| Energy Bars | Mix with nuts and honey for snacks. |
These ideas not only boost nutrition but also add a delightful texture and flavor to your meals. Give them a try, and you might just fall in love with sprouted spelt like I have!
Frequently Asked Questions
Conclusion
In conclusion, sprouting spelt is a simple and rewarding process that enhances its nutritional value and flavor. By following the steps outlined, you can easily grow your own sprouts at home. Once you’ve harvested them, don’t hesitate to get creative in the kitchen—sprouted spelt adds a nutritious boost to salads, sandwiches, and various dishes. Enjoy experimenting with this versatile ingredient and savor the benefits of home-grown goodness!