The Ultimate Guide to Boosting Immunity With Microgreens
When I discovered microgreens, it changed my approach to nutrition. These tiny greens are nutrient powerhouses, packed with vitamins and antioxidants that can boost your immune system. Varieties like broccoli and kale are especially rich in immune-enhancing compounds. Growing them at home is easy and rewarding, allowing for fresh additions to meals. You’ll find that incorporating these microgreens into your diet can significantly enhance your health. There’s so much more to explore about their benefits, so let’s dive deeper!
Key Takeaways
- Microgreens like broccoli and kale are nutrient-dense, providing high concentrations of vitamins A, C, and K essential for immune health.
- Rich in antioxidants, microgreens help combat oxidative stress and inflammation, supporting overall immunity.
- Broccoli microgreens contain up to 50 times more sulforaphane than mature broccoli, enhancing the immune response significantly.
- Incorporate a variety of microgreens, such as radish and sunflower, to diversify flavors and boost the nutritional profile of meals.
- Proper storage methods, like using a paper towel-lined box, help maintain freshness and nutritional value of microgreens for longer periods.
Understanding Microgreens: What They Are and Why They Matter
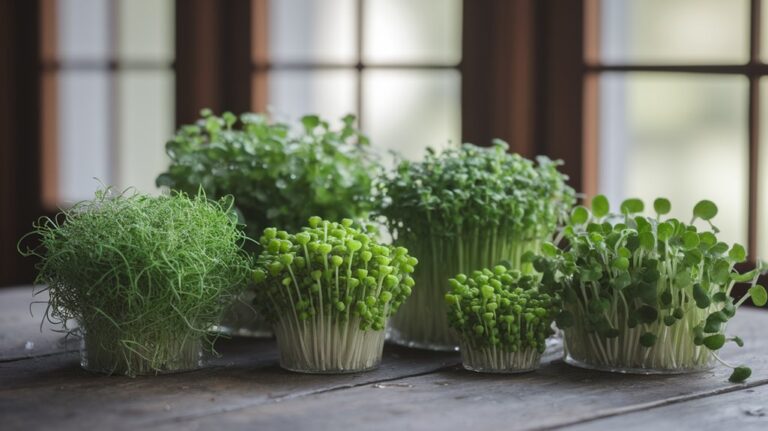
Although you may have encountered them in salads or as garnishes, microgreens are more than just a trendy addition to your plate; they’re packed with nutrients that can significantly boost your immunity.
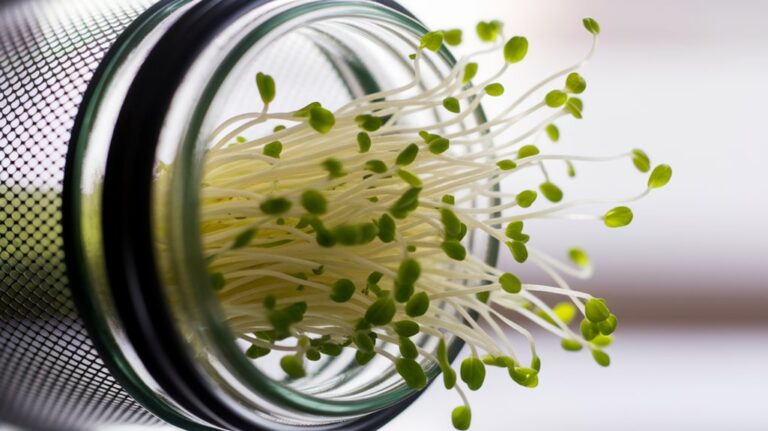
These tiny greens, harvested just after their first true leaves develop, include varieties like radish, beet, and sunflower. I find them fascinating because they’re not only flavorful but also nutrient-dense.
Research shows that microgreens contain higher concentrations of vitamins and minerals compared to their mature counterparts. This means that incorporating them into your meals can enhance your overall health.
Plus, they’re easy to grow at home, making them an accessible option for anyone looking to elevate their diet. Trust me, once you try them, you’ll want to add microgreens to everything!
The Nutritional Profile of Microgreens
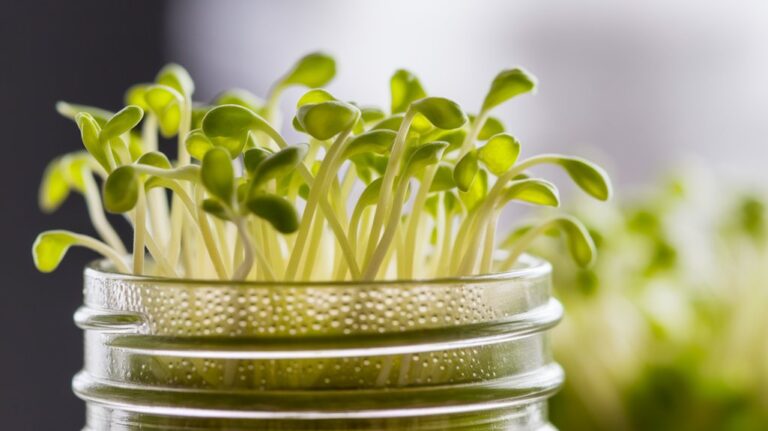
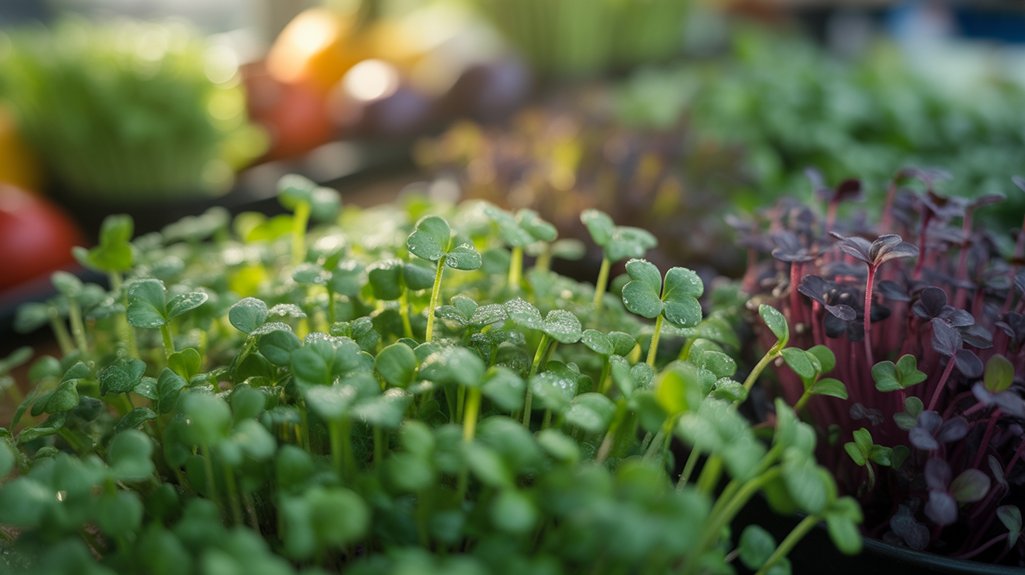
Microgreens are little powerhouses of nutrition that can transform your diet. Packed with vitamins, minerals, and antioxidants, they often contain higher nutrient concentrations than their mature counterparts.
For instance, studies show that varieties like broccoli microgreens boast up to 50 times more sulforaphane, a compound known for its immune-boosting properties. These tiny greens are also rich in vitamins A, C, E, and K, which play crucial roles in maintaining a healthy immune system.
Plus, their vibrant colors indicate a wealth of phytochemicals that combat oxidative stress. Incorporating microgreens into your meals isn’t just about adding flavor; it’s a simple way to elevate your nutrient intake, making each bite a step toward better health.
You won’t want to miss out on these nutritional gems!
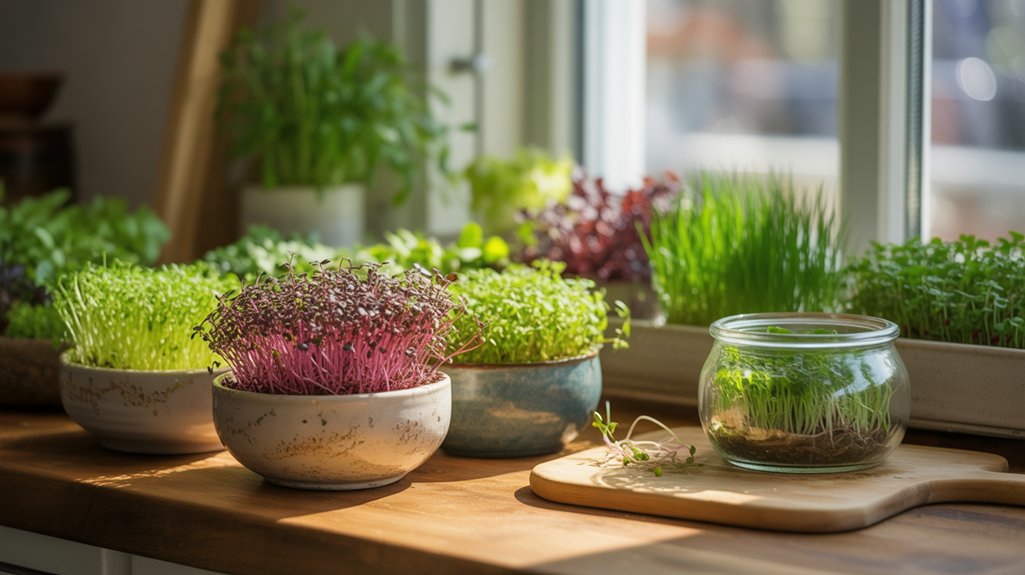
Top Immune-Boosting Microgreens to Include in Your Diet
When it comes to fortifying your immune system, certain microgreens stand out as top contenders. One of my favorites is broccoli microgreens, packed with sulforaphane, which has been shown to boost immune response.
Then there’s kale microgreens, rich in vitamins A, C, and K, which support overall health. I also love adding radish microgreens to my meals; they contain antioxidants that help reduce inflammation.
Sunflower microgreens are another excellent choice, offering zinc and vitamin E to strengthen immunity. Finally, don’t overlook beet microgreens, as they’re high in betalains, which can enhance your body’s defenses.
Incorporating these vibrant microgreens into your diet not only elevates your meals but also enhances your immune health effectively.
How Microgreens Support Immune Function
While many foods claim to boost immunity, I find that microgreens offer a potent and concentrated source of nutrients that can truly support immune function.
These tiny greens are packed with vitamins A, C, and E, which are crucial for maintaining a robust immune response. Research shows that the antioxidants found in microgreens, such as sulforaphane and quercetin, help combat oxidative stress and inflammation, both of which can weaken our immune system.
Furthermore, microgreens contain essential minerals like zinc and iron, vital for the development and function of immune cells.
Easy Ways to Grow Microgreens at Home
Growing microgreens at home is easier than you might think, and it starts with choosing the right seeds that suit your taste and nutritional needs.
I’ve learned that providing ideal growing conditions is crucial for a bountiful harvest, and knowing how to properly harvest and store them ensures they stay fresh longer.
Let’s explore these simple steps to get you started on your microgreens journey!
Choosing the Right Seeds
Choosing the right seeds for microgreens can make all the difference in your home gardening experience.
I’ve found that opting for organic seeds not only boosts the nutritional value but also reduces exposure to pesticides. Look for varieties known for their health benefits, like broccoli, radish, and kale. These seeds germinate quickly and grow robustly, ensuring a rich harvest.
It’s also essential to consider your taste preferences; if you love spicy flavors, go for mustard greens. I recommend checking seed catalogs for information on germination times and flavor profiles.
Remember, starting with high-quality seeds sets the foundation for a successful microgreen garden, helping you enjoy fresh, nutrient-packed greens right at home.
Happy gardening!
Ideal Growing Conditions
After selecting the right seeds, the next step is ensuring your microgreens thrive in ideal growing conditions.
I’ve found that the perfect environment typically includes a temperature between 60-75°F (15-24°C). They need plenty of light too—around 12-16 hours a day. If natural sunlight isn’t an option, consider using grow lights.
Humidity is crucial, so misting the soil lightly helps maintain moisture without overwatering. I often cover my trays with a lid or plastic wrap until the seeds germinate, creating a mini-greenhouse effect.
Make sure to use a well-draining soil mix and avoid letting the roots sit in water. By providing these conditions, I’m rewarded with vibrant, nutrient-packed microgreens ready to boost my immunity.
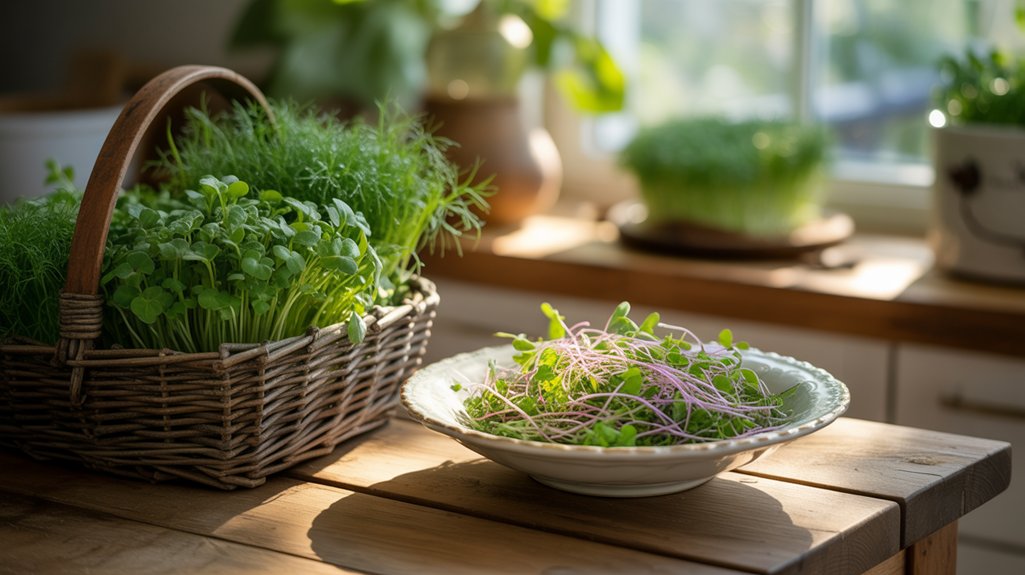
Harvesting and Storing Tips
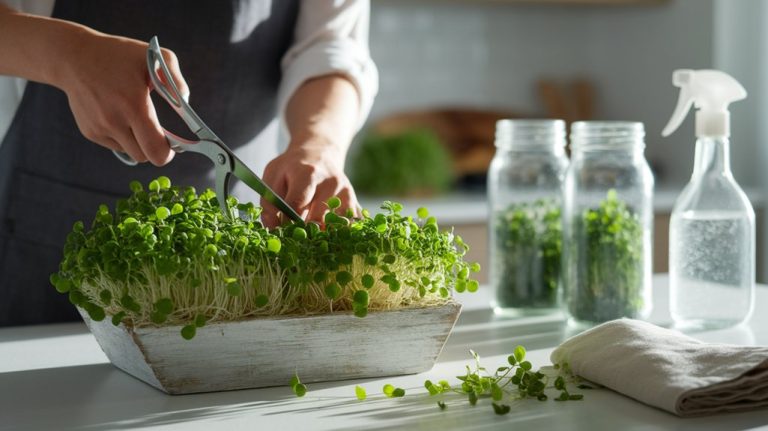
When it’s time to harvest your microgreens, I find that timing is everything. Typically, I wait about 7 to 21 days after sowing, depending on the variety. You’ll know they’re ready when they reach about 2-3 inches tall and have their first true leaves.
To harvest, I use clean scissors and snip just above the soil line, ensuring a clean cut that minimizes damage.
For storage, I place the harvested microgreens in a breathable container lined with a damp paper towel. This keeps them fresh and crisp for about a week in the fridge.
Remember to avoid washing them until you’re ready to use them. Proper harvesting and storage can enhance their flavor and nutritional value, giving you the best possible boost to your immunity!
Incorporating Microgreens Into Your Meals
Incorporating microgreens into my meals has been a game changer for both flavor and nutrition.
I love how easily they can enhance a salad or serve as a vibrant garnish for various dishes.
Let’s explore some simple ways to add these nutrient-packed greens to your everyday cooking.
Easy Meal Additions
While I enjoy experimenting in the kitchen, adding microgreens to my meals has proven to be one of the simplest ways to boost both flavor and nutrition. These tiny greens pack a punch of vitamins and antioxidants, making them an ideal addition to various dishes. Here are some easy ways I incorporate them into my meals:
| Meal Type | Microgreens to Add |
|---|---|
| Sandwiches | Arugula or Radish |
| Smoothies | Spinach or Pea Shoots |
| Omelets | Basil or Cilantro |
| Tacos | Mustard Greens or Beet |
| Pasta | Broccoli or Sunflower |
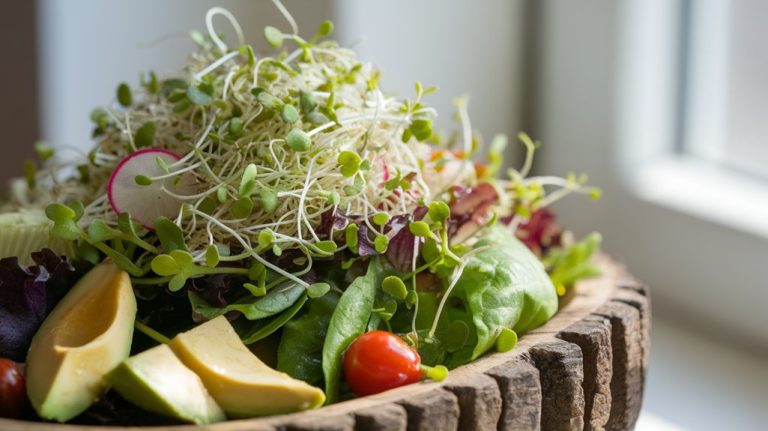
Creative Salad Enhancements
Salads can often feel routine, but adding microgreens transforms them into vibrant, nutrient-rich creations. I love experimenting with these tiny powerhouses to elevate my salads.
Here are some creative ways I incorporate microgreens:
- Layering Textures: I mix crunchy microgreens like radish with softer ones like pea shoots for a delightful mouthfeel.
- Color Pop: I choose colorful varieties, such as purple basil or red cabbage microgreens, to brighten up my plate visually.
- Nutrient Boost: I sprinkle nutrient-dense microgreens like broccoli or kale, which are packed with vitamins and antioxidants.
- Diverse Flavors: I explore unique tastes by adding spicy arugula or zesty mustard greens, enhancing the overall flavor profile.
Using microgreens not only boosts nutrition but also makes salads more exciting!
Flavorful Garnish Options
Microgreens are versatile little wonders that can elevate the flavor of almost any dish. I love using them as vibrant garnishes that not only enhance taste but also pack nutritional benefits. Whether I’m whipping up a soup, sandwich, or even a main course, microgreens add that extra zing.
Here’s a quick guide on some popular microgreens and their flavor profiles:
| Microgreen | Flavor Profile |
|---|---|
| Arugula | Peppery and spicy |
| Basil | Sweet and aromatic |
| Radish | Crisp and tangy |
| Pea Shoots | Sweet and fresh |
Recipes Featuring Immune-Boosting Microgreens
Incorporating immune-boosting microgreens into your meals can transform your cooking and elevate your health.
These tiny greens pack a powerful nutritional punch, and they’re incredibly versatile.
Here are four delicious recipes to try:
- Microgreen Salad: Toss together arugula, radish, and sunflower microgreens with a lemon vinaigrette for a refreshing side.
- Smoothie Booster: Blend spinach microgreens with banana, almond milk, and a scoop of protein powder for a nutrient-rich breakfast.
- Pesto Delight: Substitute basil with pea shoot microgreens in your favorite pesto recipe for a new twist.
- Savory Omelette: Whisk eggs with broccoli microgreens, tomatoes, and cheese for a hearty, immune-boosting breakfast.
These recipes are a simple way to enhance both flavor and nutrition!
Tips for Storing and Preserving Microgreens
When I first began incorporating microgreens into my diet, I quickly realized that proper storage is key to maintaining their freshness and nutritional value. To keep them vibrant, I recommend storing microgreens in a breathable container, like a paper towel-lined box. This absorbs excess moisture, preventing mold. Additionally, I always place them in the refrigerator’s crisper drawer, where humidity levels are optimal.
Here’s a quick reference table for effective storage:
| Storage Method | Duration | Tips |
|---|---|---|
| Paper Towel Wrap | 5-7 days | Keep in a container |
| Plastic Bag | 3-5 days | Use vented bags |
| Airtight Container | 7-10 days | Don’t overcrowd |
| Water Jar | 1-2 weeks | Change water daily |
| Freezing | 6 months | Blanch before |
Following these tips ensures my microgreens stay delicious and nutritious!
Frequently Asked Questions
Can Microgreens Replace Traditional Vegetables in My Diet?
I wouldn’t say microgreens can completely replace traditional vegetables in my diet, but they definitely complement them.
Microgreens pack a concentrated dose of nutrients, making them a fantastic addition to meals. However, traditional veggies offer a wider variety of fiber and vitamins that are essential for overall health.
I like to incorporate both; it ensures I get a balanced intake of nutrients while enjoying diverse flavors and textures in my meals.
Are There Any Side Effects of Consuming Microgreens?
Yes, there can be side effects from consuming microgreens, though they’re generally safe.
I’ve noticed some people might experience digestive discomfort if they eat too many at once. Additionally, certain varieties, like alfalfa, can pose risks for those with allergies or specific health conditions.
It’s important to wash them properly to avoid contamination. Listening to your body and moderating your intake can help you enjoy the benefits without any unpleasant reactions.
How Do I Choose the Best Quality Microgreens?
To choose the best quality microgreens, I always look for vibrant colors and fresh leaves.
I check for any signs of wilting or discoloration, which can indicate poor quality.
I prefer organic options, as they’re free from harmful pesticides.
It’s also important to buy from reputable sources or local growers, as they often have fresher stock.
Finally, I trust my instincts—if something doesn’t look or smell right, I won’t hesitate to pass.
Can I Grow Microgreens in Any Climate?
Absolutely, you can grow microgreens in almost any climate!
I’ve had success growing them indoors, where I can control the temperature and light. If you’re in a cooler area, just make sure to keep them warm with a heat mat.
In warmer climates, a bit of shade can prevent them from wilting.
With the right setup, you can enjoy fresh microgreens year-round, no matter the weather outside.
Give it a try!
What Are the Best Practices for Washing Microgreens?
When I wash microgreens, I start by filling a bowl with cool water. I gently submerge the greens, swishing them around to dislodge any dirt.
After a minute, I lift them out, letting the soil settle at the bottom. Then, I rinse them under running water for a quick clean.
Finally, I pat them dry with a clean towel or use a salad spinner. This method keeps my microgreens fresh and safe to eat!
Conclusion
Incorporating microgreens into my diet has been a game changer for my immune health. Their rich nutritional profile and potent antioxidants make them an easy and delicious addition to meals. Whether I’m growing them at home or adding them to recipes, I’ve noticed a real boost in my overall well-being. So, why not give it a try? By embracing these tiny powerhouses, you can enhance your immunity and enjoy vibrant flavors in every bite!