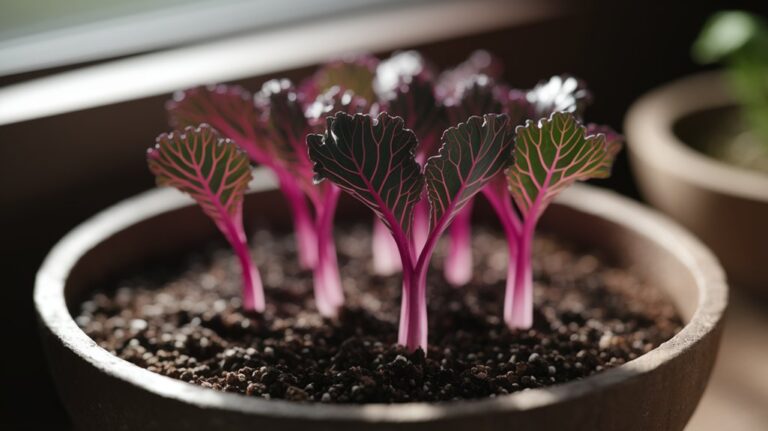
Sprouting Made Simple: Foolproof Tips for Growing Mung Bean Sprouts at Home
To sprout mung beans at home, I start by selecting fresh, vibrant green beans, avoiding any that are discolored or wrinkled. I use a wide-mouth glass jar with a breathable cover for rinsing and draining. After rinsing the beans thoroughly, I drain them and repeat this three times a day for about five to seven days in a warm, dark spot. Finally, I harvest and store my sprouts in the fridge. There are even more tips to enhance my sprouting experience.
Key Takeaways
- Select fresh, vibrant green mung beans and avoid any that are wrinkled or discolored for the best results.
- Use a wide-mouth glass jar with a breathable cover to facilitate rinsing and draining effectively.
- Rinse and drain beans three times a day to maintain optimal moisture and encourage sprouting.
- Keep the beans in a warm, dark location with temperatures between 70°F and 85°F for ideal germination.
- Harvest sprouts when they reach 2-4 inches, rinse thoroughly, and store in a breathable container in the refrigerator.
Selecting the Right Mung Beans
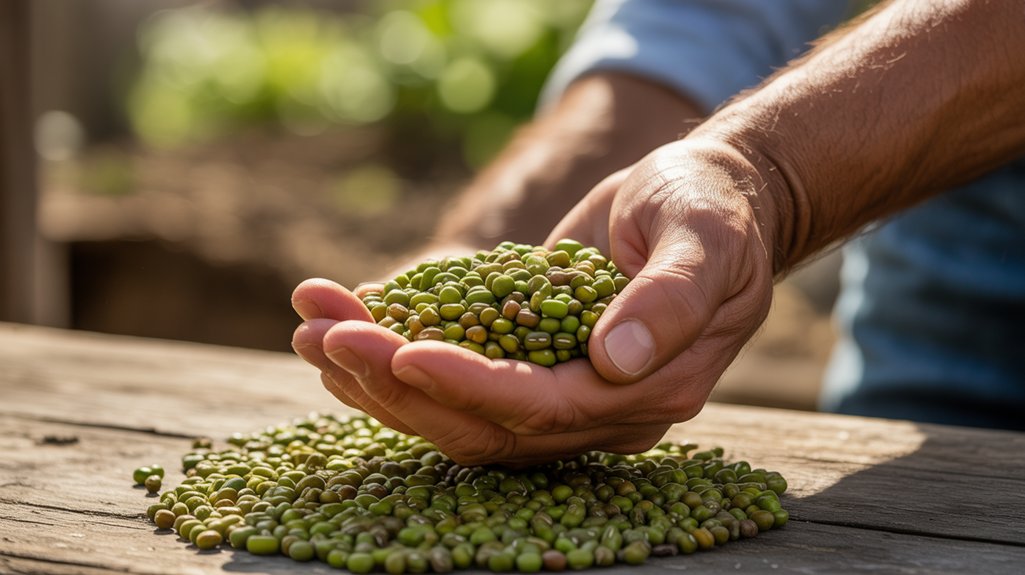
When it comes to selecting the right mung beans, how do you ensure you’re picking the best quality for sprouting? First, I always check for freshness; look for beans with a vibrant green color and a firm texture. Avoid any that appear wrinkled or discolored, as these are signs of aging or damage.
Next, I recommend choosing organic mung beans whenever possible, as they’re less likely to contain harmful pesticides. It’s also crucial to inspect the packaging for any signs of moisture or pests, which can compromise the beans’ viability.
Lastly, I often buy from reputable suppliers to guarantee quality. By following these guidelines, you’ll increase your chances of successful sprouting and enjoy nutritious, delicious mung bean sprouts.
Essential Equipment for Sprouting
To successfully sprout mung beans, you’ll need a few essential pieces of equipment that streamline the process and enhance results.
First, a wide-mouth glass jar is ideal for rinsing and draining the beans, allowing for optimal airflow.
Next, a mesh lid or cheesecloth secures the jar, ensuring proper drainage while preventing debris from entering.
I also recommend a bowl to catch excess water during rinsing.
A spray bottle is handy for misting the beans, maintaining moisture without over-saturation.
Lastly, a dark, warm location, such as a cupboard, helps the beans germinate effectively.
With these items, you’ll create the perfect environment for your mung bean sprouts to thrive!
Step-by-Step Sprouting Process

To start the sprouting process, I first gather all necessary supplies, including mung beans, a jar, and a breathable cover.
Next, I rinse the beans thoroughly and drain them to remove any impurities.
Regular rinsing and draining are crucial to ensure optimal moisture levels for successful sprouting.
Gather Necessary Supplies
Before I dive into sprouting mung beans, I gather essential supplies to ensure a smooth process.
Having the right tools on hand makes all the difference. Here’s what I typically grab:
- Mung beans: Fresh, organic seeds for optimal growth.
- A glass jar: I prefer a quart-sized jar for easy viewing and rinsing.
- Cheesecloth or mesh lid: This allows for airflow while keeping the beans secure.
- Rubber band: To hold the cheesecloth in place over the jar opening.
- Water: Clean, filtered water is crucial for rinsing and soaking.
With these supplies ready, I’m set to start the sprouting process efficiently and effectively!
Rinse and Drain Regularly
As I embark on the sprouting process, rinsing and draining the mung beans regularly is crucial for their growth.
I start by rinsing the beans with cool water three times a day. This not only removes any residual starch but also helps prevent mold. After rinsing, I drain the beans thoroughly to eliminate excess moisture, which can lead to spoilage.
I use a fine-mesh strainer for this task, ensuring that no beans escape. I then place the strainer in a bowl to catch any drips. Maintaining this schedule is vital; it keeps the environment humid yet not overly wet.
In about five to seven days, I’ll notice the tiny sprouts emerging, a rewarding sign of successful sprouting!
Optimal Growing Conditions
To successfully sprout mung beans, I find it’s crucial to maintain the ideal temperature range between 70°F and 85°F.
Additionally, they thrive under indirect light to avoid overheating, while consistent humidity levels of around 50-70% support their growth.
Understanding these conditions will significantly enhance your sprouting results.
Ideal Temperature Range
While sprouting mung beans can be a rewarding experience, achieving the ideal temperature range is crucial for optimal growth. I’ve found that maintaining a temperature between 70°F and 85°F (21°C to 29°C) significantly enhances sprouting success.
At these temperatures, the beans germinate quickly and develop robust sprouts. If temperatures dip below 60°F (15°C) or rise above 90°F (32°C), you may encounter slower growth or even spoilage.
Here are some specifics to consider:
- Warmth: Ideal warmth accelerates germination.
- Humidity: A humid environment helps prevent drying out.
- Ventilation: Proper airflow prevents mold.
- Consistency: Keeping a steady temperature is vital.
- Monitoring: Regular checks ensure optimal conditions.
With the right temperature, your mung beans will thrive!
Light Requirements
Mung beans require a specific light exposure to sprout effectively, and I’ve found that providing them with about 12 to 14 hours of indirect sunlight each day yields the best results.
Direct sunlight can be too harsh, causing overheating and stunted growth, so I always opt for a bright, shaded area. If natural light is limited, using fluorescent grow lights can be an excellent alternative.
I place the lights about 12 inches above the sprouts, ensuring they receive adequate illumination without burning. I also rotate the sprouts daily to promote even light distribution.
Monitoring the light conditions helps me gauge their growth, making adjustments as necessary to ensure they thrive and develop into healthy, vibrant sprouts.
Humidity Levels
After ensuring the right light exposure, maintaining optimal humidity levels is another key factor in sprouting mung beans successfully.
Mung beans thrive in a humid environment, ideally between 70-80% humidity. Too little humidity can dry out the seeds, while excessive moisture can lead to mold.
Here are some tips to maintain the right humidity:
- Use a damp cloth: Cover your sprouting container to retain moisture.
- Mist regularly: Lightly spray the sprouts with water to keep them hydrated.
- Choose the right container: Use a jar with drainage holes for airflow.
- Monitor the environment: Keep sprouts in a warm, humid room.
- Avoid direct water: Ensure the seeds aren’t sitting in water to prevent rot.
With these tips, you’ll create the perfect humidity for healthy sprouts!
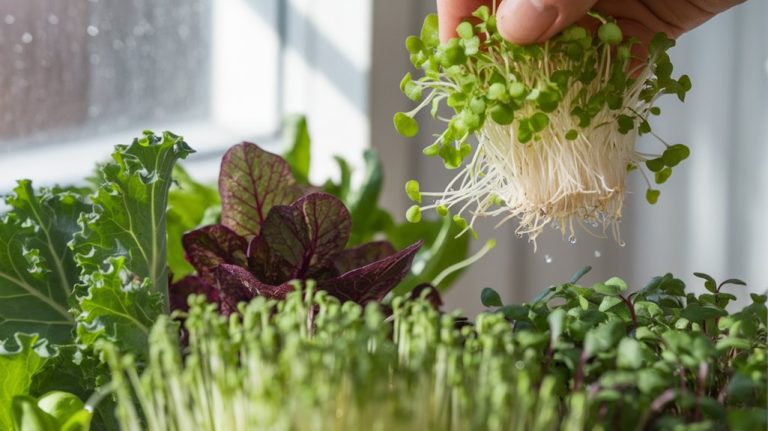
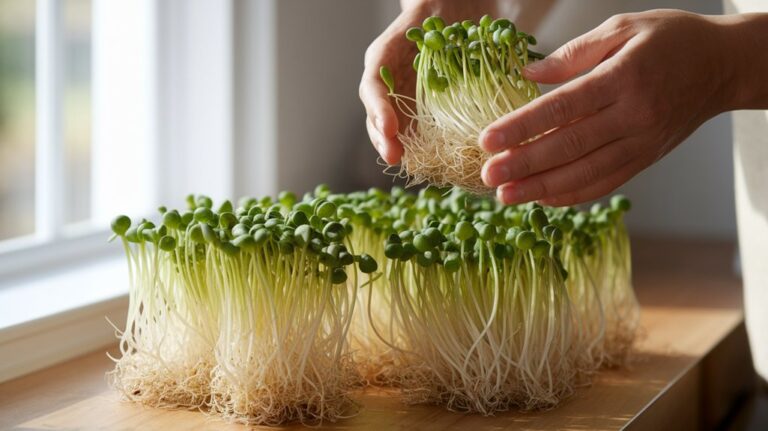
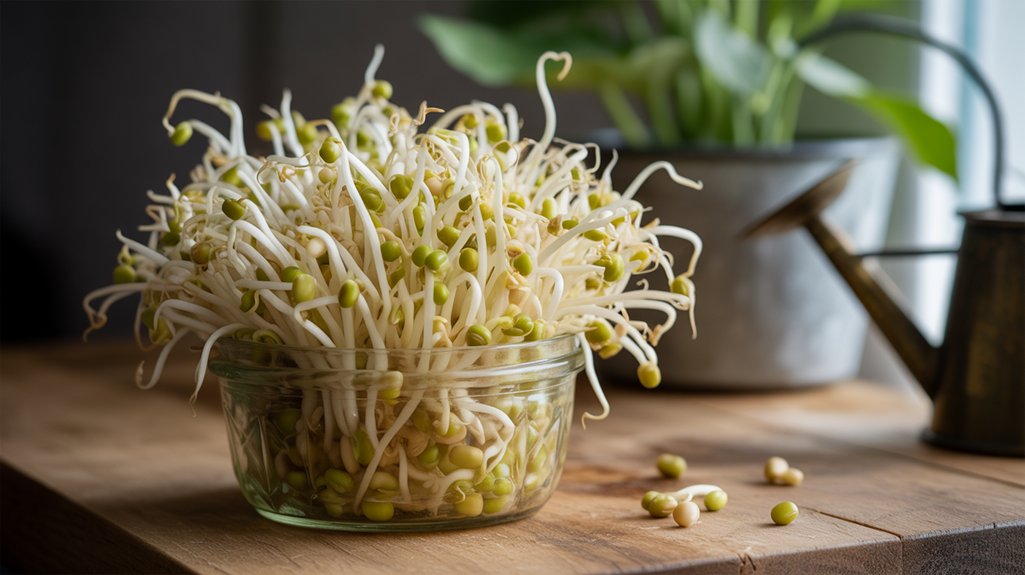
Harvesting and Storing Your Sprouts
Once your mung bean sprouts have reached the desired length—usually between two to four inches—it’s crucial to harvest them at the right moment to ensure maximum flavor and nutritional value.
To do this, I recommend using clean, sharp scissors to cut the sprouts just above the root. This minimizes damage and helps maintain freshness.
After harvesting, rinse the sprouts thoroughly under cool water to remove any residual soil or debris.
For storage, I place the rinsed sprouts in a breathable container, such as a mesh bag or a paper towel-lined bowl, to avoid excess moisture.
I store them in the refrigerator, where they can last for about five to seven days. Remember to check for any signs of spoilage before use.
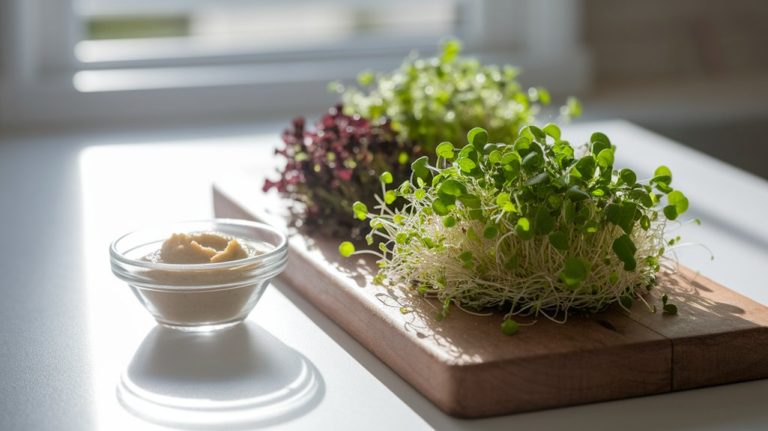
Delicious Ways to Use Mung Bean Sprouts

There are countless ways to incorporate mung bean sprouts into your meals, each highlighting their crunchy texture and mild flavor.
I love adding these nutritious sprouts to various dishes for an extra layer of freshness. Here are some of my favorite methods:
- Stir-fries: Toss them into sizzling vegetables and proteins for a delightful crunch.
- Salads: Mix them with greens, herbs, and a zesty dressing for a vibrant salad.
- Spring rolls: Wrap them with shrimp or tofu for a refreshing appetizer.
- Soups: Add them to broth just before serving for an appealing texture.
- Sandwiches: Layer them in wraps or sandwiches for a nutritious boost.
Experimenting with mung bean sprouts can elevate your meals in delicious and healthy ways!
Frequently Asked Questions
How Long Do Mung Bean Sprouts Typically Last in the Refrigerator?
Mung bean sprouts typically last about 4 to 7 days in the refrigerator when stored properly.
I recommend placing them in a breathable container, like a paper bag or a container with ventilation holes, to prevent moisture buildup.
Additionally, I always rinse them before using and check for any signs of spoilage, like a sour smell or sliminess.
Keeping them dry and cool will extend their freshness significantly!
Can I Grow Mung Bean Sprouts Without Soil?
Yes, you can grow mung bean sprouts without soil!
I’ve found that using a simple jar or a sprouting tray works perfectly. Just soak the beans overnight, then drain and rinse them twice a day.
Keep them in a dark, cool place until they sprout. Within a few days, you’ll see them growing beautifully.
It’s an easy and efficient way to enjoy fresh, nutritious sprouts without any mess!
Are Mung Bean Sprouts Safe for Everyone to Eat?
Yes, mung bean sprouts are generally safe for everyone to eat, but some precautions are necessary.
I always wash them thoroughly to reduce the risk of bacteria. While most people can enjoy them, those with compromised immune systems or certain allergies should consult a healthcare professional before consuming.
I find it’s crucial to buy fresh sprouts and store them properly to maintain their safety and nutritional value.
What Should I Do if My Sprouts Develop a Smell?
If my sprouts develop a smell, I first check for any signs of mold or sliminess. I immediately discard them if I find either, as they can indicate spoilage.
Next, I ensure I’m rinsing and draining my sprouts properly to prevent odor. I also keep them in a cool, dark place, as warmth can encourage unwanted bacteria.
Regular attention and cleanliness are crucial in maintaining healthy, fresh sprouts.
Can I Reuse the Water Used for Rinsing My Sprouts?
I wouldn’t recommend reusing the water used for rinsing your sprouts.
That water can contain bacteria or residue from the sprouts, which may lead to contamination. Instead, I always use fresh, clean water for each rinse to ensure my sprouts stay healthy and safe.
This practice not only helps in maintaining their quality but also promotes better growth. Keeping things clean is essential in sprouting to avoid any unpleasant surprises!
Conclusion
In conclusion, growing mung bean sprouts at home is not only straightforward but also rewarding. By selecting quality seeds and following the essential steps outlined, you can enjoy fresh, nutritious sprouts in just a few days. Remember to maintain optimal conditions and store your harvest properly to maximize freshness. With these foolproof tips, you’ll be ready to incorporate delicious, crunchy mung bean sprouts into your meals, elevating your culinary creations while boosting your health. Happy sprouting!