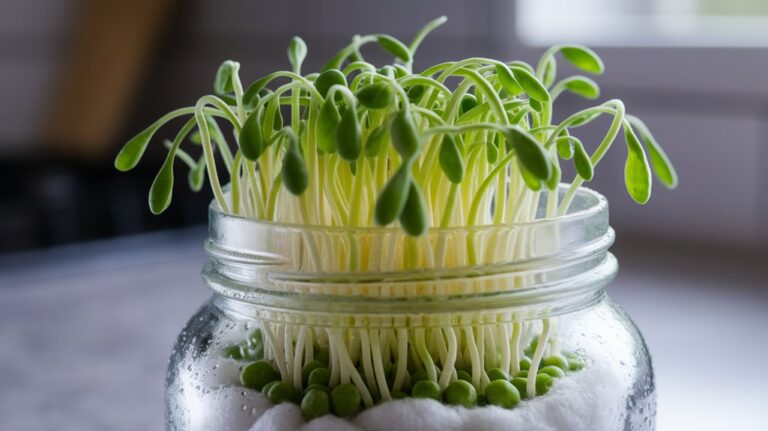
Quick Start: Sprouting in a Mason Jar in 3 Easy Steps
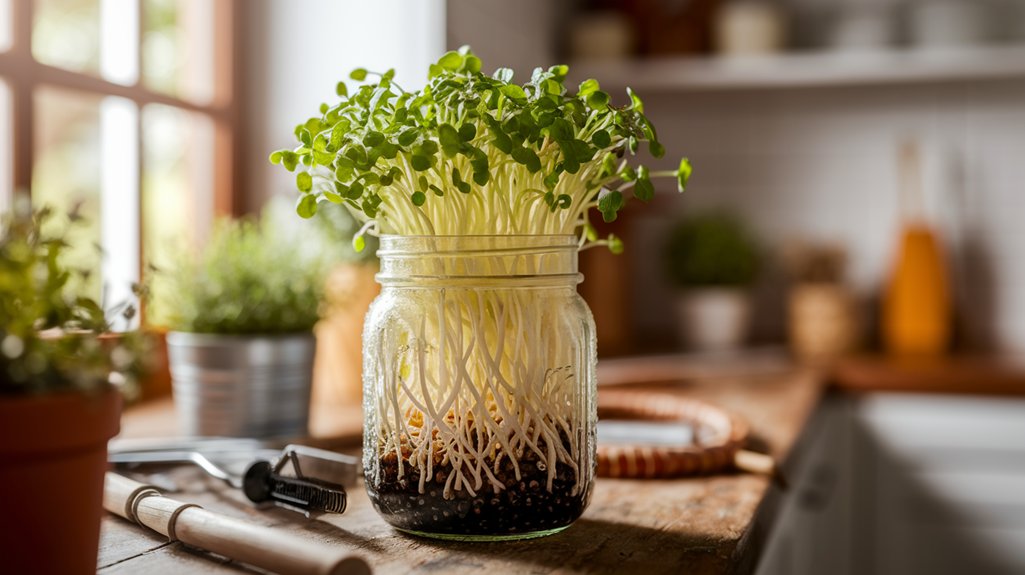
To sprout in a mason jar, I start by choosing seeds like alfalfa or mung beans that are labeled for sprouting. Next, I measure two tablespoons of seeds, soak them in water for six hours, and then drain them. I secure a breathable lid and place the jar in a warm, dark spot, rinsing the seeds twice daily. After about 5-7 days, I enjoy crunchy, vibrant sprouts. Stick around to discover tips for caring for and using your fresh sprouts!
Key Takeaways
- Select seeds specifically labeled for sprouting, like alfalfa or mung beans, ensuring they are fresh and within the expiration date.
- Measure two tablespoons of seeds, soak them in water for six hours, and then drain and secure a breathable lid on the jar.
- Rinse seeds twice daily and keep them in a dark, warm spot until they sprout within a few days.
- Once sprouts are vibrant and crunchy (5-7 days), store them in the refrigerator for up to a week for freshness.
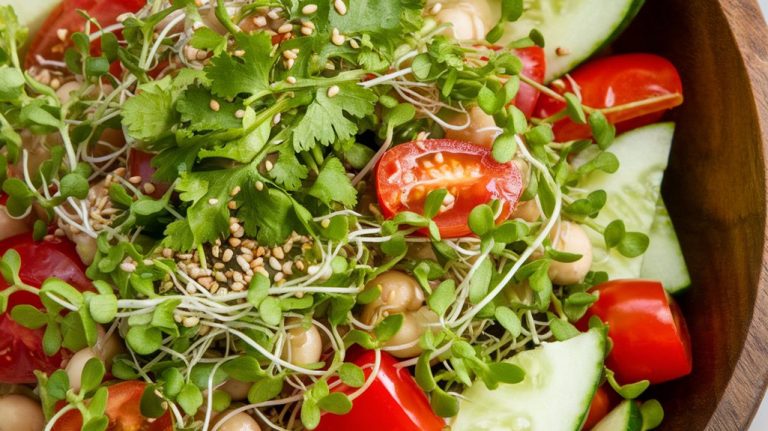
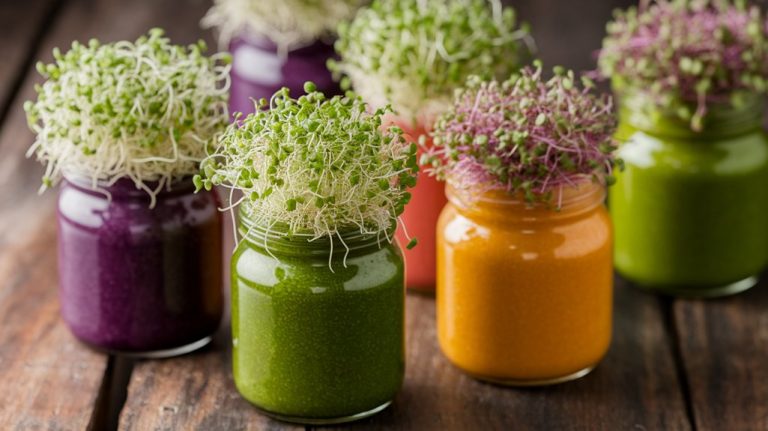
- Use your sprouts in salads, sandwiches, or smoothies to enhance flavor and nutrition in your meals.
Choosing the Right Seeds for Sprouting
When I first started sprouting in a Mason jar, I quickly realized that choosing the right seeds is crucial for a successful harvest. I found that not all seeds were created equal; some sprout faster and taste better than others.
I recommend starting with alfalfa, mung beans, or radish seeds. They’re not only easy to sprout but also packed with nutrients. It’s essential to buy seeds specifically labeled for sprouting, as they’re untreated and safe for consumption.
I also learned to check the expiration date on the seed packets—fresh seeds yield better results. By selecting the right seeds, I set the foundation for a vibrant, flavorful addition to my meals, making my sprouting journey both enjoyable and rewarding.
Step-by-Step Sprouting Process
As I prepared to sprout my seeds, I discovered that the process is both simple and rewarding, making it perfect for beginners.
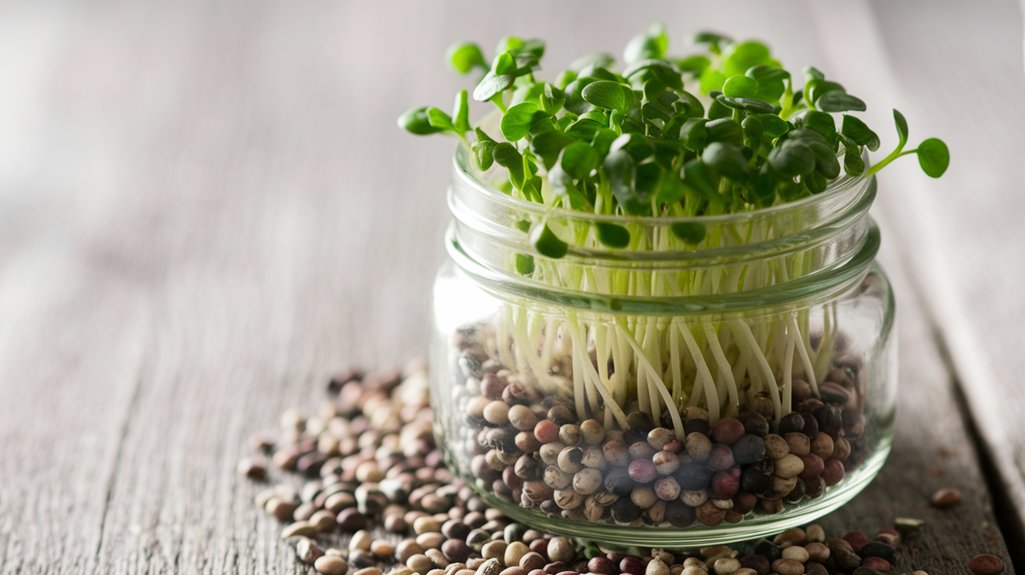
First, I measured about two tablespoons of seeds and placed them in my mason jar. After that, I filled the jar with water, letting the seeds soak for around six hours.
Once time’s up, I drained the water and secured a breathable lid on the jar. I rinsed the seeds twice daily, keeping the jar in a dark, warm spot.
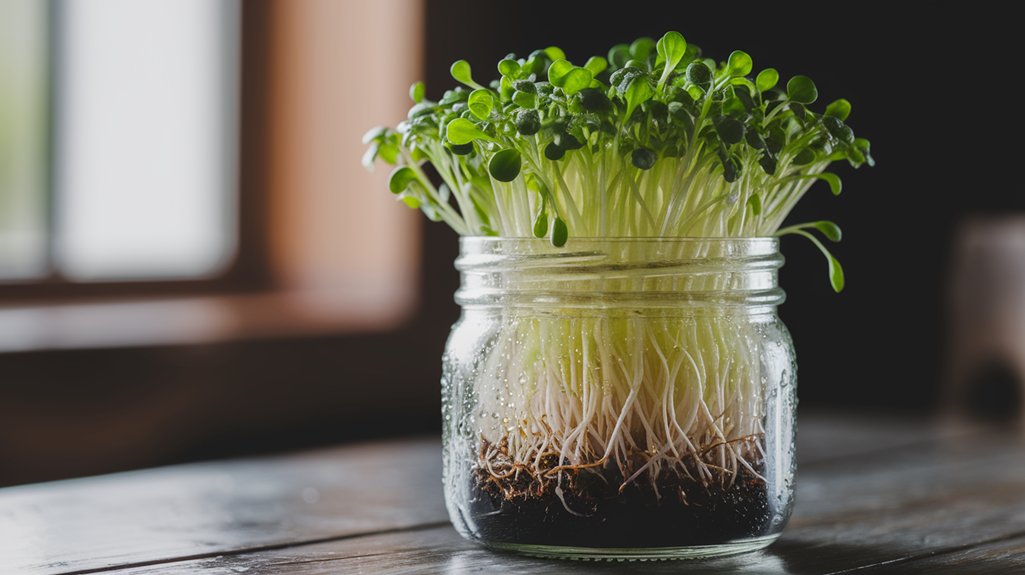
In just a few days, I watched as tiny sprouts emerged, transforming my seeds into vibrant greens.
This step-by-step approach not only nurtured my plants but also filled my kitchen with anticipation for the fresh flavors to come!
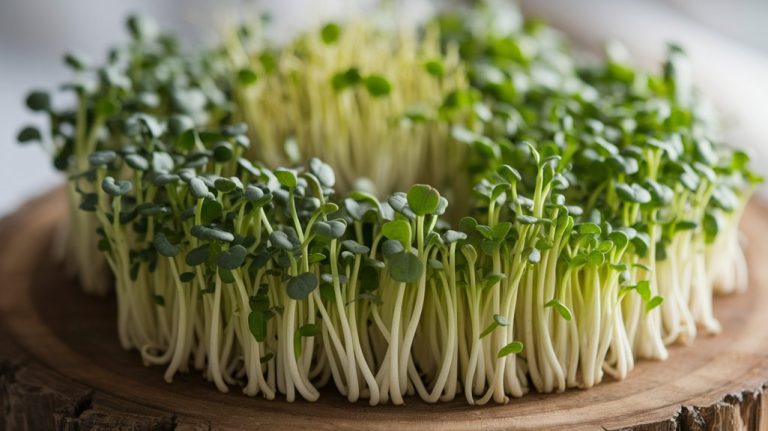
Caring for Your Sprouts and Harvesting Tips
Although caring for your sprouts may seem daunting, it’s actually quite straightforward and enjoyable.
Once you’ve sprouted your seeds, keeping them healthy is key. Here are some tips I follow to ensure my sprouts thrive:
- Rinse daily: Gently rinse your sprouts with fresh water, then drain thoroughly to prevent mold.
- Light exposure: Place your jar in a well-lit area but avoid direct sunlight to prevent overheating.
- Temperature control: Keep your sprouts in a warm spot, ideally around 70°F (21°C).
- Harvesting time: Sprouts are usually ready in 5-7 days; harvest when they’re vibrant and crunchy.
- Storage: Store your harvested sprouts in the refrigerator, where they’ll stay fresh for about a week.
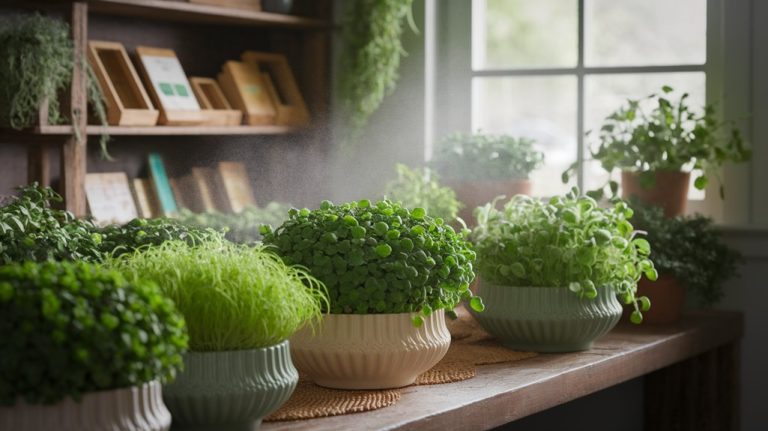
Enjoy your delicious, homegrown sprouts!
Frequently Asked Questions
How Long Do Sprouts Typically Last After Harvesting?
After I harvest my sprouts, I usually find they last about 5 to 7 days in the fridge.
I store them in a breathable container, which helps maintain their freshness.
I love how vibrant and crunchy they’re right after harvesting, but they can lose their texture and flavor quickly.
Can I Use Any Type of Jar for Sprouting?
Absolutely, you can use various types of jars for sprouting!
I’ve experimented with different sizes and shapes, and I found that wide-mouth jars work best. They allow for easy rinsing and air circulation.
Just make sure the jar is clean and has a breathable lid or mesh cover.
It’s a fun process, and using the right jar can make all the difference in getting those fresh, crunchy sprouts just right!
Are There Any Health Risks Associated With Sprouting?
Absolutely, there are some health risks tied to sprouting. I’ve learned that bacteria like E. coli and Salmonella can sometimes thrive in sprouts, especially if not rinsed or stored properly.
It’s crucial to use clean seeds and jars and to ensure good drainage. I always recommend soaking and rinsing my sprouts regularly to minimize any risks.
Staying informed and cautious helps me enjoy the fresh taste of sprouts without worrying too much about health hazards.
What Is the Best Temperature for Sprouting Seeds?
When I sprout seeds, I find that the ideal temperature is between 65°F and 75°F (18°C to 24°C). This range encourages healthy growth while preventing mold.
I’ve noticed that if it’s too cold, the seeds take longer to sprout, and if it’s too warm, they might spoil. Keeping a consistent temperature not only boosts sprouting success but also ensures vibrant, nutritious sprouts.
How Often Should I Rinse My Sprouts During the Process?
When I sprout seeds, I rinse them about two to three times a day. This keeps them hydrated and helps prevent mold from forming.
Each time, I gently swish the sprouts in fresh water, then drain them thoroughly. I’ve found that consistency is key; it not only promotes healthy growth but also ensures they stay crisp and delicious.
Trust me, regular rinsing makes a noticeable difference in the quality of my sprouts!
Conclusion
Now that you’ve mastered the art of sprouting in a mason jar, you’re just a few days away from enjoying fresh, nutritious sprouts right from your kitchen! It’s incredible how simple seeds can transform into vibrant greens with just a little care. Remember to keep an eye on them, rinse regularly, and soon you’ll be harvesting your own crunchy delights. So, grab those jars and seeds, and let the sprouting adventure begin! Happy sprouting!