Supplies to Grow Your Own Sprouts
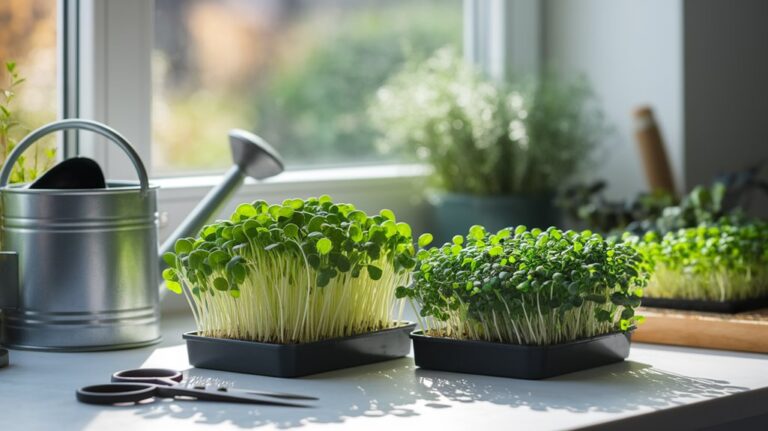
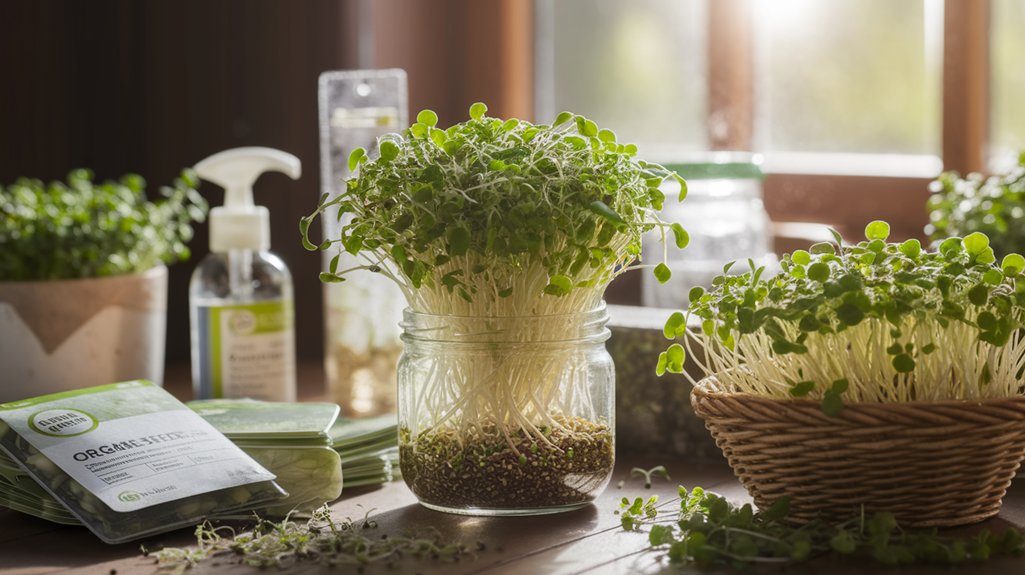
To grow my own sprouts, I first gather organic, non-GMO seeds and choose suitable containers like glass jars or BPA-free trays for proper drainage and ventilation. I ensure to have effective watering tools to keep the medium moist but not waterlogged. Providing bright, indirect light for 12-16 hours daily is crucial. Additionally, I control temperature and select an appropriate sprouting medium. By mastering these essentials, I can enjoy fresh sprouts right at home and discover even more tips for success.
Key Takeaways
- Select organic, non-GMO seeds labeled for sprouting, such as alfalfa, broccoli, or radish for optimal growth and nutrition.
- Choose appropriate sprouting containers like glass jars or specialized trays with drainage and ventilation features.
- Utilize a suitable sprouting medium, such as coconut coir or fine-quality potting soil, to retain moisture and promote healthy growth.
- Maintain a proper watering schedule of 2-3 times daily, ensuring the medium is moist but not waterlogged.
- Provide bright, indirect sunlight or LED grow lights for 12 to 16 hours daily to support robust sprout development.
Choosing the Right Seeds
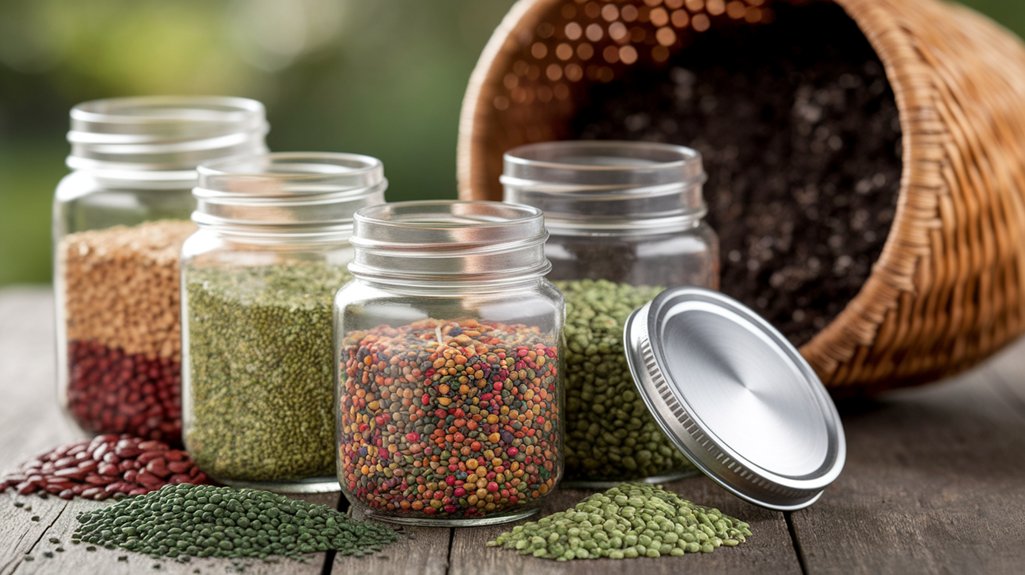
When it comes to choosing the right seeds for sprouting, how do you know which ones to pick? First, I recommend looking for organic, non-GMO seeds. These types are often free from harmful chemicals and will yield healthier sprouts.
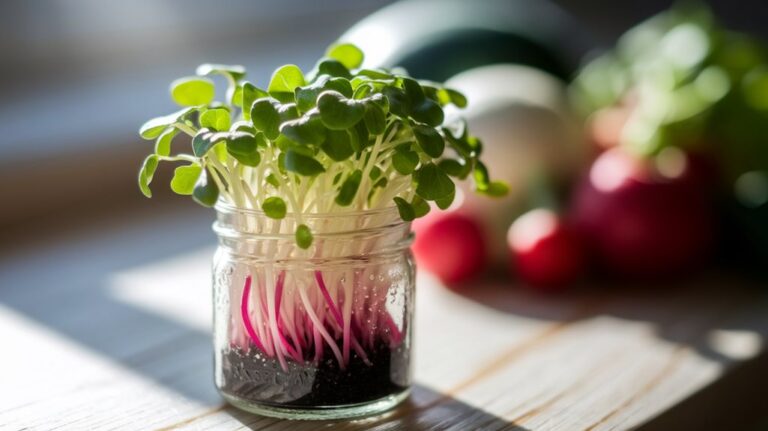
It’s crucial to choose seeds specifically labeled for sprouting; not all seeds are suitable. Varieties like alfalfa, broccoli, and radish are popular because they sprout quickly and have high nutritional value.
Be sure to check the packaging for germination rates and expiry dates, as fresh seeds ensure better sprouting success. Additionally, consider your taste preferences and the culinary uses of different sprouts.
Experimenting with various seeds can lead to exciting flavors and textures in your meals. Happy sprouting!
Selecting a Sprouting Container
When selecting a sprouting container, I consider the types available, such as jars, trays, or bags, each offering unique advantages.
It’s essential to evaluate the size and capacity to ensure they fit your seed quantity and growth area.
Additionally, I pay close attention to drainage and ventilation features, as these are crucial for healthy sprout development.
Types of Containers
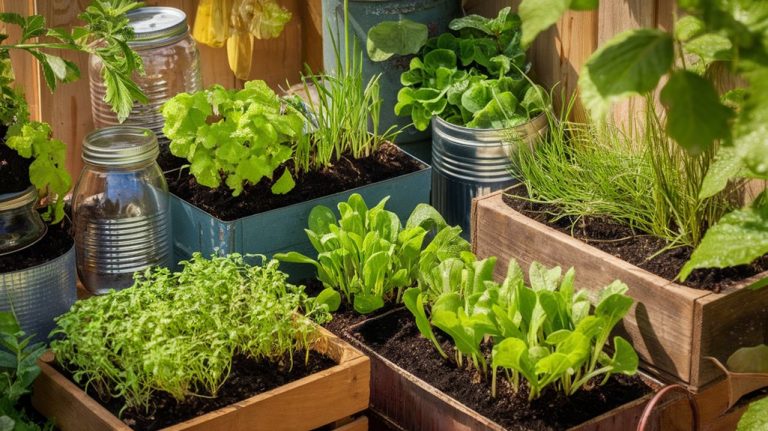
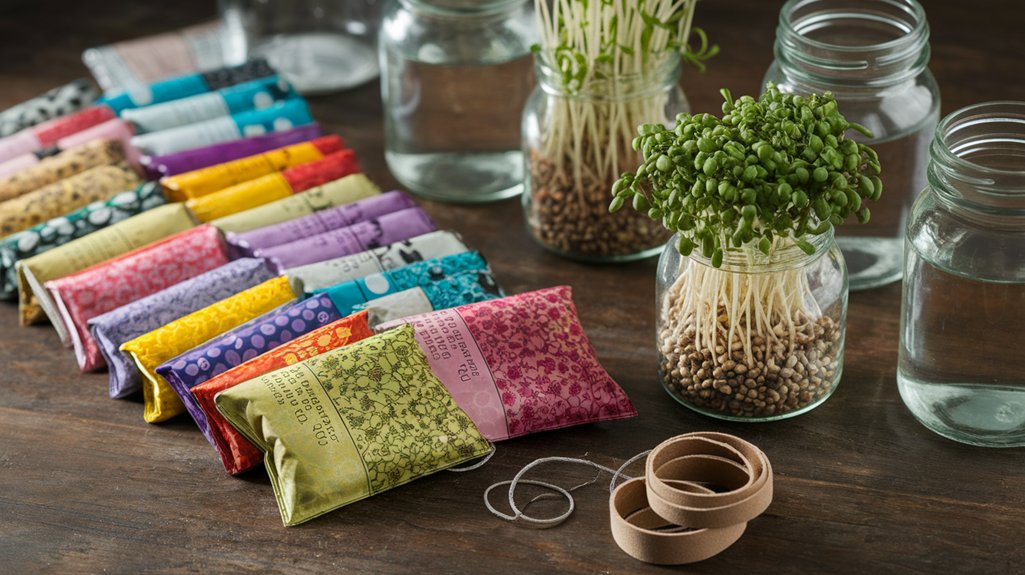
Choosing the right container for sprouting can significantly impact your success in growing fresh, nutritious sprouts. I typically recommend glass jars, as they’re non-toxic, easy to clean, and allow you to monitor the sprouting process.
Mesh lids or cheesecloth work well for ventilation and drainage, preventing mold. Alternatively, you can use specialized sprouting trays made from BPA-free plastic. These trays often have drainage holes and stackable designs, maximizing space.
Ceramic pots are another option, providing a stable environment, though they may retain moisture. Whichever container you select, ensure it has good airflow and drainage to promote healthy sprout growth.
Size and Capacity
Selecting the right size and capacity for your sprouting container is crucial for optimal growth. When I choose a container, I consider the amount of seeds I plan to sprout.
Generally, smaller containers, like quart-sized jars, work well for small batches, while larger trays or bowls are ideal for bigger harvests. I aim for a container that allows enough space for the seeds to expand and grow without overcrowding.
Typically, a container with a capacity of one to two quarts is sufficient for most home sprouting. Additionally, I ensure that the container’s size aligns with my sprouting schedule; for quicker turnover, smaller containers are more manageable.
Drainage and Ventilation
To ensure healthy sprout development, proper drainage and ventilation are essential features in any sprouting container. Without these, excess moisture can lead to mold and hinder growth.
When selecting a container, consider these key factors:
- Drainage Holes: Choose a container with multiple drainage holes at the bottom. This prevents water accumulation, allowing the sprouts to thrive without drowning.
- Mesh Lids: Opt for containers with mesh lids or vents. This ensures adequate airflow, reducing humidity and promoting healthy sprout growth.
- Material: Select breathable materials like glass or BPA-free plastic. Non-porous materials can trap moisture and limit air circulation, impeding sprout development.
Importance of a Screen or Lid
While I often focus on the seeds and growing conditions when cultivating sprouts, the importance of a screen or lid shouldn’t be overlooked. A proper screen or lid ensures adequate air circulation while preventing contaminants from entering. It also aids in moisture retention, crucial for sprout development.
Here’s a quick overview of the benefits:
| Benefit | Description | Importance |
|---|---|---|
| Air Circulation | Promotes healthy growth by reducing mold | Essential for sprout health |
| Contaminant Prevention | Blocks pests, dirt, and bacteria | Reduces disease risk |
| Moisture Retention | Keeps sprouts hydrated | Vital for germination |
| Sunlight Filtering | Protects sensitive sprouts from harsh light | Enhances growth quality |
Using a screen or lid can significantly impact the success of your sprouting project.
Watering Tools and Techniques
When it comes to watering my sprouts, I’ve found that optimal frequency is crucial for healthy growth.
I also pay close attention to drainage techniques to prevent waterlogging, which can harm the roots.
Lastly, the quality of water I use significantly impacts the overall health of my sprouts, so I always choose clean, filtered water.
Optimal Watering Frequency
Understanding the optimal watering frequency is crucial for successful sprout growth, especially since too little or too much water can hinder their development.
I’ve found that maintaining a consistent watering schedule helps achieve the best results. Here’s what I recommend:
- Frequency: Water your sprouts 2-3 times a day, depending on environmental conditions.
- Amount: Use just enough water to moisten the soil without creating puddles.
- Observation: Check the soil moisture regularly; if it feels dry to the touch, it’s time to water.
Sprout Drainage Techniques
Effective drainage is essential for healthy sprout growth, as it prevents waterlogging and root rot. To achieve this, I prefer using trays with drainage holes, allowing excess water to escape easily.
When I water, I ensure I do so evenly, avoiding pooling in one area. A fine mesh or cloth can be used in conjunction with the tray to keep the sprouts from falling through while still allowing moisture to drain.
Additionally, I monitor the moisture level closely; if I notice any standing water, I tilt the tray slightly to facilitate drainage.
Lastly, I recommend using a spray bottle for gentle watering, minimizing the risk of disrupting the delicate roots while ensuring adequate moisture distribution.
Water Quality Importance
While I often focus on techniques for managing drainage, the quality of water I use is equally critical for sprout health. Poor water quality can lead to stunted growth or even mold.
I’ve found that monitoring three key aspects ensures my sprouts thrive:
- pH Levels: Maintaining a pH between 6.0 and 7.0 promotes optimal nutrient absorption.
- Chlorine Content: Using dechlorinated water prevents toxicity; I let tap water sit for 24 hours or use a filter.
- Contaminants: Testing for harmful substances like heavy metals helps ensure a safe growing environment.
Light Requirements for Sprouts
Light is crucial for the healthy growth of sprouts, as it influences their photosynthesis and overall vigor. I’ve found that most sprouts thrive under bright, indirect sunlight for about 12 to 16 hours a day.
If you’re using artificial lights, LED grow lights work best since they emit the right spectrum without overheating. Position the lights about 6 to 12 inches above the sprouts to avoid burning them.
Keep an eye on their growth; if they start stretching or leaning, they might need more light. Conversely, yellowing leaves can indicate too much light. Always rotate your trays to ensure even exposure.
Balancing light levels is vital for producing robust and flavorful sprouts.
Temperature Considerations
After ensuring your sprouts receive the right amount of light, the next consideration is temperature. The optimal temperature for sprouting varies, but generally, keeping it between 65°F to 75°F (18°C to 24°C) promotes healthy growth.
Here are three key temperature considerations I’ve found useful:
- Consistent Temperature: Fluctuations can stress the seeds, so aim for stability.
- Avoid Heat Sources: Keep sprouts away from direct heat, like radiators or stoves, as excessive warmth can hinder germination.
- Cool Conditions for Certain Seeds: Some seeds, like lentils, benefit from cooler conditions, around 60°F (15°C), to sprout effectively.
Sprouting Medium Options
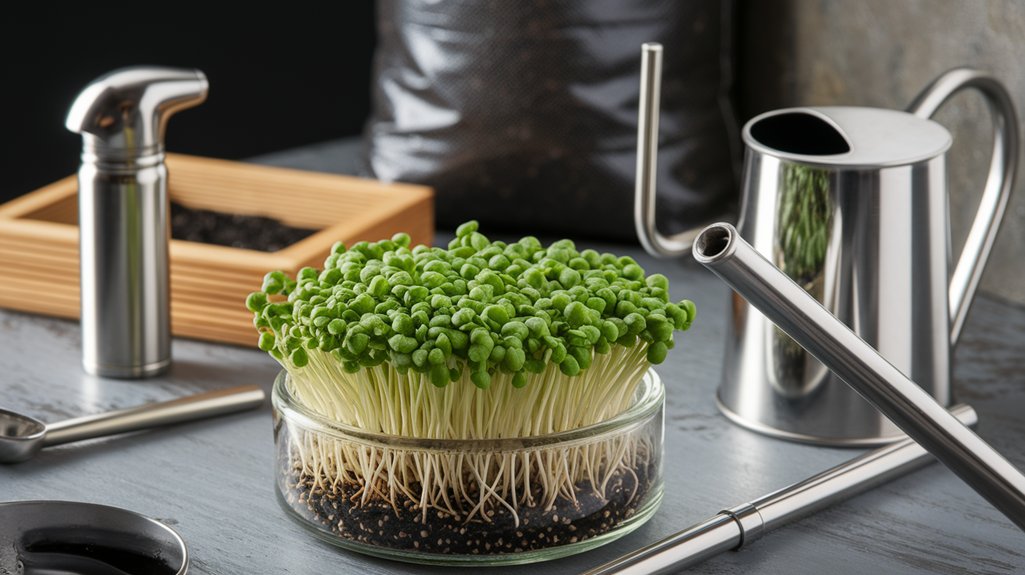
Choosing the right sprouting medium is crucial for successful germination and growth. I often prefer using soil-free options like coconut coir, which retains moisture while providing excellent aeration.
Another effective medium is hemp matting; it’s biodegradable and creates an ideal environment for seedling development. If you’re looking for something more traditional, you can use a fine-quality potting soil, ensuring it’s sterile to avoid pathogens.
For quick results, I sometimes opt for sprouting trays with mesh bottoms, allowing excess water to drain easily. Whichever medium you choose, make sure it’s moist but not waterlogged. This balance is key to ensuring seeds sprout efficiently without risking rot or mold.
Harvesting and Storing Your Sprouts
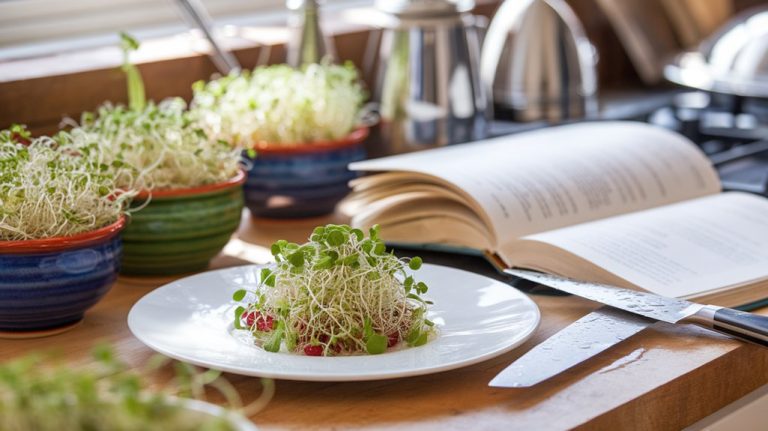
Harvesting your sprouts at the right time is essential for maximizing flavor and nutritional value. I usually check my sprouts daily as they grow. When they’re about 1-3 inches tall, it’s time to harvest.
Here’s how I do it:
- Use Clean Tools: I always ensure my scissors or knife are sanitized to avoid contamination.
- Cut Carefully: I cut the sprouts just above the growing medium, ensuring I don’t damage the roots.
- Rinse and Drain: After harvesting, I rinse the sprouts thoroughly under running water to remove any debris and then drain them well.
For storing, I place my sprouts in a breathable container in the refrigerator, where they’ll stay fresh for up to a week.
Enjoy your delicious, homegrown sprouts!
Cleaning and Maintaining Your Supplies
Since clean supplies are crucial for healthy sprouts, I make it a priority to regularly clean and maintain my equipment. After each use, I wash my jars, lids, and any tools with hot, soapy water to remove residue.
I also soak them in a vinegar solution for 10 minutes to disinfect. Rinsing thoroughly ensures no soap or vinegar remains, which could affect sprout growth.
I inspect my supplies for any damage or wear, replacing items as needed. For mesh lids, I brush away any build-up, ensuring proper airflow.
I store my equipment in a dry, clean place to prevent mold or contamination. By following these steps, I keep my supplies in optimal condition, promoting the health of my sprouts.
Frequently Asked Questions
Conclusion
In conclusion, growing your own sprouts is both rewarding and straightforward with the right supplies. By carefully selecting seeds, containers, and appropriate watering tools, you can ensure a successful sprouting process. Don’t forget to monitor light and temperature conditions, and choose the right medium for optimal growth. Once harvested, proper storage and maintenance of your supplies will keep your sprouting journey efficient. Embrace the process, and enjoy the fresh, nutritious benefits of your homegrown sprouts!