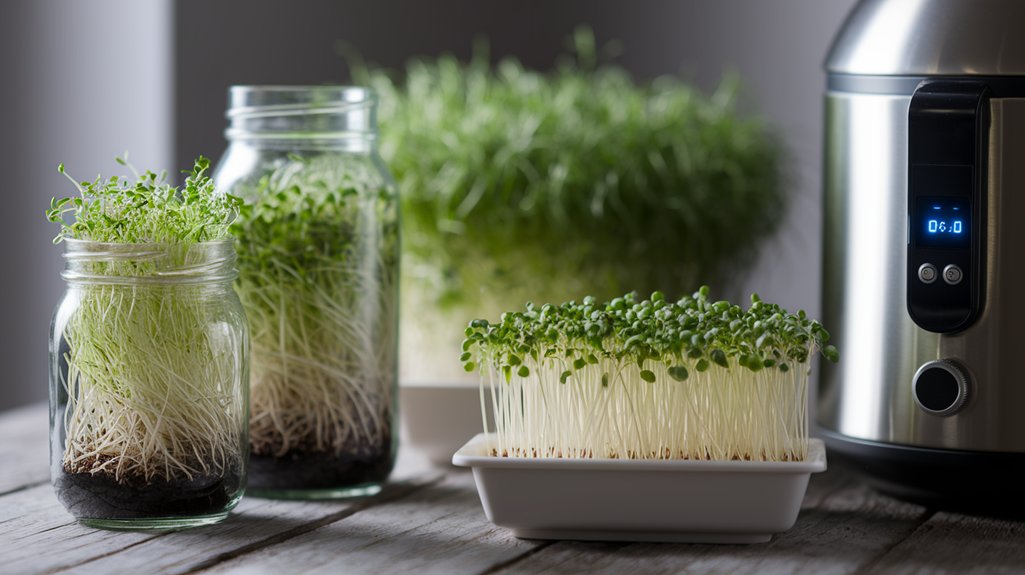
The Best Sprouting Methods Compared: Jars, Trays, and Sprouters
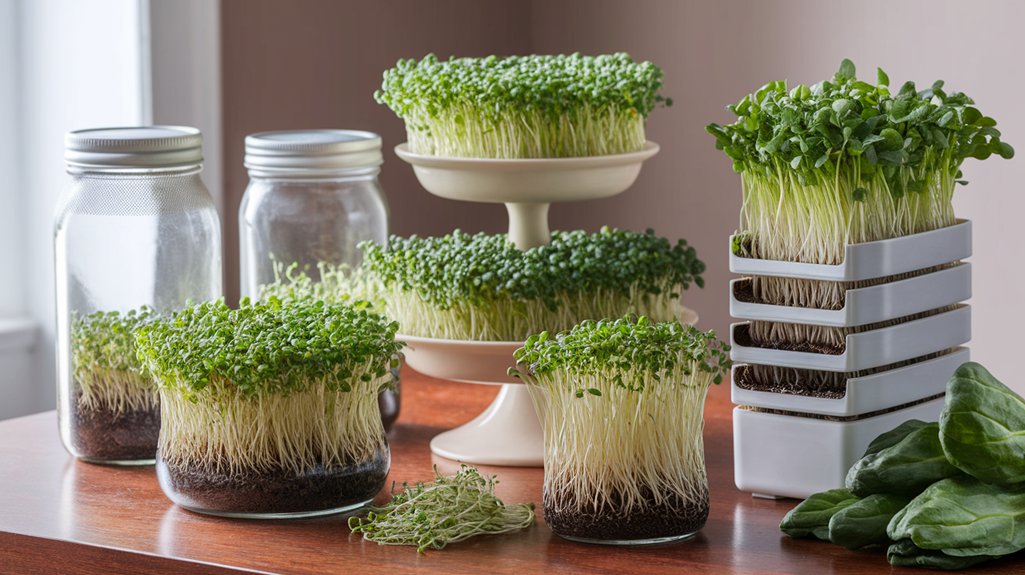
When comparing sprouting methods—jars, trays, and sprouters—I found each has its pros and cons. Jars are cost-effective and compact, making them ideal for small spaces. Trays allow for handling larger batches but require more care and space. Dedicated sprouters offer optimal conditions and convenience but come with a higher price tag. Each method can yield nutritious sprouts, so it’s crucial to choose based on your space, resources, and light availability for the best results. There’s more to explore on this topic.
Key Takeaways
- Jars are cost-effective and compact, making them ideal for small spaces, but require hands-on monitoring for optimal growth.
- Trays allow for larger batches and better airflow, but need more space and careful watering to prevent over-saturation.
- Dedicated sprouters create optimal conditions for sprouting, maximizing yield and nutrition, but come at a higher cost and require dedicated space.
- Consistent water access is crucial; jars simplify water management, while trays and sprouters need more frequent checks.
- Light conditions affect growth; jars can be positioned flexibly, while trays may need specific spots for adequate sunlight exposure.
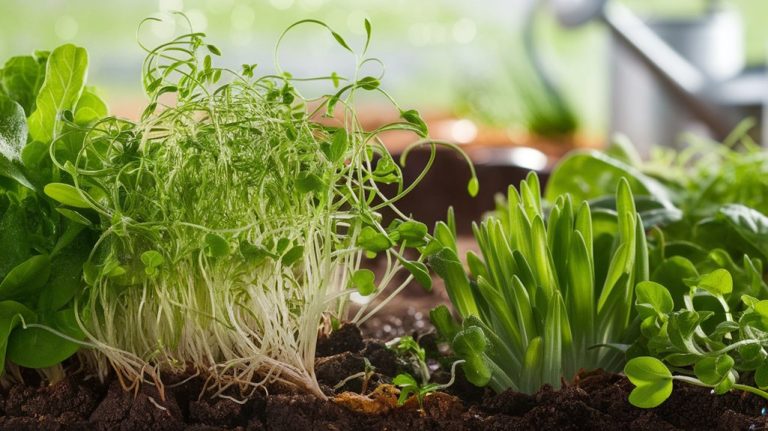
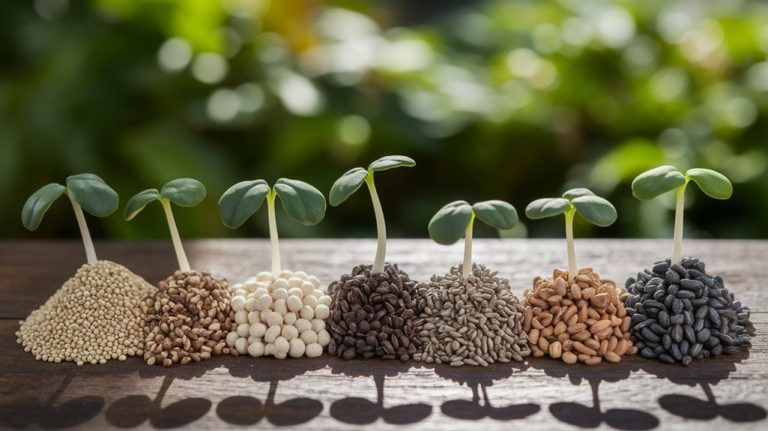
Overview of Sprouting Methods
When exploring various sprouting methods, it’s essential to understand how each technique impacts the growth and nutritional value of the sprouts.
I’ve found that the three primary methods—jars, trays, and dedicated sprouters—each have unique characteristics. Jars are simple and cost-effective, promoting even moisture distribution, but they require more hands-on monitoring.
Trays allow for larger batches and improved airflow, which can enhance sprout quality but necessitate more space and careful watering.
Dedicated sprouters, while more expensive, often provide optimal conditions through built-in humidity and drainage systems, maximizing sprout yield and nutrition.
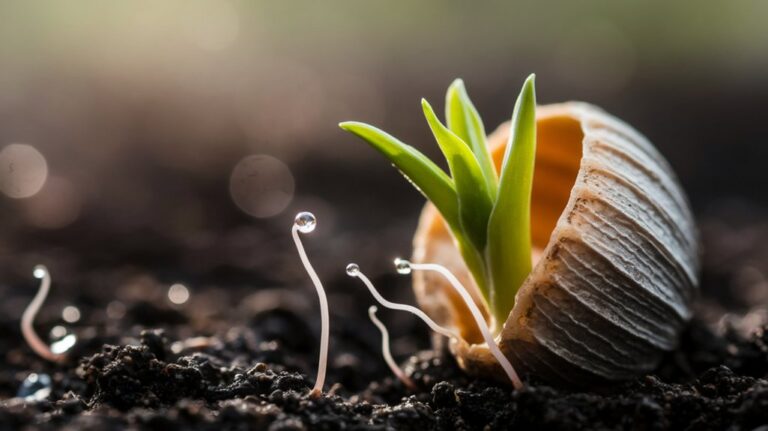
Benefits of Sprouting at Home
Exploring the benefits of sprouting at home reveals numerous advantages that can enhance both health and culinary experiences.
First off, sprouted seeds are packed with nutrients; studies show they significantly increase vitamin levels and enhance bioavailability of minerals. This means your body can absorb nutrients more effectively.
Additionally, sprouting can reduce anti-nutrients like phytic acid, making the food easier to digest. I’ve found that sprouting also boosts flavor and adds a satisfying crunch to salads and sandwiches.
It’s a cost-effective way to incorporate fresh greens into my meals, and I appreciate knowing exactly what I’m consuming.
Finally, the process itself is rewarding; nurturing seeds into sprouts brings a sense of accomplishment, connecting us more deeply to our food.
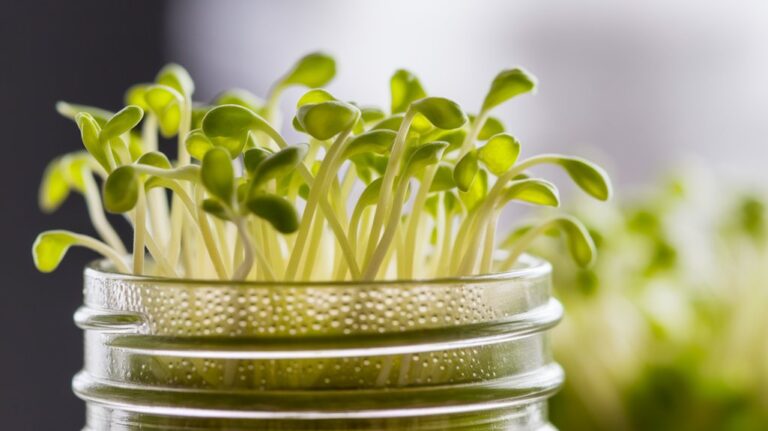
Jars: The Classic Method
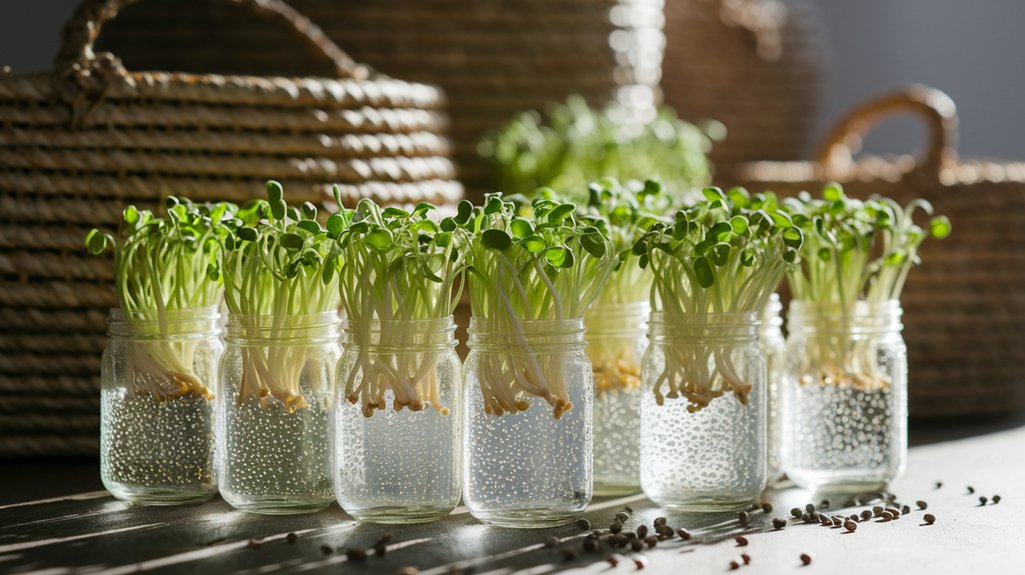
Using jars is one of the most straightforward methods for sprouting seeds at home, and I’ve found it to be incredibly effective. The glass material allows for easy monitoring of the seed development while providing a sterile environment.
I typically use wide-mouth mason jars, which facilitate rinsing and draining. After soaking the seeds for several hours, I place them in the jar and cover the opening with a breathable cloth. This setup promotes air circulation, essential for healthy growth.
I rinse the seeds twice daily to keep them moist, preventing mold. In about 3 to 7 days, I see germination, depending on the seed type.
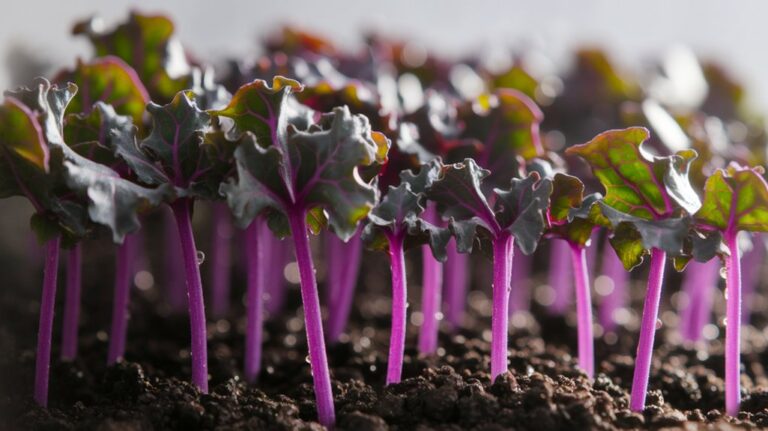
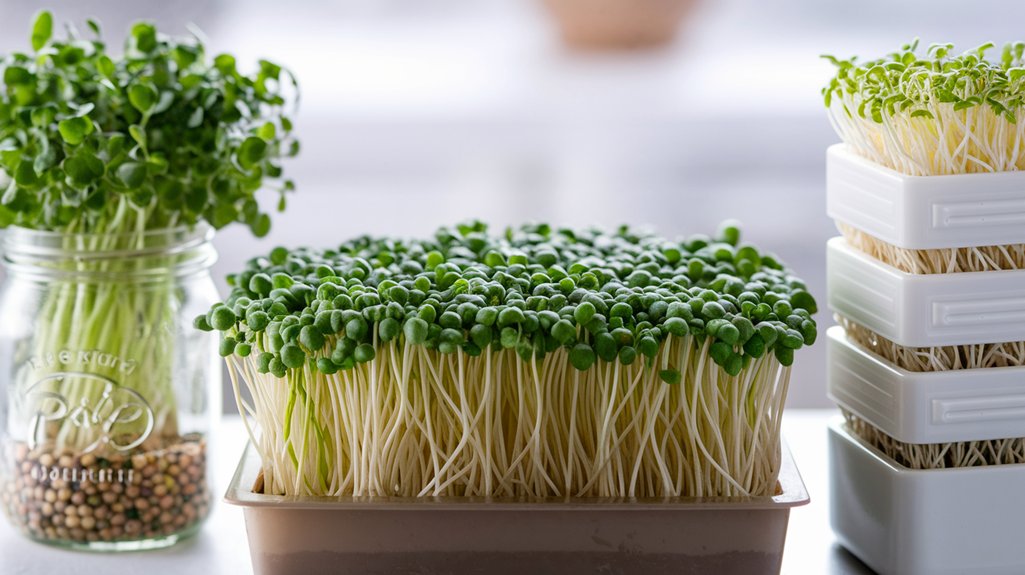
Trays: The Versatile Option
While jars provide a straightforward approach to sprouting, trays offer a versatile option that can enhance the sprouting experience significantly.
With trays, I can sprout larger quantities of seeds at once, which is a game changer for anyone wanting to maximize their yield. They allow for better air circulation, reducing the risk of mold, and their flat design ensures even water distribution.
I’ve found that using trays makes it easier to monitor moisture levels and adjust accordingly. Moreover, they come in various sizes, accommodating different types of seeds, from microgreens to larger sprouts.
This adaptability not only simplifies the process but also encourages experimentation with different seed varieties, ultimately enriching my sprouting journey.
Dedicated Sprouters: The High-Tech Choice
For those who want to take their sprouting to the next level, dedicated sprouters offer a high-tech solution that simplifies the process and enhances results.
These devices automate water cycling, light exposure, and temperature control, creating an optimal environment for sprouting. Research shows that maintaining consistent moisture and temperature can significantly reduce the risk of mold while promoting faster growth.
Many dedicated sprouters come with built-in timers and programmable settings, allowing for a hands-off approach that fits my busy lifestyle.
I’ve found that the consistent results from these machines often surpass traditional methods, making them a worthy investment for serious sprout enthusiasts.
With a dedicated sprouter, I can enjoy fresh, nutrient-rich sprouts with minimal effort and maximum reliability.
Comparison of Sprouting Times
When comparing sprouting times across various methods, I’ve noticed significant differences that can influence my choice of technique.
Using jars, I typically see sprouts in about 4 to 7 days, depending on the seed type. In contrast, trays often yield quicker results—around 3 to 5 days—especially for microgreens.
Dedicated sprouters, with their controlled environments, can sometimes produce sprouts in as little as 2 to 4 days, which is impressive.
However, I’ve found that the specific seeds I choose play a crucial role in timing; some may sprout faster regardless of the method.
Ultimately, understanding these timeframes helps me plan my meals and ensures I’ve fresh sprouts when I need them.
Maintenance and Care for Each Method
After observing the varying sprouting times of different methods, I’ve come to appreciate the importance of proper maintenance and care for each technique.
For jar sprouting, rinsing seeds twice daily is crucial to prevent mold and ensure even moisture distribution.
Trays require consistent misting along with a balanced light source to promote healthy growth without drying out.
I’ve found that using covered sprouters simplifies the process, as they often come with built-in drainage systems and airflow features that minimize the risk of contamination.
Regularly checking for pests or spoilage is essential across all methods.
Ultimately, attentive maintenance leads to robust sprouts, enhancing both their nutritional value and flavor.
Cost Considerations for Sprouting
While evaluating the cost considerations for sprouting, I’ve realized that initial investments can vary significantly depending on the method chosen.
For example, jar sprouting is often the most budget-friendly option, requiring just a simple glass jar and some cheesecloth. In contrast, dedicated sprouters can range from $20 to over $100, depending on the brand and features.
Trays can also be affordable, typically costing between $15 and $50. However, I’ve noticed that these upfront costs mightn’t reflect the long-term savings achieved through home sprouting.
Final Thoughts on Choosing a Method
When choosing a sprouting method, I find that personal preferences play a significant role in the decision-making process.
It’s essential to consider your available space and resources, as they can greatly influence which method is most practical for you.
Ultimately, the best approach aligns with both your lifestyle and your sprouting goals.
Personal Preferences Matter
Choosing a sprouting method isn’t just about efficiency or yield; it often reflects personal preferences that can significantly influence the overall experience.
For instance, I’ve found that my choice can depend on various factors that resonate with my lifestyle and values:
- Time commitment: Some methods require more attention and patience than others.
- Aesthetic appeal: I enjoy methods that fit seamlessly into my kitchen decor.
- Ease of use: I prefer simple setups that don’t complicate my routine.
- Sustainability: I lean towards methods that minimize waste and promote eco-friendliness.
Ultimately, selecting the right sprouting method should align with your personal preferences, making the process enjoyable and fulfilling.
It’s about creating a sprouting experience that fits you best.
Space and Resources
Assessing the available space and resources is crucial in determining the most suitable sprouting method for your needs.
If you have limited counter space, jar sprouting might be the best choice due to its compact nature. Trays require more room but allow for larger quantities, making them ideal if you’re sprouting frequently.
On the other hand, dedicated sprouters can optimize conditions but often need a permanent spot.
Consider your access to water and light, as these factors influence sprout growth. If you can’t guarantee consistent conditions, simpler methods like jars could save you frustration.
Ultimately, aligning your sprouting method with your spatial constraints and resource availability ensures a more enjoyable and productive experience.
Choose wisely for optimal results.
Frequently Asked Questions
Can I Sprout Any Type of Seed or Grain?
Yes, you can sprout many types of seeds and grains, but not all. I’ve found that legumes, grains like wheat and barley, and seeds like alfalfa and broccoli sprout well.
However, some seeds, like those from nightshade plants, may not sprout effectively or could be toxic. It’s crucial to research each type before starting.
I always check sources to ensure I’m sprouting safe and nutritious seeds for my diet.
How Long Do Sprouts Typically Last After Harvesting?
After harvesting, sprouts typically last about 5 to 7 days in the refrigerator.
I’ve found that keeping them in a breathable container helps maintain their freshness.
It’s crucial to rinse them daily to prevent spoilage.
If I notice any off-smells or sliminess, I discard them immediately.
For optimal taste and nutrition, I try to consume my sprouts as soon as possible after harvesting.
This way, I enjoy their full benefits!
What Is the Best Way to Store Harvested Sprouts?
To store harvested sprouts effectively, I’ve found that keeping them in an airtight container in the refrigerator works best.
This method helps maintain their crispness and freshness for about a week.
I always make sure to dry them thoroughly before storage to prevent moisture buildup, which can lead to spoilage.
If I want to extend their shelf life, I’ll consider freezing them, but that can change their texture.
Are There Any Specific Seeds That Should Not Be Sprouted?
When it comes to sprouting, not all seeds are safe. I’ve learned that seeds from the nightshade family, like tomatoes and eggplants, shouldn’t be sprouted due to potential toxicity.
Additionally, certain beans, like kidney beans, contain harmful lectins that can be dangerous when raw. Always research specific seeds before sprouting.
It’s crucial to prioritize safety over experimentation, ensuring you enjoy the health benefits of sprouts without any risk.
Can Sprouting Affect the Nutritional Value of the Seeds?
Absolutely, sprouting can significantly enhance the nutritional value of seeds.
I’ve found that the process increases vitamins, particularly vitamin C, and makes minerals more bioavailable. This happens because sprouting breaks down antinutrients, which can inhibit nutrient absorption.
Additionally, the enzyme activity during sprouting boosts protein digestibility.
Conclusion
In conclusion, each sprouting method has its unique strengths and challenges. Jars offer simplicity and accessibility, while trays provide versatility for various seed types. Dedicated sprouters, although more costly, can enhance efficiency and yield. Ultimately, your choice will depend on your space, budget, and personal preferences. By weighing these factors, you can select the method that best aligns with your lifestyle and goals, ensuring a successful and rewarding sprouting experience at home.