The Ultimate Guide to Starting Your Microgreens Garden
Starting your microgreens garden is an exciting journey I highly recommend. First, choose seeds specifically labeled for microgreens, like arugula or radish, for better growth. Next, ensure you have the right growing medium and adequate equipment. Light is crucial too; aim for 12-16 hours daily, using natural sunlight or full-spectrum LEDs. Be cautious with watering to avoid mold, and remember to harvest at the right time for optimal flavor. There’s much more to explore in this vibrant gardening adventure!
Key Takeaways
- Select high-quality, organic seeds specifically for microgreens, such as arugula, radish, or broccoli, for optimal growth and flavor.
- Ensure your microgreens receive 12 to 16 hours of light daily, utilizing natural sunlight or full-spectrum LED grow lights.
- Monitor moisture levels carefully; overwatering can lead to mold and stunted growth, so mist instead of pouring water directly.
- Harvest microgreens when they are 7 to 21 days old for the best flavor, cutting just above the soil to allow regrowth.
- Store harvested microgreens in breathable containers in the refrigerator to maintain freshness and crispness for up to a week.
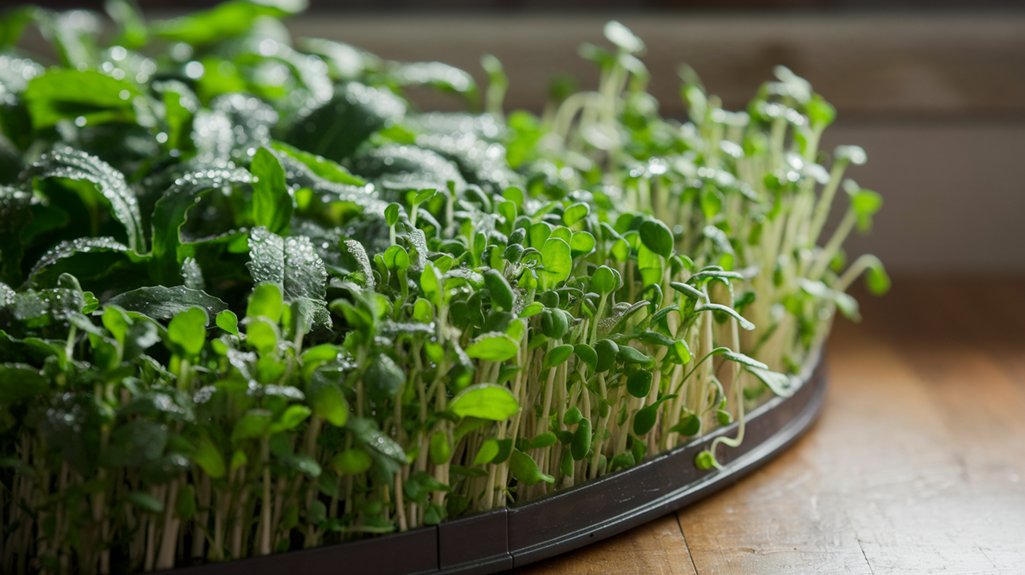
Understanding Microgreens: What They Are and Their Benefits
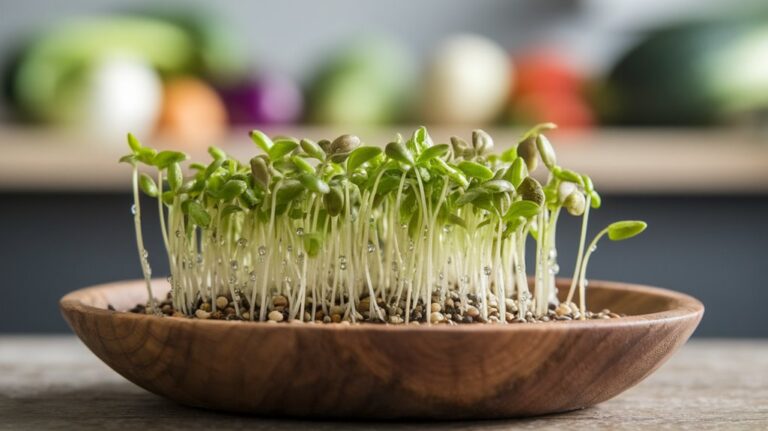
Microgreens are tiny, nutrient-packed plants that pack a powerful punch in flavor and health benefits. These young seedlings, harvested just after the first true leaves appear, typically range from 1 to 3 inches in height. They’re rich in vitamins, minerals, and antioxidants, often containing higher concentrations than their mature counterparts.
For instance, broccoli microgreens can contain up to 40 times more nutrients than fully grown broccoli. I love incorporating them into salads, sandwiches, and smoothies for a burst of flavor and nutrition.
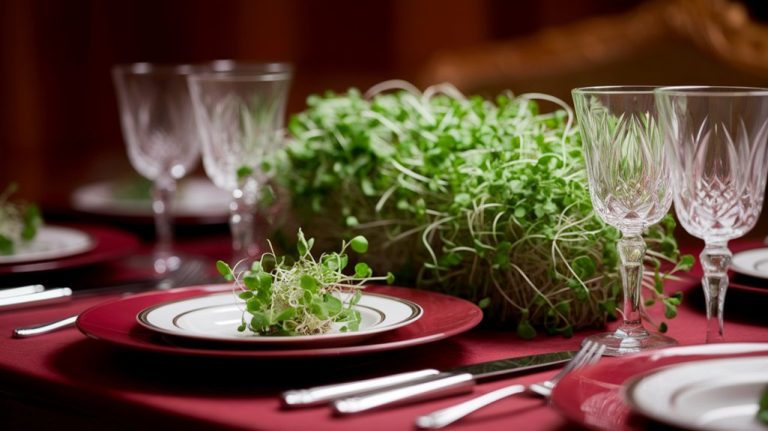
Beyond their health benefits, microgreens also add vibrant colors and textures to dishes, making them not just healthy but visually appealing.
Growing them is straightforward, requiring minimal space, making them ideal for both beginners and seasoned gardeners.
Choosing the Right Seeds for Your Microgreens
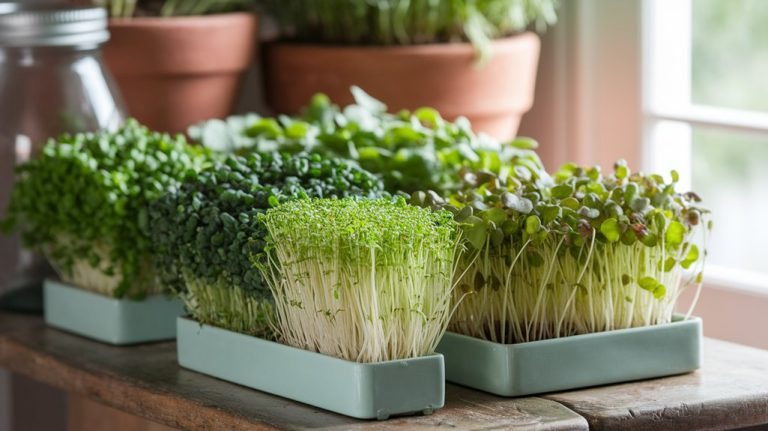
When starting your microgreens garden, selecting the right seeds is crucial for achieving vibrant and flavorful results. I recommend choosing seeds specifically labeled for microgreens, as they undergo less treatment and are often more viable.
Popular options include arugula, radish, and mustard due to their quick germination and distinct flavors. It’s essential to consider your climate and growing space; some seeds thrive indoors, while others prefer more light.
Additionally, check for organic certifications to avoid harmful pesticides. I often prefer non-GMO seeds, ensuring a healthier harvest.
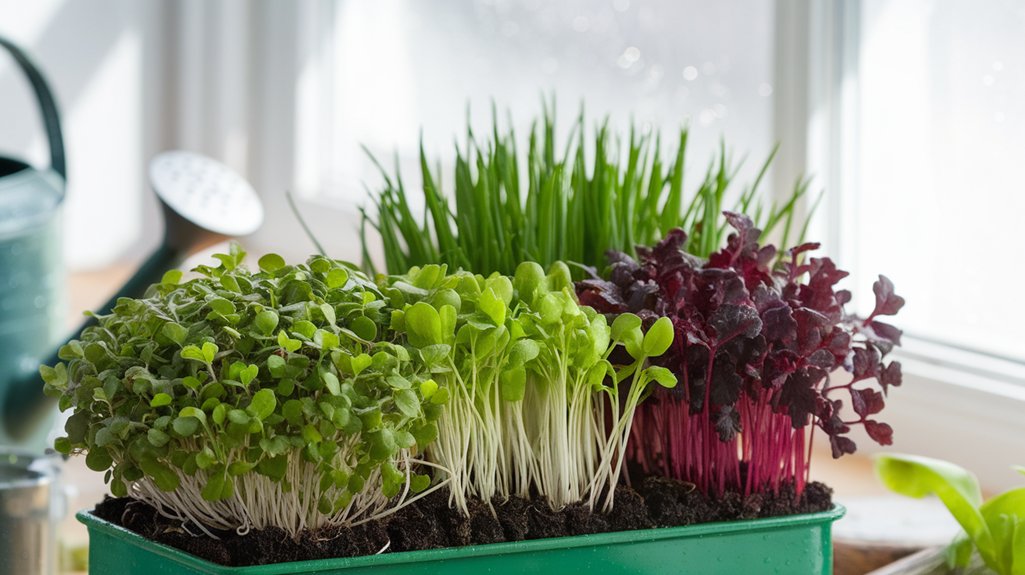
Lastly, experiment with mixed varieties for diverse flavors and textures. This thoughtful selection process can significantly enhance both the aesthetic and culinary appeal of your microgreens garden.
Essential Supplies for Growing Microgreens
When I started my microgreens garden, I quickly realized that selecting the right seeds and growing medium is crucial for success.
Different seeds have unique requirements, and understanding these can enhance your harvest.
Additionally, choosing the right growing medium can significantly affect germination and overall growth, so it’s essential to pick wisely.
Seed Selection Tips
Choosing the right seeds is crucial for a successful microgreens garden. I recommend starting with varieties that are known for their fast germination and robust flavor, like radish, broccoli, and sunflower.
It’s essential to choose organic seeds to avoid harmful chemicals and ensure better germination rates. Look for seeds labeled specifically for microgreens; they’re often tested for optimal growth in limited space.
Pay attention to the seed size as well; smaller seeds like arugula are easier to handle, while larger seeds like peas may require more space.
Always check the packaging for the harvest date and germination percentage to ensure quality.
With the right seed selection, you’ll set the foundation for a thriving microgreens garden.
Growing Medium Options
While selecting the right growing medium might seem secondary to seed choice, it plays a vital role in the success of your microgreens garden.
I’ve experimented with several options, and my top choices are coconut coir, peat moss, and soil-free blends. Coconut coir is excellent for its moisture retention and aeration, making it ideal for fast-growing microgreens.
Peat moss, though slightly less sustainable, offers a fine texture that promotes healthy root development. Soil-free blends often contain a mix of organic matter and perlite, ensuring proper drainage and nutrient availability.
When choosing, consider factors like moisture retention, pH balance, and drainage. Ultimately, the right medium will support robust growth and flavor in your microgreens, ensuring a rewarding harvest.
Preparing Your Growing Medium
Although many growers overlook it, preparing your growing medium is crucial for the success of your microgreens garden.
I start by selecting high-quality soil or a soilless mix that’s rich in nutrients and well-draining. It’s essential to ensure the medium is sterile to prevent disease; I often heat it in the oven at 180°F for about 30 minutes.
Once cooled, I moisten the medium lightly—too wet can lead to mold, while too dry can hinder germination. Then, I fill my trays to about an inch deep, leveling it out to create an even surface.
Finally, I lightly compress the medium to eliminate air pockets. With this solid foundation, my microgreens can thrive and flourish.
Light Requirements for Microgreens
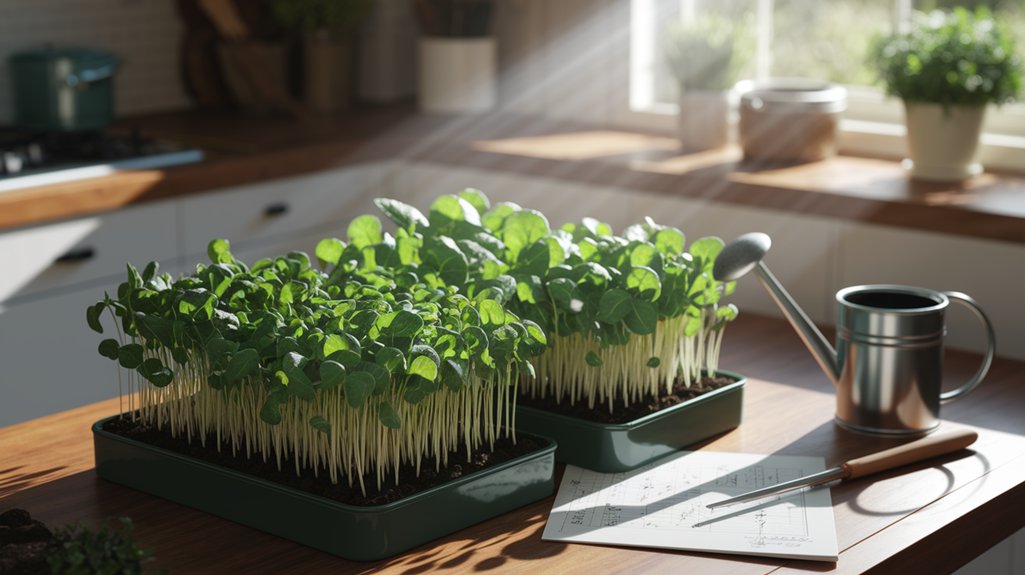
After preparing your growing medium, the next step is to consider the light requirements for your microgreens.
Microgreens thrive with around 12 to 16 hours of light daily. If you’re using natural sunlight, place your trays near a south-facing window to maximize exposure.
However, if natural light isn’t sufficient, I recommend using grow lights. LED grow lights are particularly effective, providing the full spectrum needed for robust growth while being energy-efficient.
Position the lights about 2 to 4 inches above the seedlings, adjusting as they grow. It’s crucial to monitor the light intensity; too much can cause leggy growth, while too little can stunt development.
Finding the right balance is key to a successful microgreens garden.
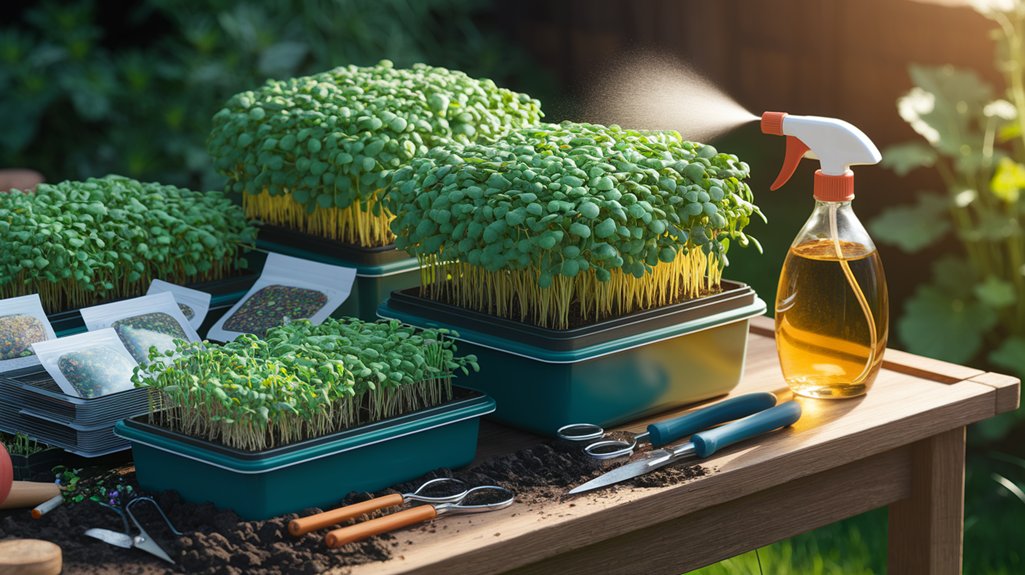
Watering Techniques and Maintenance
To ensure your microgreens flourish, I pay close attention to watering techniques and maintenance. I use a spray bottle for gentle, even moisture, avoiding over-saturation that can lead to mold. I water once daily, checking the topsoil to confirm it’s dry before I proceed.
For consistent results, I place a humidity dome over the trays for the first few days, creating a mini greenhouse effect. This helps retain moisture while the seeds germinate. Once seedlings emerge, I remove the dome and adjust my watering schedule based on humidity levels.
I also monitor water quality; I prefer distilled or rainwater to prevent chlorine-related issues. Regularly inspecting for pests and adjusting airflow ensures my microgreens remain healthy and vibrant.
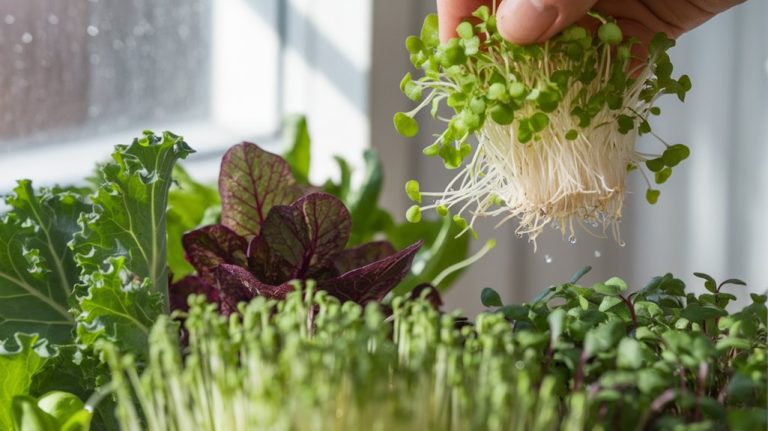
Harvesting Your Microgreens
When it comes to harvesting microgreens, timing is crucial for achieving optimal flavor and texture.
I recommend using sharp scissors or a knife to ensure a clean cut and minimize damage to the remaining plants.
In this section, I’ll share the best techniques, tools, and timing for a successful harvest.
Best Harvesting Techniques
Harvesting microgreens requires precision and care to ensure the best flavor and nutritional value. I recommend using clean, sharp scissors or a knife to cut the greens just above the soil line. This minimizes damage to the roots, allowing for potential regrowth. Timing your harvest early in the day ensures freshness, as the plants are well-hydrated.
Here’s a quick reference table for effective harvesting techniques:
| Technique | Description |
|---|---|
| Clean Tools | Always use sanitized scissors or knives. |
| Cut at Soil Level | Snip just above the soil line. |
| Harvest in Batches | Gather small amounts to avoid crushing. |
Timing for Optimal Flavor
As I’ve discovered through my own gardening experiences, timing plays a crucial role in enhancing the flavor of microgreens. Most varieties are best harvested between 7 to 21 days after germination, depending on the type.
For instance, radish microgreens peak in flavor around day 10, while basil may require up to 21 days. I recommend tasting them periodically as they grow; this approach helps me identify their optimal flavor profiles.
Additionally, harvesting just before they fully mature ensures a more intense taste, as the nutrients are concentrated at this stage. Always cut at the base, ensuring minimal disturbance to the remaining roots, which can encourage further growth.
Tools You’ll Need
A well-equipped gardener is always prepared for the task at hand, and harvesting microgreens is no exception. To ensure a smooth process, I rely on a few essential tools.
First, a sharp pair of scissors or a microgreens knife is crucial for clean cuts, preventing damage to the delicate plants. I also use a fine-mesh sieve to rinse my harvest, removing any soil or debris effectively.
A clean, flat surface is vital for laying out the microgreens, so I’ve a designated cutting board ready. Lastly, I recommend having storage containers on hand, preferably breathable bags or clamshells, to keep the greens fresh.
With these tools, I can enjoy a successful and efficient microgreens harvest every time.
Storing and Using Your Microgreens
Microgreens aren’t only delightful additions to meals but also require proper storage to maintain their freshness and flavor.
After harvesting, I gently rinse them in cool water and pat them dry with a clean towel. I prefer to store my microgreens in a breathable container, like a paper bag or a clamshell, to prevent moisture buildup.
Placing them in the refrigerator keeps them crisp for up to a week.
When I use them, I often sprinkle a handful over salads, sandwiches, or soups for added nutrition and taste.
I love experimenting with different varieties like basil, radish, and sunflower to see how their unique flavors enhance my dishes, turning simple meals into gourmet creations.
Common Mistakes to Avoid
As I’ve learned through experience, overwatering microgreens can lead to mold and stunted growth, so it’s crucial to monitor moisture levels closely.
Additionally, ignoring their light requirements can result in leggy, weak plants that lack flavor.
Let’s explore these common pitfalls to ensure your microgreens thrive.
Overwatering Your Microgreens
When I first started my microgreens garden, I quickly learned that overwatering can be just as detrimental as underwatering. It’s crucial to strike a balance; too much water leads to soggy soil, which suffocates the roots and promotes mold growth.
I found that using a spray bottle for misting rather than pouring water directly onto the soil helps maintain moisture without flooding. Checking the soil’s top inch can be a great indicator—if it feels moist, hold off on watering.
Also, ensure your containers have adequate drainage; stagnant water is a recipe for disaster. Monitoring humidity and adjusting your watering schedule based on environmental conditions will keep your microgreens healthy and thriving.
Ignoring Light Requirements
Although it’s easy to overlook, providing adequate light is crucial for the success of your microgreens garden. Insufficient light can lead to leggy, weak plants lacking in flavor and nutrition.
I recommend using full-spectrum LED grow lights, as they mimic natural sunlight and promote healthy growth. Position your lights about 2-4 inches above the seedlings, adjusting as they grow.
Microgreens typically need 12-16 hours of light per day, so using a timer can help maintain consistency. It’s also important to monitor light intensity; too much can scorch delicate leaves.
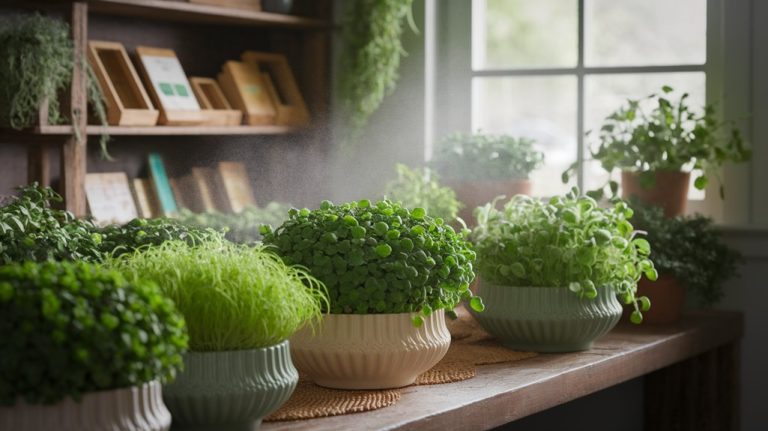
Expanding Your Microgreens Garden: Advanced Tips
Expanding my microgreens garden not only enhances the variety I can grow, but it also allows me to experiment with different growing techniques.
I’ve found that incorporating a rotation system helps maintain soil health and maximizes yield. For instance, I stagger planting times—every few days—to ensure a continuous harvest.
Utilizing different growing mediums like coconut coir or hydroponic mats can also yield varied results. I’ve experimented with nutrient solutions, adjusting pH levels to optimize growth.
Additionally, I’ve introduced controlled environments using mini-greenhouses, which protect plants from pests and regulate moisture. Keeping detailed notes on each batch helps me track what methods yield the best results, ultimately refining my approach and expanding my garden’s potential.
Frequently Asked Questions
How Long Does It Take for Microgreens to Grow?
Growing microgreens usually takes about 7 to 21 days, depending on the variety.
I’ve found that faster-growing types like radish or mustard can be ready in just a week, while slower ones like sunflower might take up to 14 days.
I always keep the soil moist and provide ample light, which helps speed up the process.
It’s fascinating how quickly these nutrient-packed greens can sprout right in my kitchen!
Can I Grow Microgreens Indoors Without Natural Light?
Absolutely, you can grow microgreens indoors without natural light!
I’ve done it using artificial grow lights that mimic sunlight. I typically set my lights on a timer for about 12-16 hours a day.
This ensures my microgreens receive the right spectrum of light for optimal growth.
Just make sure to position the lights a few inches above the plants and adjust as they grow.
You’ll be amazed at how well they thrive!
Are Microgreens Safe for Pets to Consume?
I’ve often wondered if microgreens are safe for pets.
Generally, many microgreens, like peas and sunflower, are non-toxic and can be consumed by cats and dogs in moderation.
However, some varieties, like chives and garlic, can be harmful.
I always recommend researching specific types before offering them to your pets.
It’s best to consult with a veterinarian to ensure the safety of your furry friends when introducing new foods.
Do Microgreens Have Any Nutritional Drawbacks?
Microgreens are packed with nutrients, but they do have some drawbacks. While they’re rich in vitamins and antioxidants, they can be low in fiber compared to their mature counterparts.
I’ve also noticed that certain varieties might contain higher levels of oxalates, which could affect calcium absorption in some individuals.
How Often Should I Rotate My Microgreens Crops?
I find it’s best to rotate my microgreens every 7 to 14 days, depending on the variety.
Some, like radish, grow quickly and might be ready in just a week, while others, like broccoli, take a bit longer.
I pay close attention to their growth stages and the nutrient needs of each variety.
This approach not only maximizes my yield but also ensures I’m harvesting them at their peak flavor and nutrition.
Conclusion
Starting your microgreens garden can be a rewarding journey that leads to fresh flavors and vibrant nutrition right at your fingertips. By understanding the nuances of seed selection, growing conditions, and maintenance, you’ll cultivate a thriving indoor or outdoor garden. Remember to learn from any mistakes along the way. With patience and practice, you’ll soon enjoy the benefits of your hard work, elevating your culinary experiences and enriching your diet with these tiny powerhouses of flavor.